Materials and tools:
- multi-colored hard felt 1-1.2 mm thick. Soft felt will not work as it does not hold its shape;
- black beads for the eyes (can be replaced with a French knot);
- multi-colored sewing threads to match the felt;
- sewing machine (you can sew by hand);
- decorative elements for decorating the mansion;
- needle;
- scissors;
- ruler.
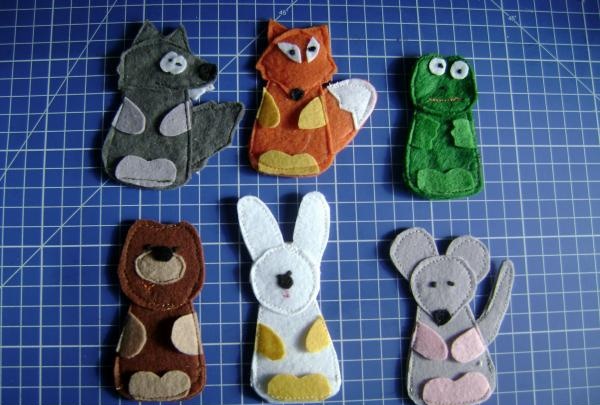
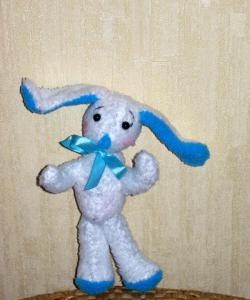
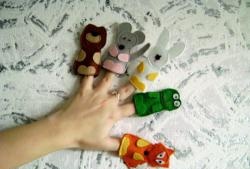
The main characters differ little from each other in assembly and sewing. Let's look at the progress of the work on a bunny.
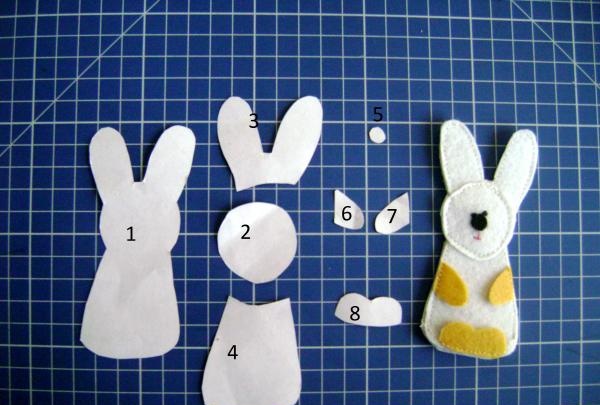
Bunny. The pattern can be printed from the picture by setting the size. Cage on a mock-up mat 1*1 cm.
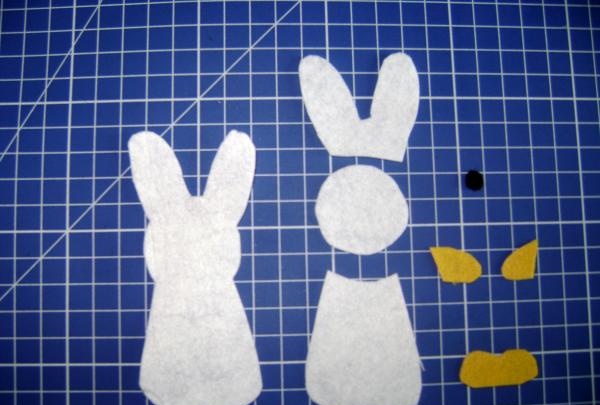
We transfer the pattern to felt and cut out the details.
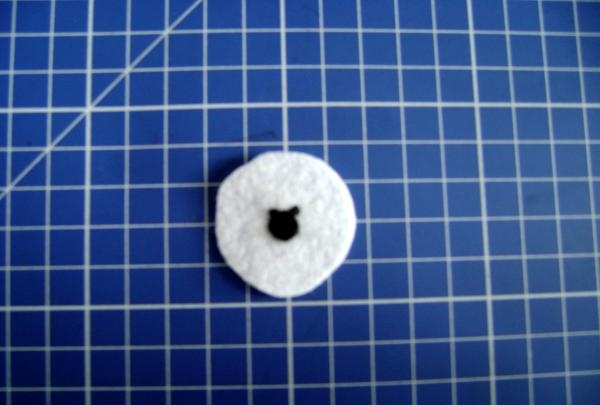
We design the muzzle: sew the nose (5) to the head (2), above the nose are the eyes.
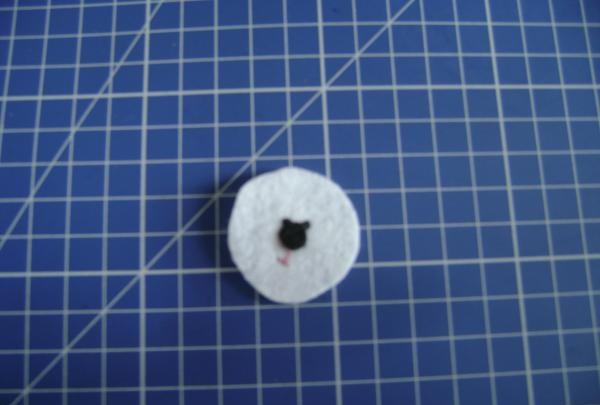
Embroider the mouth.
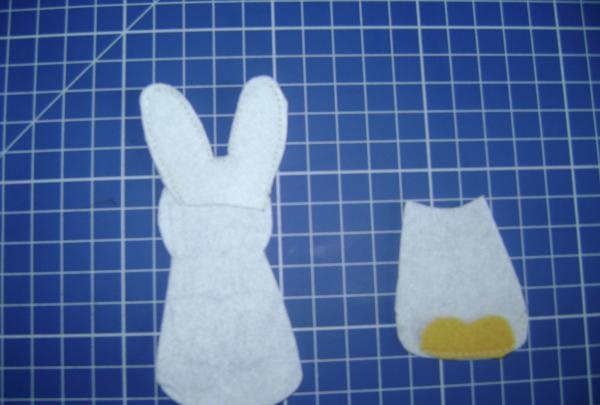
Attach ears (3) to the back part (1). To the front of the body (4) legs (8).
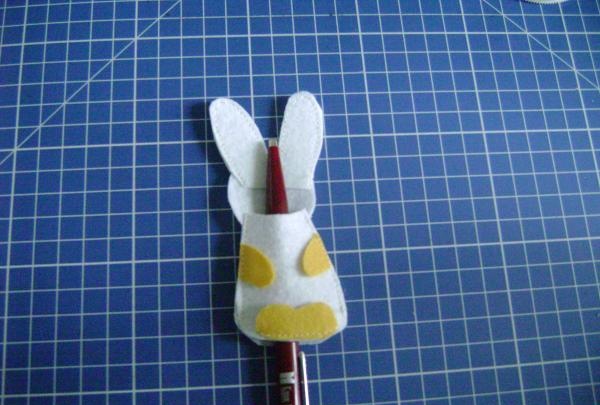
We put the front part on the back part, attach the front legs, and make side seams. Please note that we do not stitch the bottom.
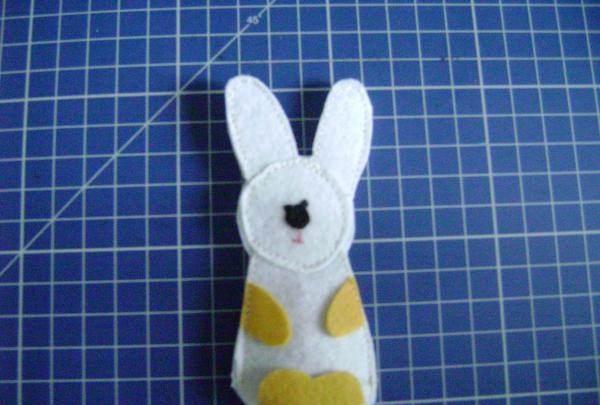
We attach the head and attach it. The bunny is ready.
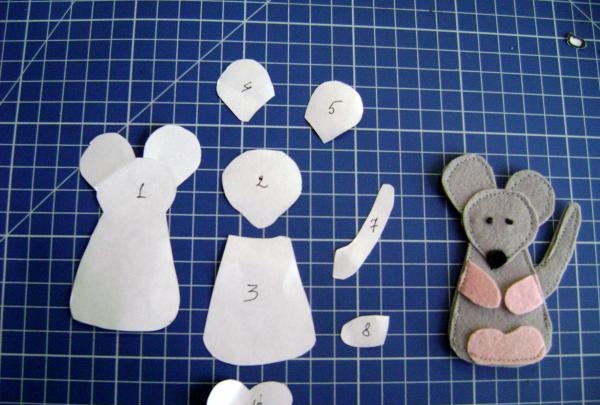
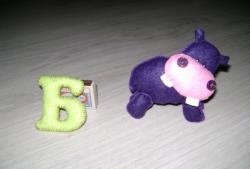
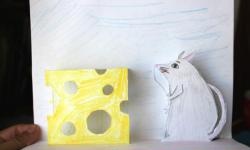
Mouse. Tail (7) – 2 parts, front paw (8) – 2 parts, nose – black circle with a diameter of 4 mm. Sew together the details of the tail to make it stiffer.Sew eyes on the head. Sew ears to the back. On the front lower legs. When sewing the side seams of the front and back halves, insert a tail between them. After sewing on the head, sew on the nose.
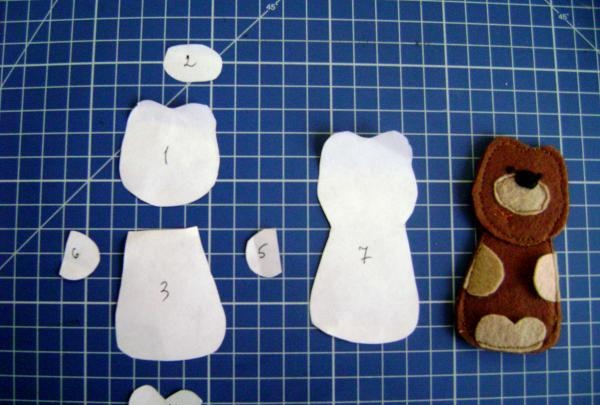
Bear. To the head (1) we sew the muzzle (2), eyes, nose, and embroider the mouth. Continue as described above.

Frog. We attach eyes (1,2) to the head (4), which we sew on when making the pupils. Dot embroider the nose and mouth.
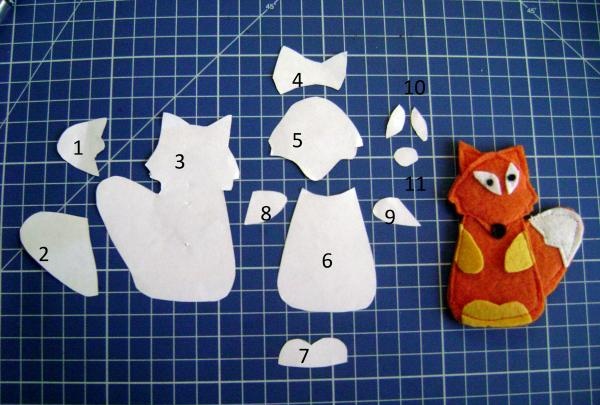
Fox. Attach ears (4) and tail (2) to the back part (3). On the tail the white part (1). We sew the nose (11) at the very end after completing the remaining steps.
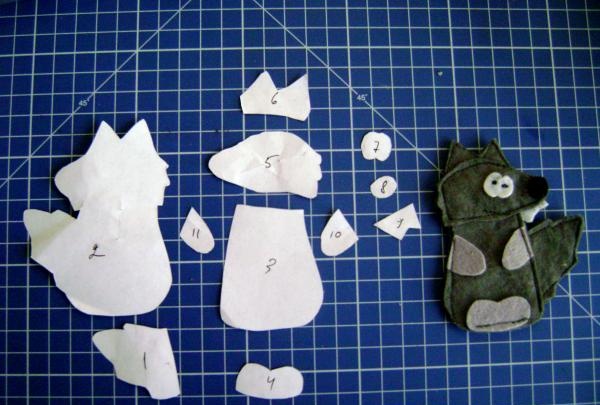
Wolf. On the back part (2) we sew ears (6), teeth (9), tail (1). On the head there are eyes (7), pupils with a French knot or black beads. When sewing on the head, make a few stitches - the mouth. The nose (8) is sewn on at the end.
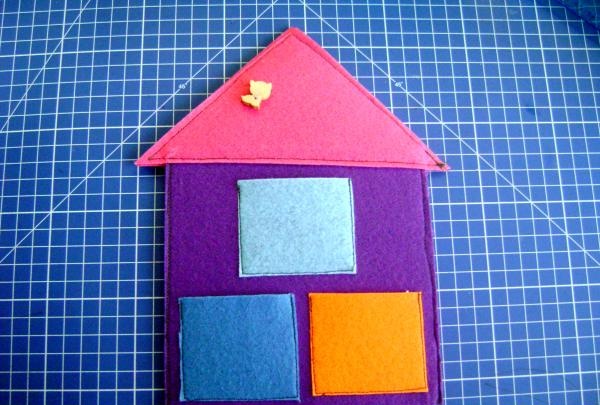
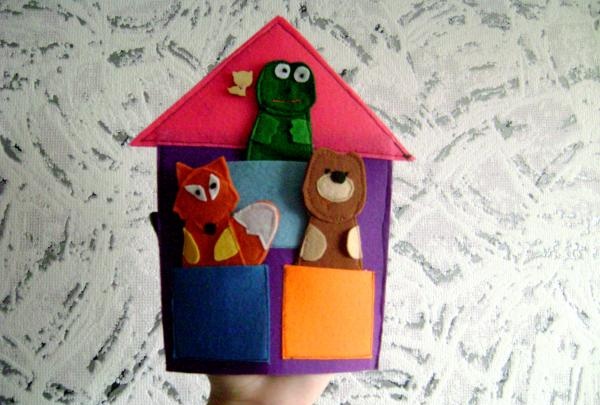
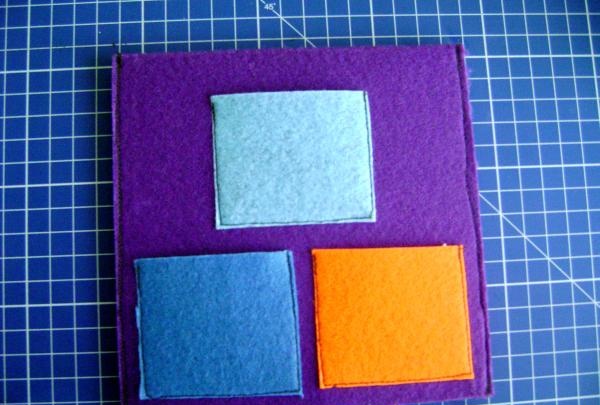
Teremok. Everything is simple here - geometric shapes.
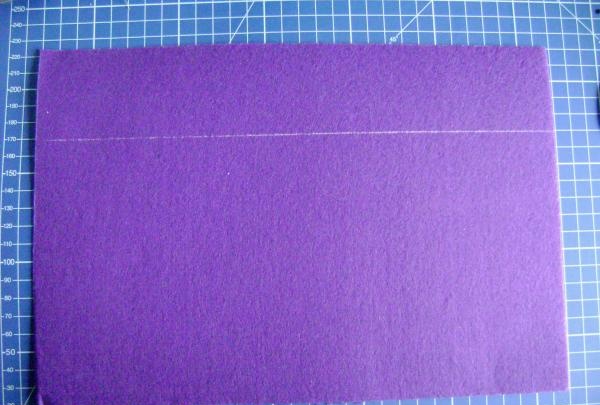
On a sheet of felt, measure a 15*30 cm rectangle and cut it out. Fold the part in half. The fold point is the top of the house.
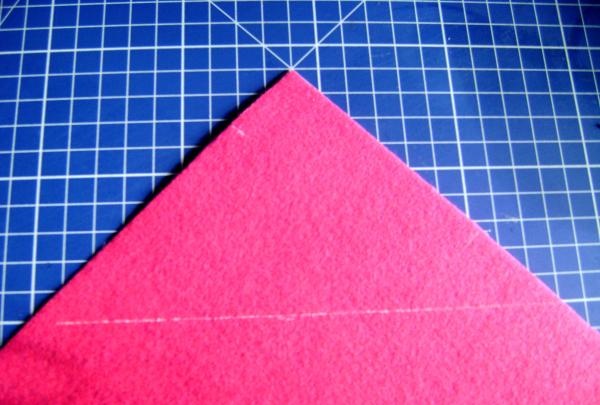
Roof. An isosceles right triangle, the hypotenuse of which is 18 cm. We measure and cut out 2 parts. If you plan to decorate the roof with appliqué or decorative buttons, all the work is done at this stage, before the roof is sewn on.
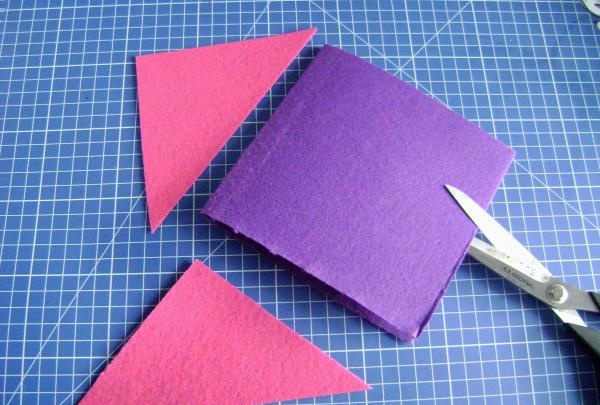
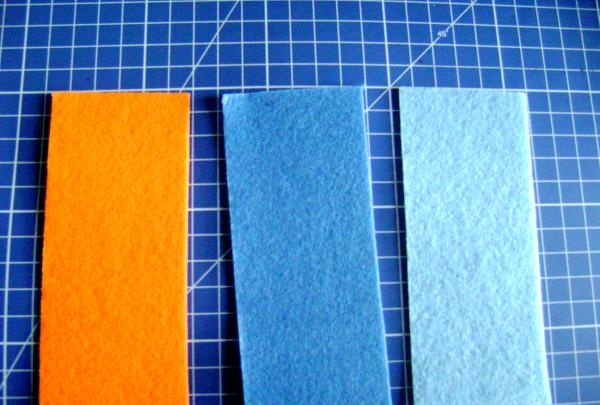
Pockets. They can be made in a semicircle and/or cut with curly scissors. Cut out three 13*5.5 cm rectangles from felt.
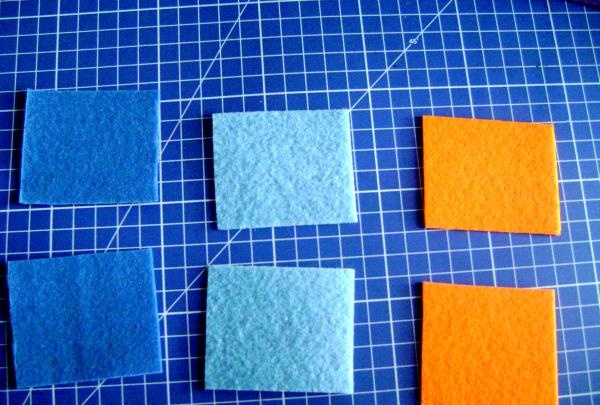
We cut each one in half, making six windows.
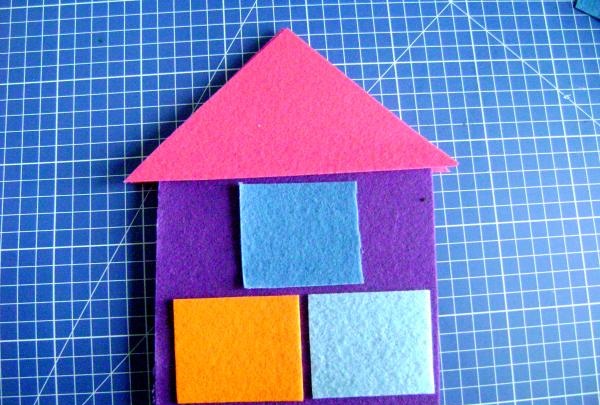
We assemble the tower and look at the location of the parts.
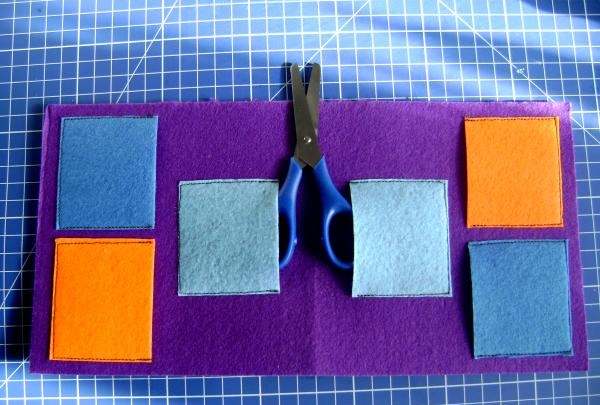
We attach pockets on three sides, first on one half of the tower, then on the other. The side of the pockets facing the fold line of the house part should be open.
We sew the side seams of the tower. The bottom is open, the fold line is on top.
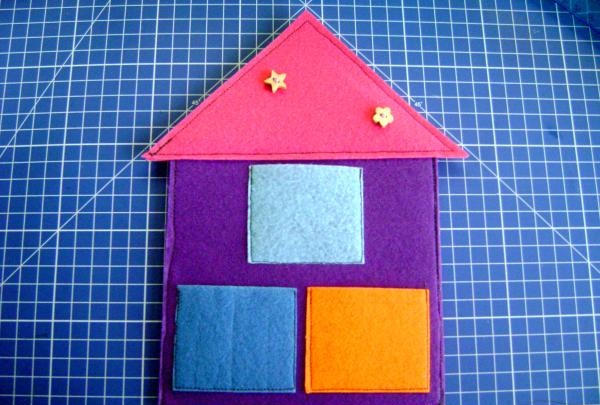
We attach the roof. The tower is ready.

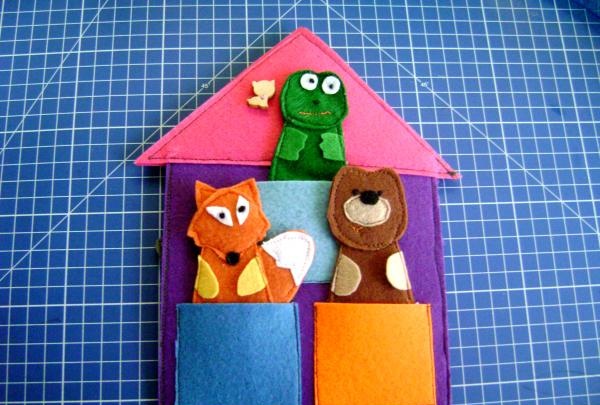
We place the animals in the windows. Now children can not only listen to the fairy tale “Teremok”, but also play with their favorite magical characters.