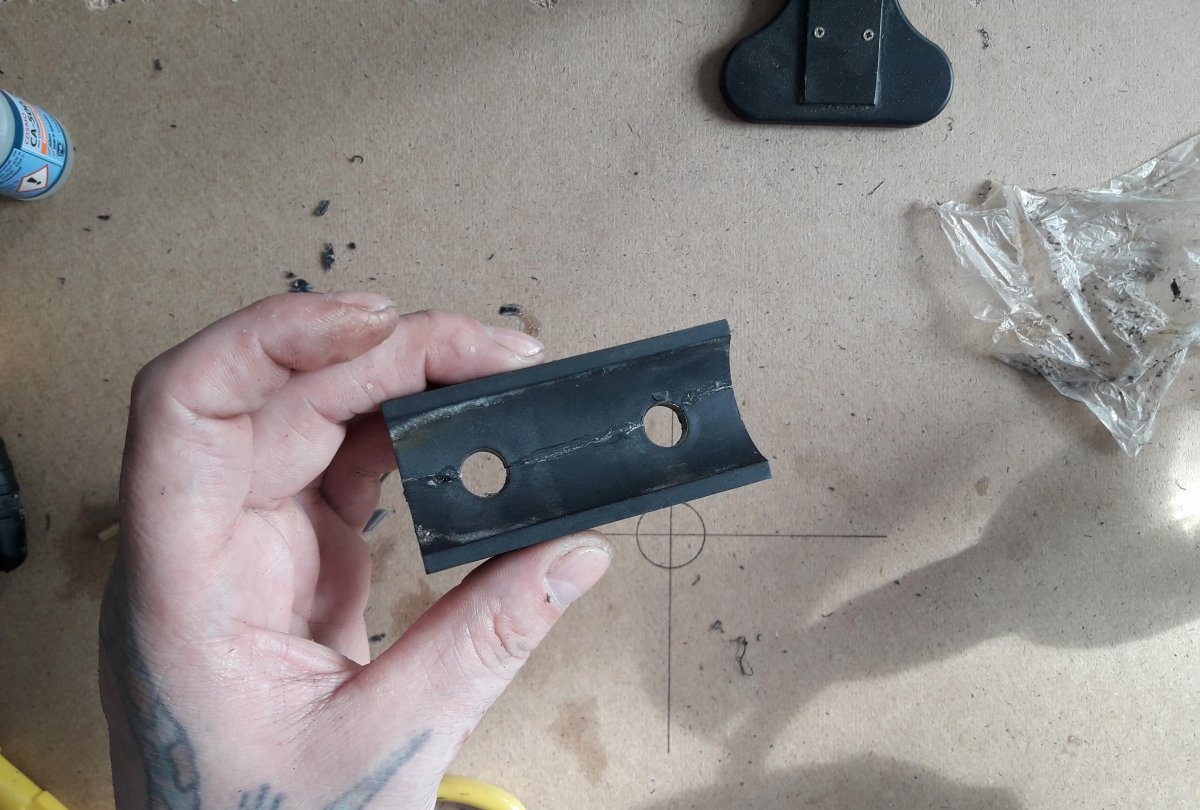
A broken part of a tool, especially during work, can greatly spoil not only the work process itself, but also the mood for further work. It’s good if, with the breakdown of a minor part, the tool does not fail, and you can still work with it before replacing this most ill-fated part. In my case, for example, the pad between the frame and the container broke on a garden wheelbarrow.
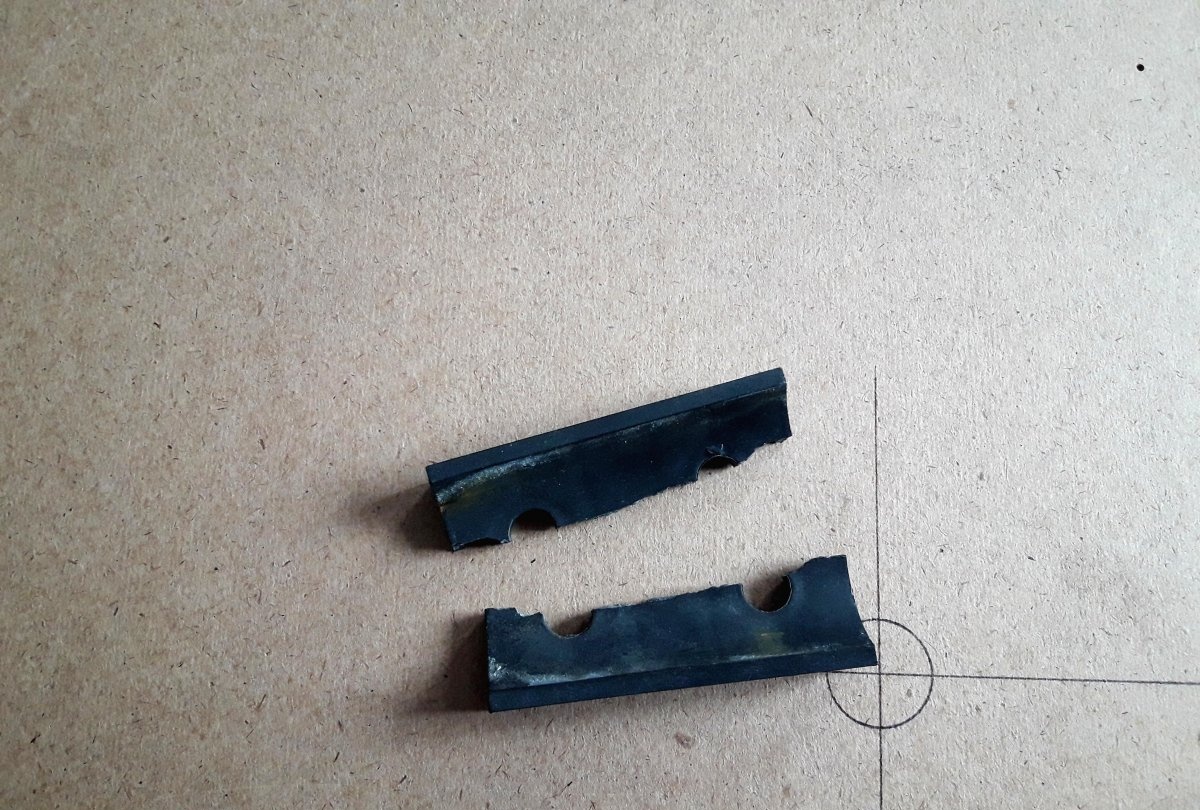
The damage seems to be minor, and work can continue. But it's not that simple; under more or less serious load, the wheelbarrow begins to move in the direction from which the lining broke. This is very inconvenient when transporting heavy loads. Then I decided to remove the second overlay, for symmetry! I thought it would help.
It really helped - the car stopped moving to the side. But she started creaking like hell! Ears curl up! No amount of lubrication oil helps. I couldn’t stand it for a long time, and went to the nearest hardware store to get the part I needed, which, of course, wasn’t there.There was not the slightest desire to travel all over the city in search of the right thing. Then I decided to repair the broken thing myself. Today we will look at one of the options for how to put together a thin plastic lining split in half. This advice will greatly help those who find themselves in a similar situation. This may not necessarily be a wheelbarrow trim. This method can restore any plastic item or part. At least until the original one is purchased from the store.
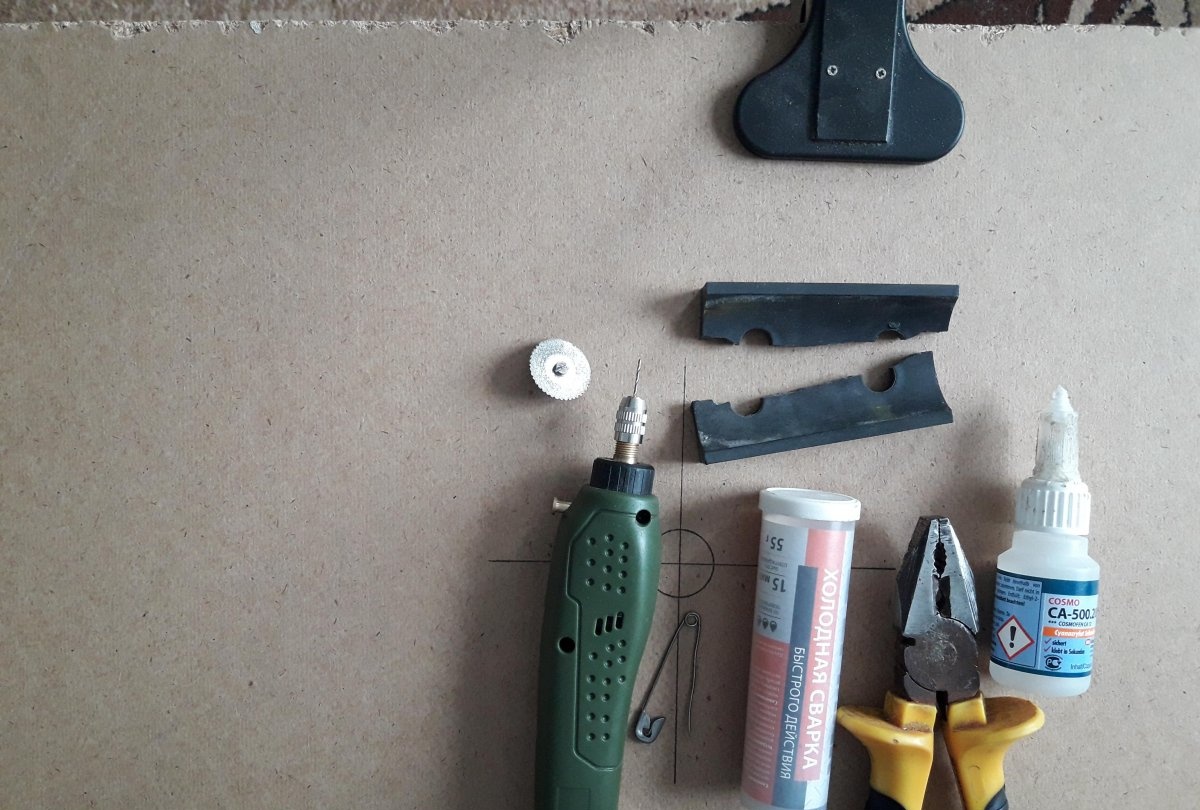
You will need:
- Pliers.
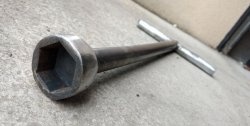
- Pin.
- Secondary glue.
- Composite adhesive, “cold welding” type.
- A drill, as thick as a prepared pin.
- Bor machine or small drill.
- Small grinding disc for machine bur.
Repairing a broken part
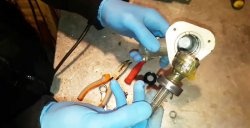
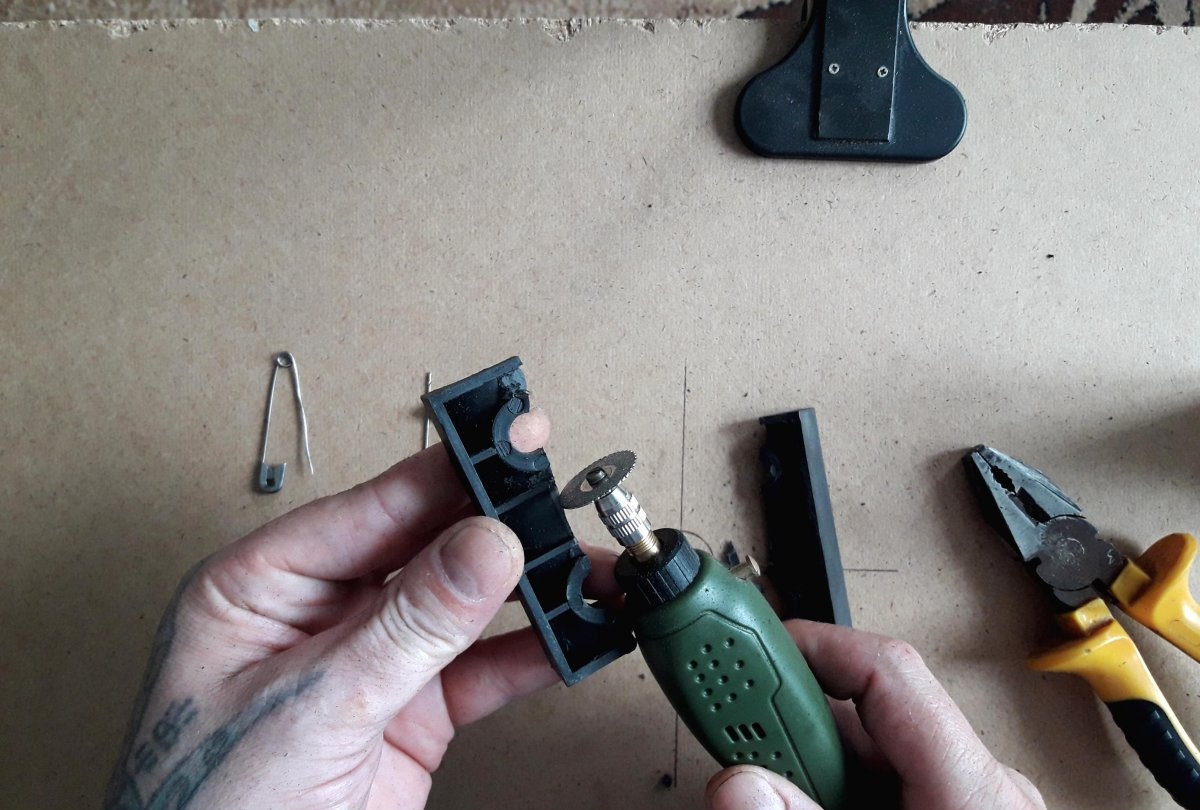
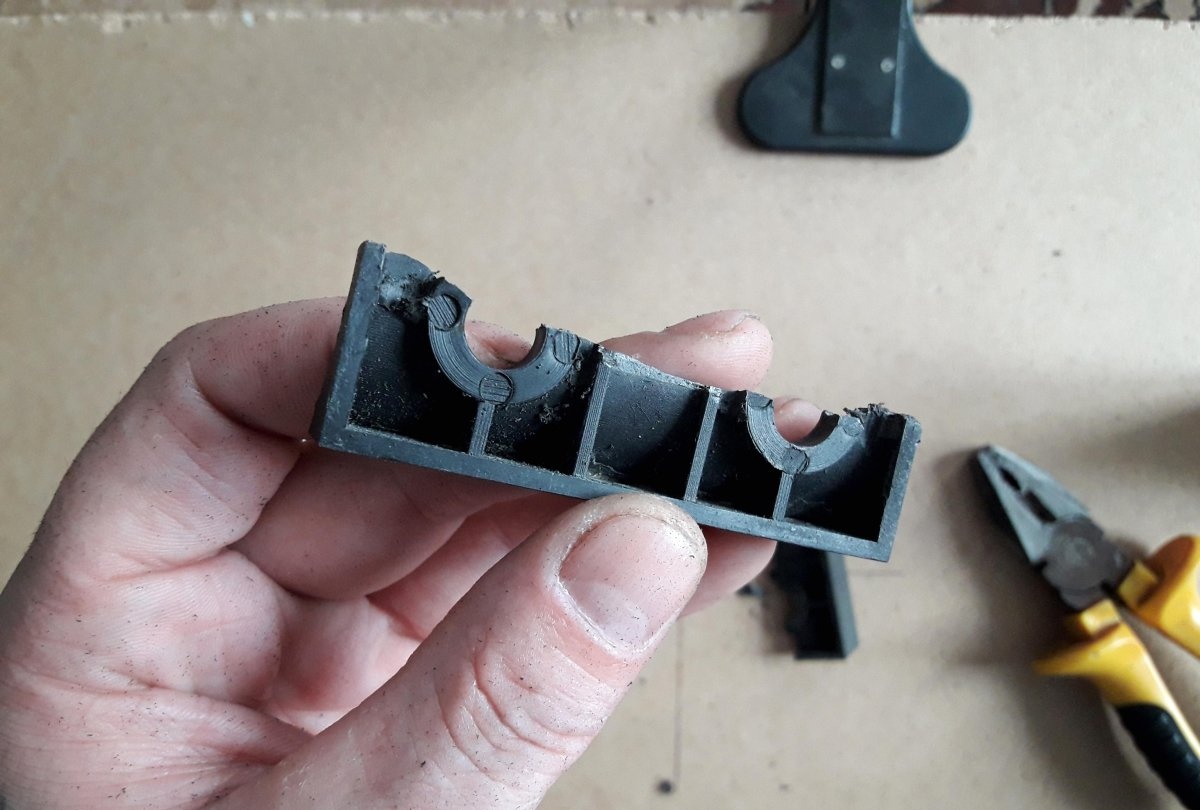
First, you need to check whether any other small pieces have fallen off and examine the repair object in more detail. If the part being repaired has stiffening ribs, then the longitudinal ones will have to be removed. This can be done using pliers and a bur machine with a small sanding disc.
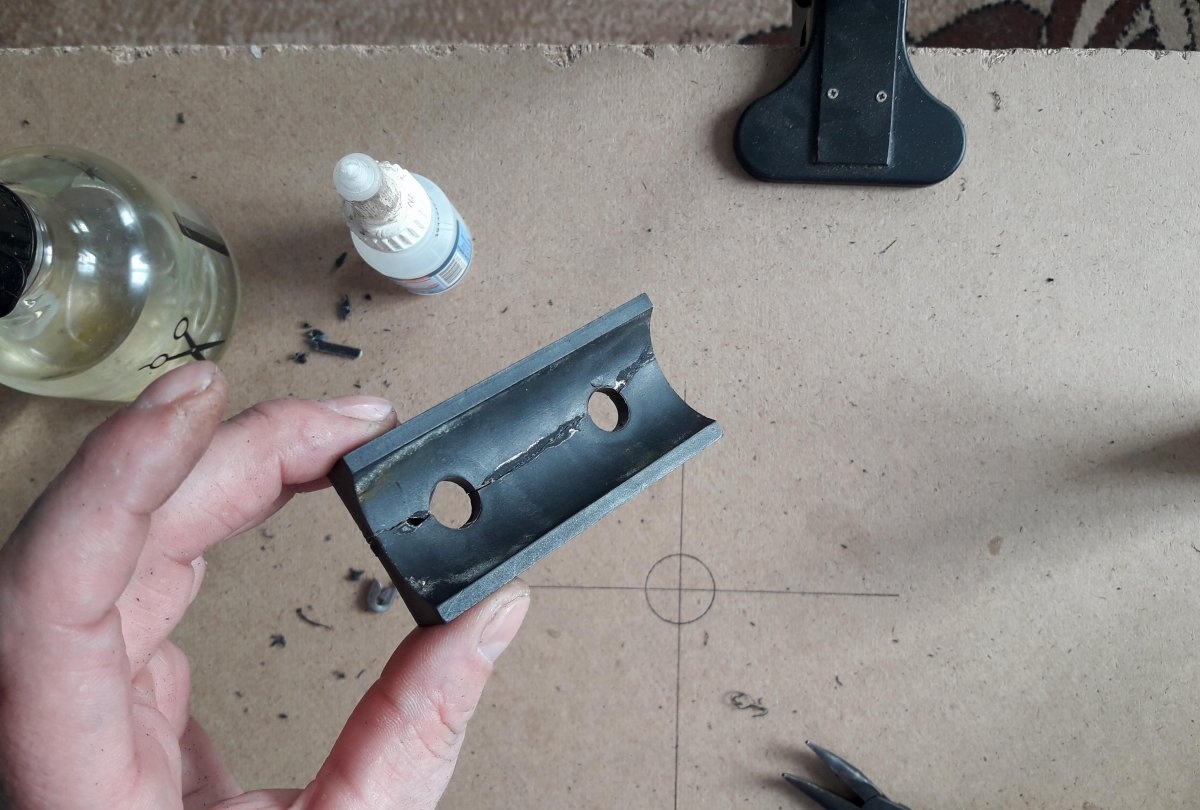
Next, in the thickest places, using a two millimeter drill, you need to drill holes inside the part. Like this:
4-5 millimeters deep. We will need these holes to reinforce the part. For greater durability. Next, we take the prepared pin, straighten it, and break it (or bite it off with wire cutters - whatever suits you!) into eight-millimeter pieces.

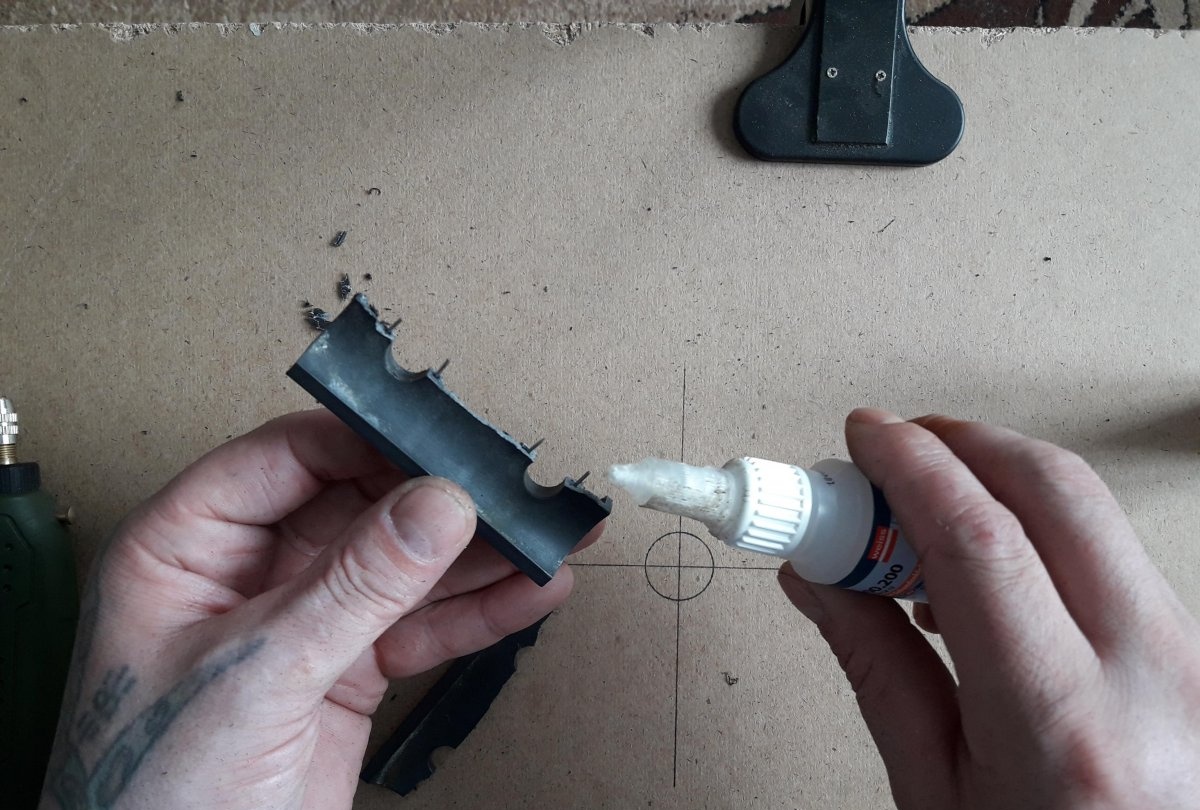
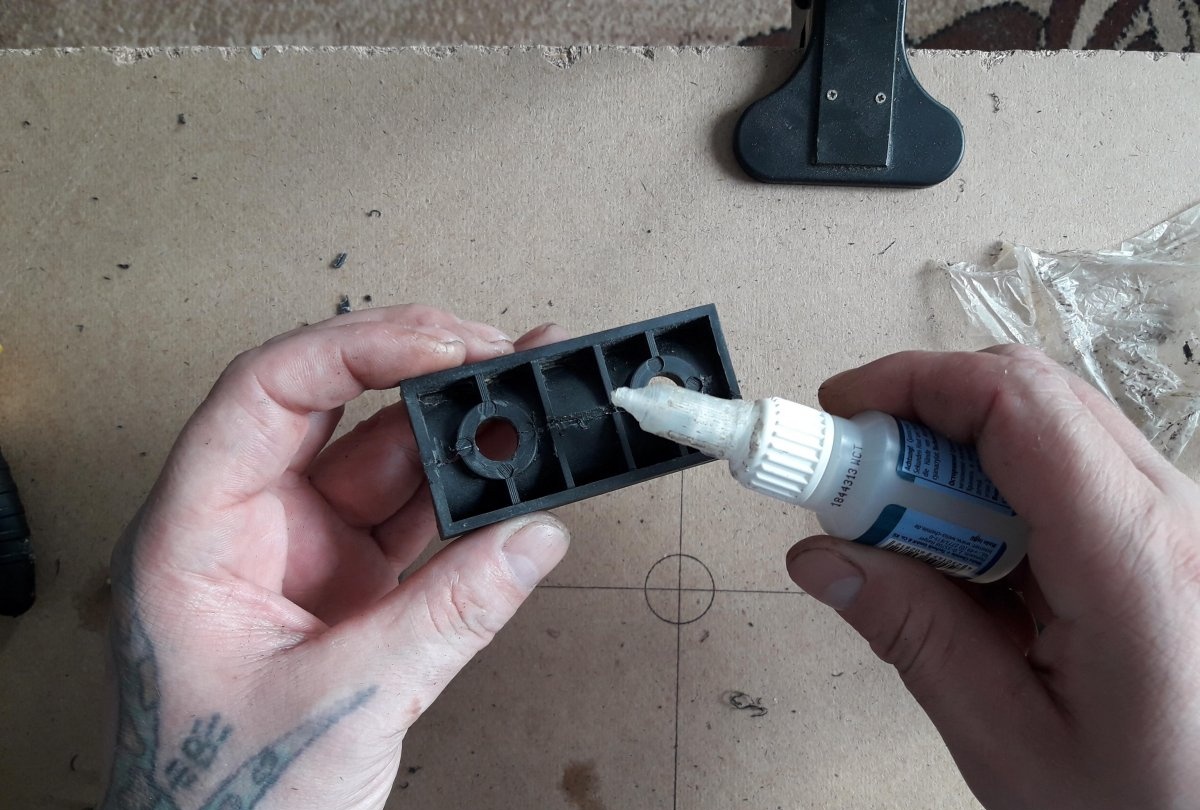
Now, using a match or thin wire, we lubricate the holes on the drilled half of the broken part, and stick pins made from pins into the holes.
We do everything very quickly so that the glue does not set in the empty holes. Next, we drill holes in the second half of the broken part.Strictly opposite the pins protruding from the first half. If everything turned out as it should, lubricate both halves in the split place with second glue and stick them into each other.
It is necessary to compress the parts to be glued. At least for thirty seconds so that they stick.
Now it’s the turn of the composite glue. I use the “cold welding” type - a very convenient glue. There is not as much fuss with it as, for example, with the liquid components of epoxy glue. Yes, and it hardens much faster, and in terms of reliability of fastening they are the same.
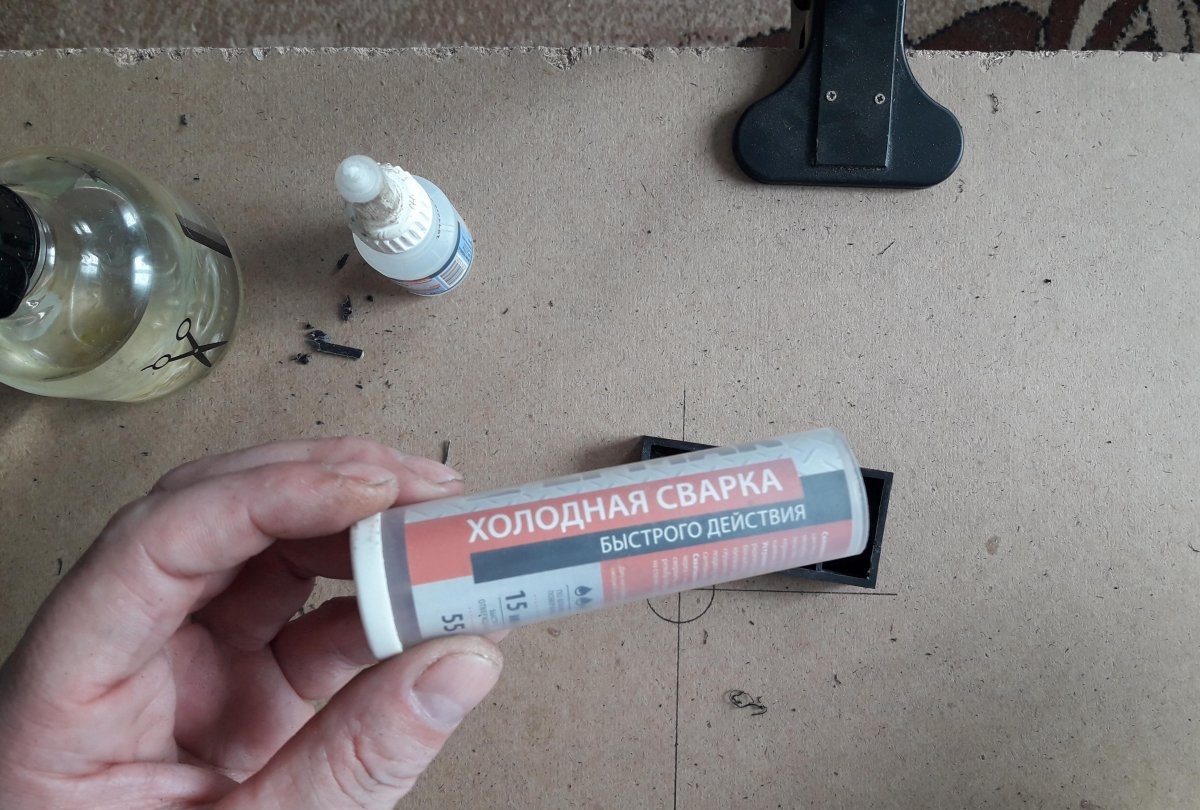
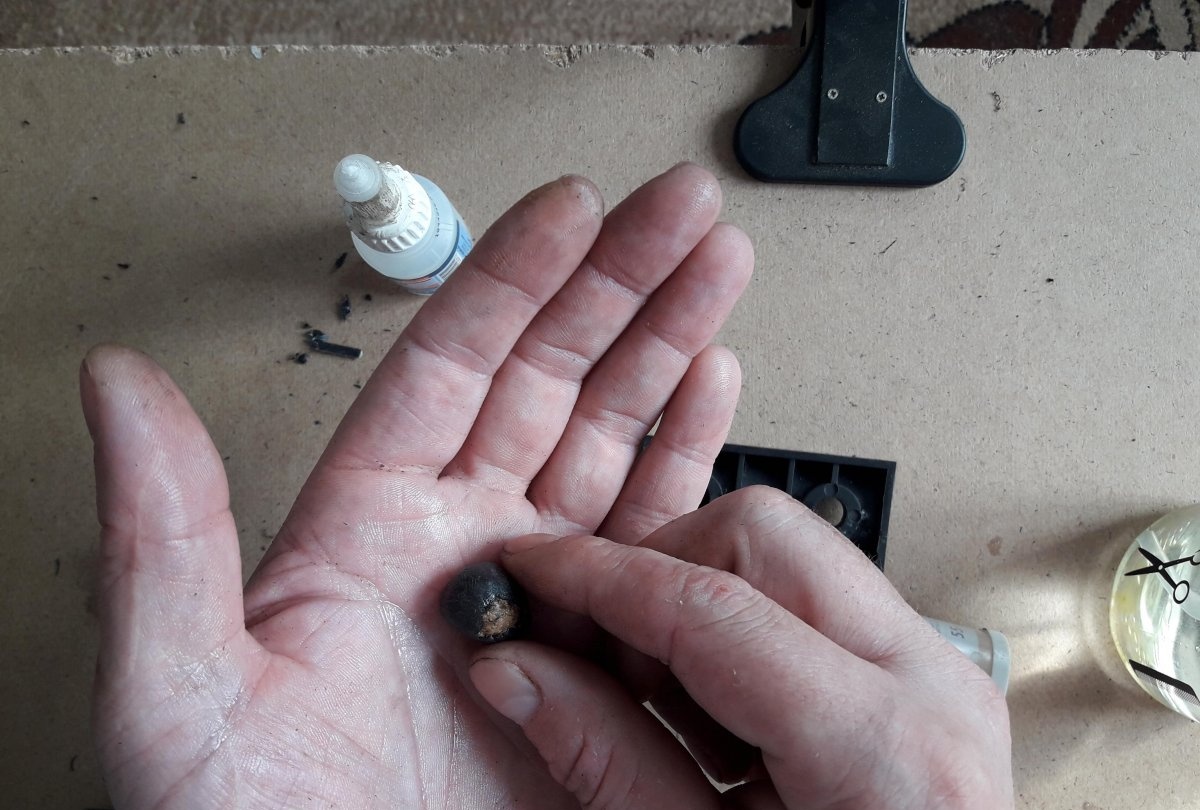
In general, we break off, or cut off, the piece we need from the total mass, spray our palms with water, and carefully stir and knead the glue in our palms. Until a homogeneous mass is obtained.
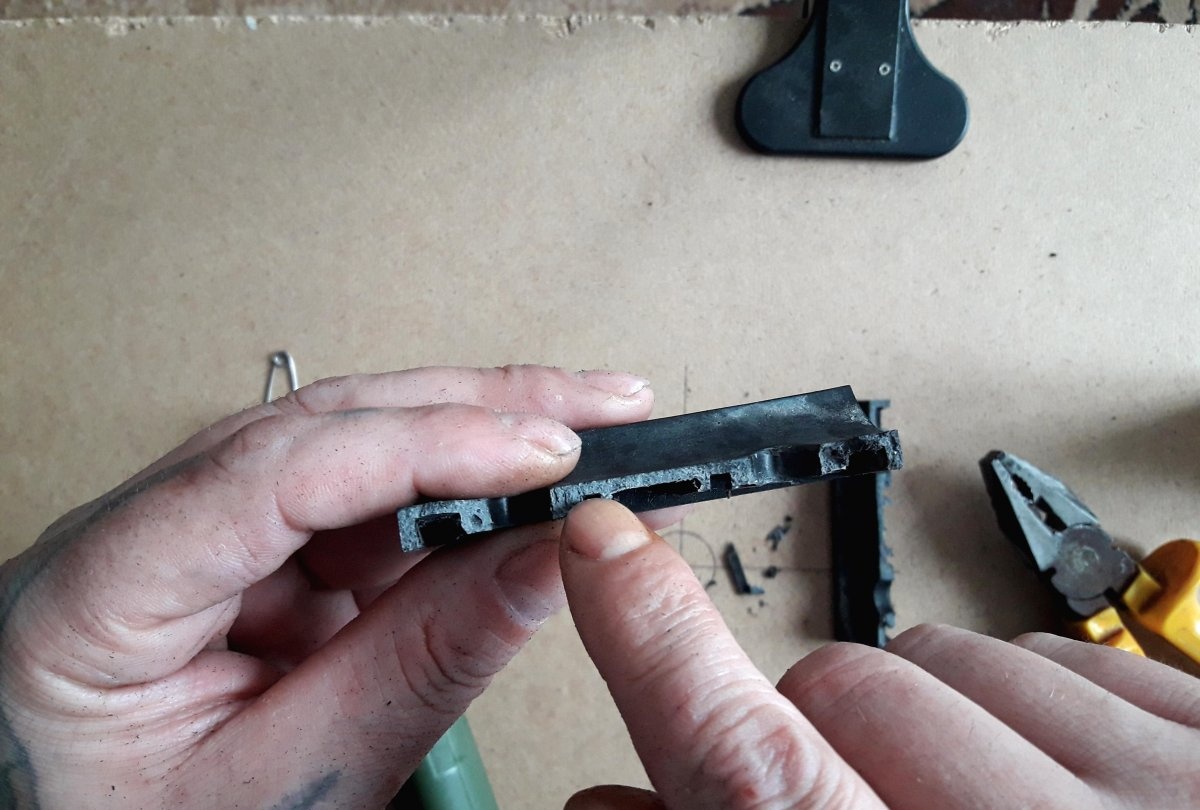
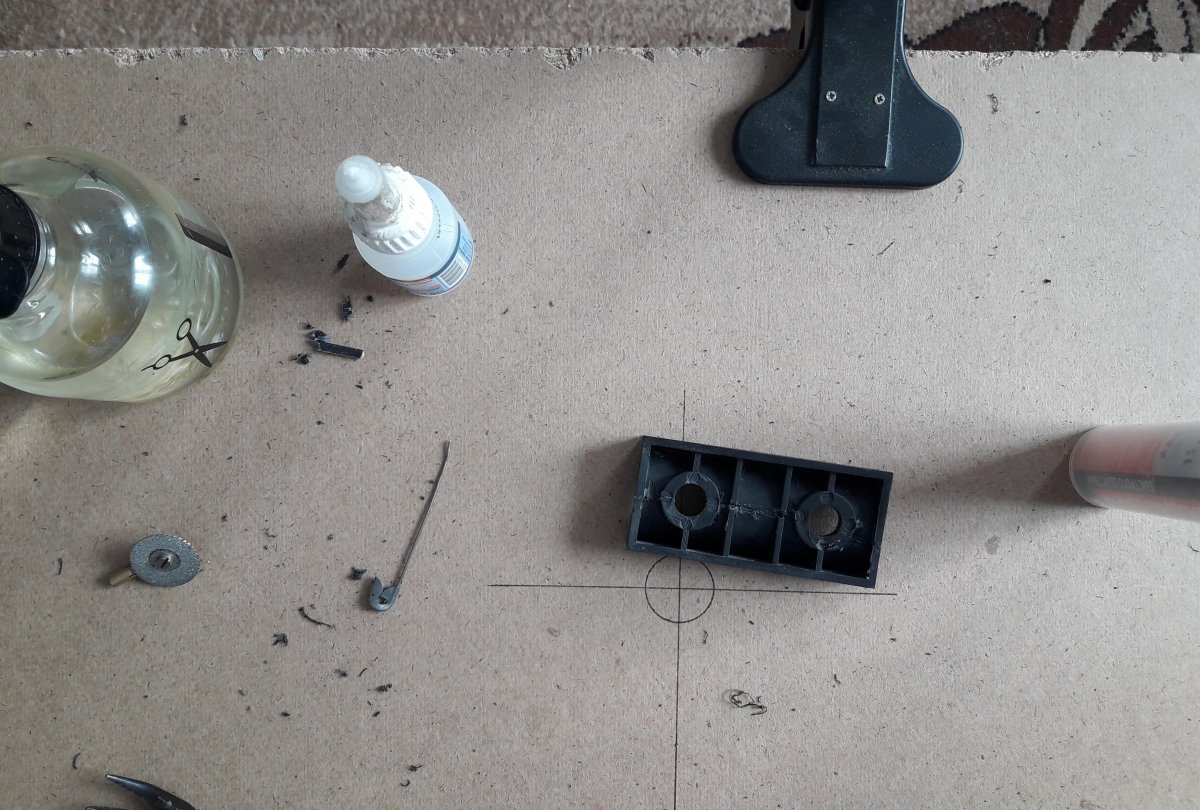
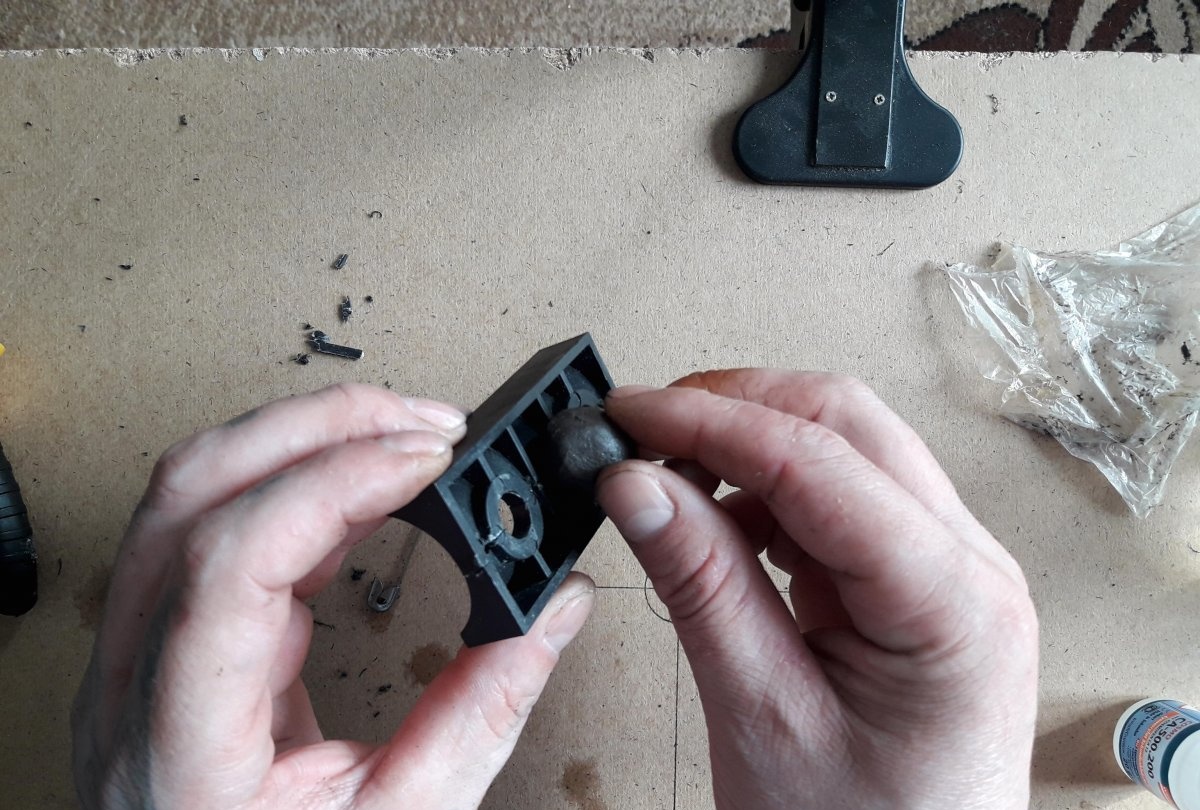
Next, we lubricate the inner surface of the part being repaired with second glue, the one from which we broke out the longitudinal stiffeners. And we sculpt a cold weld onto the surface greased with glue.
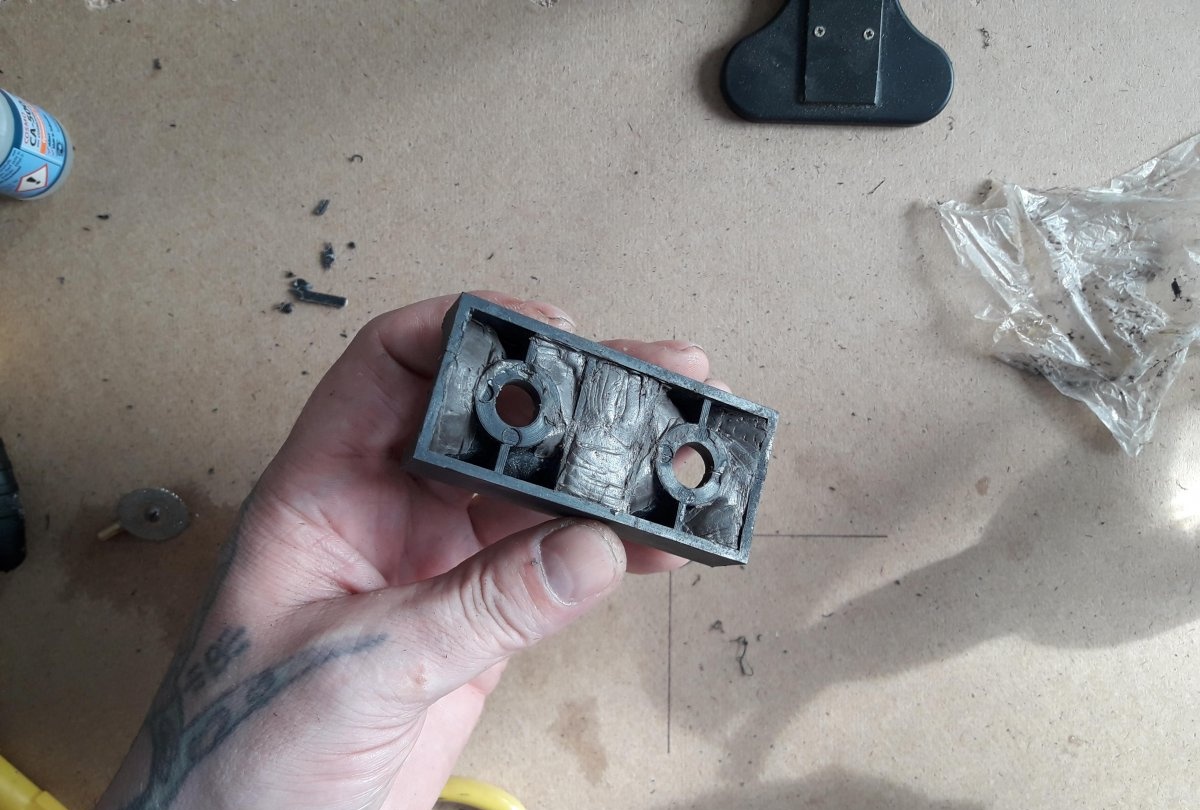
After all the procedures described above, we leave the part for several hours so that the glue is sure to set properly.
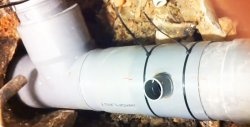
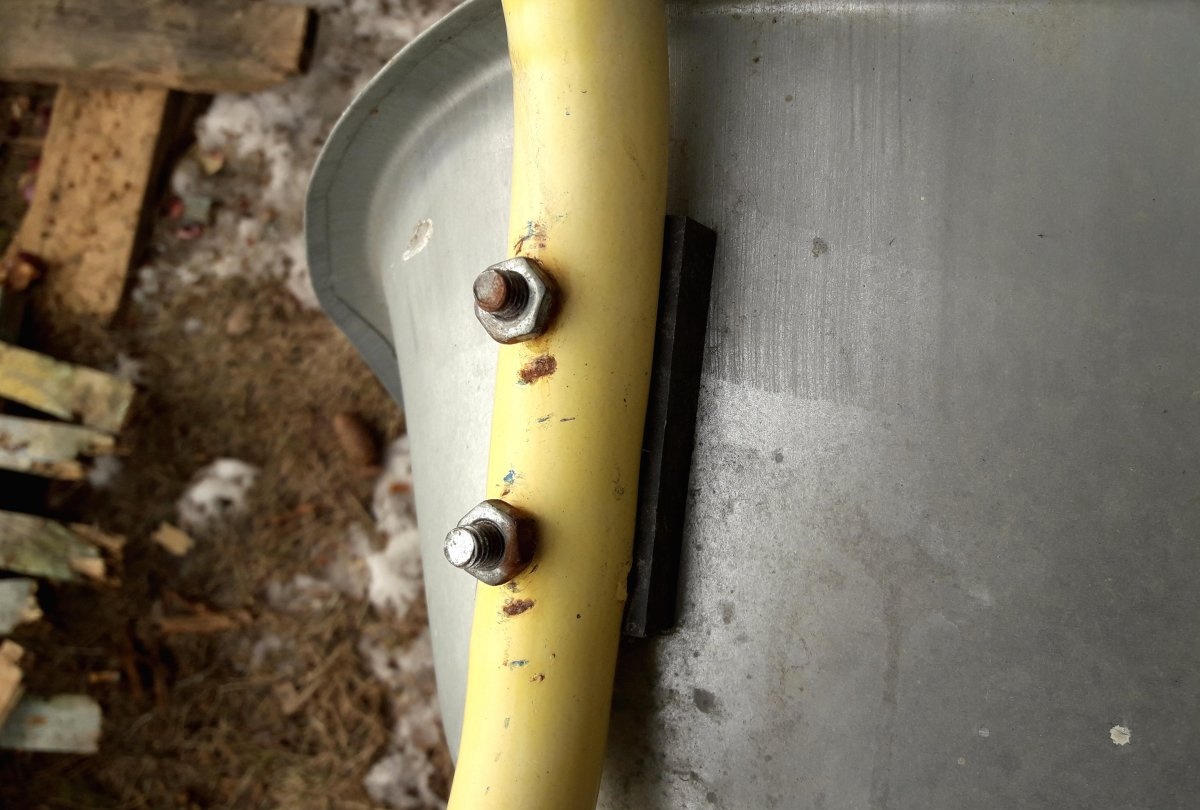
Well, finally, we install the restored part in its original place.
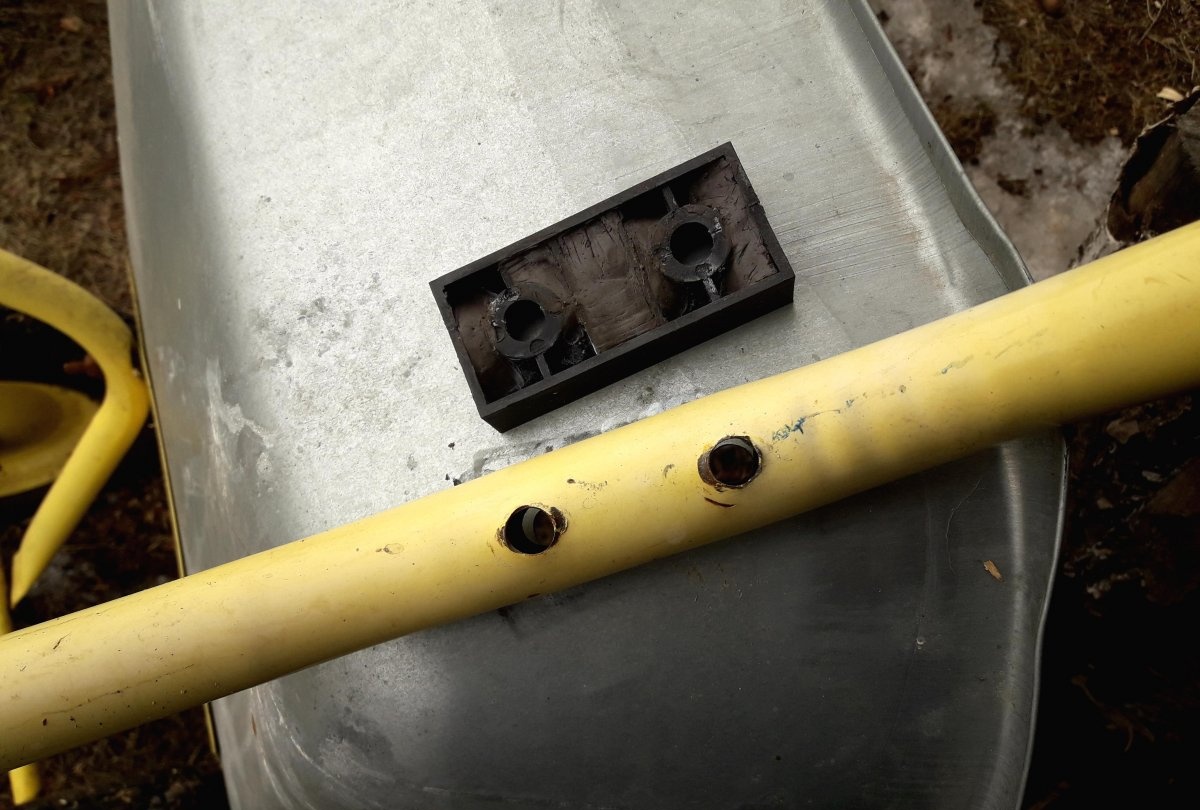
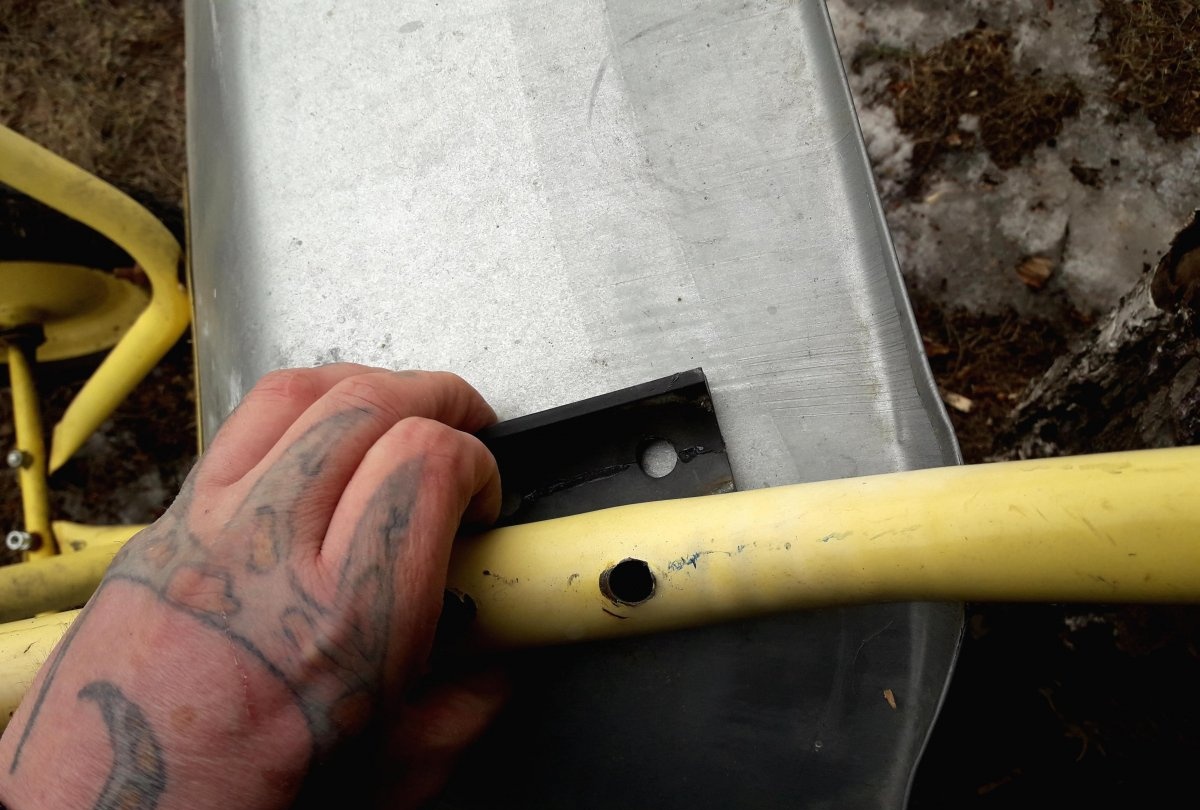

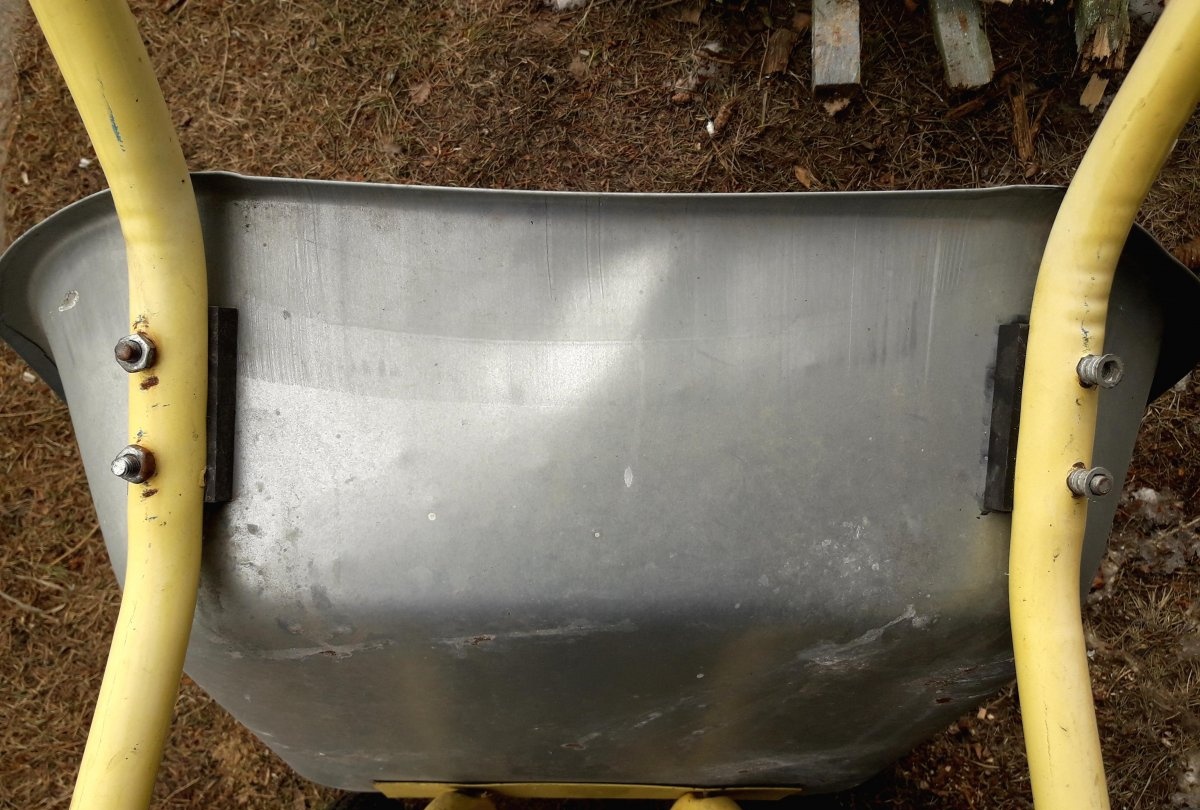
It turned out very well. Doesn't move, doesn't creak. You can again load as much as you can carry, and as much as the wheels are designed for!

The work itself took no more than an hour. The only negative: I had to wait several hours for the glue to finally set.