What materials will be needed for the work?
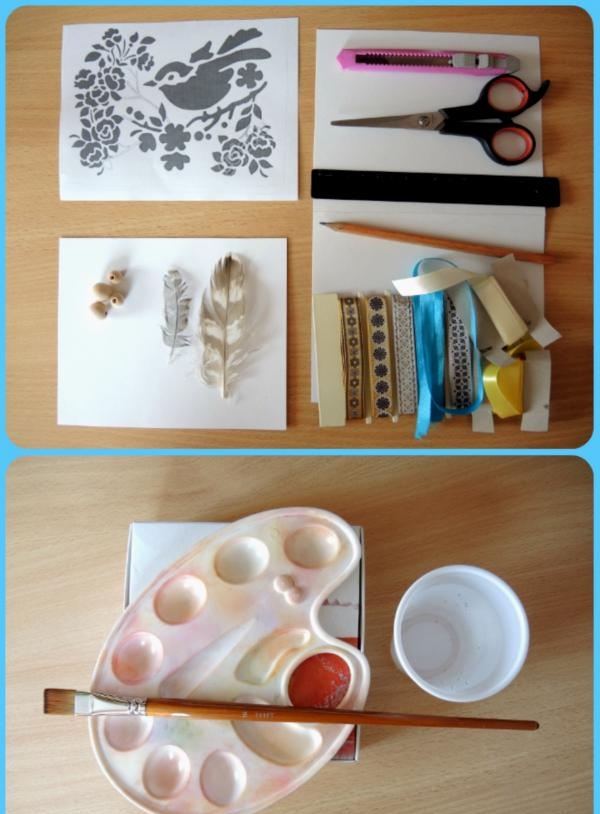
-Base for the card (I used a rectangle of white cardboard measuring 16x13 cm)
-Thick white paper on which the pattern will be cut out (to the size of the card base folded in half)
-Pattern printed on a printer, which we will transfer to paper
-Various decorations: ribbons, beads, laces and so on (in addition, I used feathers, since I chose the silhouette of a bird as a pattern)
-Stationery knife
-Paints
-Jar for water
-Brush
-Paints (gouache is better, since when painting with gouache, less water is used than, for example, with watercolors, therefore the paper will not suffer from excess moisture)
-Palette
-Pencil
-Scissors
-Glue
So let's get to work.
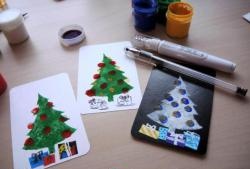
First, let's prepare the base for the postcard. Let's take cardboard, put an unnecessary sheet or oilcloth under it so as not to stain the work surface, and after mixing the desired color in the palette, we will make a color stretch.
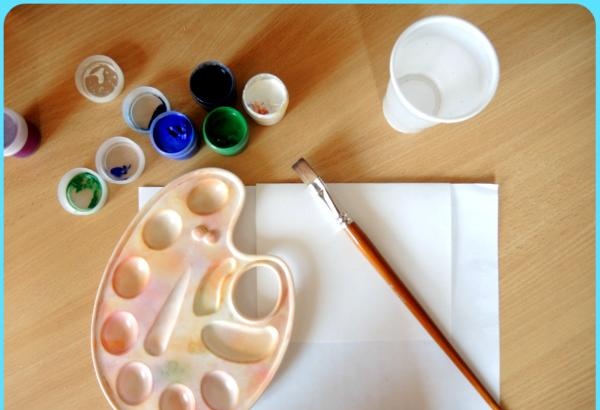
I used blue and gradually added more and more white gouache to it, the result was a smooth color transition that would serve very well as a background for a postcard.

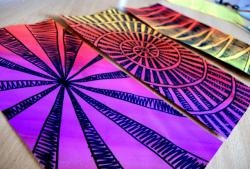
If you wish, you can decorate several pieces of cardboard in a similar way to choose the best one for your idea, and use the rest with a different design or for another idea.
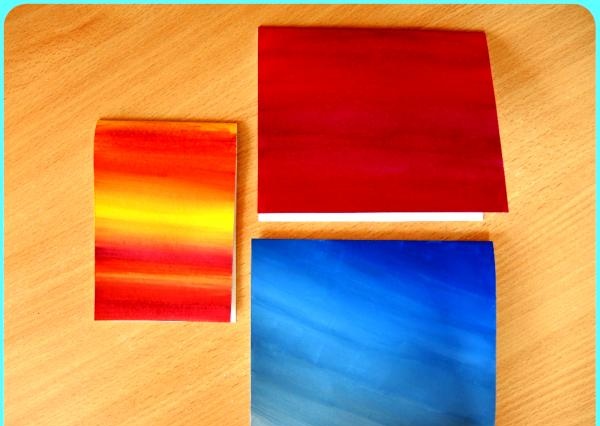
In any case, they will not go to waste.
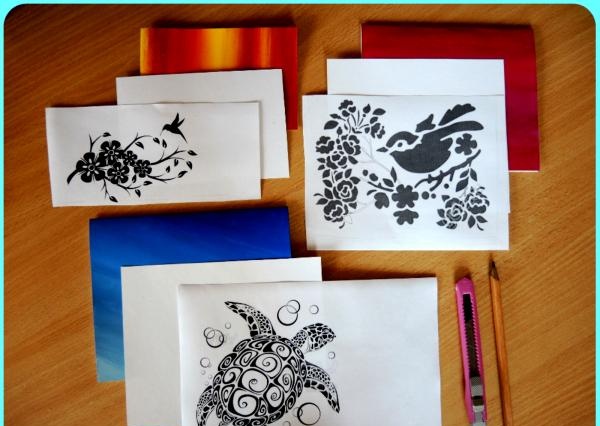
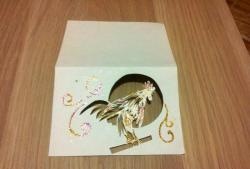
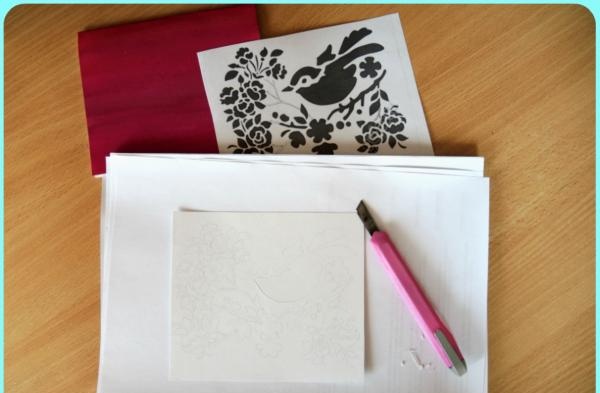
The next step is to transfer the design from the printout to thick paper. To simplify this process, you can attach a printout and a white sheet to a window or other transparent, flat surface and transfer the drawing. You can draw your own pattern based on a ready-made template. Here everyone chooses their own. When the drawing is transferred to paper, we begin to cut it out using a stationery knife. Be sure to place an unnecessary notebook, a stack of paper or oilcloth under the drawing - the working surface will remain undamaged and cutting will be much more convenient.
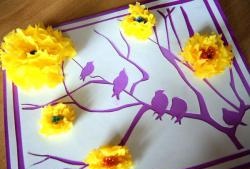
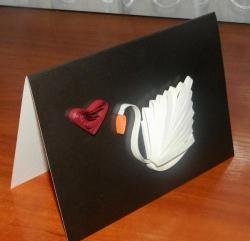
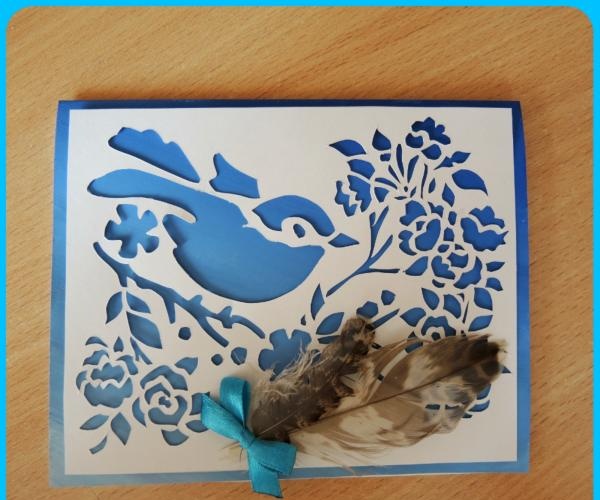
Once the pattern is cut out, the final step is to connect all the pieces together. We glue our “cutting” onto the card base and decorate it as our imagination dictates.
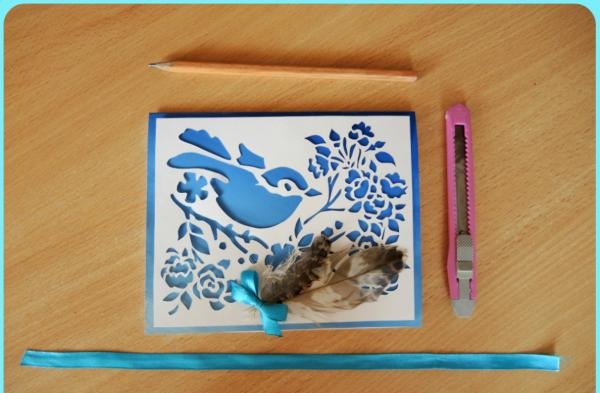
This is the kind of postcard made from completely simple and improvised materials.
I wish you creative success!