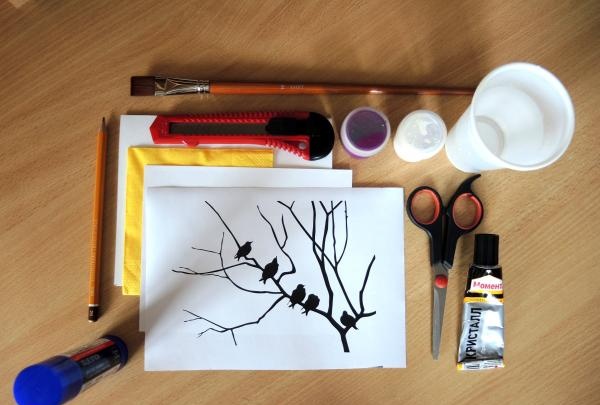
- Base for the postcard (thick paper or cardboard)
- Thick paper for the silhouette (half the size of the card base)
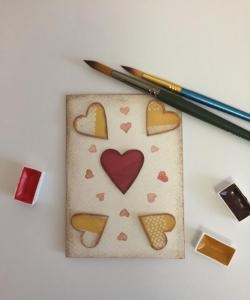
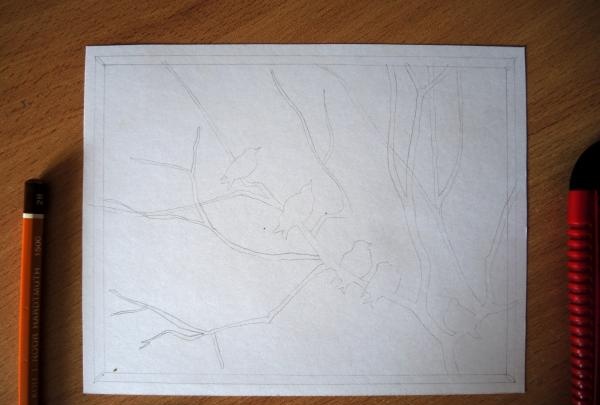
- Printed or drawn silhouette
- Bright colored napkin
- Paints
- Jar of water
- Brush
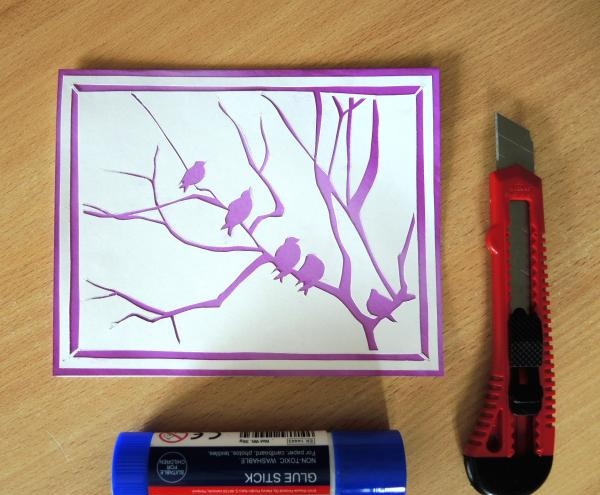
- Stationery knife
- Glue
- Pencil
- Scissors
Let's get to work.
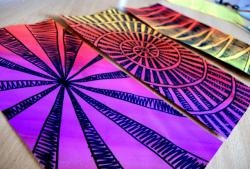
First, let's prepare the background for the postcard.
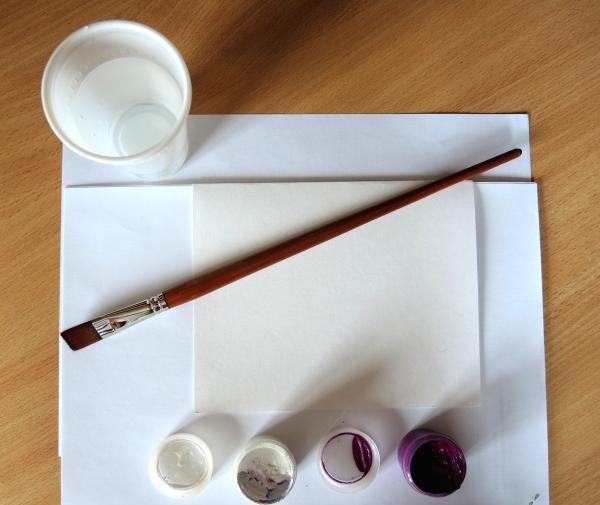
You can take one color and gradually lighten it with white paint, or you can use several colors, making a smooth stretch between them.
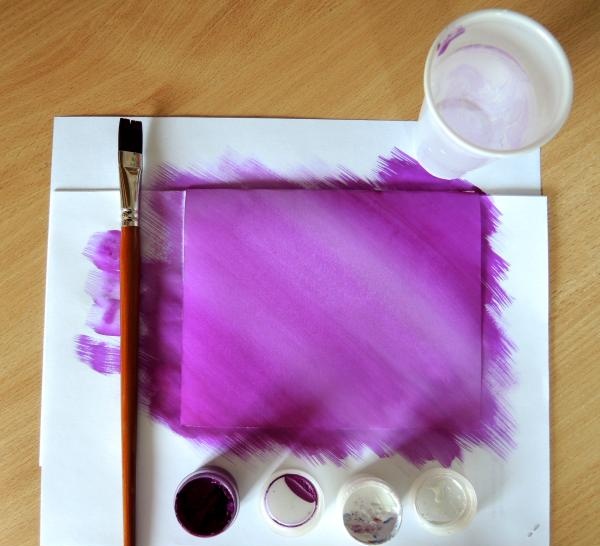
You can also come up with your own way of painting the background: chaotic colored spots, neat stripes, bold strokes, and so on.
Next we move on to our silhouette. Transfer the design from the printed sheet onto thick paper (you can put it on a window or glass cabinet door).
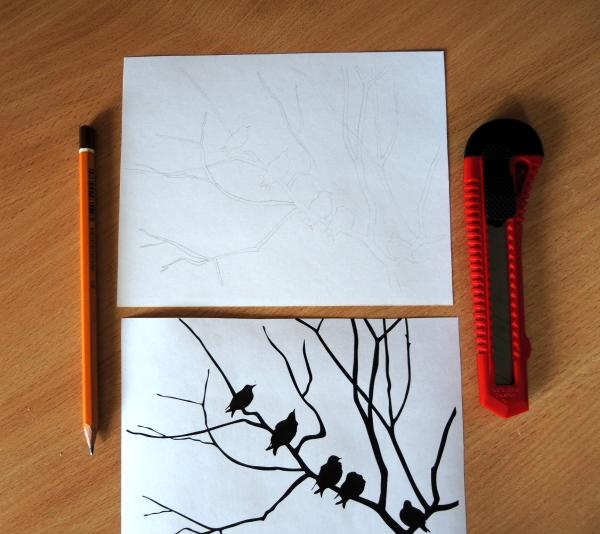
We complete the frame ourselves, not forgetting to leave small connecting “membranes” at the corners.
Then, placing an oilcloth or an unnecessary notebook under the paper so as not to cut up the work surface, use a stationery knife to cut out a stencil.
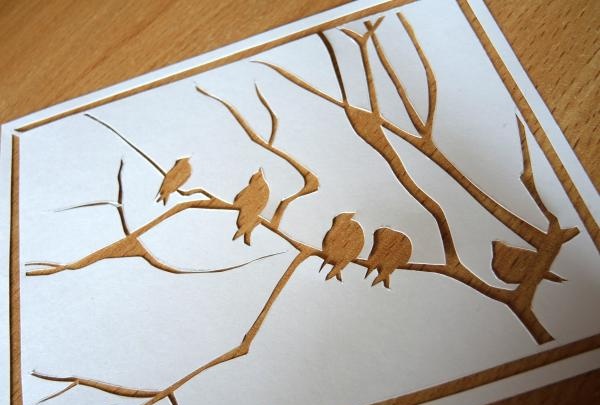
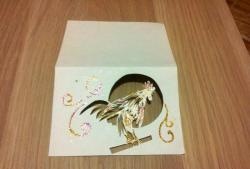
Having finished cutting, glue the stencil to the already dried base and move on to the next stage.
Now it's time to decorate the flowers. You will need scissors, a napkin and thread.
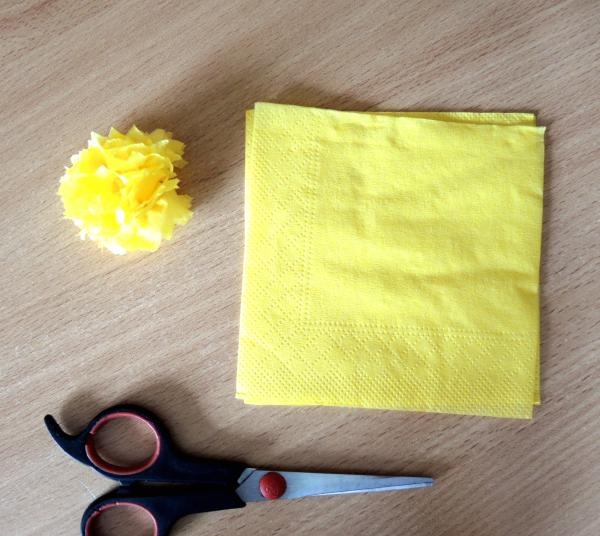
We cut the napkin into squares of the sizes we need (what is the size of the square, the flower will be the same).
Next we proceed as shown in the diagram.
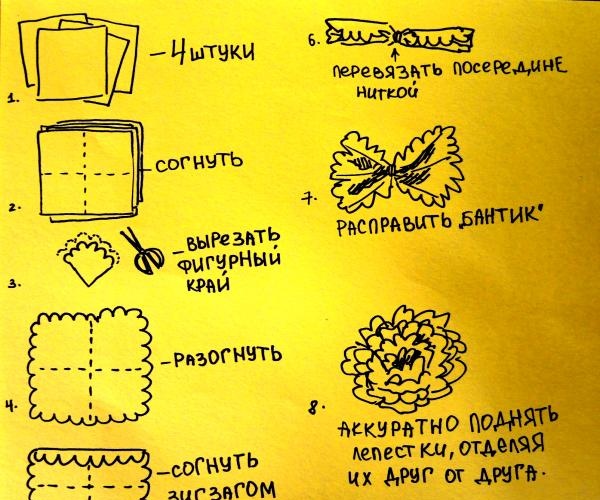
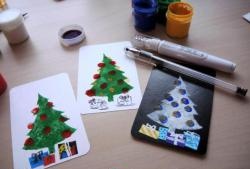
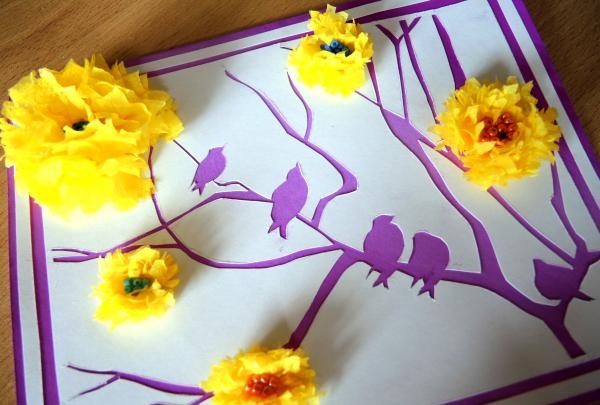
The end result is flowers like these.
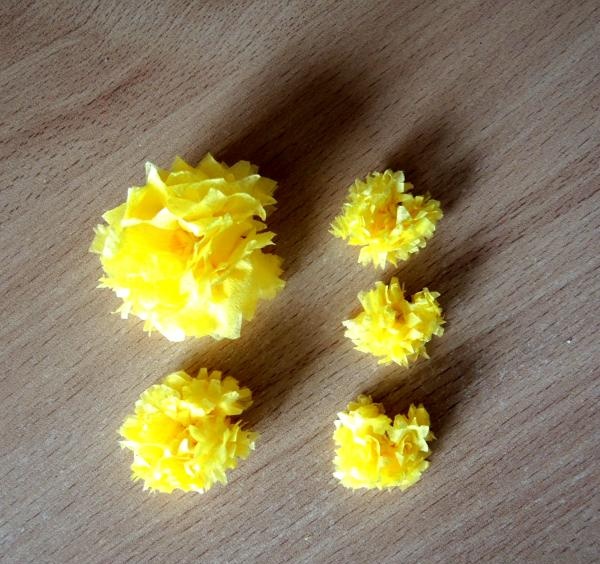
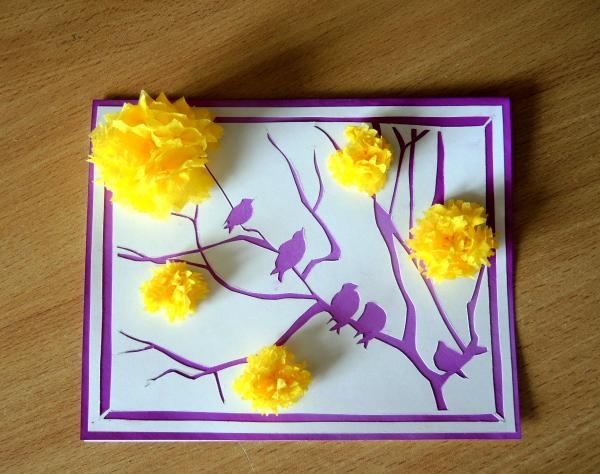
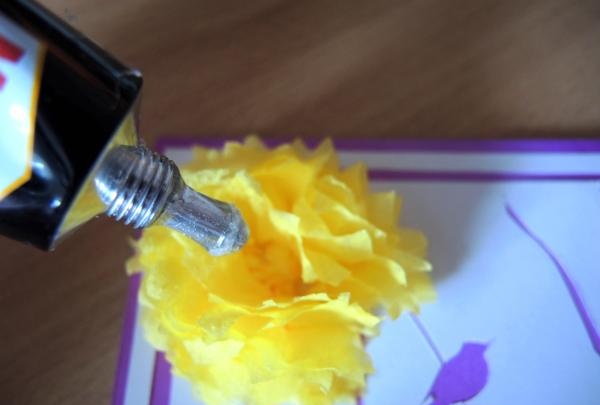
Glue them to our postcard.
You can stop at this stage, or you can go further: make bright centers for flowers from beads.
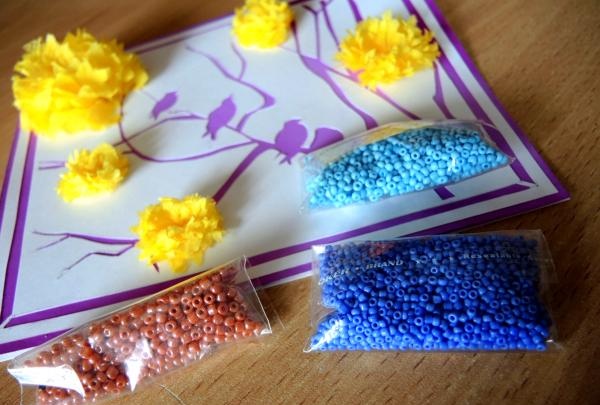
To do this, squeeze a large drop of super glue into the center of the flower and add bright beads.
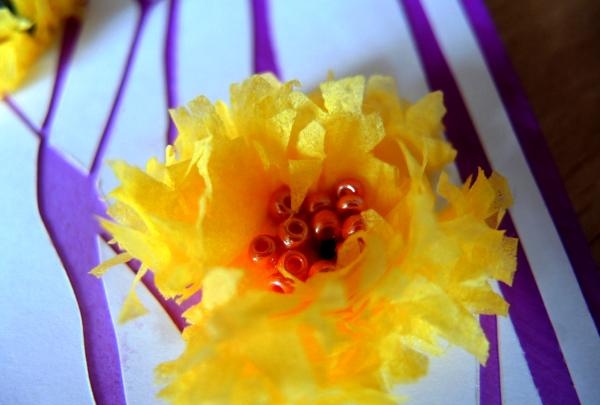
All! The postcard is ready.
I wish you creative success and inspiration!