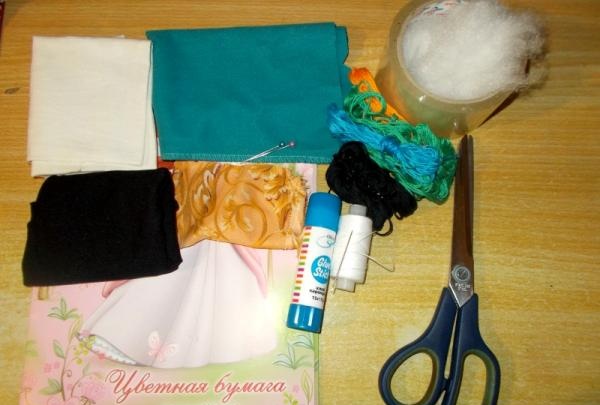
To make it you will need:
1. Cardboard paper from which the sample will be made;
2. Fabric - white, black, blue-green and orange (but you can take any other color to your taste);
3. Scissors, thread (matching color), pencil, needle;
4. Colored paper, glue, tape;
5. Cotton wool, tweezers.
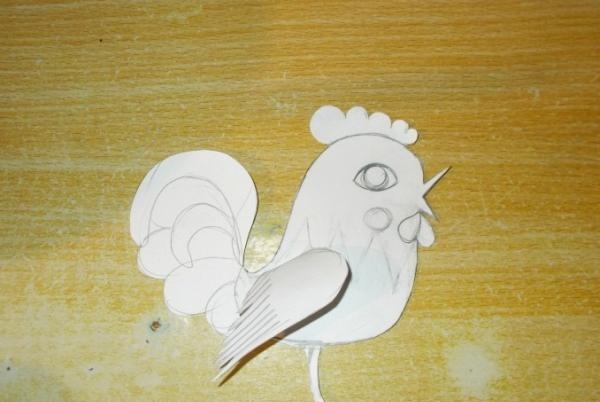
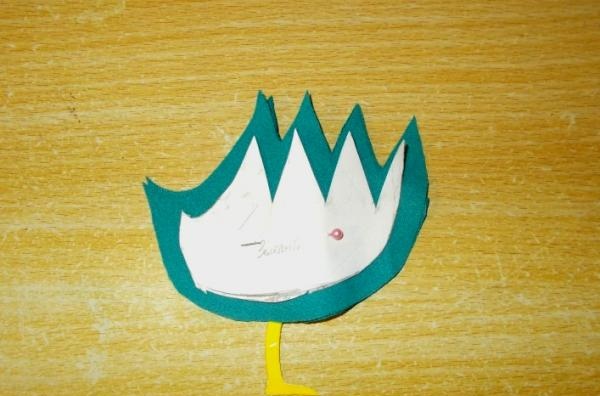
Let's take a blank cardboard sheet and first draw on it a sample of the future toy. Having cut out the sample, we will draw a wing for it separately and, having cut out the wing, we will see how they will look together:
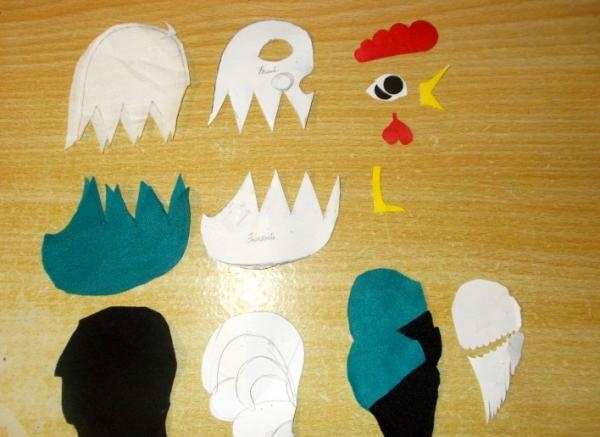
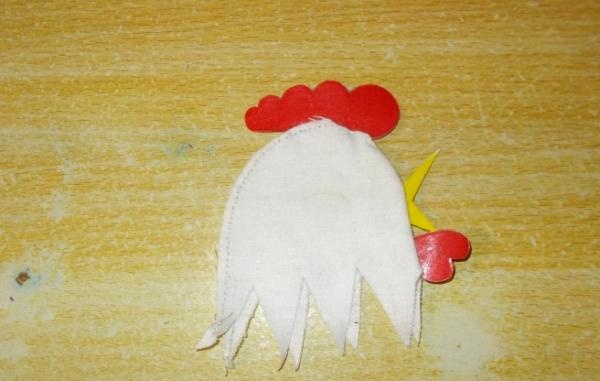
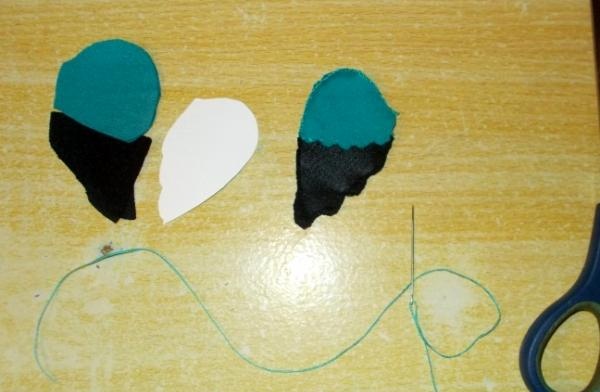
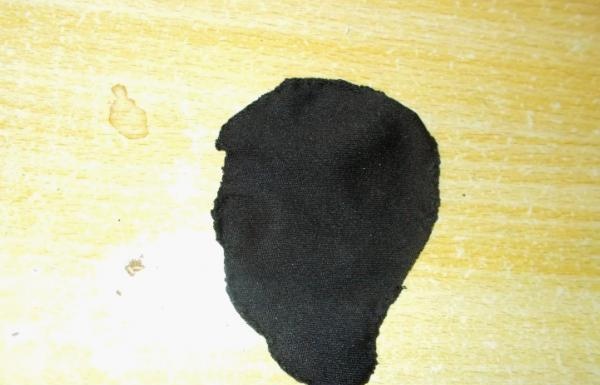
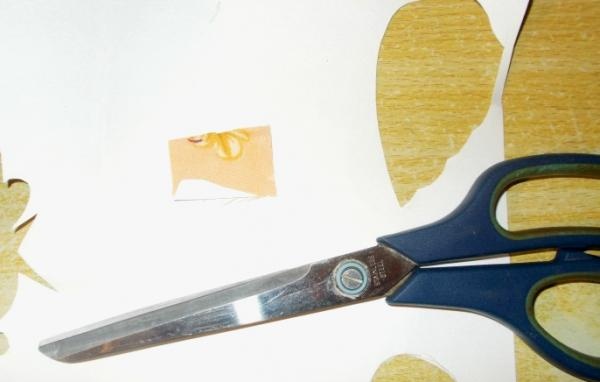
Now let’s cut the sample into its component parts to make it easier to work with when cutting. Having compared each piece of the sample with a separate piece of material, we cut out each of the parts in turn from the fabric, two at a time (for the left and right sides of the toy): we cut out the head from white material, the body and upper part of the wing from blue-green, and the tail from the lower part of the wing ("feathers") is made of black.We make the eyes, comb, beak, paw and beard from colored paper (glued with cardboard inside and tape on the outside).
Next, we prepare to join the two parts of the head with a seam. To sew on a beak with a red beard so that, due to the internal seam, their desired location is not confused - that is, so that they are on the outside - they will have to be sewn together like this:
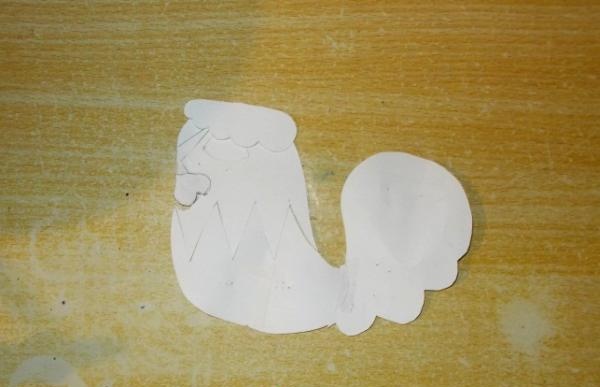
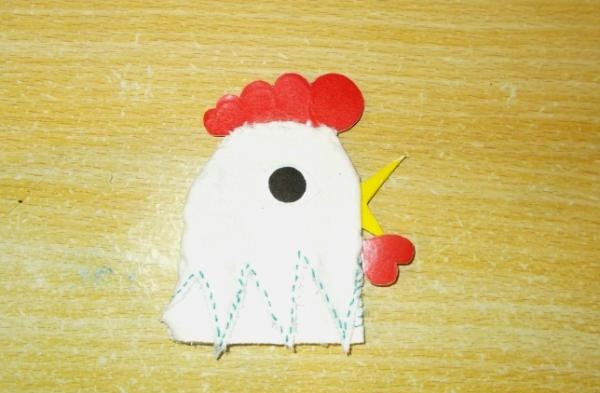
Shown here is the outside of the toy. The part on the right here should be turned over, placed on the left, and then sewn. However, we have to face a little difficulty when sewing the comb to the head. It is too wide to fit into the fabric area (if it is connected from the inside with a seam, then the head will not be able to turn inside out), let’s show it on a sample:
We sew the comb on the outside, and then glue on the eyes made of colored paper with tape:

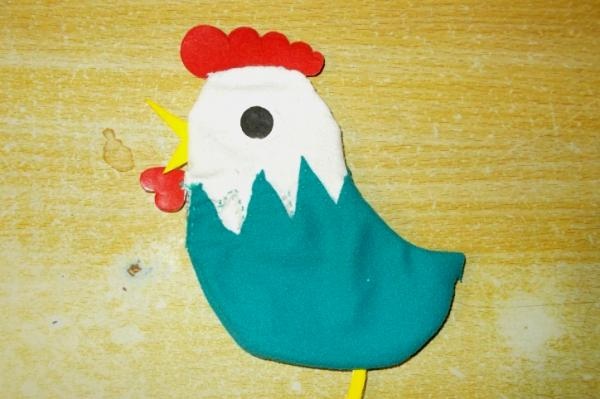
We made the body slightly larger than the sample in size - by 1.5 cm, and connected its parts from the inside (I selected the desired shade of thread by combining two into one: blue and green). The tip of the foot is sewn inside:
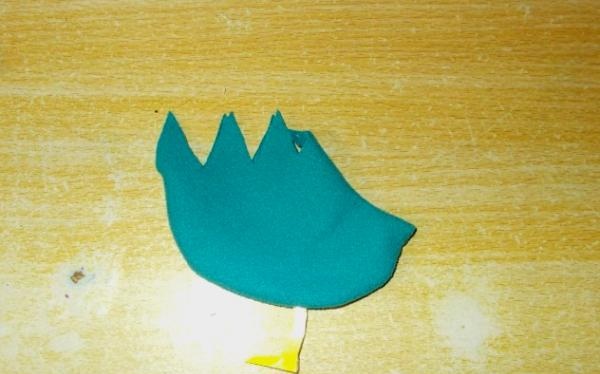
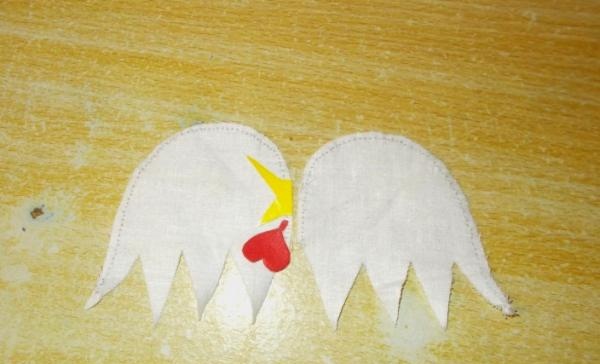
Now let's take on the wings. We sew them together on the outside, putting inside (depending on your taste) either a soft filler (cotton wool) or a hard one (cardboard sheet). I have a cardboard sheet sewn inside the wings, made to the size of the wings:
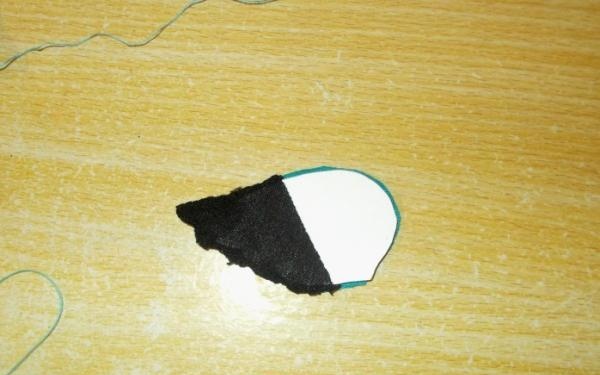
We also sew the lower half (where the black fabric is) from the outside, and then sew it to the body, connecting through the cardboard with a seam in the color of the upper fabric:
Having tried the body of the toy on her head, we suddenly notice that their ends diverge in the neck area. Then I tried to do this: I cut out several rectangular pieces of white fabric and, connecting their ends and sewing them lengthwise, sewed the toys to the neck; thanks to this, it became more convenient to connect the neck with the body of the toy:
Sew the neck to the body:
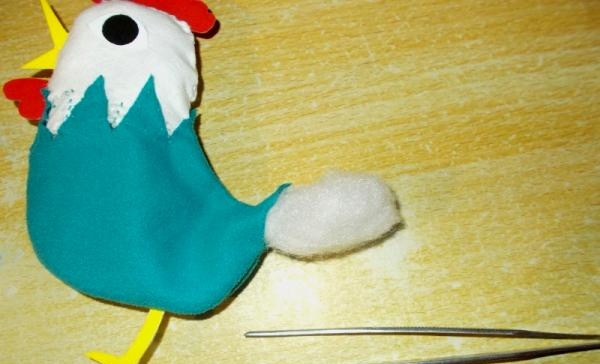
Two pieces may not fit together if they are made from different quality fabrics. For example, in our toy the material of the body turned out to be stronger than the material of the head, and therefore they were sewn together according to the pattern, but did not fit together (the body turned out to be too small, it had to be remade). So, when the body with the neck and head are already connected together, they should be filled with cotton wool. We can only introduce it through the hole in the tail - it is the only one left of all the holes:
Since it is quite small, we should introduce the filler into it little by little using tweezers; it also helps well to adjust the filler in the toy and push it deeper:
Our toy is stuffed with cotton wool:
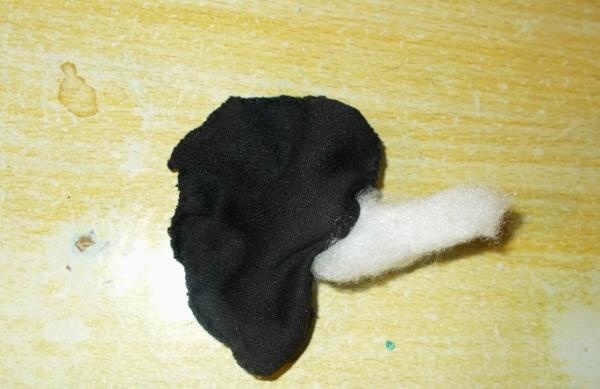
We connect the tail parts with an outer seam and fill the tail with cotton wool:
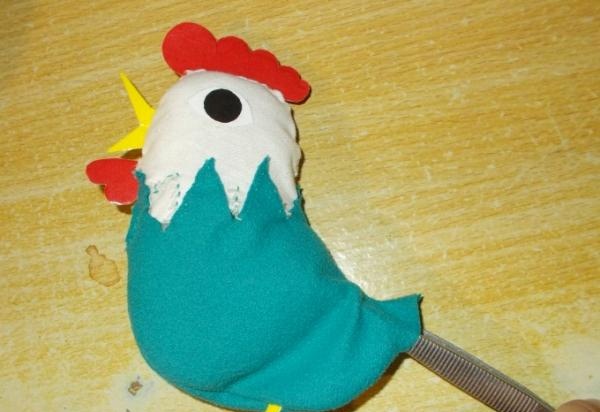
Let's see how it will look on our toy:
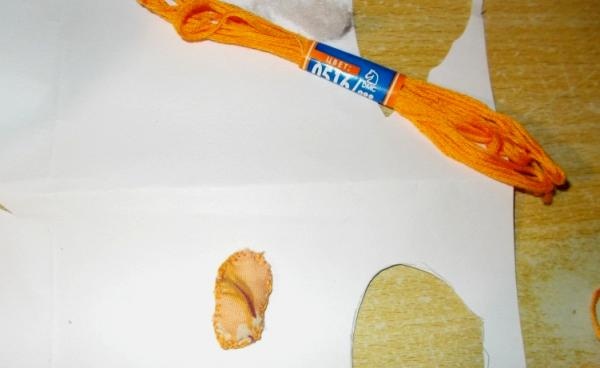
I wanted to convert a cardboard paw of a toy rooster into an embroidered one. I took a piece of fabric of a suitable color and, having selected the right size for the paw, made several square pieces from this fabric. Having trimmed the ends, I sewed them into an oblong, slightly oval-shaped foot, and filled it with cotton wool:
Now we sew a tail, wings, and a fabric paw to the body of the toy, cutting off the previous cardboard one without touching the seam:
Our toy cockerel is almost ready; I decided to remake his tail, making it slightly larger in size than the previous one (like the body, I added about 1.5 centimeters in length to it). It will be correct if the rooster's tail is high - it should almost reach the level of the head in height. After removing the old tail and sewing on a new one, I decided to change the position of the paw to make it easier to place the toy (it stands on its own):
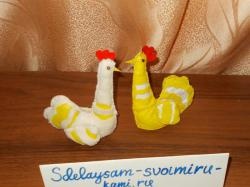
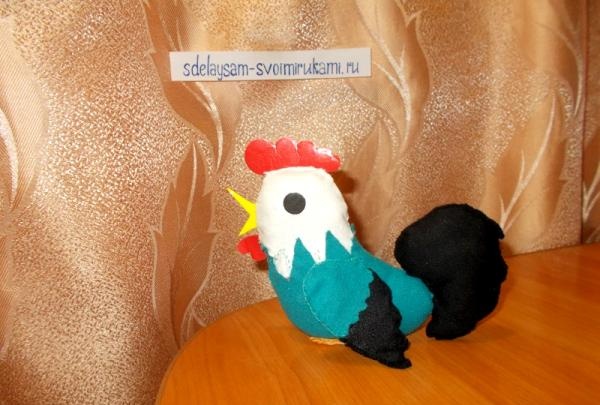
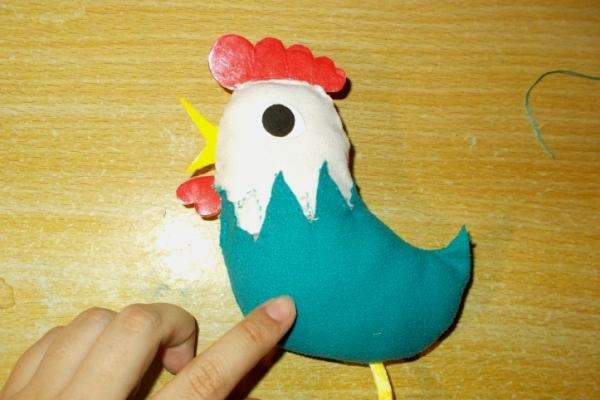
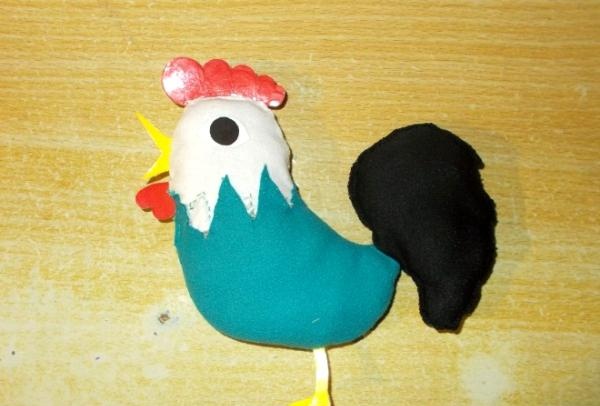
Now our soft toy cockerel is ready.The child will happily play with it, appreciating the complex craft.
Sincerely, Vorobyova Dinara.