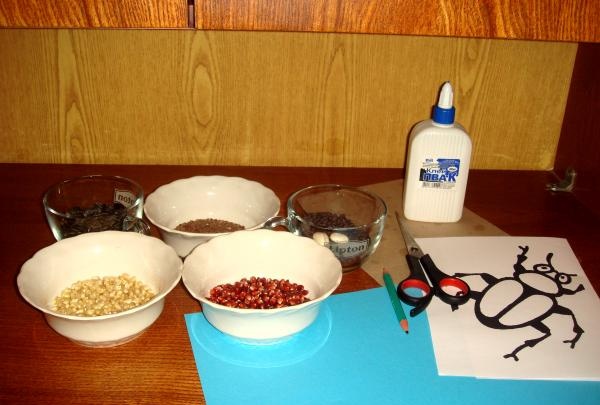
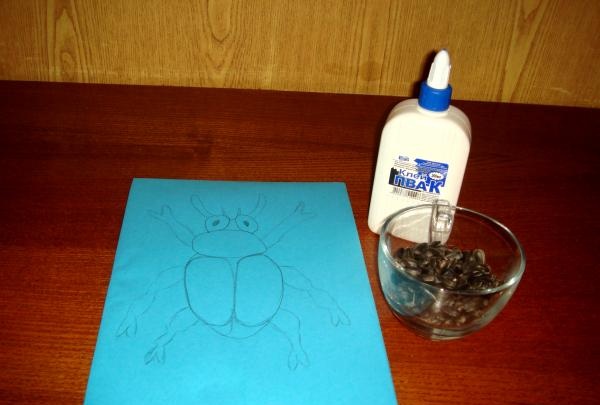
To complete the work, you should prepare the following materials:
- a tube of PVA glue;
- a blue sheet of paper (or the color you need);
- thick rectangular cardboard;
- image of a beetle;
- pencil;
- scissors;
- seeds and grains of plants (any, at your discretion).
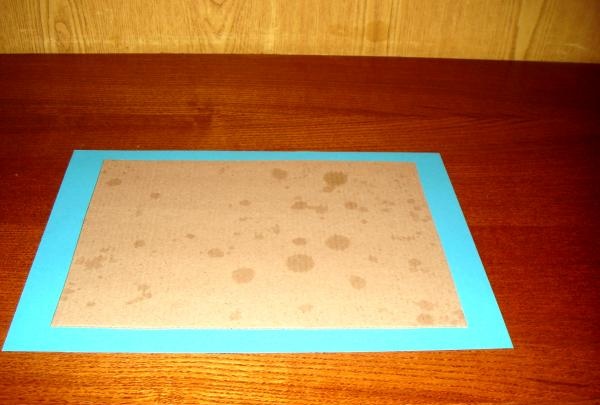
Step 1. Making the base.
First we cut the cardboard into a rectangular shape. You can take any cardboard box and cut off the desired piece of thick cardboard. The thicker it is, the more voluminous the base will be.
So, we place the cardboard blank on a sheet of colored paper.
We bend the protruding edges of the paper and glue them with glue or double-sided tape.
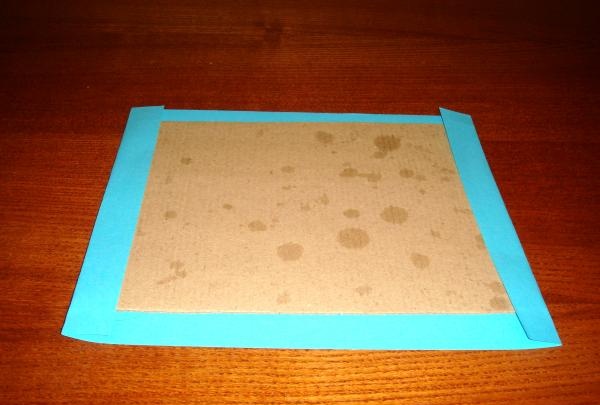
The basis for the picture is the head.
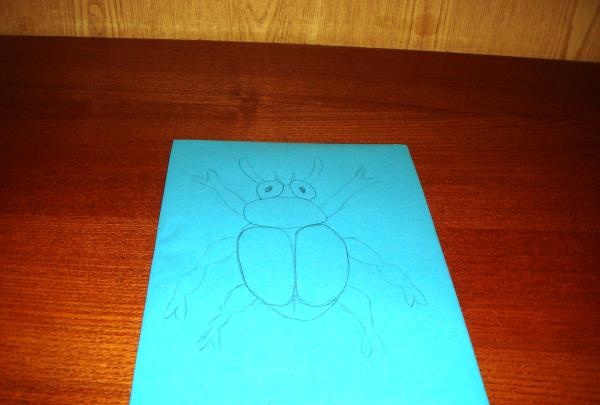
Step 2. Transfer the image.
We print out an image of a beetle from the Internet (it’s better to take a coloring book so that the lines are clearly visible).
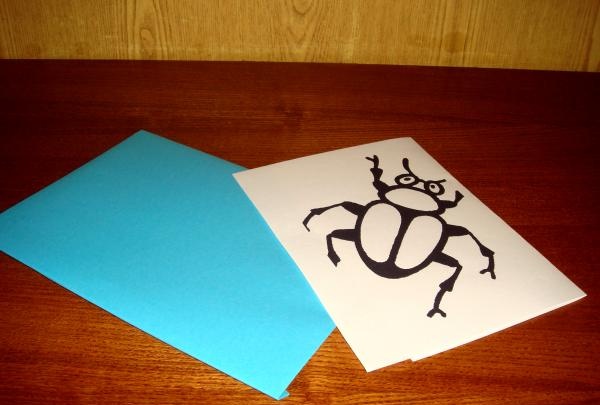
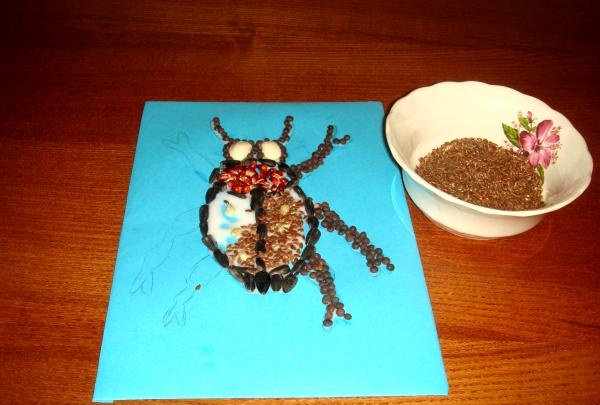
We cut it along the contour and transfer the image onto the prepared color base.There is no need to draw small lines, the main thing is to identify the main parts of the insect: the head with antennae, eyes, back, legs and wings.
Step 3. Selection of seeds and grains.
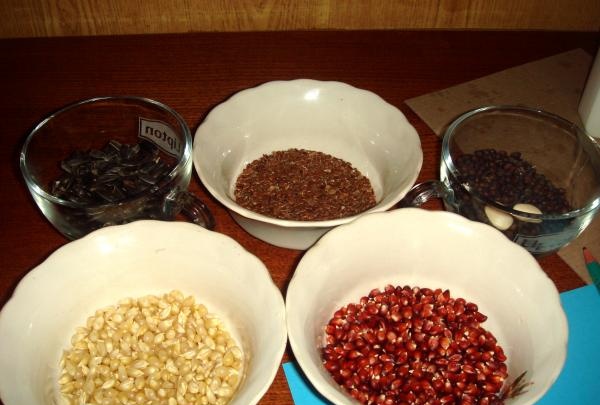
For our work, we chose sunflower seeds, yellow and brown corn, flax seeds, seeds of the herbaceous plant vetch (legume family), and two beans. You can choose completely different components, it is only important that they match well in color or texture.
Step 4. Gluing the seeds.
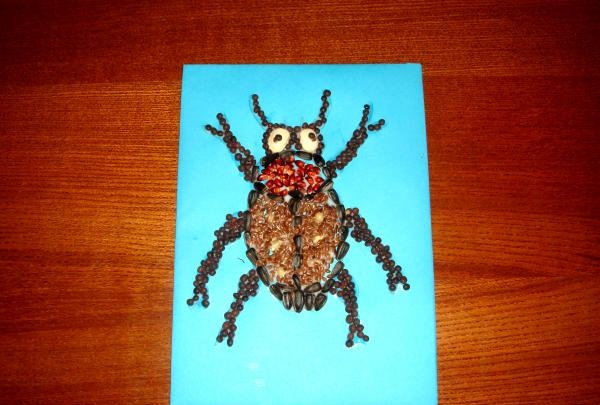
1. Take sunflower seeds and form the boundaries of the back (body) of the beetle.
To do this, spread a generous layer of glue over the graphic design. Take one seed at a time and place one after another on the adhesive base.
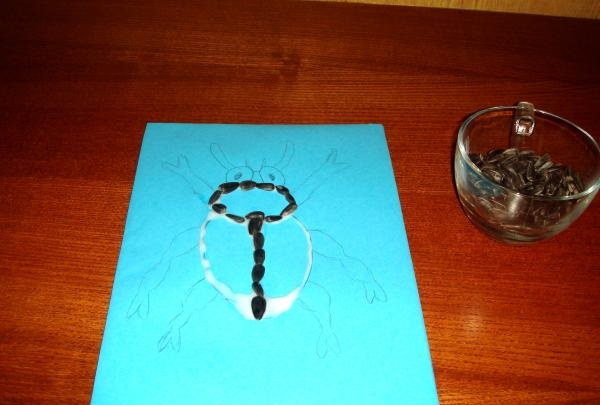
We choose only smooth and beautiful grains, since spoiled ones will not look very aesthetically pleasing in the picture.
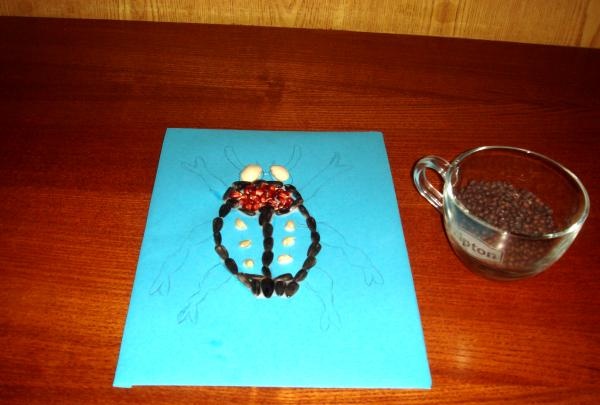
2. Glue the brown corn kernels onto the top oval near the head, and use the white ones to form several inclusions on the back of the bug.
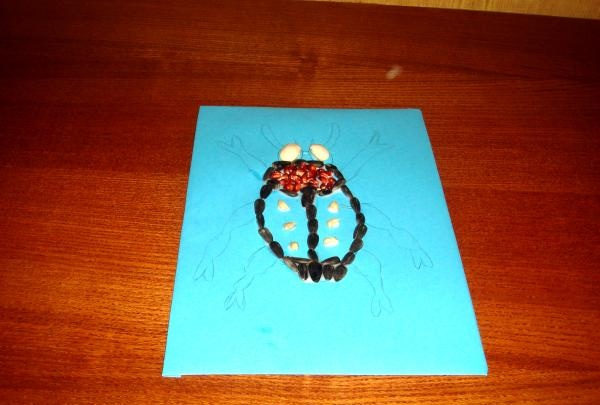
3. Two beans should be glued to the head, in the eye area.
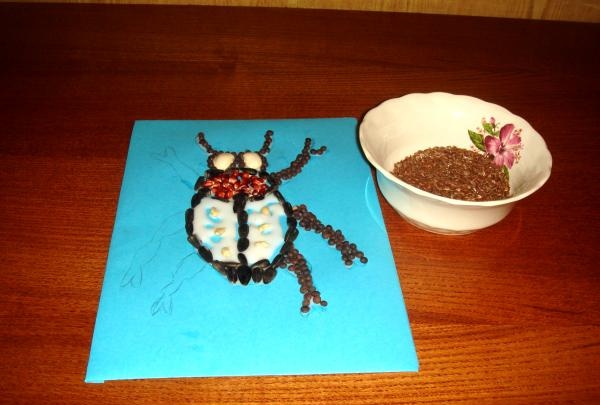
4. Now take spring vetch beans.
We will use them to form insect legs. You need to generously coat them with glue and carefully cover the surface.
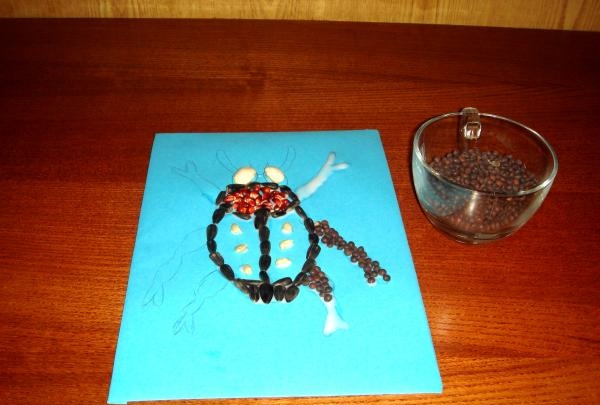
You can also make a bug's head and antennae from these grains.
5. Now the flax seeds need to be glued to the back.
To do this, generously coat the surface of the work with glue and sprinkle with small brown grains. Just try not to climb on the yellow corn.
6. Now you need to carefully examine the work. If there are any flaws, they should be eliminated. For example, you need to add seeds to unfilled spaces. If any component is glued crookedly, it is better to re-glue it.
Once the glue has dried, the picture can be coated with a layer of varnish.This will protect the seeds from attack by harmful insects and add an attractive shine to your work.