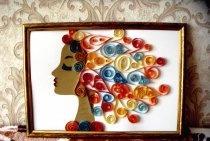
Today I will teach you how to create a painting “Pregnant” using the contour quilling technique. To work you need a minimum set of materials:
- a sheet of thick white cardboard;
- scissors;
- toothpick;
- black stripes for quilling;
- a tube of PVA glue;
- stencil drawing;
- frame;
- a simple pencil.
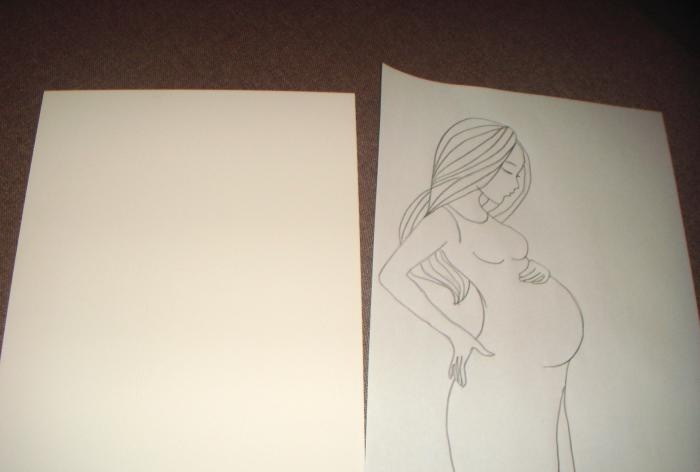
First, on the Internet, I found a beautiful image of a girl “in position”, which was made in pencil. You can use any graphic drawings or coloring pages. The picture was printed on a printer.
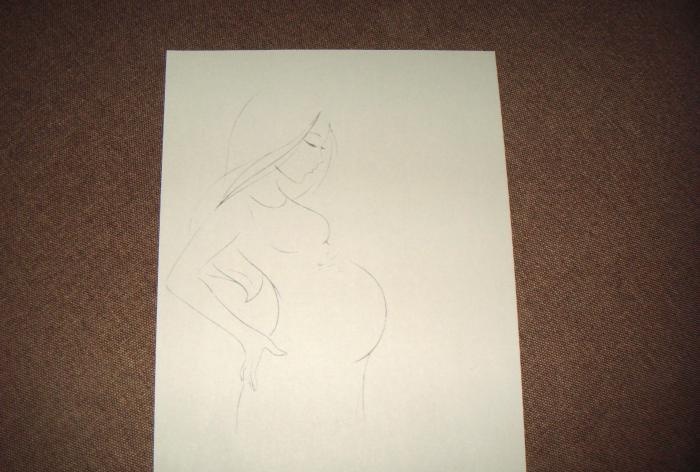
Then she took thick white cardboard, put a sheet of drawing on it and drew the entire image with a simple pencil. As a result, his imprint appeared on the cardboard.This method is convenient because during the work you can move away from the outline at your discretion, and there will be no pencil marks on the finished craft.
Next, from the quilling kit I selected only black stripes 6 mm wide.
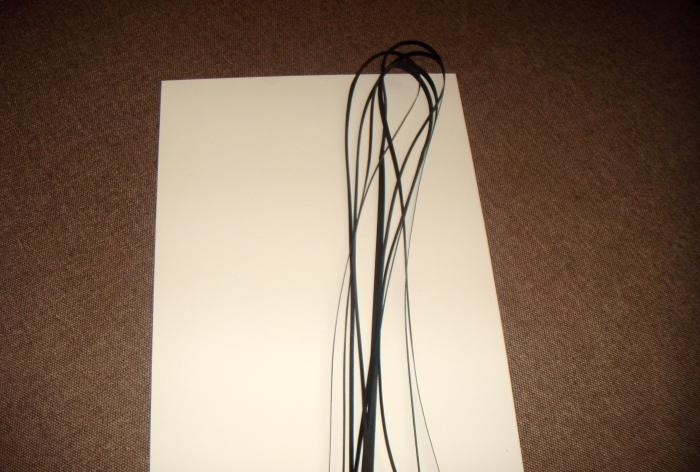
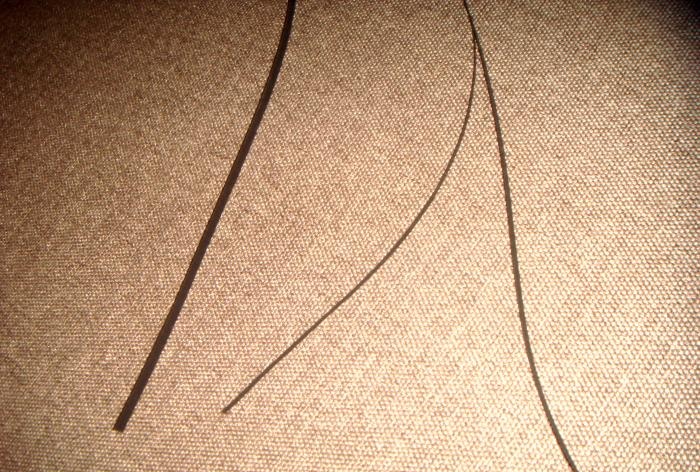
Then I cut each one in half to make them even thinner. Thanks to this, the future image will be more delicate and openwork. The texture will not be affected at all.
I started filling the image with stripes. I applied a thin line of PVA glue straight from the tube onto the imprint of the design. She applied the strip edgewise, cut off the excess end and fixed the workpiece with her fingers.
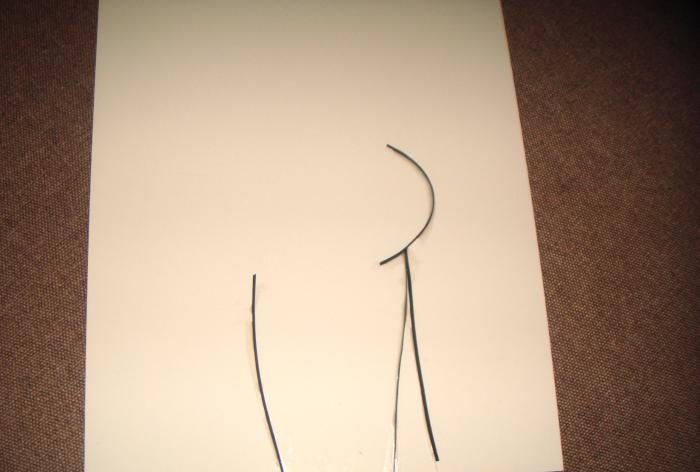
This is quite painstaking work, so there is no need to rush. First I glued the longest elements, and then proceeded to attach the shorter, secondary ones. Each part should be allowed to dry so that subsequent parts can be easier to fix on the cardboard.
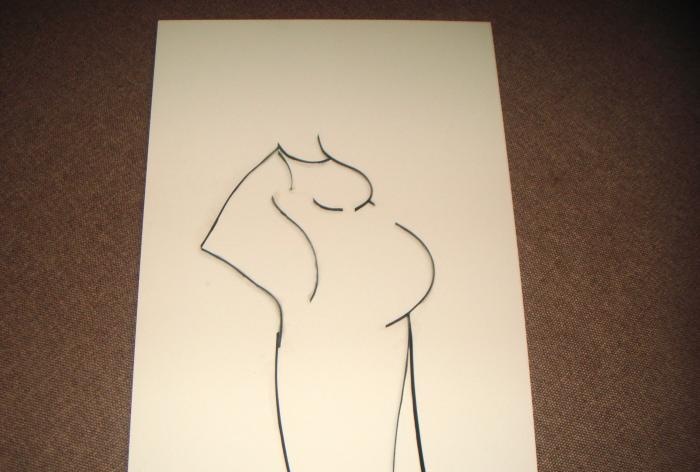
Gradually the drawing took shape. I attached all the small parts with a toothpick. You can also use miniature tweezers.
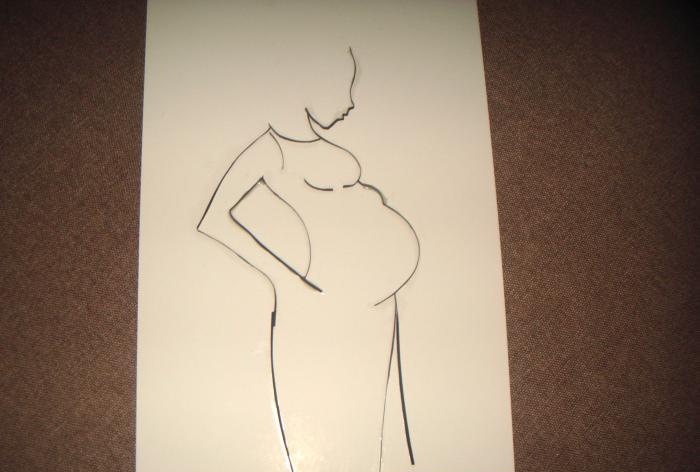
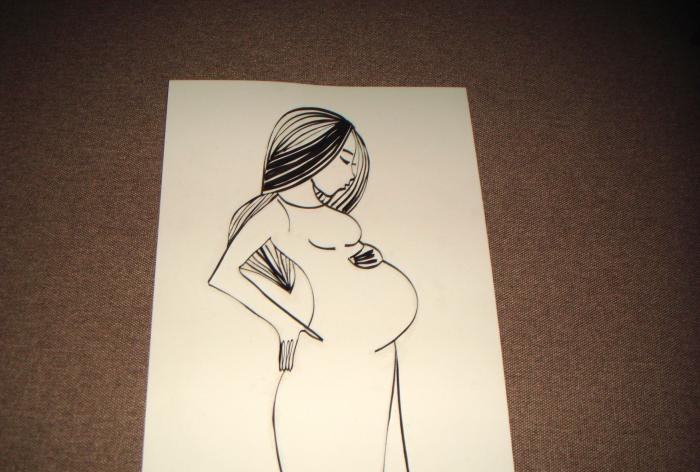
This is what the almost finished work looks like, all that remains is to fill the empty space.
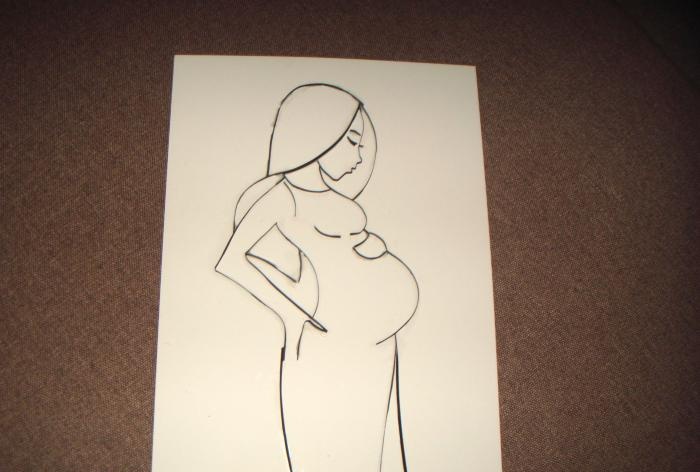
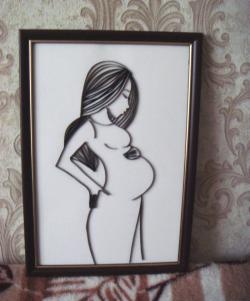
And this is the finished work. Believe me, she looks much more attractive in real life. It’s just that the camera is not able to accurately convey the texture and relief of the image.
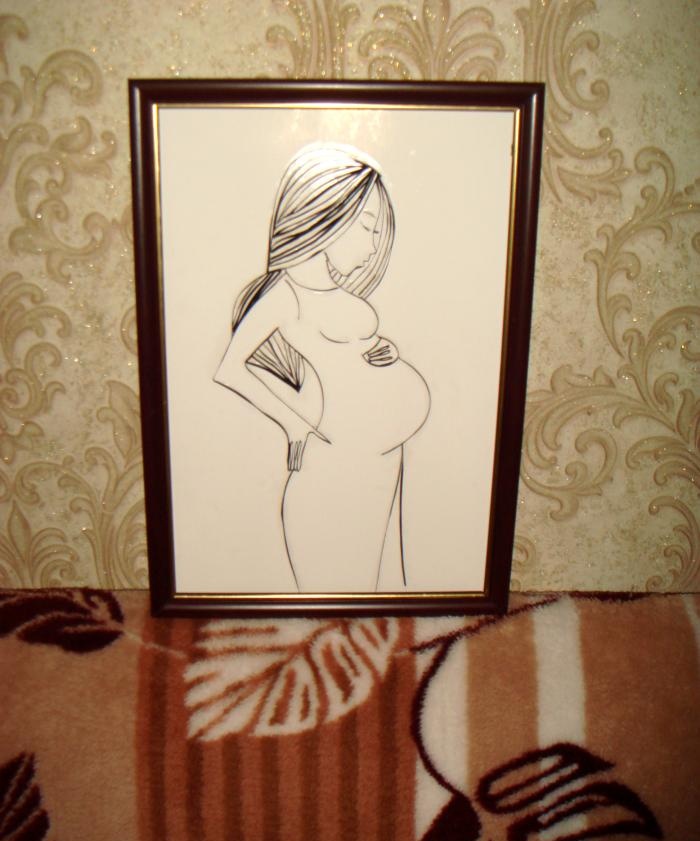
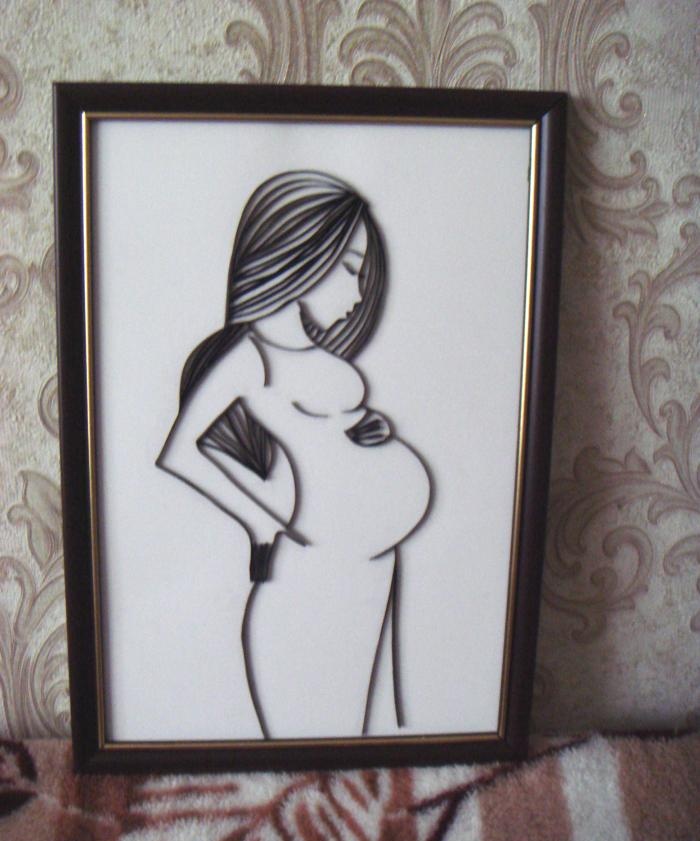
Now you can place the picture in a frame and find its rightful place on the wall or shelf.
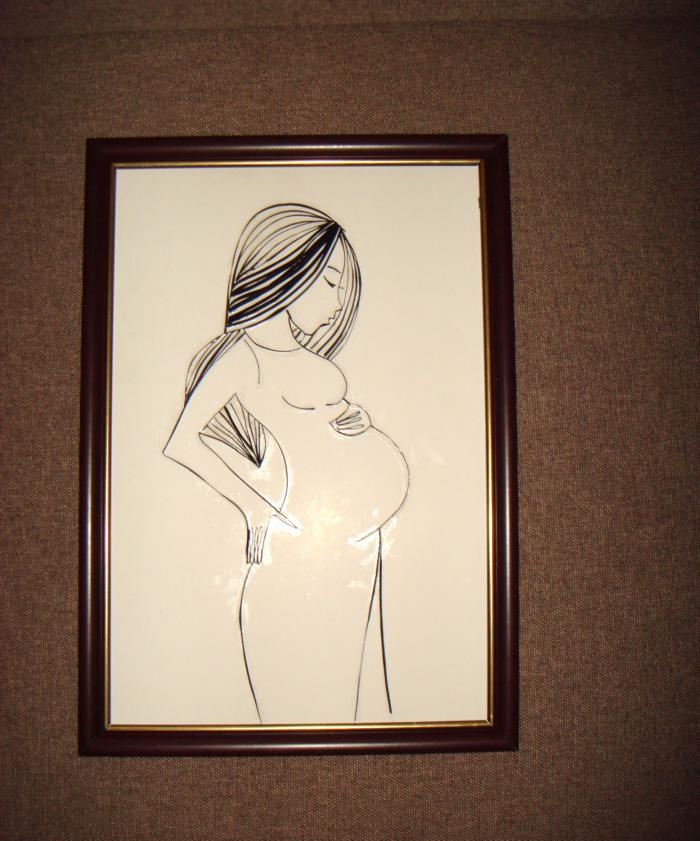
I created such a magnificent painting called “Pregnant”.
The contour quilling technique is gradually becoming my favorite, I plan to make many similar masterpieces. Monochrome (one-color) paintings are incredibly beautiful, even white paper on a white background looks charming.But I want to create a pattern from stripes of different colors and surprise my friends even more. Try and master this unusual technique. You will definitely like it.