Do it yourself
Life hacks, master classes, useful tips, recipes.
home » Useful and interesting » Idea board for creative people
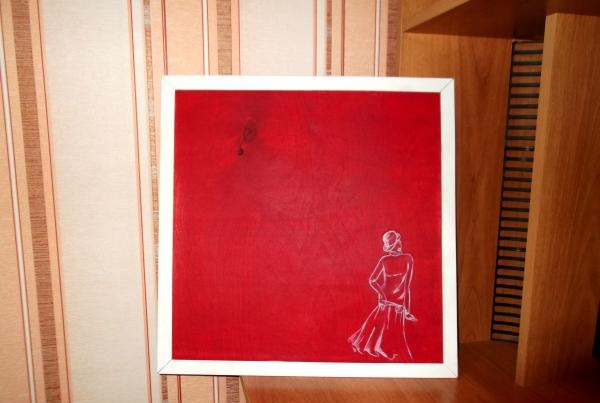
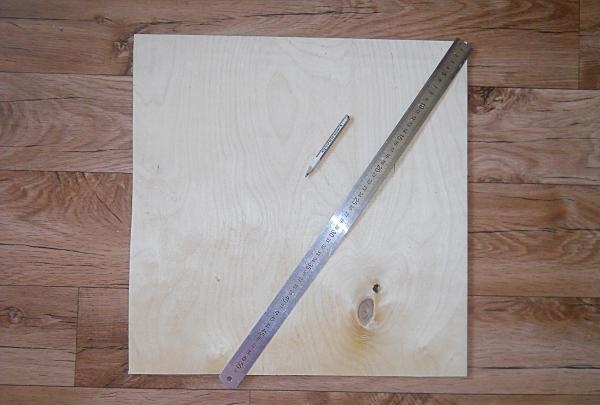
An idea board is a device designed to keep your ideas, thoughts and projects in front of your eyes at all times. It’s very simple to make, just have a sheet of plywood, a ruler, a pencil, brushes and paints (art oil or acrylic for wood) on hand. As for the design of this product, this question is left to your discretion. However, it is believed that since the idea board is subsequently attached above the desktop, it should fit organically into the interior of the room.
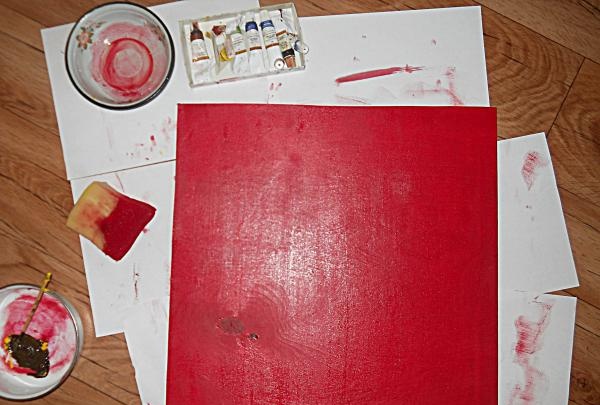
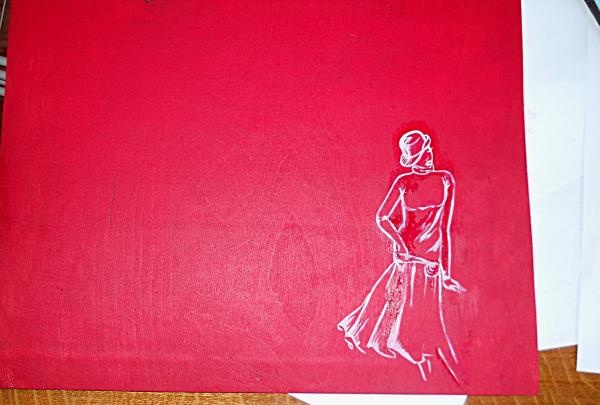
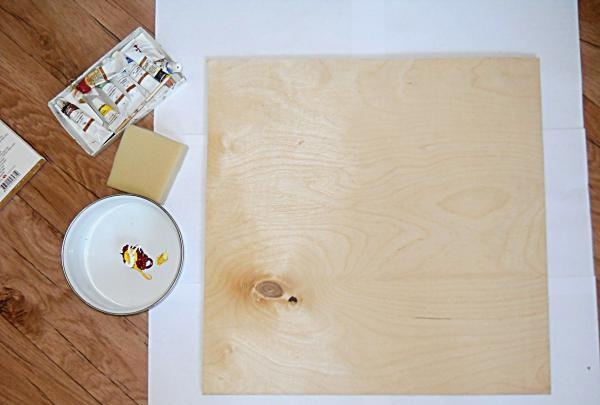
So, we take a sheet of plywood and trim it, having previously measured the required dimensions with a ruler. And so that the paint subsequently lays evenly, I advise you to sand the surface and side parts of the resulting cut as thoroughly as possible with a piece of sandpaper. Next, using a foam sponge, apply paint to the working surface of the board and leave it until completely dry. A more impressive and finished look to the product will be given by a pattern that is made in the lower right/left corner or along its entire perimeter. There are two ways to transfer it to plywood:
• using a stencil (cut out a picture from paper and, attaching it to the board, transfer it with a sponge);
• using a thin brush (after making a test sketch with a pencil).
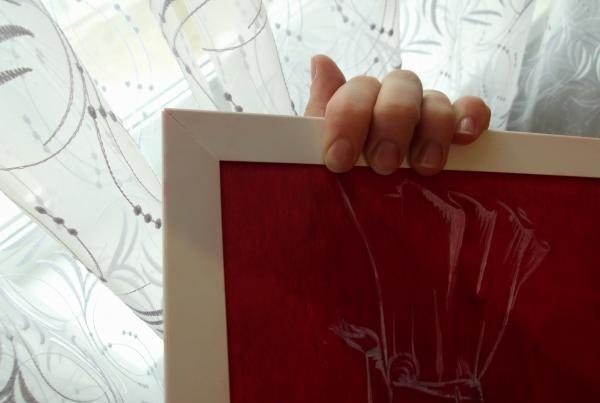
Separately, I would like to say about framing: a well-polished product does not need it. But if you see nicks on the edges of the plywood, they can be hidden using ordinary plastic corners (available at any hardware store). The corners are fixed with construction adhesive specially designed for this purpose, and the joints are framed, which is achieved by cutting their front side at an angle of 45 degrees. The side side is cut according to the width of the plywood, and a hook is nailed to the back.
Idea board for creative people

Idea board for creative people

Idea board for creative people

Idea board for creative people

Idea board for creative people

Idea board for creative people


Now that the product is ready, it can be hung on the wall for further use: notes, photographs and drawings are attached to the board using buttons and moved according to your own plans.
come back
Comment
  • bowtiesmilelaughingblushsmileyrelaxed relaxedsmirk
    heart_eyeskissing_heartkissing_closed_eyesflushedrelievedsatisfiedgrin
    winkstuck_out_tongue_winking_eyestuck_out_tongue_closed_eyesgrinningkissingstuck_out_tonguesleeping
    worriedfrowninganguishedopen_mouthgrimacingconfusedhushed
    expressionlessunamusedsweat_smilesweatdisappointed_relievedwearypassive
    disappointedconfoundedfearfulcold_sweatperseverecrysob
    joyastonishedscreamtired_faceangryragetriumph
    sleepyyummasksunglassesdizzy_faceimpsmiling_imp
    neutral_faceno_mouthinnocent
4 minus one =
Comments (0)

Shoe dryer made from scrap materials

Kanzashi hairpin | Do it yourself

Remote outdoor broadband television antenna

Leather jewelry | Do it yourself

«Do it yourself - with your own hands» - a site of interesting homemade products made from scrap materials and items at home. Step-by-step master classes with photos and descriptions, technologies, life hacks - everything a real master or just a craftsman needs for needlework. Crafts of any complexity, a large selection of directions and ideas for creativity.

We recommend reading

Washing machine error codes