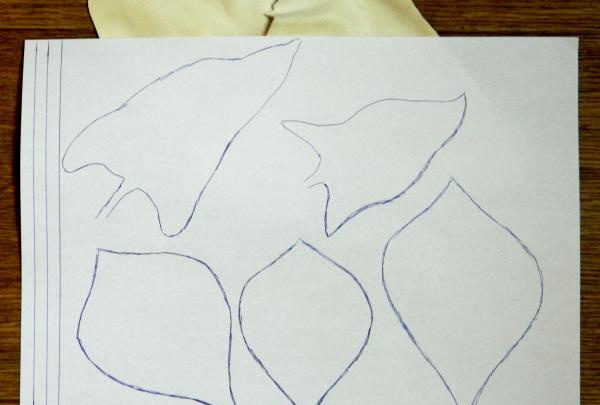
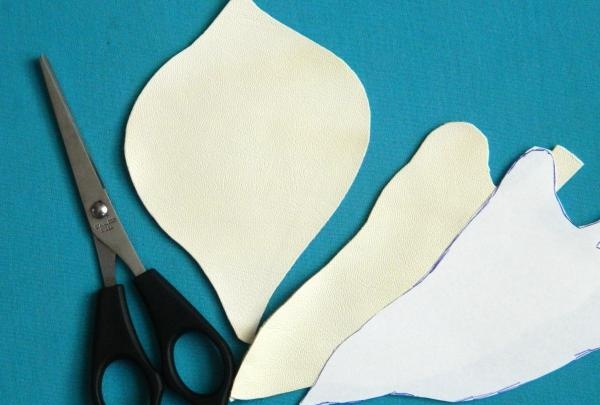
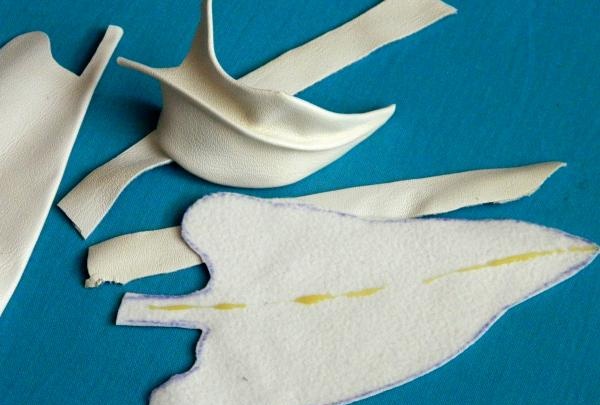
We transfer the paper patterns to the skin and cut out parts of the flower.
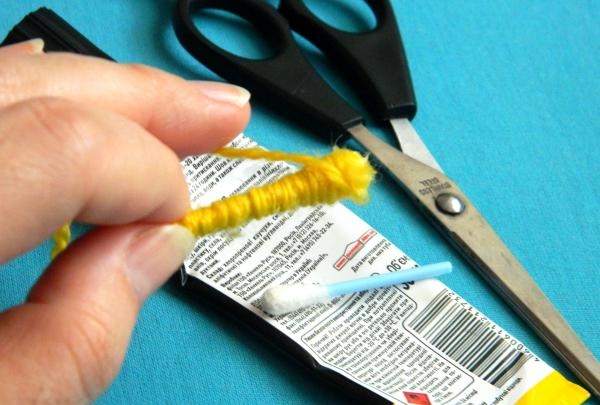
Lubricate half a cotton swab with glue and wrap it with yellow yarn.
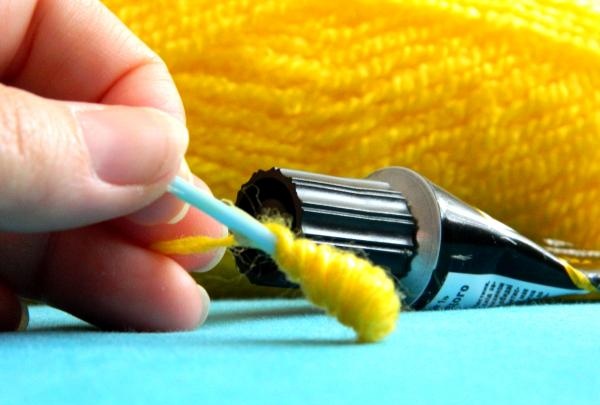
Cut off the end of the thread. The stamen is ready.
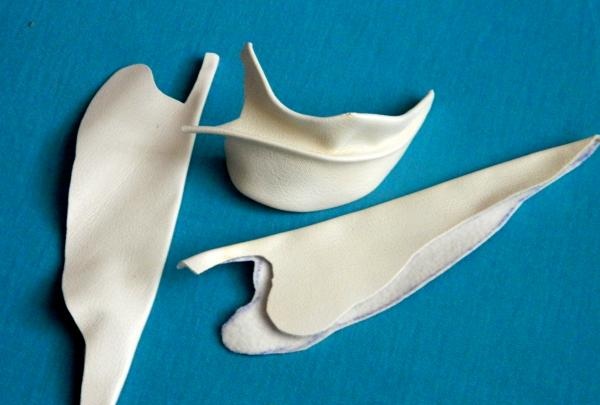
We continue working with the petals. We glue a piece of wire along the edges of the leather. In the future, this action will make it easier to give the flower or leaves the desired shape.
We get the result.
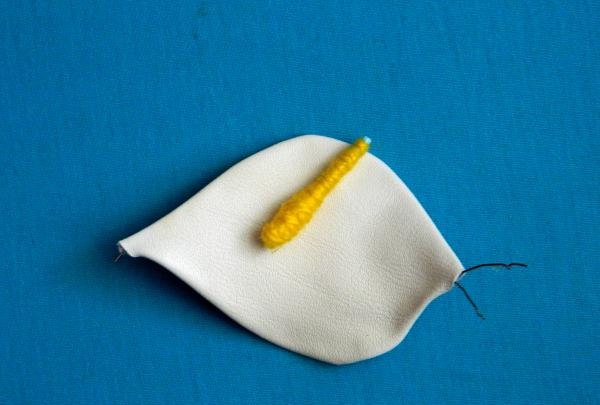
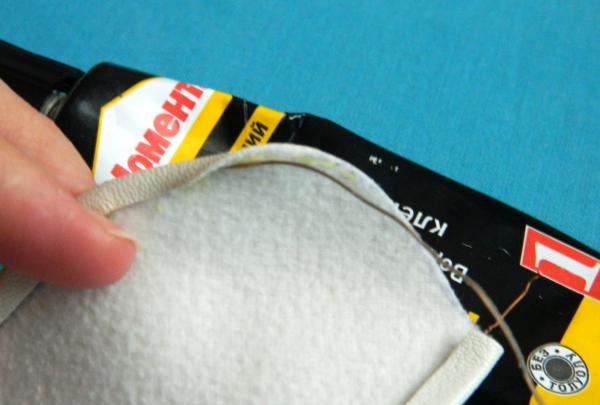
The top of the workpiece must be carefully cut off, that is, excess skin must be removed. Leave the wire at the base. Glue the stamen into the middle of the petal and use wire to wrap the edges of the flower inward.
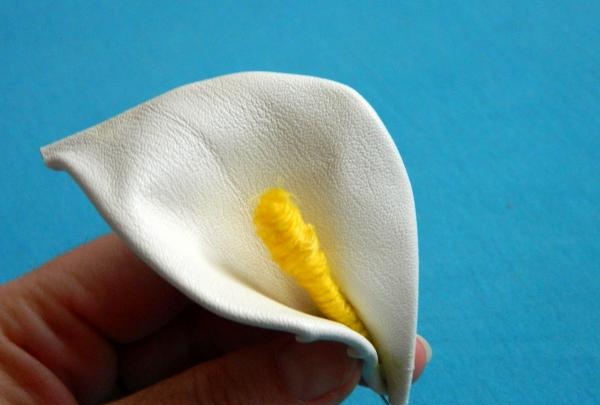
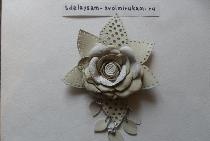
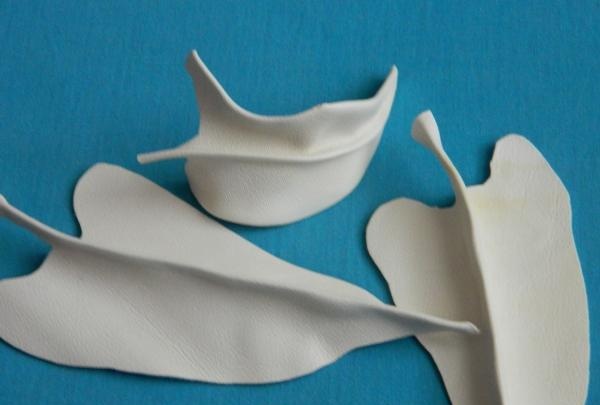
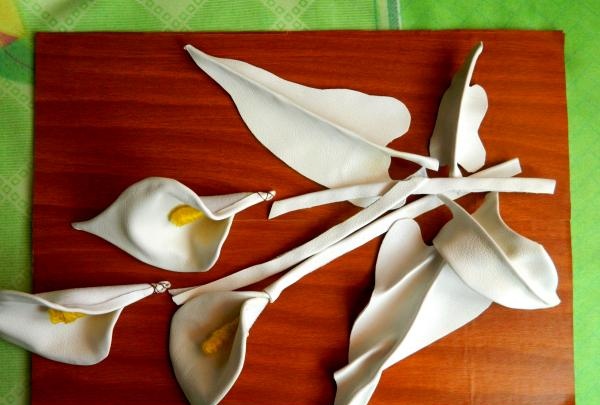
You should get buds like this.
At the next stage, we give the leaves a relief shape. To do this, apply glue along the pattern and bend the sheet in half.
Leave the central vein to dry.
In the same way, other veins can be identified. If desired, glue wire along the edges of the pattern and get a convex sheet shape.
Let's move on to the base of the picture. We decorate the surface of the cardboard with self-adhesive film. We couldn’t find a whole piece of film, so we carefully work with two strips.
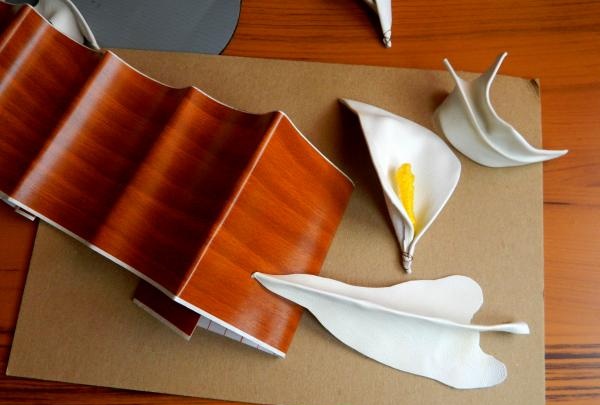
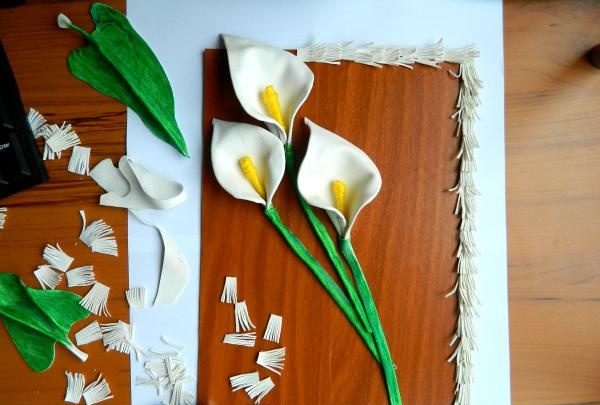
When the background is ready, add the details. From a distance we assess the overall picture. It is quite possible that you will have to add or subtract the number of colors or change their location.
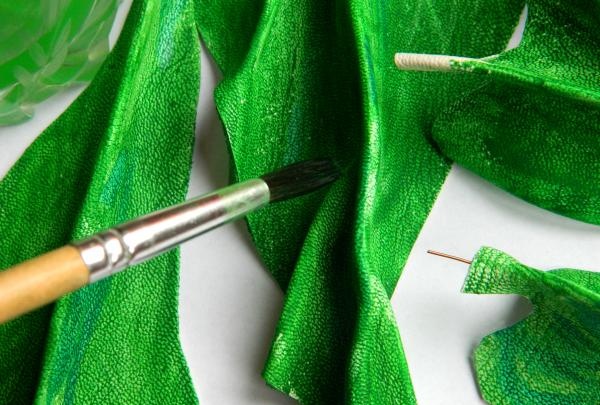
Attention! The crucial moment is coloring the stems and leaves. When creating a painting from leather, craftsmen usually use acrylic paint. This is not an ordinary professional case, but an amateur performance. We will use gouache and watercolor. To prevent the paint from being taken by hand, we prepare a solution of water, vinegar and salt (2:1:1). Wet the brush and paint the leatherette.
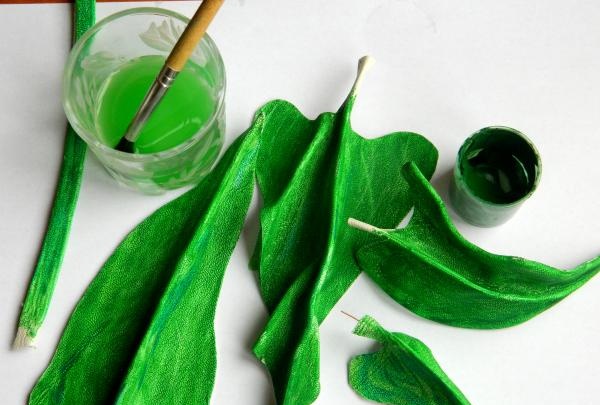
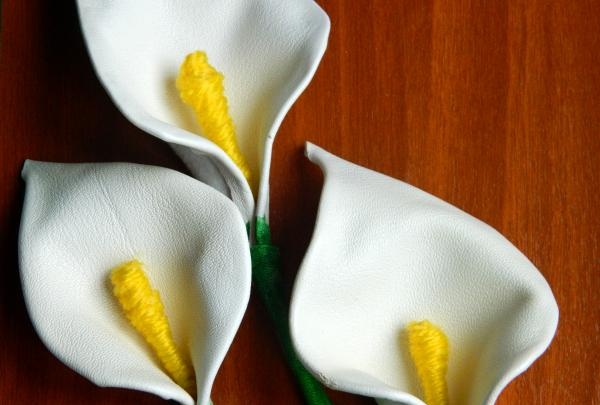
Leave the leaves to dry for 8-12 hours.
It turned out well, didn't it? At the final stage we glue the parts onto the base. We start with flowers and stems.
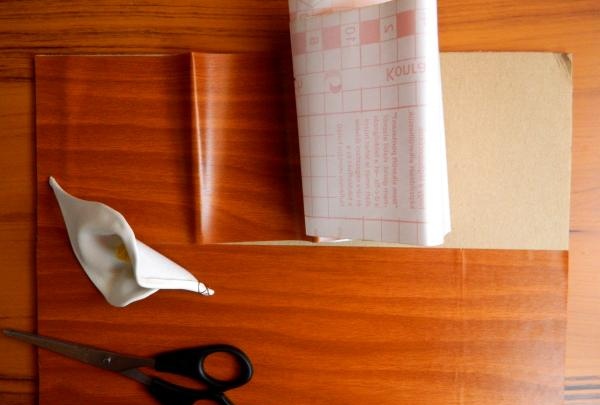
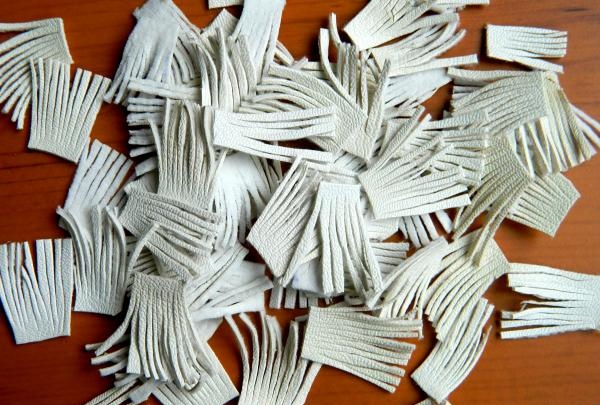
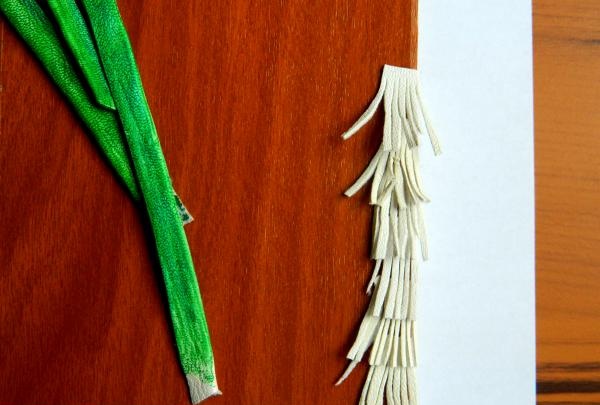
By the way, we forgot to talk about the frame. We will make it from leather rectangles. First, we cut pieces approximately 0.5x1.5 cm in size. Then we use scissors to make strips, simulating fringe.
We begin gluing the frame from the lower right corner, gradually moving upward.
We draw the lower and upper borders. We finish the work by gluing the fringe to the left edge of the cardboard base. The frame is ready.
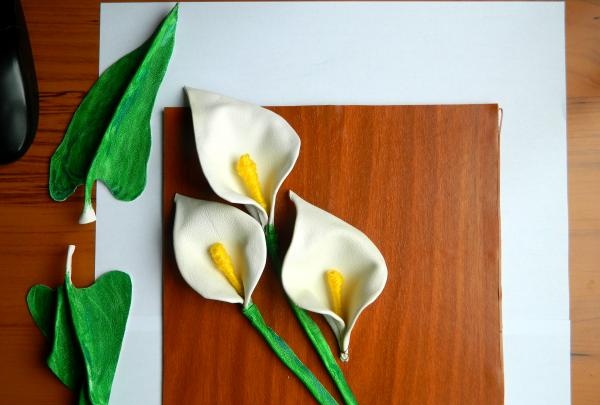
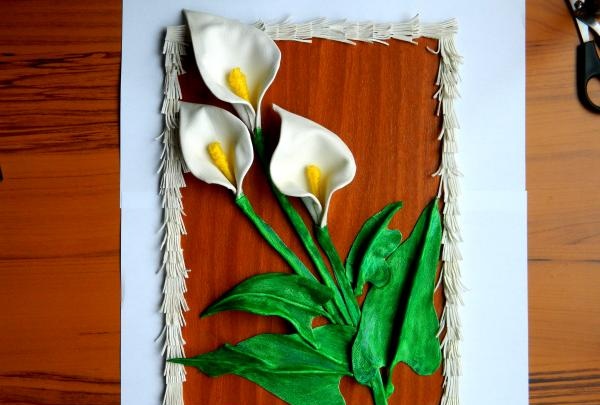
All that remains is to add leaves to the flowers. We choose the most favorable location for the greenery and get to grips with the glue.Attention! The flame will help make the surface of the skin textured. If you hold the edges or middle of the petal over the fire, convex tubercles will appear. This trick will not work with leatherette.
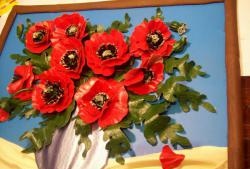
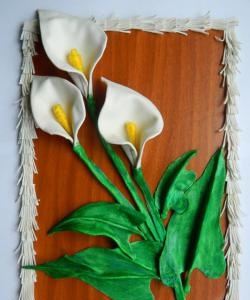
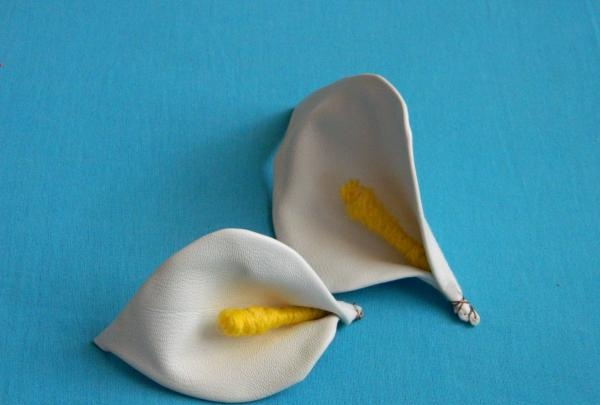
So, all the parts are dry. This is how the leatherette painting “Bouquet” turned out. Calla lilies."
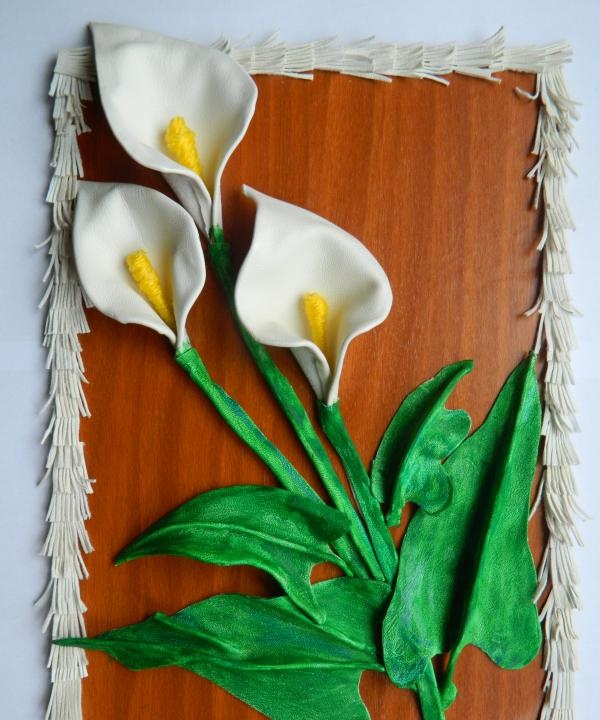
Simple and original. Mom or friends will definitely like the picture.