For the tree you will need:
• Beads in blue shades, green, red, yellow (or another of your choice);
• Beads in green shades (for the stand);
• Beaded wire (thin);
• Thick wire (for trunk and branches);
• Thin, tight wire for vines;
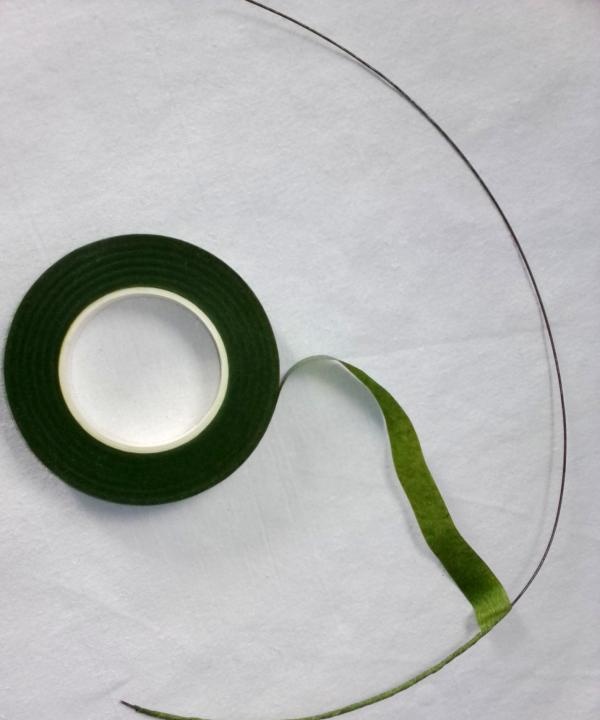
• Tape (green);
• Wire cutters;
• Round nose pliers;
• Alabaster (gypsum);
• PVA glue;
• Water;
• Milk;
• Brushes for applying plaster (hard);
• Brushes for painting wood;
• Gouache;
• Thread or wire for collecting wood.
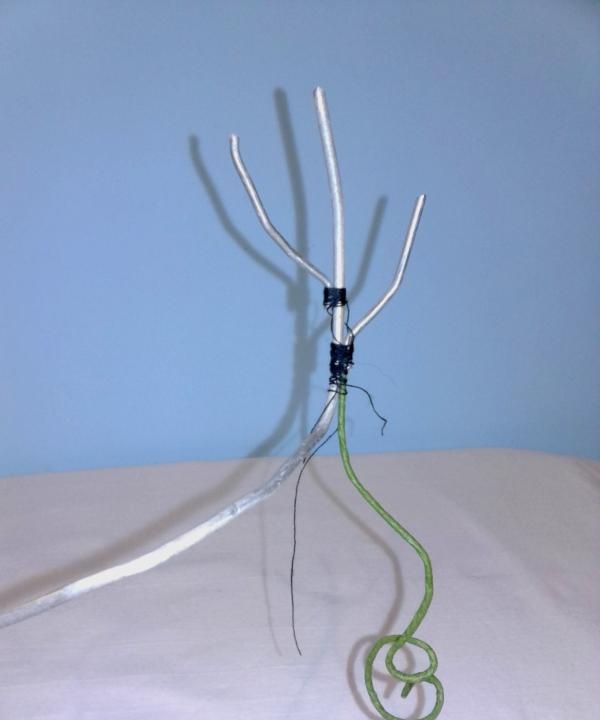
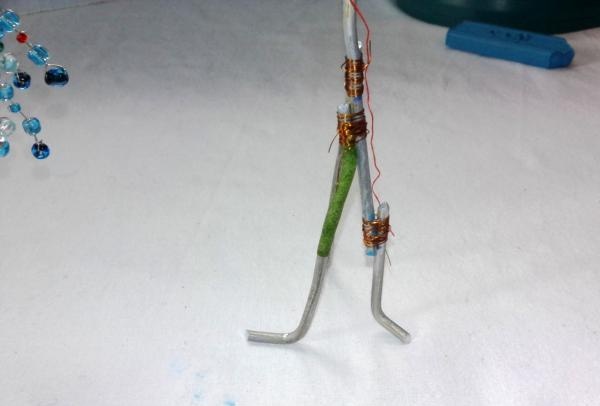
1) Form the trunk and branches.
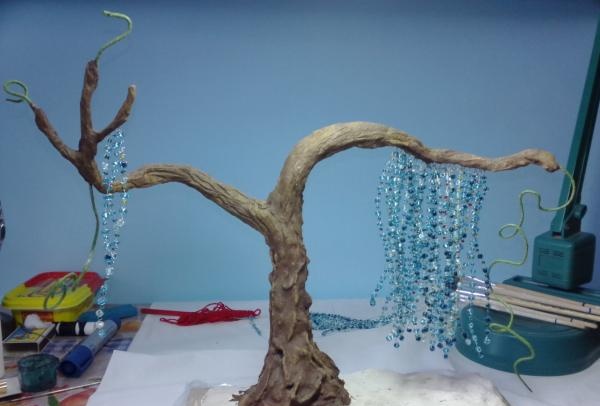
Take 2 thick wires. The length of my left wire is 32 cm, and the right one is 24 cm. We tie them together with a thread (red thread in the photo) and make bends. Add 2 short branches on the sides to the right branch of our Fairytale tree.
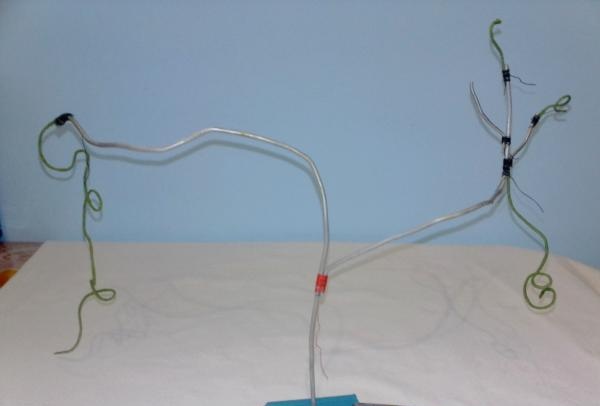
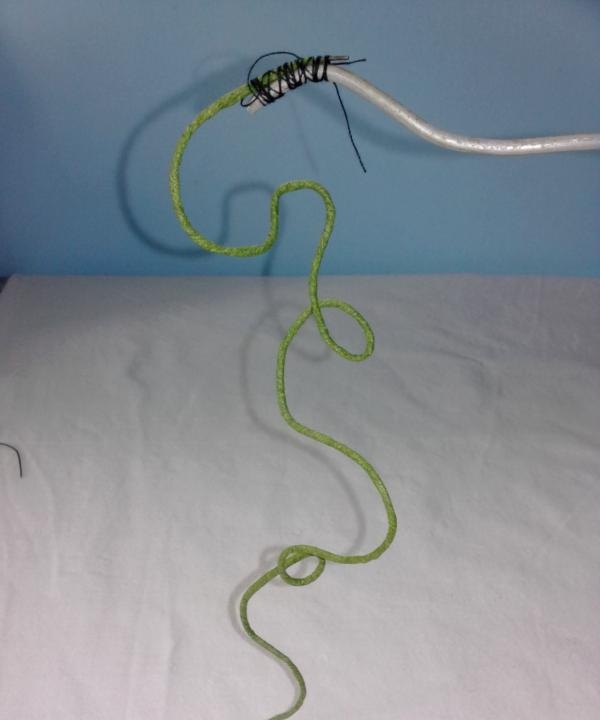
For ease of work, I temporarily used plasticine as a stand. Next we will make vines. To do this, take a wire of the required length and wrap it with tape. We give curls to the vines and tie them to the branches with thread (black thread in the photo). I took a thin wire for the left vine with a length of 38 cm, for the lower right – 18.5 cm. And by eye I took the wire for the two upper vines on the right.The wire for vines should be thin, but at the same time tight, it should hold its shape well.


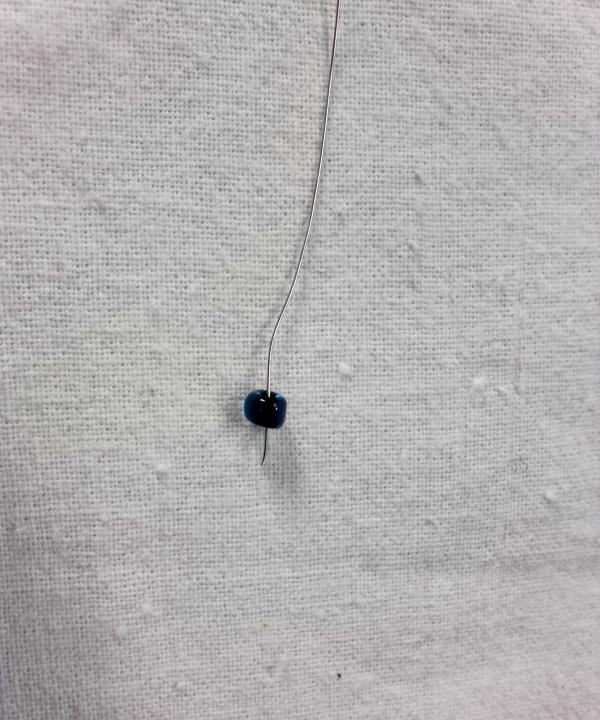
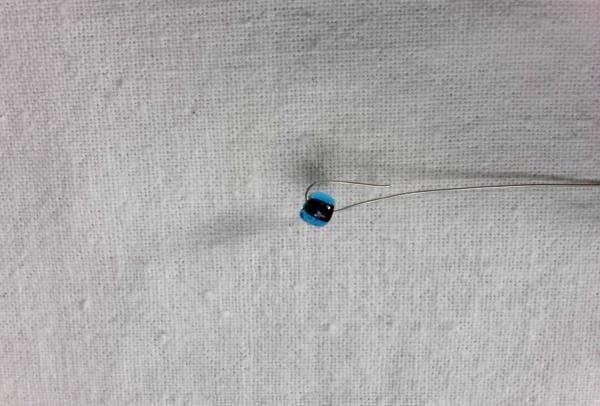
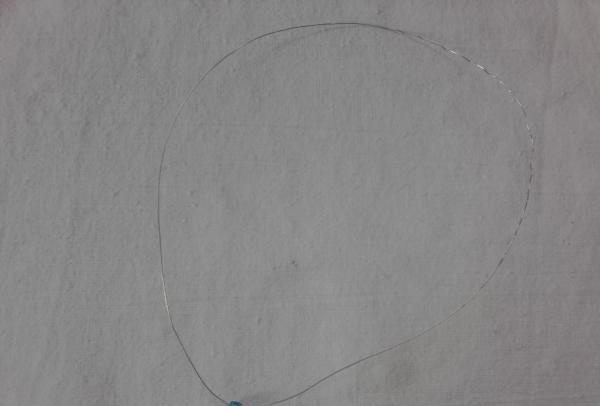
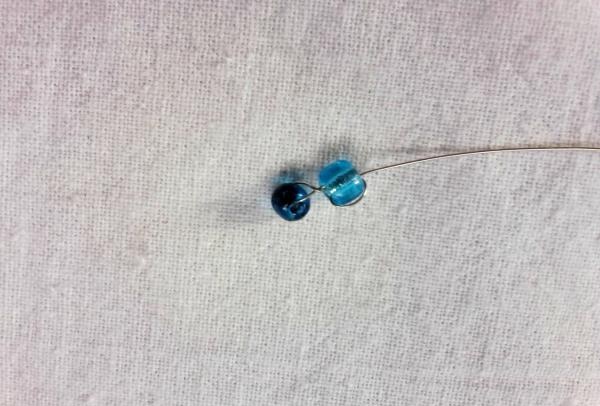
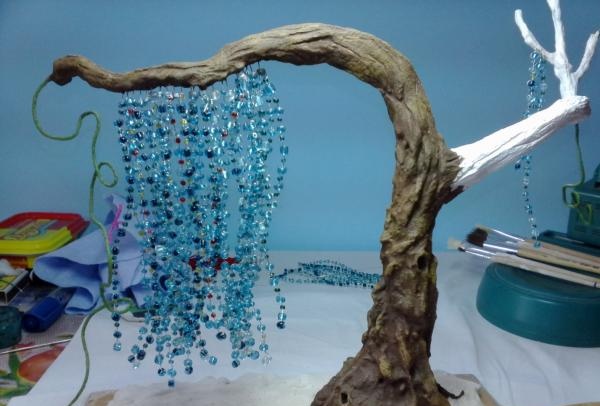
2) We form our “pendants”. I cut the bead wire to the required length (I cut it 37-38 cm long). And we string beads, alternating colors as desired. Leave 4-5 cm of bare wire at the end. For the left branch I got 39 pendants, and for the right one - 7. Also for the right branch, I cut the wire smaller.


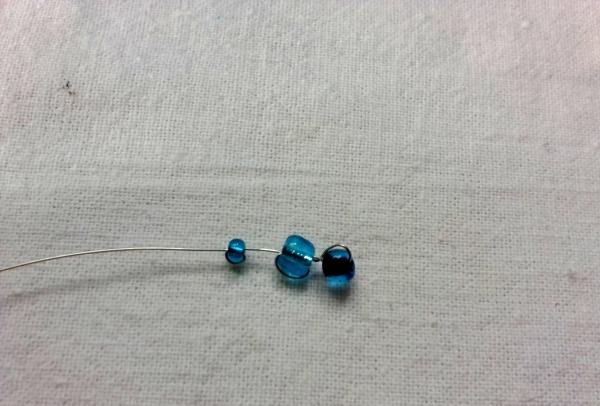
Another variant:
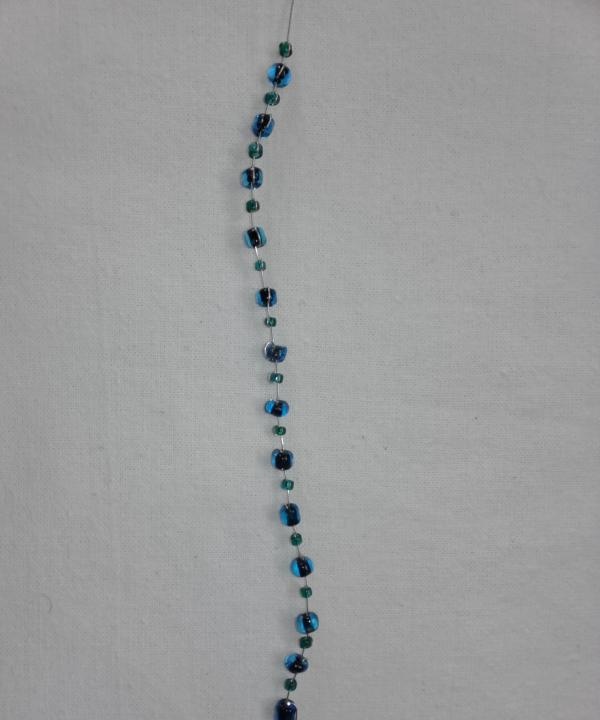
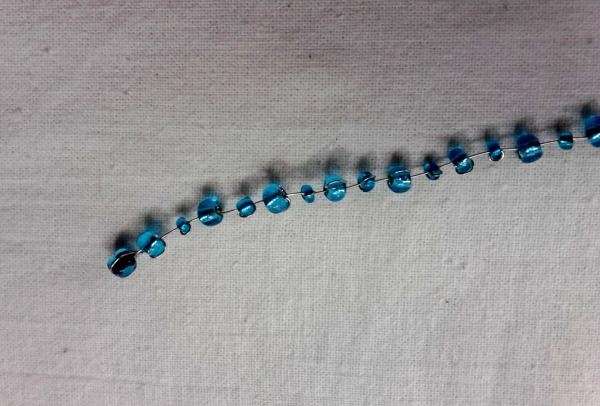
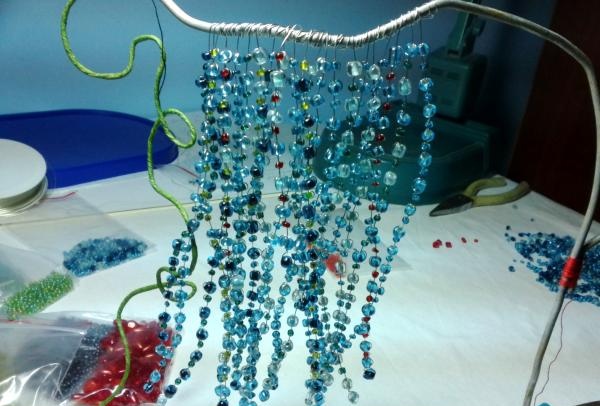
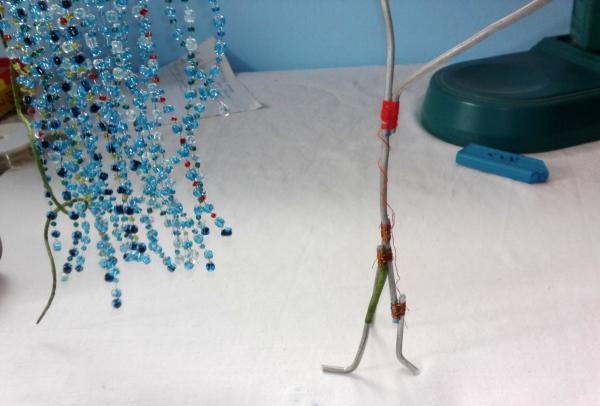
When weaving beads using this principle, I alternate them with other colors. Having made the required number of pendants, we wind them to the left branch.

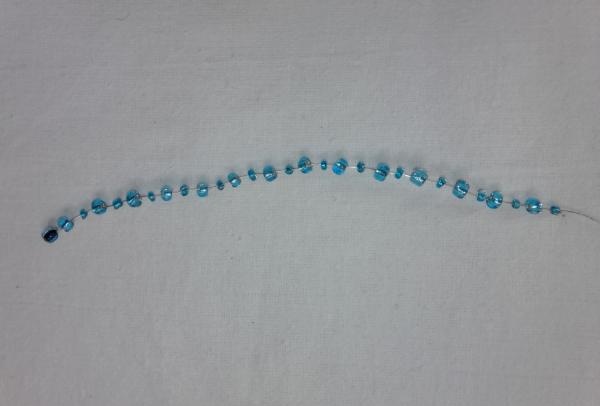
In these photos a smaller number was taken, later I added more pendants.
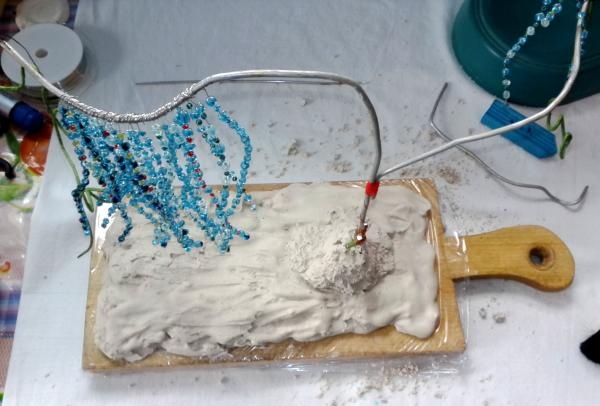
3) Now is the time to plant our tree. We take 3 short thick wires, make bends and wind them to the trunk.
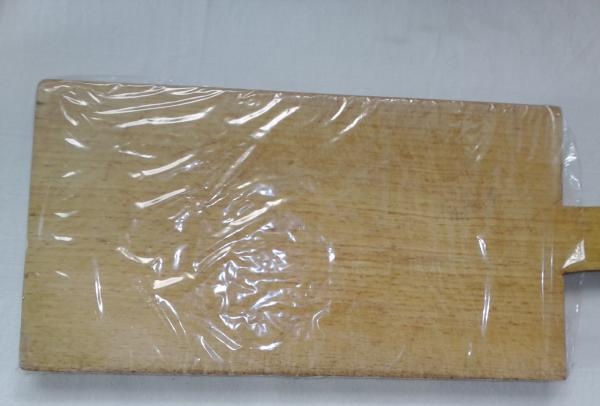
Now we need a stand. Wrap it in cling film.
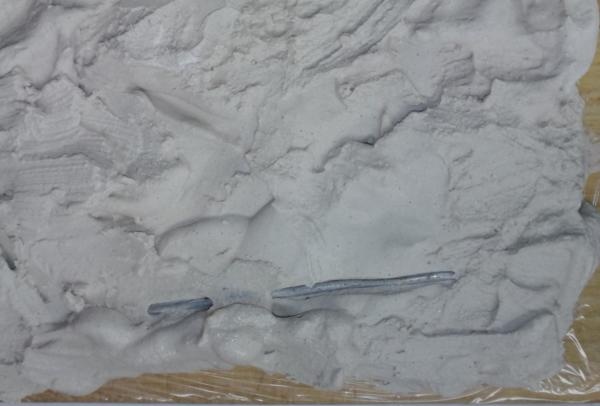
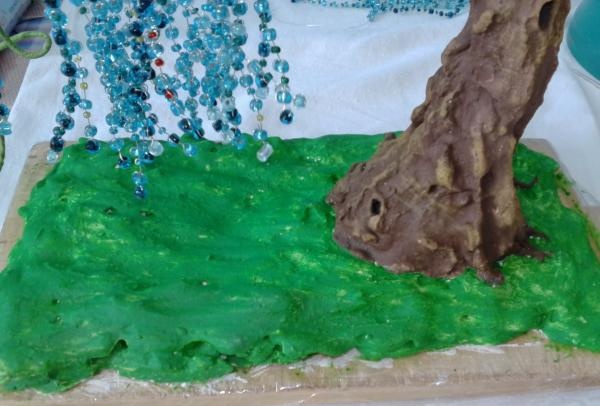
First, we lay out the first layer of plaster on it; we do not plant the tree yet. In some places I put pieces of wire to strengthen the stand. We make a gypsum solution like this: Pour some water into a container (it’s better to take half of a plastic bottle), add a little gypsum and stir thoroughly. We need the consistency of thick sour cream. There is no need to make a lot of solution at once, as it dries very quickly.
Now you can plant the tree.
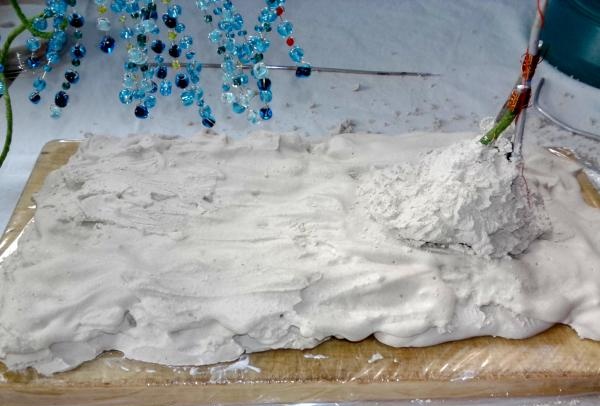
Coat the trunk and branches with plaster. Make the solution for the trunk and branches thinner. To make the gypsum solution dry more slowly, add a little milk to it.
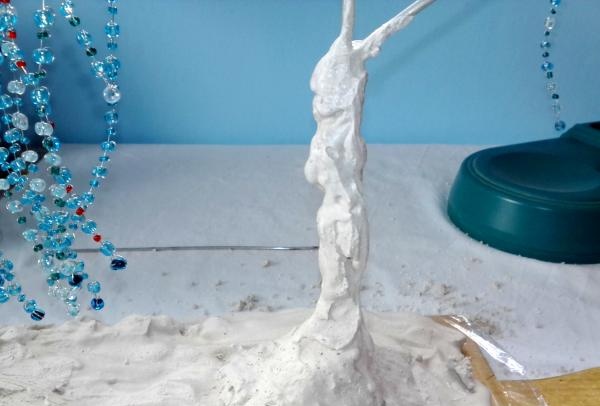
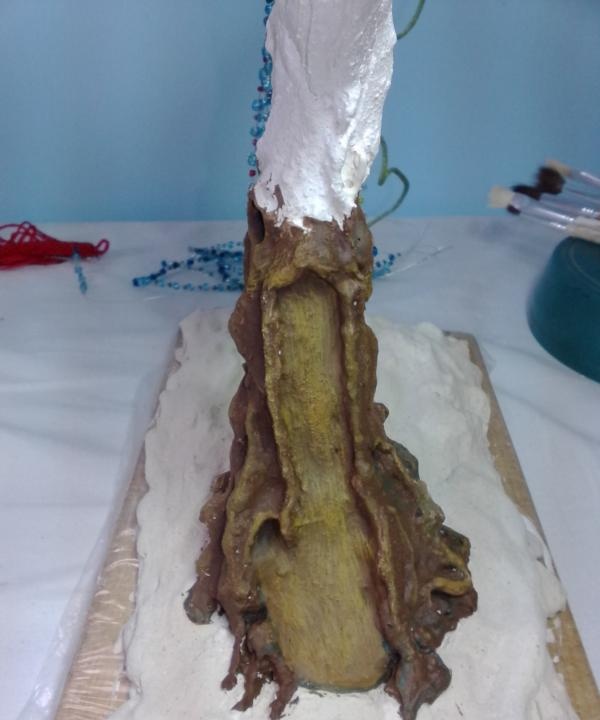
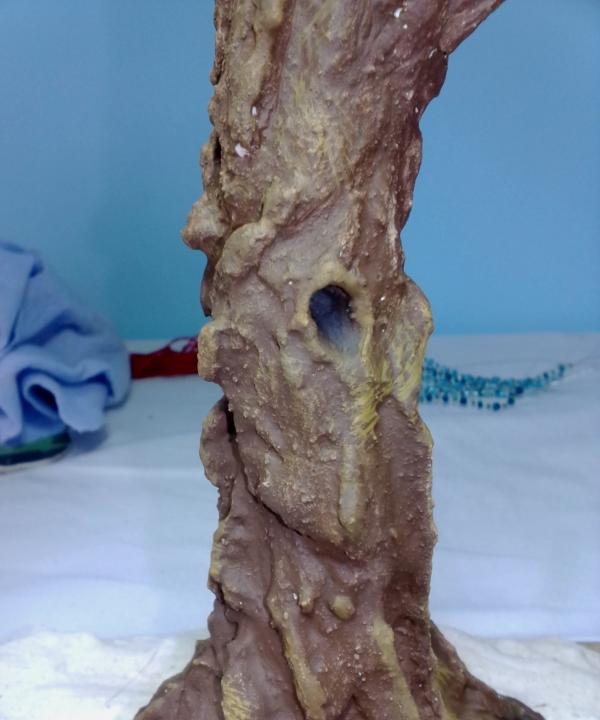
It is on this side of the trunk that I decided to make peeling bark.

To do this, make the bark smooth in the center of the trunk, and carefully apply the top layer of bark on the sides.
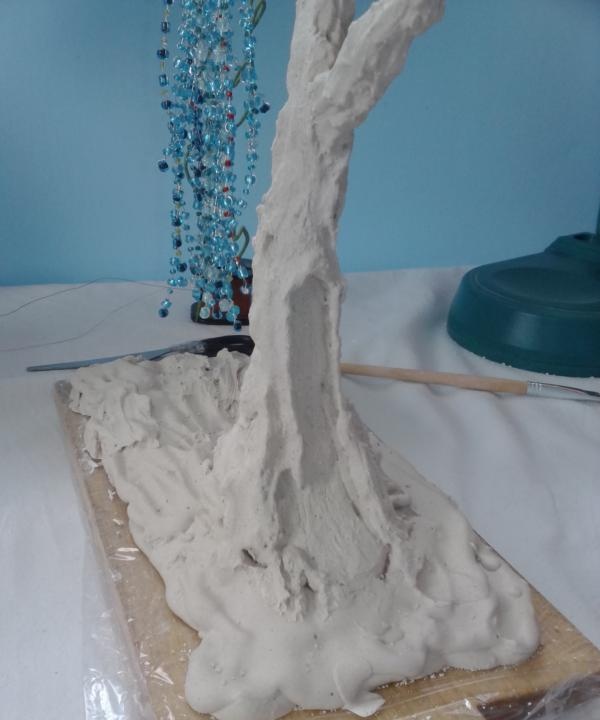
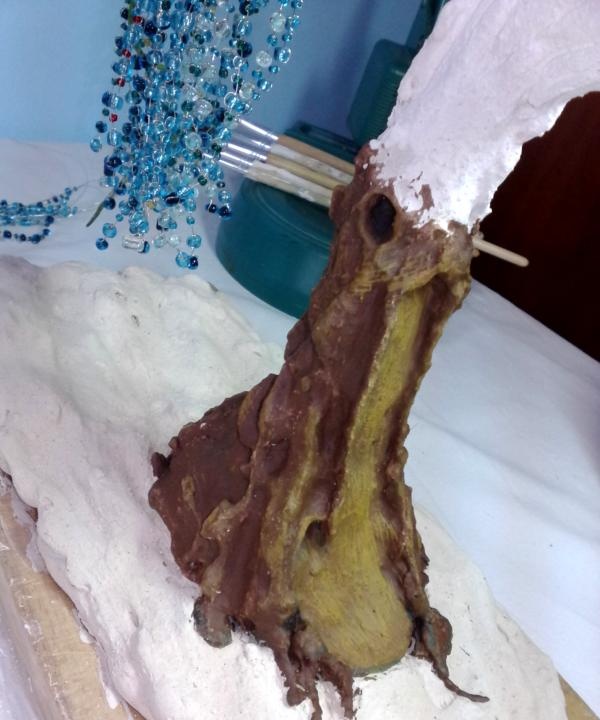
Also apply various bark outlines to the other sides of the trunk.

Using a sharp object, draw the bark relief on the branches.
When you have completely formed the tree bark, leave it for a couple of days for the gypsum to dry completely. To make it easier to create relief on the branches, dilute the gypsum thinner and add more milk. Then it will be more convenient to draw lines on the branches.
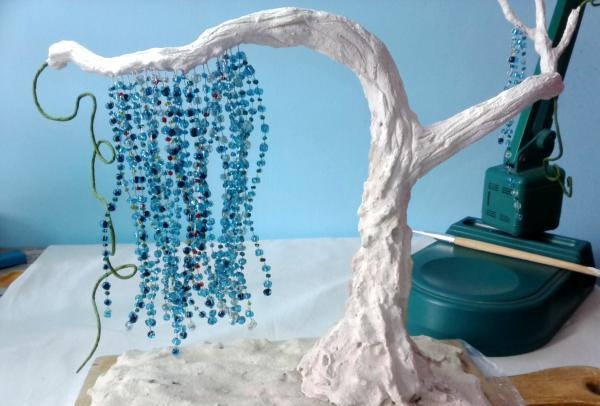
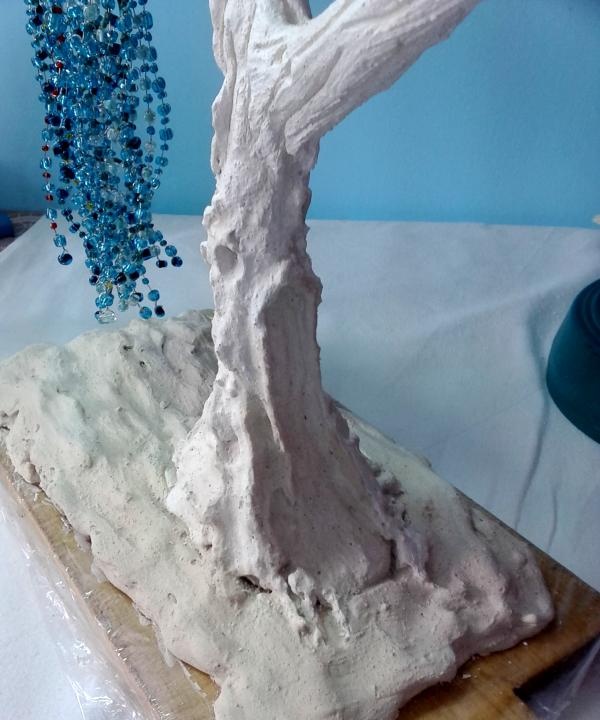
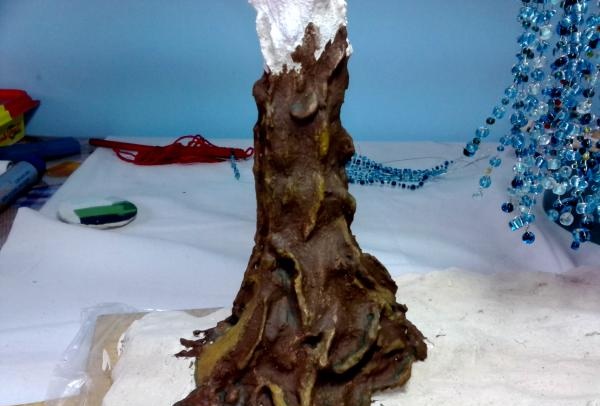
4) Painting the tree. First, I painted the tree with brown paint, and the protruding areas of the bark with light brown paint (I applied the paint with a dry brush using dipping movements). Green was sometimes added at the base of the trunk.
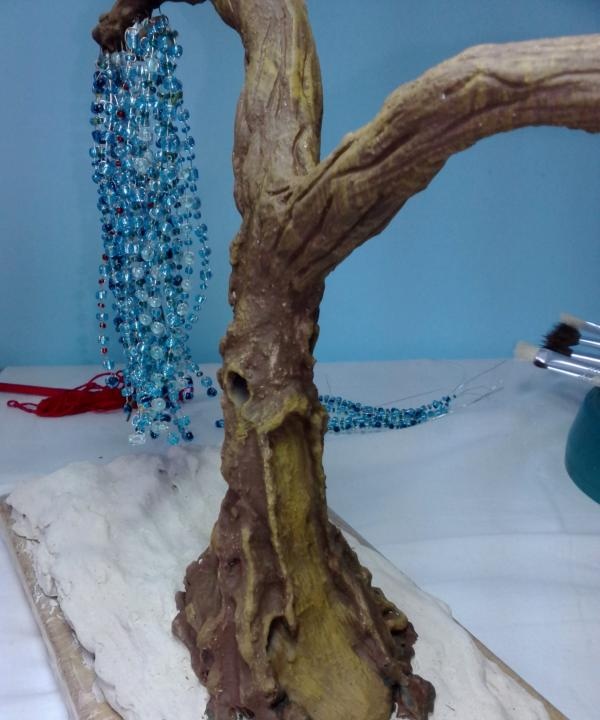
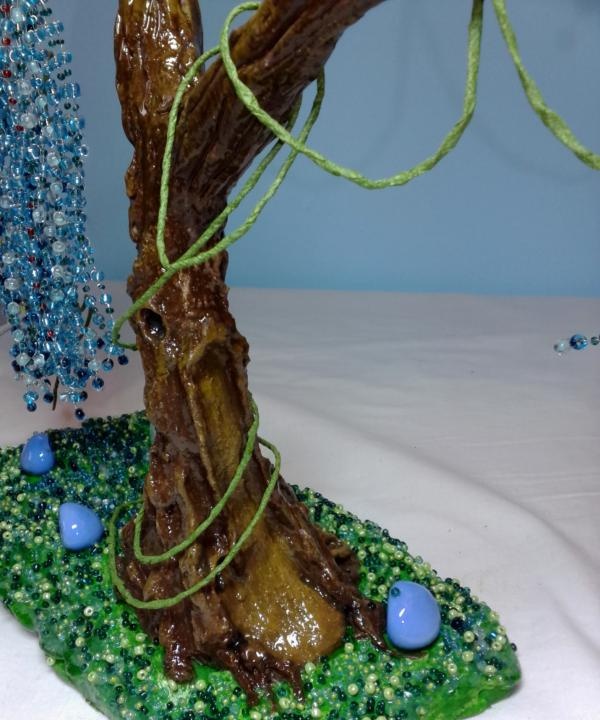
Next we will paint our stand.
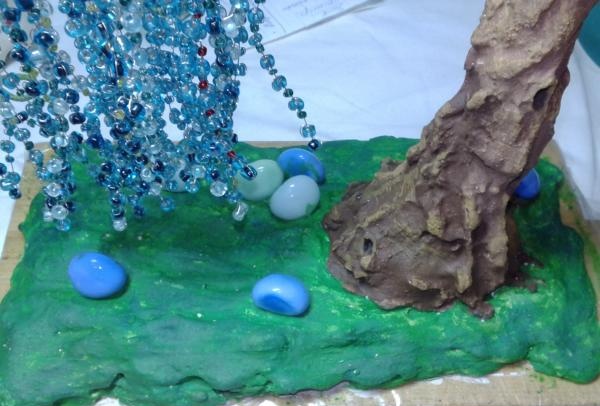
Using plaster I glued pebbles (7 pcs.).
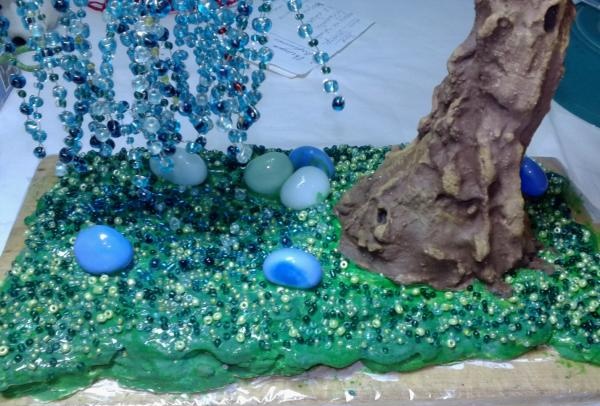
Covered it with glue and sprinkled it with beads in green shades.
And covered the tree with varnish.
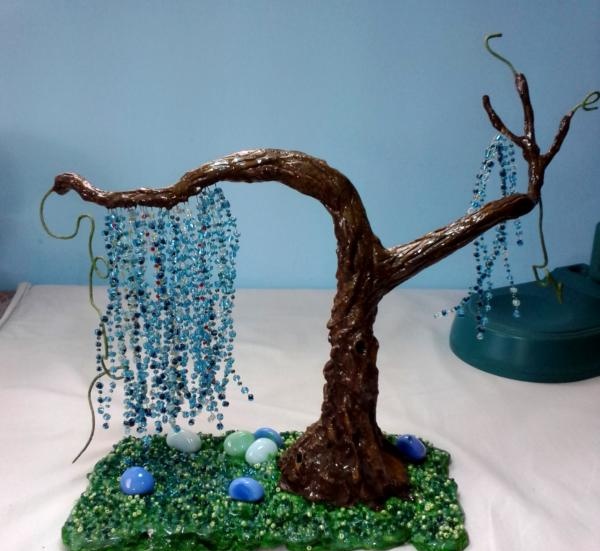
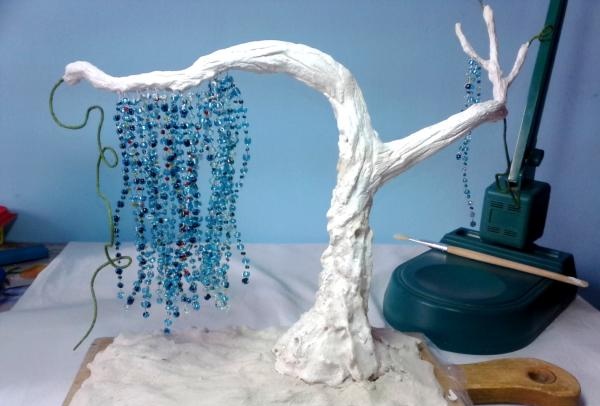
When the varnish had dried, I made another vine. She wrapped it around the right branch and trunk. For this vine I used beaded wire. I also wrapped it with tape. Making such a tree took me 11 days, spending a couple of hours every day. Height from stand to vine – 28 cm. Width – 34 cm.
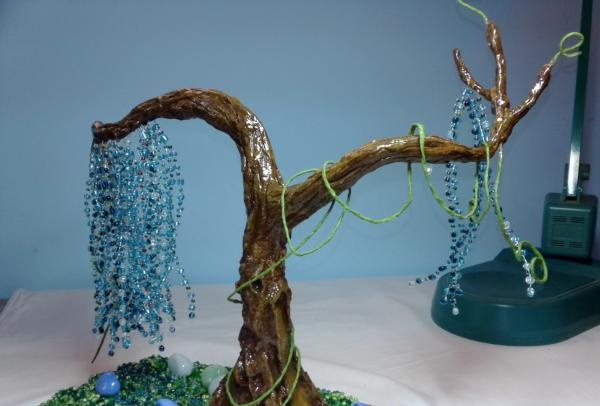
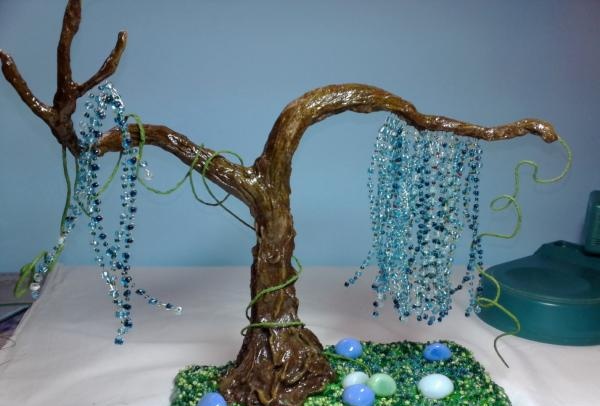
The fairytale tree is ready!