To work you will need:
• Beads – lilac, red, brown,
• Wire – thin and thick,
• Beads – pink,
• Floss threads – green,
• Auxiliary materials - electrical tape, cup, alabaster.
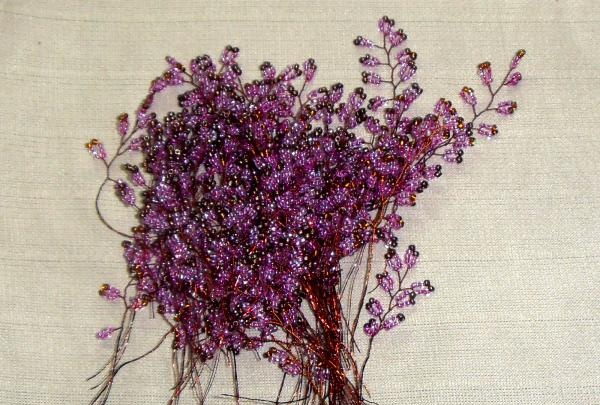
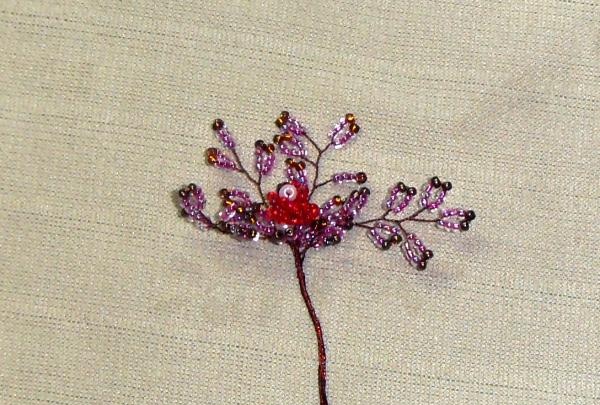
The main crown of the tree is made of lilac and brown beads.
We string beads onto a wire 30-50 cm long in the following sequence - 3 lilac, 2 brown, 3 lilac. Twist 1 cm.
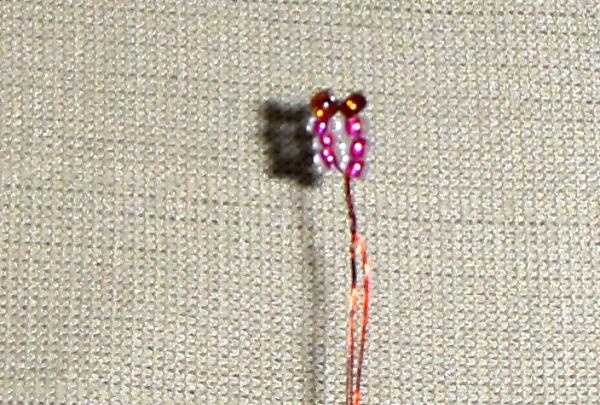
We repeat this loop on both sides of the wire, so that the loops are located one below the other. We twist the wire after each loop.
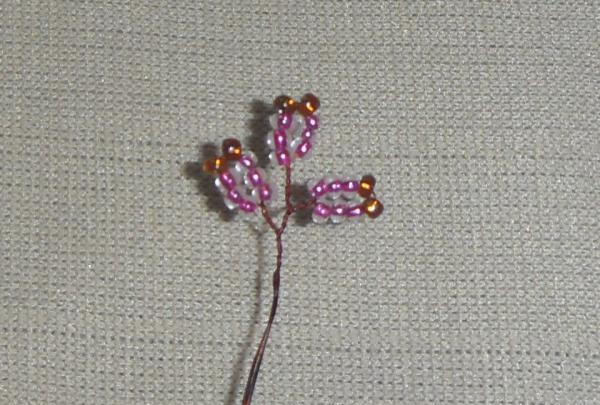
Thus, there should be 11 leaves on one branch.

You need to prepare 50-60 such branches - the more there are, the more magnificent the tree.
The branches may not be the same length - the number of loops on them should vary from 5 to 11 pieces.
Let's make flowers from red beads and pink beads.
We also string 8 beads onto a 40 cm wire and twist them.
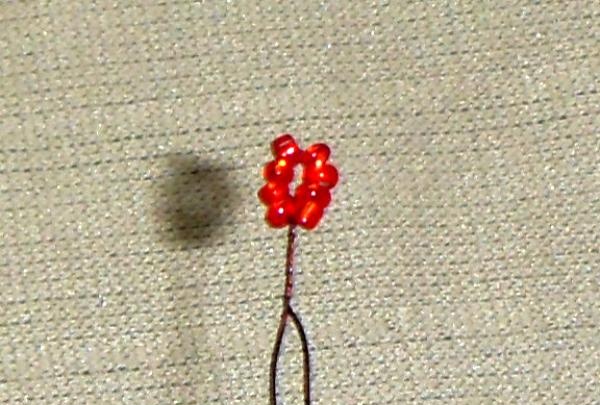
String 8 beads again and twist 0.5 cm
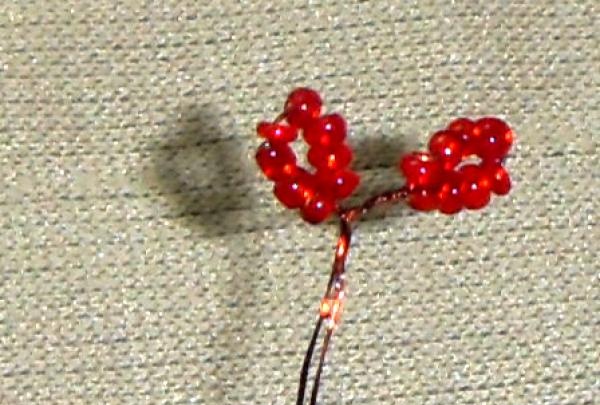
When we collect 6 loops on the wire, we connect them together into a bundle.
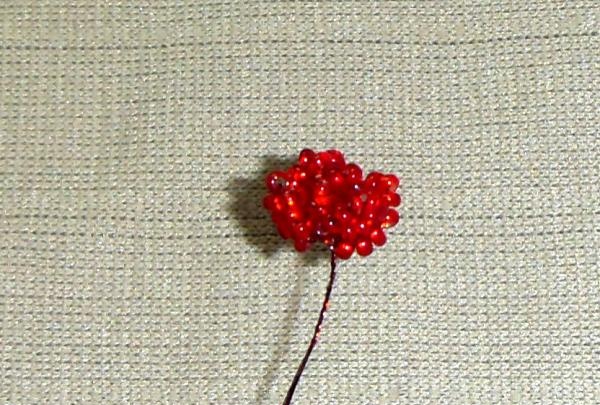
We string a bead onto one end of the wire, and pass the wire through the center of the bundle. We twist it.
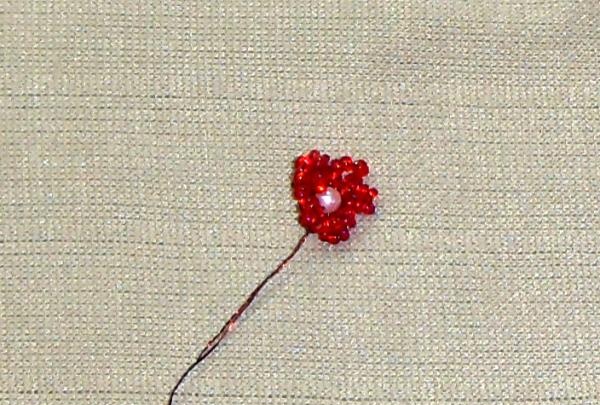
It is enough to make 10 such bundles.
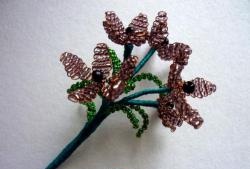
Next you need to collect all the elements crafts in bundles. Take 4 branches with loops and 1 flower and twist them together to form a whip. The branches must be taken of different lengths to create a more natural look.
We simply twist the remaining branches together in pairs. There should be about 10-15 of them.
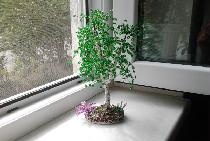
For the base of the tree, you can use ready-made material - a natural twig from any tree, or you can make it yourself. The latter option has a big advantage - the frame can be bent, bent, twisted in different directions to give the necessary relief.
We fold 3 pieces of thick wire, 80 cm each, into several rows and twist them together.

We wrap the frame with electrical tape (you can use masking tape).

Let's get to the fun part - creating the tree. We take a branch with a flower and tie it with threads to the top of the tree. We attach the second branch a little lower than the first.
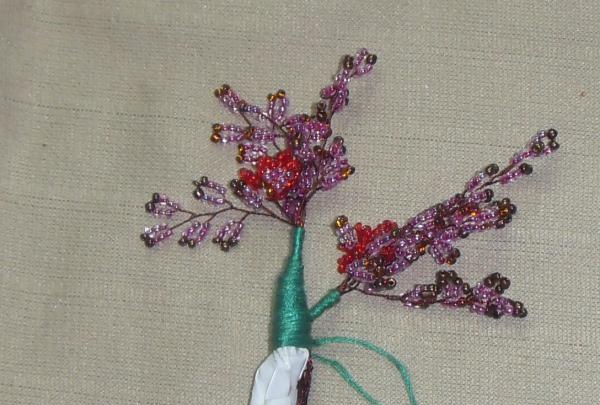
Having attached 4 bundles with flowers, we wrap several paired branches.
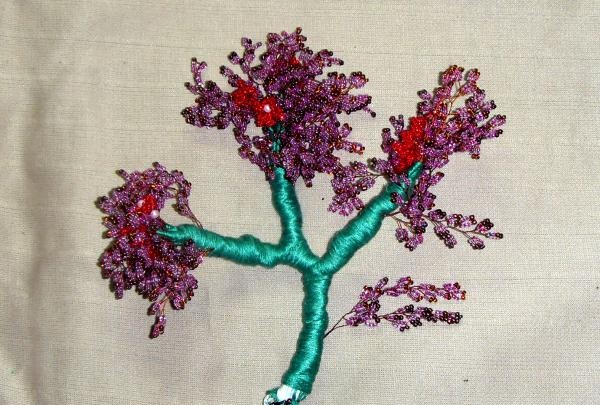
We do the same with the side branches, the only difference being that there will be 3 bunches of flowers.
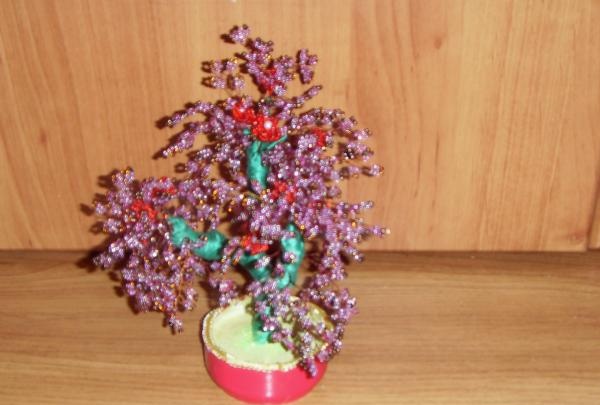
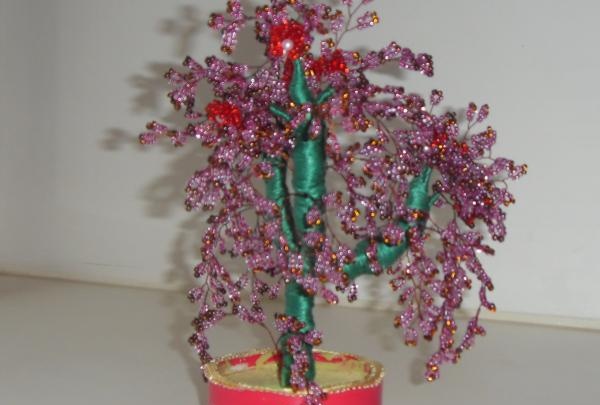
We get the finished tree.
We plant it in a prepared container - a jar, a pot. To do this, dilute the alabaster with water, pour it into a container and lower the tree into it. It is better to place the composition against the wall and secure it on the sides with some objects, so that while the alabaster dries, the tree does not fall, but grabs exactly in the center.
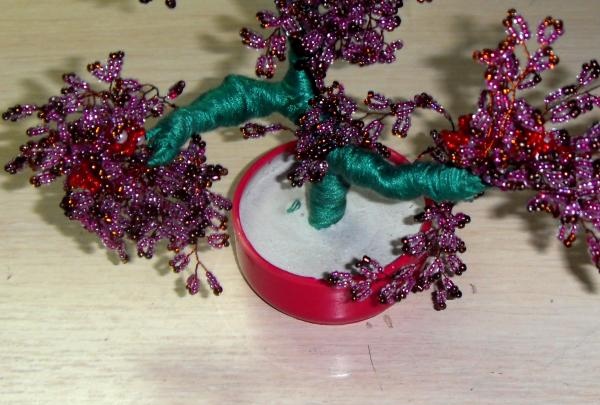
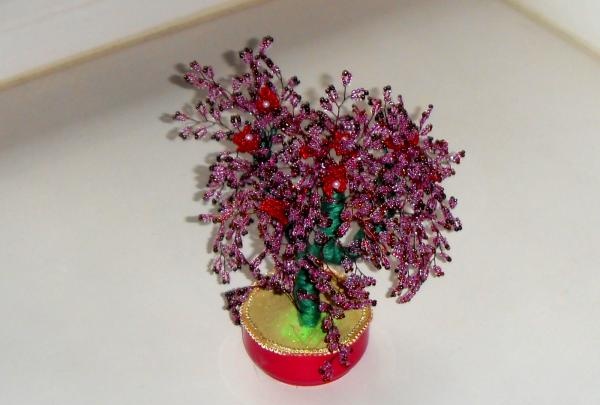
We mask the white color of dried alabaster with acrylic paint of any color. If desired, you can decorate the pot itself.
We straighten all the branches on the tree - the work is finished. This beauty fits perfectly into any interior and can serve as the best gift for a mother or grandmother.