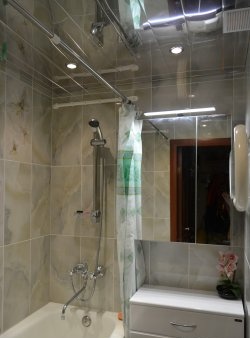
A panel or screen for the side of the bathtub is installed to give the bathtub itself a certain design, often being a single whole of the entire bathroom. It's not difficult to do this yourself. Anyone can do this after reading the recommendations below. The front panel will not only give the bath an aesthetic appearance, it also serves as a protection against moisture at the bottom of the bath, which is difficult to clean, and in some areas under the bath, this is completely impossible to do. Manufacturing stages.
A beautiful decorative panel will be obtained after completing a certain list of works:
- determining the type of front panel;
- production of frame base and its installation;
- reliable fastening of drywall to the base;
- laying tiles.
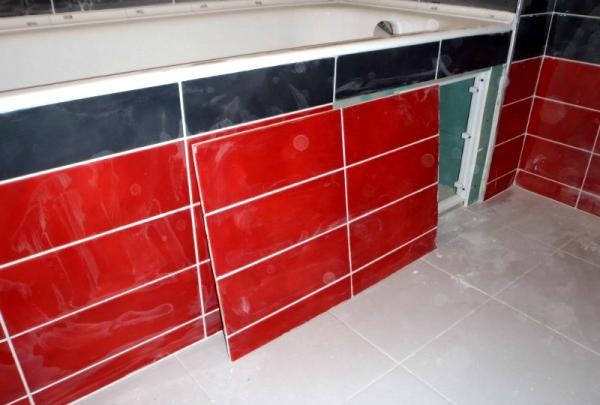
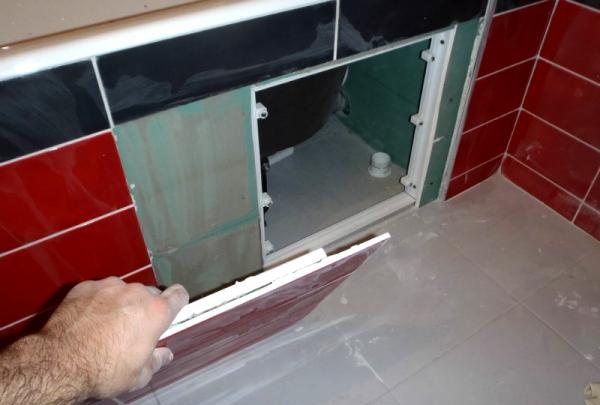
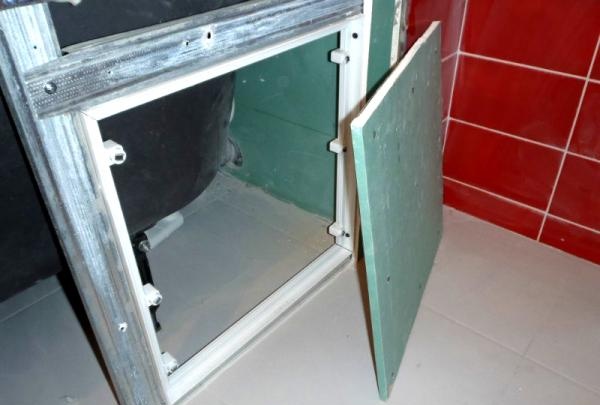
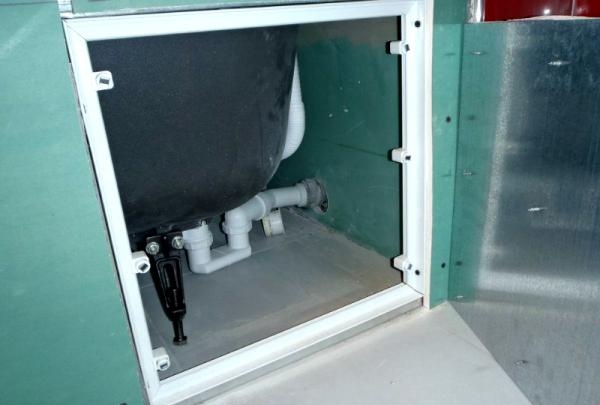
The panel can be made in 3 types: solid, with a special recess for the feet and at an angle. Regardless of the option, it should have an inspection hatch that will help service the bathtub communications. You can purchase it in stores that sell such products or make it yourself. Features of frame foundations. Usually the base is wooden or metal. The choice of frame base material depends on the type of tile.If it is heavy, then the base should only be metal. When making a metal frame base, you need a CD profile, a perforated corner, metal screws, and a seed screw. To make the base of the front panel, we first carry out marking work. Here you will need a plumb line, a square and a pencil. Using basic knowledge of geometry and the specified tool, we draw the contours of the required structure. Using metal scissors, cut the profile into the required dimensions. Then we connect the resulting parts using metal screws into a single frame. At this stage of the work you will need a screwdriver. Then we securely fasten the base on all sides using dowels with impact screws and a hammer. To strengthen the structure, we install vertical jumpers.
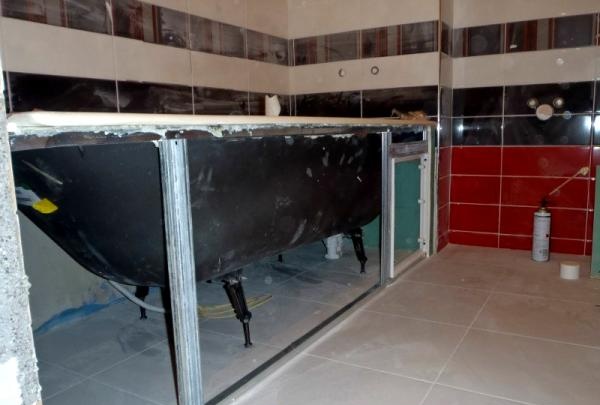
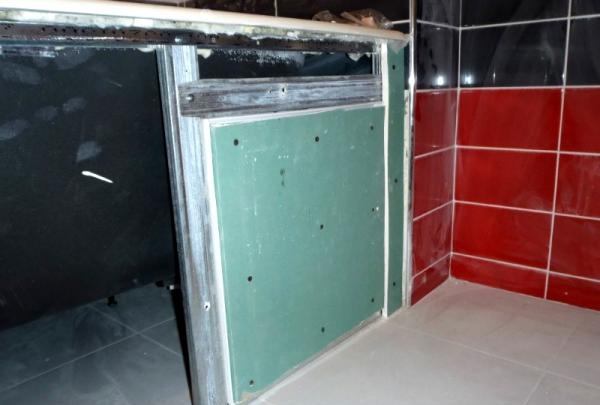
A little about fixing moisture-resistant drywall and the work after which you can start laying tiles. Using a drawing tool and a pencil, we draw the outline of the required part directly on the surface of the drywall and cut off the required part with a sharp knife. We fix the drywall with metal screws. We use a screwdriver with a special attachment and a limiter, which will help not penetrate deeply into the body of the drywall. We fasten in increments not exceeding 20 mm. In the corners, for strength and a perfectly flat surface, we install a perforated aluminum corner. The next stage is covering the surface of the front panel with a special mesh for plaster. It is secured with metal brackets. The top of the mesh is covered with Ceresit CM-11 glue. It must dry completely.
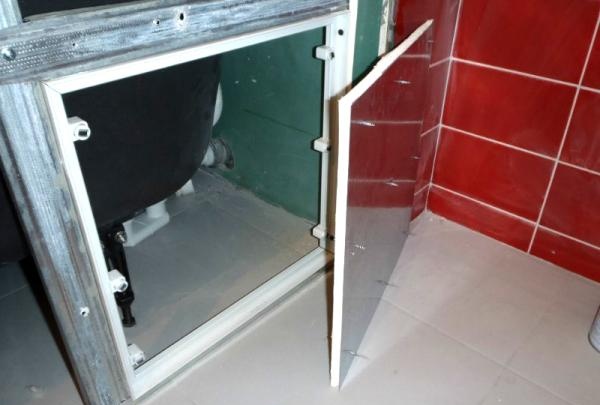
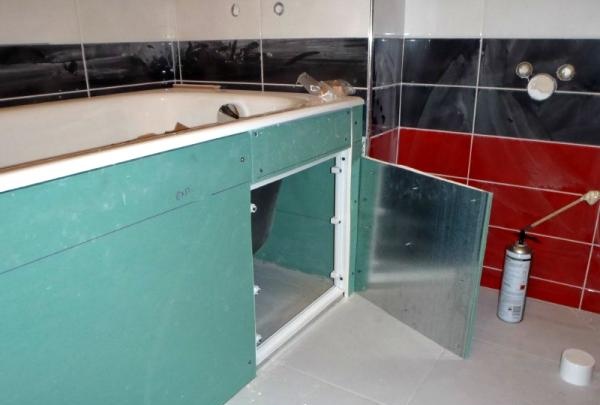
We lay the tiles according to all the rules.For this finishing job you will need a bucket of water, tiles, crosses to level the tiles, a spray bottle to wet the wall, and tile adhesive. Another level is needed to perform horizontal markings. The tiles begin to be laid from the lower left corner. After all the work is completed, the seams are rubbed with a special compound. The inspection door is installed using the same tile adhesive and is additionally secured with screws.