Do it yourself
Life hacks, master classes, useful tips, recipes.
home » Handicraft techniques » Scrapbooking » Scrapbooking cover » Making a passport cover
Materials we need to create the cover:
• Transparent passport cover;
• Brown pastel paper;
• Scrapbooking paper in light brown tones, a sheet measuring 15*15 cm and several small rectangles of arbitrary size;
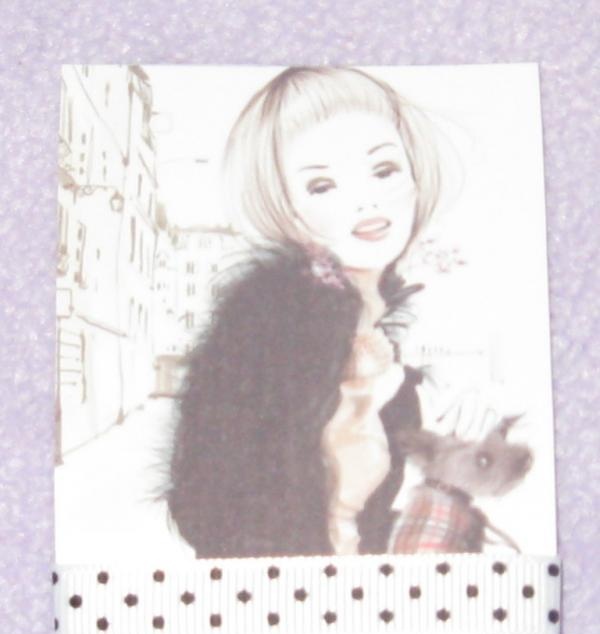
• Picture for scrapbooking with a girl;
• Cutting down small brown butterflies;
• White grosgrain ribbon with black polka dots;
• Double-sided tape;
• Acrylic stamp “Passport”;
• Two silver metal corners;
• Black ink pad;
• Additional materials: eraser, pencil, ruler, scissors.
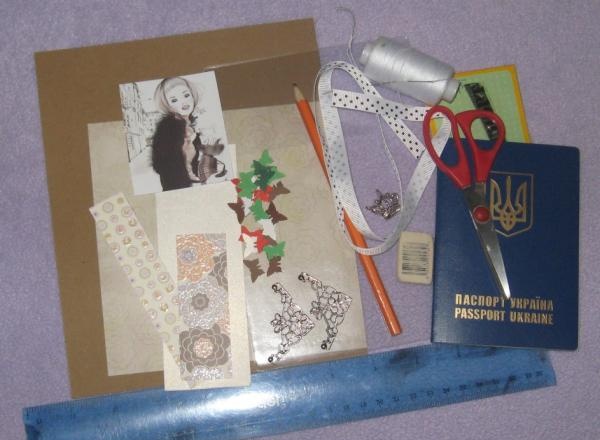
Cover materials


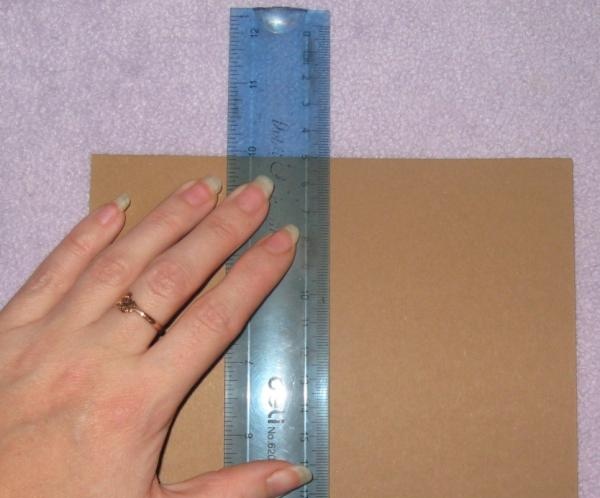
Cut half a sheet of brown pastel, attach the passport and cut out a rectangle measuring 12.5*18 cm.
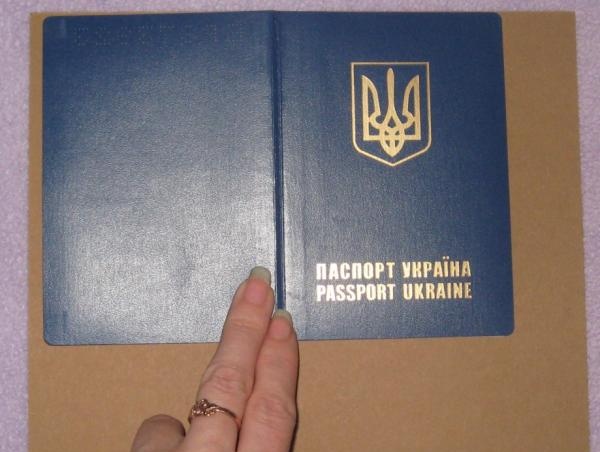
attach your passport

and cut out a rectangle


Divide the rectangle in half, draw an invisible line for bending using scissors.
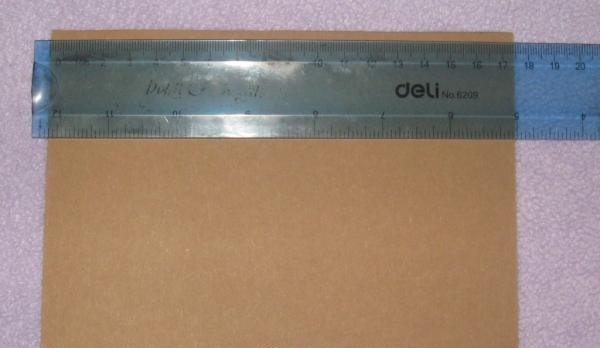
Divide the rectangle in half

draw a line of invisibility


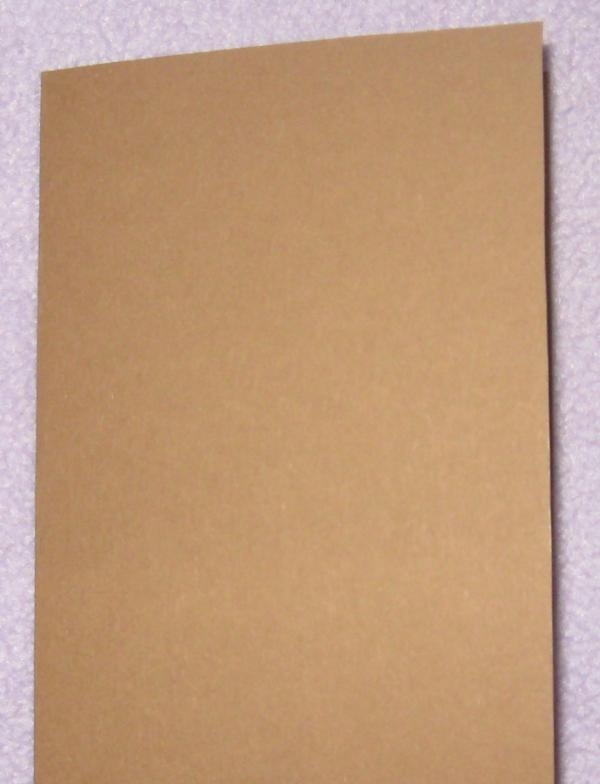
We get a blank for a folded passport measuring 9*12.5 cm.
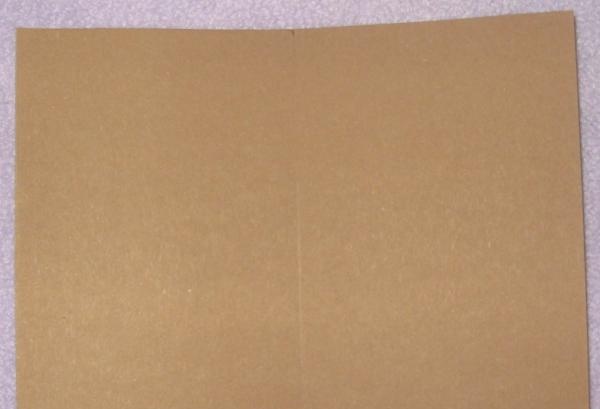
We receive a passport blank

folded


We try on the blank in a transparent cover.
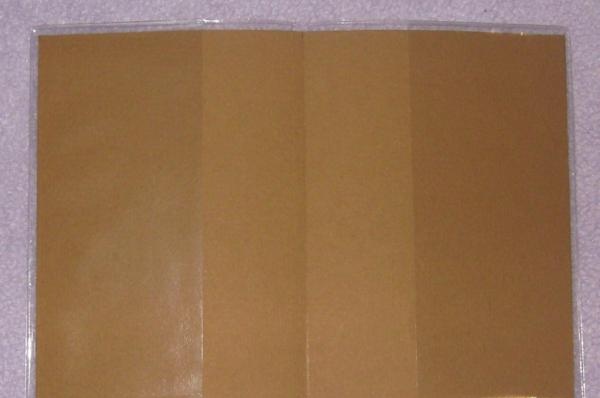
Trying on the blank

in a transparent cover


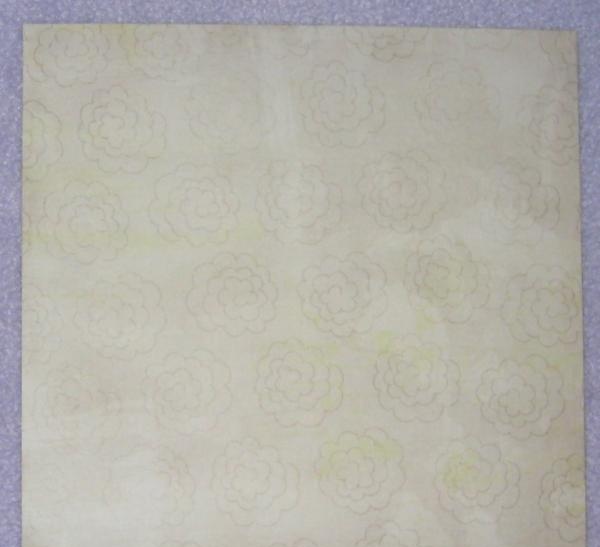
Let's move on to the top part. On a sheet of scrap paper, measure a rectangle of 8.5*12 cm and cut it out. This is for the front cover.
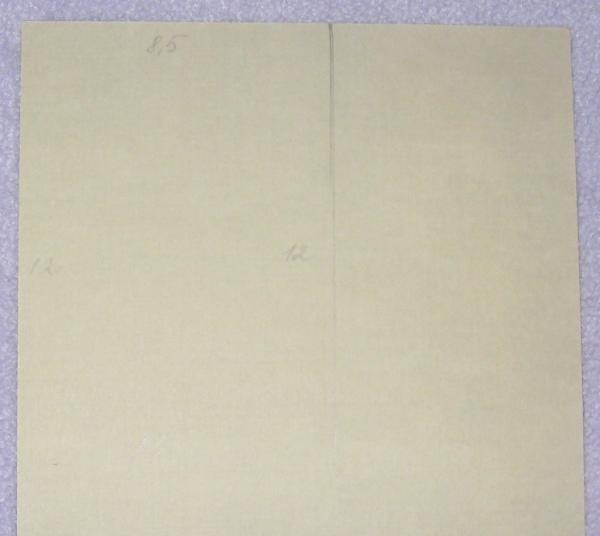
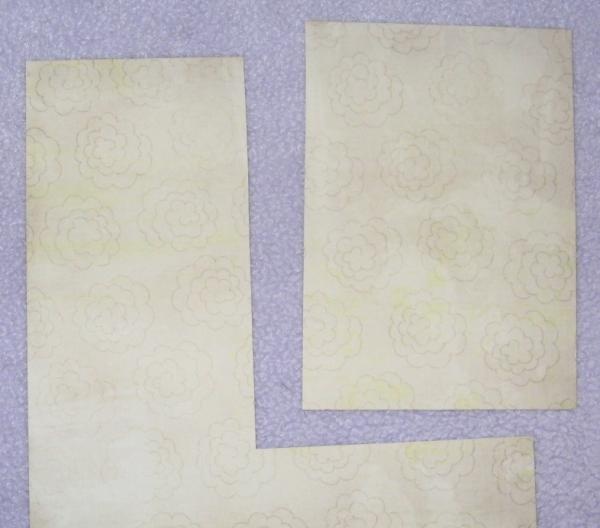
measure out a rectangle

cut out


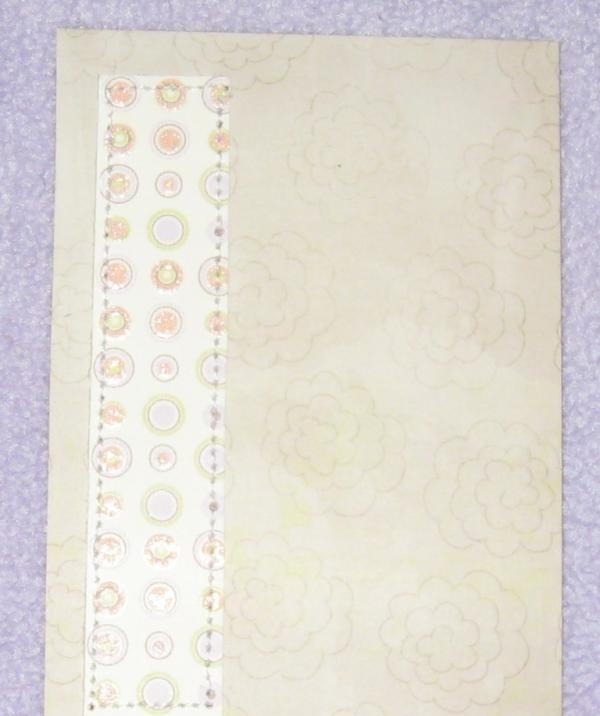
We glue the back part from two rectangles to also get one measuring 8.5*12 cm. We sew a rectangle of paper of a different color on a machine vertically, as in the photo below.
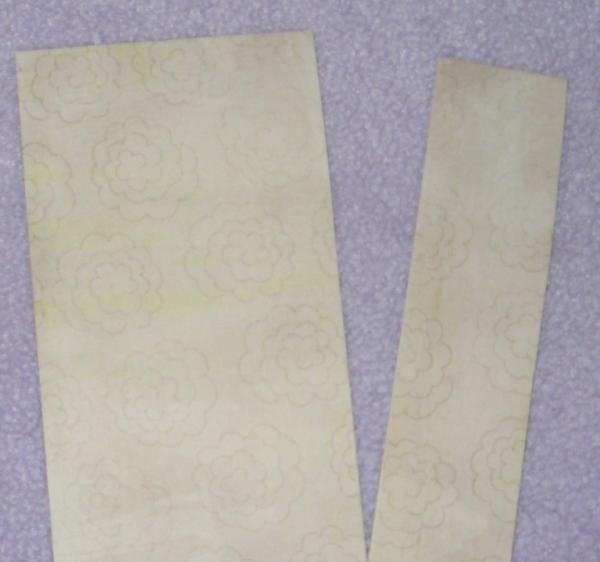
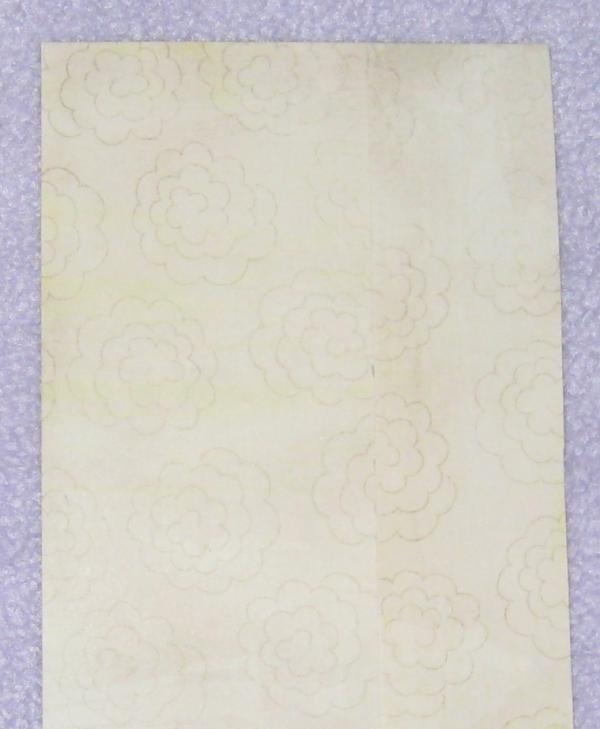
we glue two rectangles

get one size

sew another rectangle


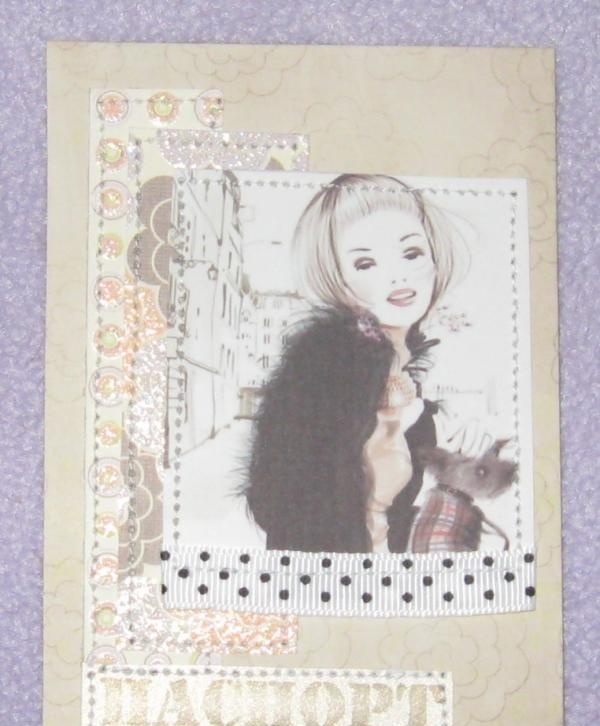
And we also sew another rectangle on the machine, but this time it’s smaller. We attach a ribbon to the picture with the girl, wrap it and glue it with small pieces of tape.
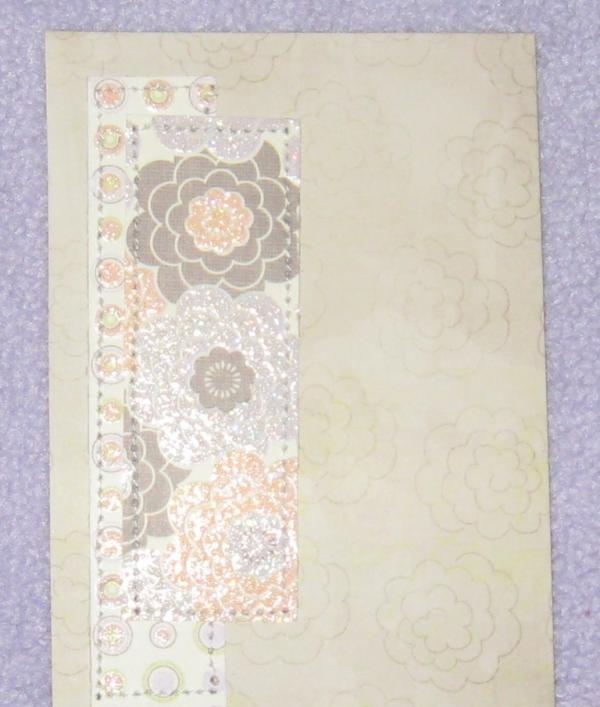
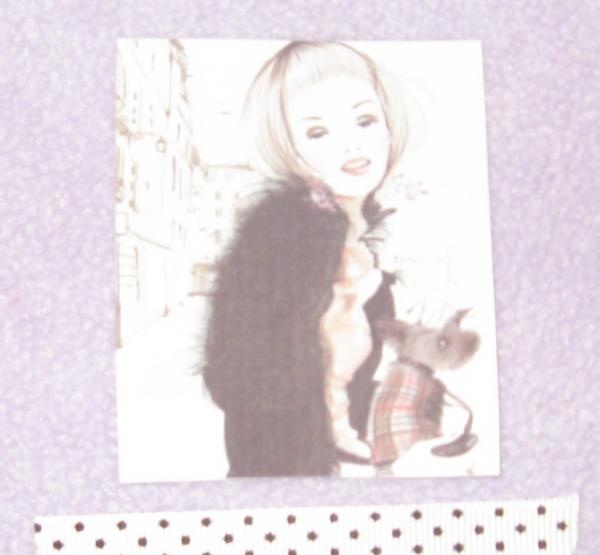
glue it in small pieces

To the picture with the girl

attach a ribbon


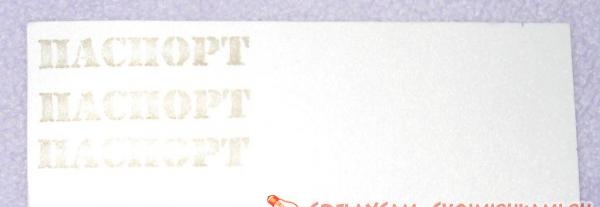
We attach the picture to the scrap paper and first sew on the ribbon. And then the whole picture in a circle, we also sew the second blank on a typewriter. On a separate sheet of white paper we stamp the inscription “Passport” and cut out a rectangle with the inscription.
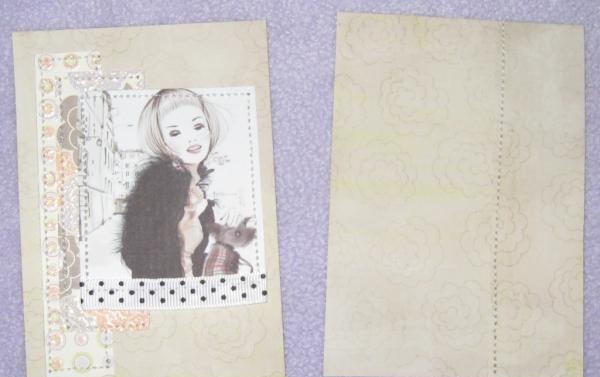
sew on the ribbon first

stamp the inscription

Sew on the inscription


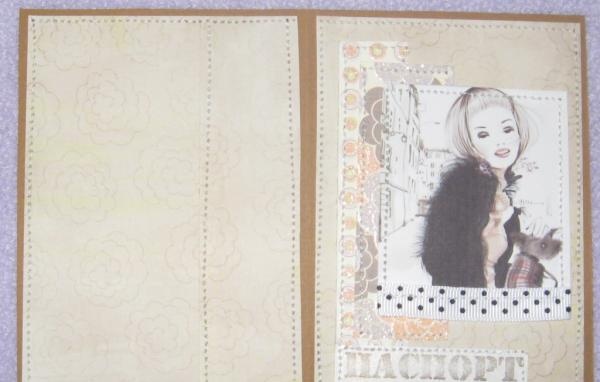
We sew the inscription on a typewriter. Using small pieces of tape we glue both parts to the base of the cover.
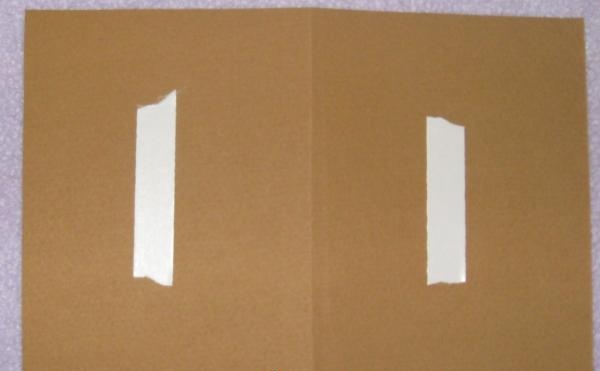
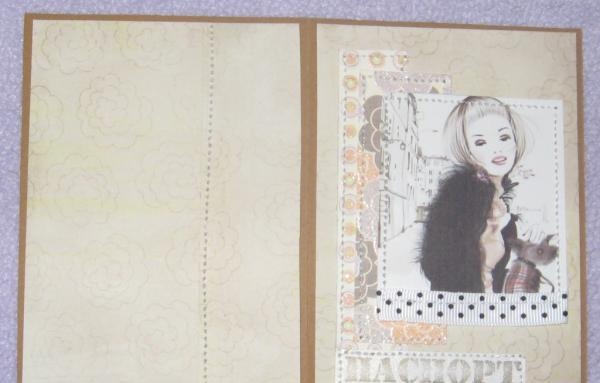
glue both parts

stitch both sides


And we sew both sides in a circle.

stitch both sides

glue the metal corners


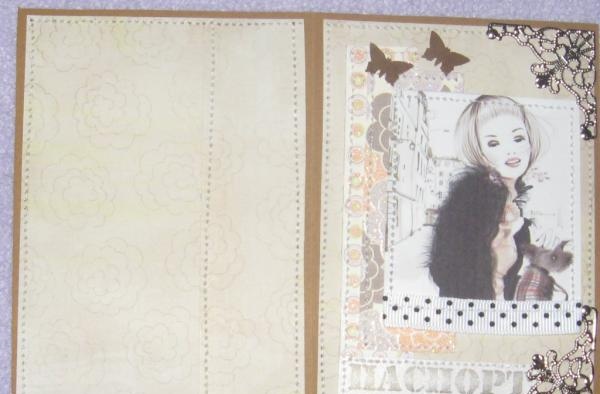
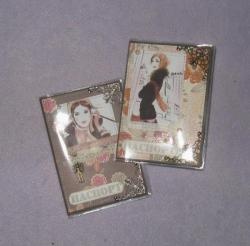
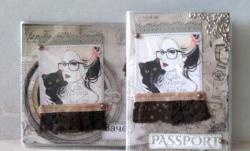
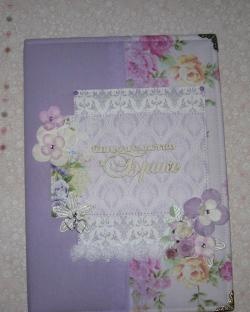
At the corners at the top and bottom, use a glue gun to glue metal corners and two butterfly cutouts. We insert it into the transparent cover and the new passport cover is ready!
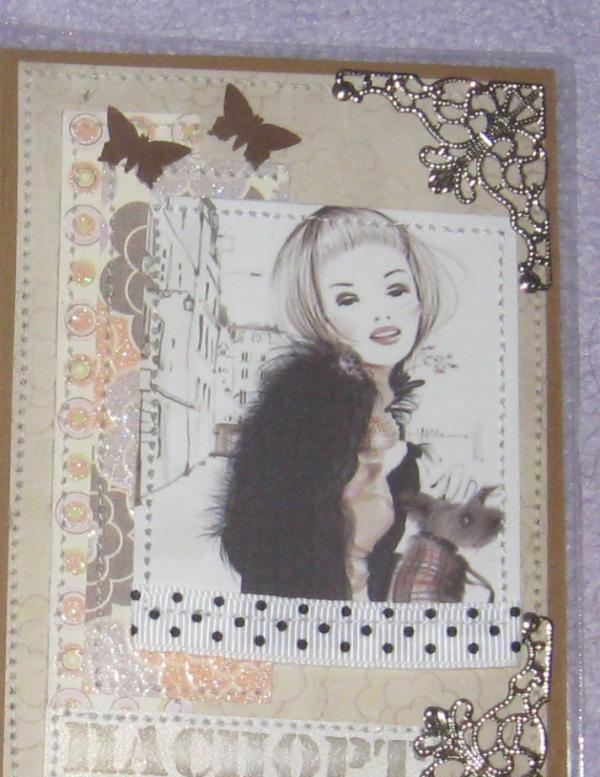
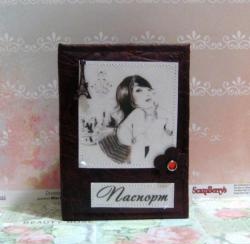
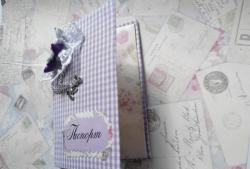
Passport cover
come back
Comment
  • bowtiesmilelaughingblushsmileyrelaxed relaxedsmirk
    heart_eyeskissing_heartkissing_closed_eyesflushedrelievedsatisfiedgrin
    winkstuck_out_tongue_winking_eyestuck_out_tongue_closed_eyesgrinningkissingstuck_out_tonguesleeping
    worriedfrowninganguishedopen_mouthgrimacingconfusedhushed
    expressionlessunamusedsweat_smilesweatdisappointed_relievedwearypassive
    disappointedconfoundedfearfulcold_sweatperseverecrysob
    joyastonishedscreamtired_faceangryragetriumph
    sleepyyummasksunglassesdizzy_faceimpsmiling_imp
    neutral_faceno_mouthinnocent
5+two=
Comments (0)

Second life of a microbattery

Cleaning the electric kettle: the most environmentally friendly and affordable method

How to make a soft starter from available parts with your own hands

Idea board for creative people | Do it yourself

«Do it yourself - with your own hands» - a site of interesting homemade products made from scrap materials and items at home. Step-by-step master classes with photos and descriptions, technologies, life hacks - everything a real master or just a craftsman needs for needlework. Crafts of any complexity, a large selection of directions and ideas for creativity.

We recommend reading

Washing machine error codes