Hello! Being an amateur electronics enthusiast, I am sure that everything we do - electronic toys - homemade products, or large projects - is all out of curiosity and laziness. Curiosity strives to understand and comprehend the vast, unknown, to figure out how it works there, what it does, how it moves. And laziness invents something to come up with, so as not to get up, not to approach, not to lift, not to get dirty or anything else important.
Since seeing information is better than figuring out what is about to happen in our device, or has already happened, or is happening, we will definitely want to receive this most useful information from our microcontrollers, sensors, or other devices. And in any case, I want to receive any messages, such as questions, warnings, reminders, emoticons, stars, hearts, and the like.
For those who also have a similar desire, here is a short guide to connecting and testing small and inexpensive OLED displays.
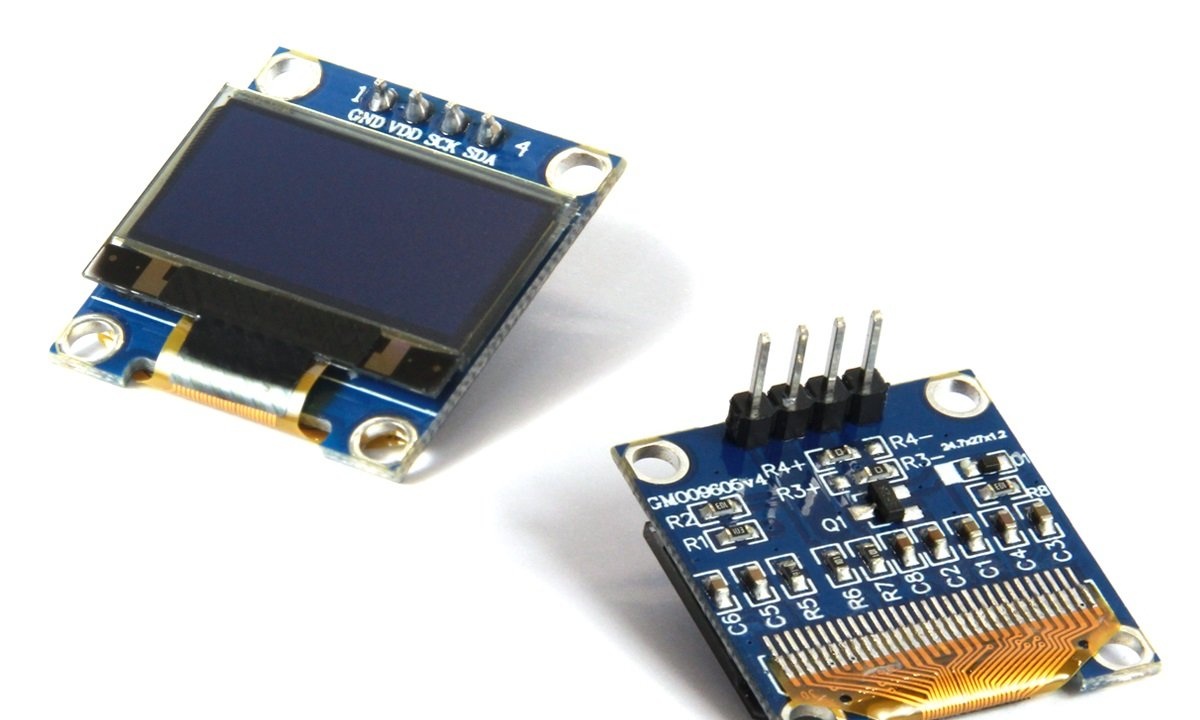
Next, we will talk about one of the OLED display models widely available for radio amateurs, controlled by the SSD1306 chip, with a screen size of 0.96 inches and a resolution of 128 * 64 or 128 * 32 pixels. These displays are ideal for small amateur radio designs and homemade projects.
Step 1: Basic Concepts
We will connect it to Arduino UNO / NANO, and we will also program it through Arduino.
- OLED is an Organic Light-Emitting Diode, i.e., a semiconductor device made from organic compounds that begins to emit light when an electric current passes through it.
- ARDUINO is a platform for training and building automation and robotics systems.
- ArduinoIDE - development environment. This is a free Arduino programming program.
- I2C – Inter-Integrated Circuits, inter-chip communication line.
- Sketch, aka code, aka program - Arduino terminology.
Follow the instructions to understand how to properly connect and configure the OLED display to the Arduino and how to display a custom message on its display.
We do everything step by step.
Step 2: Accessories
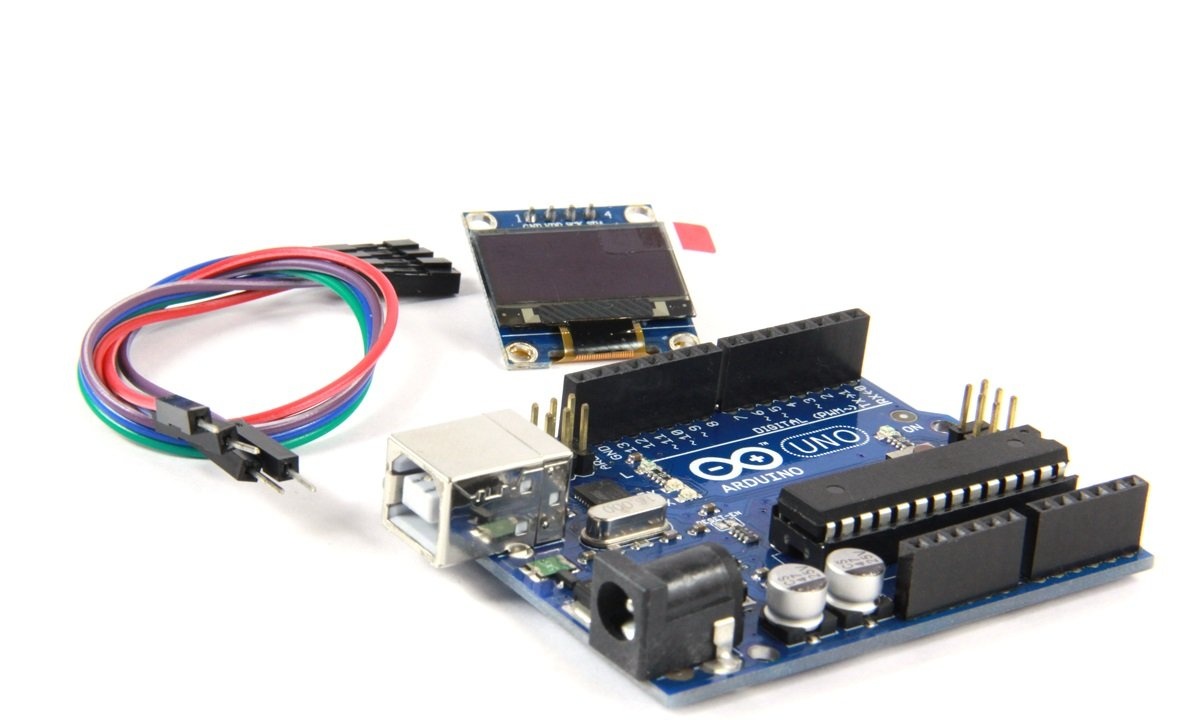
We only need four things:
- 1. The OLED display itself is 0.96” (you can buy it on Aliexpress or Ebay, it’s long, but cheap!).
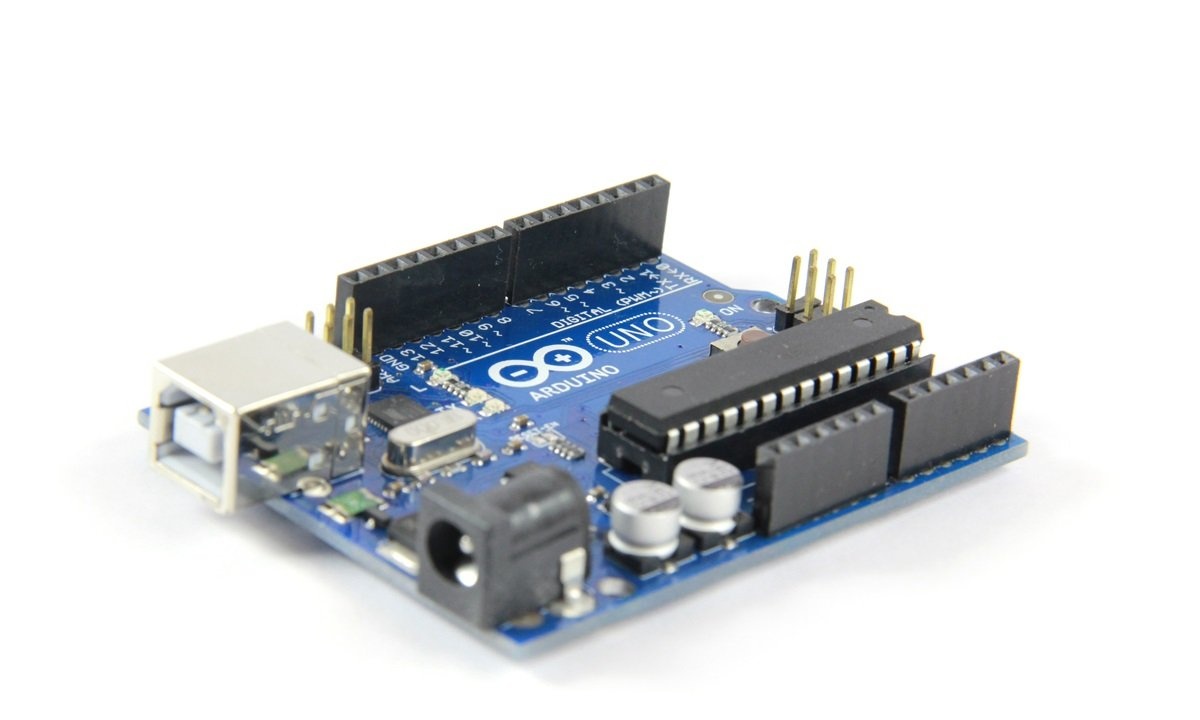
- 2. Arduino UNO / Nano (same place as the display).
- 3. Connecting wires (ibid.).
- 4. Computer or laptop with ArduinoIDE installed.
In general, buying parts for various projects on Aliexpress and Ebay is a very cool thing, while you are working on one project, parts for another are already on the way. The main thing is not to forget to place an order.
Step 3: Connecting the Display
The display is controlled by an SSD1306 chip, which supports five communication protocols, one of which is I2C. Data using this protocol is transmitted over only two wires, and the fewer wires in the case, the better, so it suits us quite well.But! There are modules with the SPI protocol and even with protocol switching, so be careful when purchasing this module.

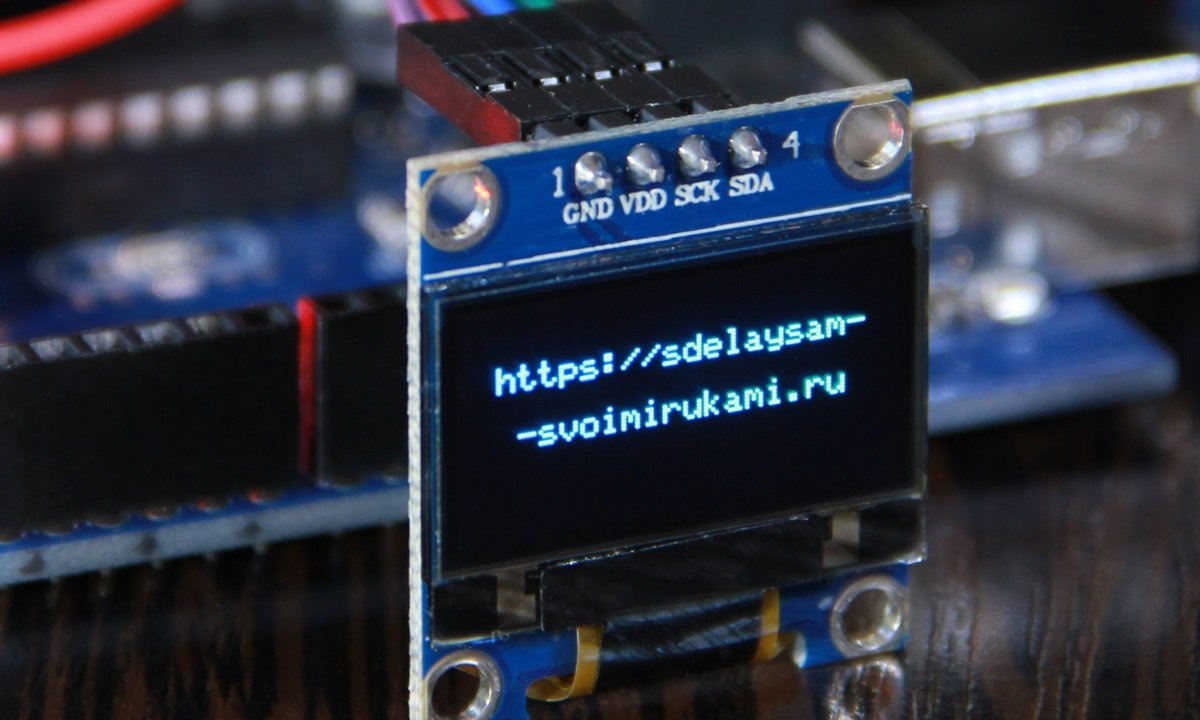
Pins used:
OLED display - SCL/SCK (clock) and SDA (data), “Plus” power (VCC) and “Minus” power (GND).
Pins used:
Arduino UNO - SCL/SCK on A5 and SSD on A4, “Plus” power (+5V) and “Minus” power (GND).
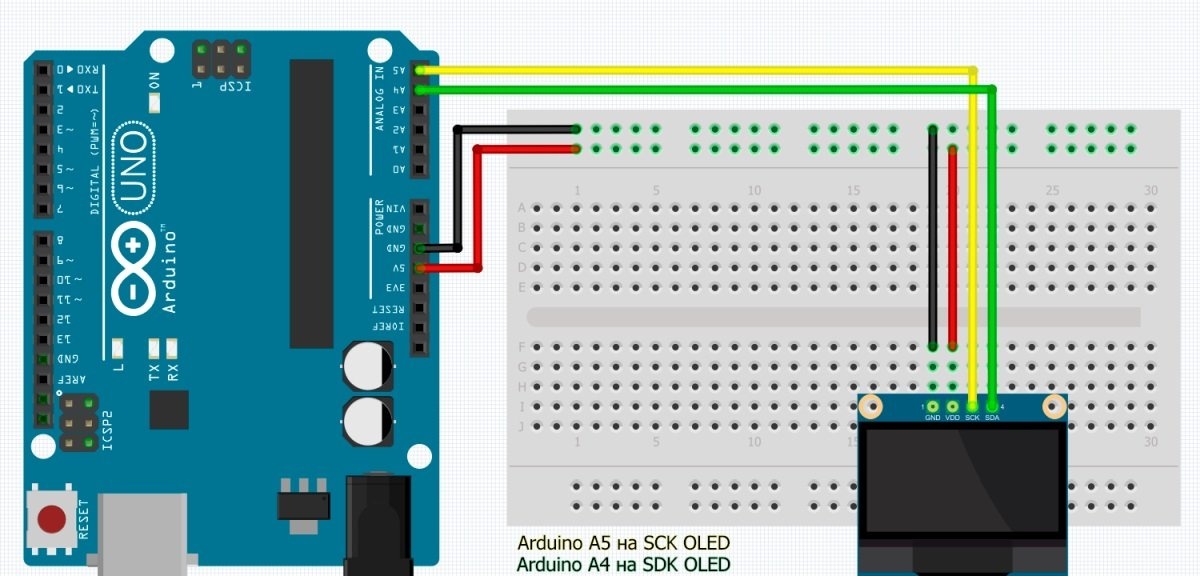
Connecting the display to Arduino:
- Vcc - 5V
- GND - GND
- SDA-A4
- SCL-A5
Step 4: I2C Scanner
Each device on the I2C bus has a hexadecimal address, it cannot be changed, it is hard-wired, every responsible manufacturer must indicate it somewhere on the case or in the instructions. There are modules with switches and jumpers that can be used to change the address, but... if the devices are ridiculously cheap, then the manufacturer may not bother to deal with such a detail, so you will have to determine it yourself.
In total, up to 127 addresses can be used on the bus - 119 for devices and 8 service addresses. Communication is carried out at these addresses. There is a main one, aka Master, and there is a slave, aka Slave - the Masters ask, the slaves answer, everything is simple.
Since our OLED display uses the I2C communication protocol, and the address may not be specified, we will try to find out this very address ourselves.
You can do this by uploading a short sketch to your Arduino board with the OLED connected. BUT!
Don't rush to upload the sketch to Arduino right away! Let's first download the “drivers”, i.e. let’s connect the libraries, and to do this we’ll immediately go to “Step No. 5”, and then come back and continue.
Step 4: Continued:
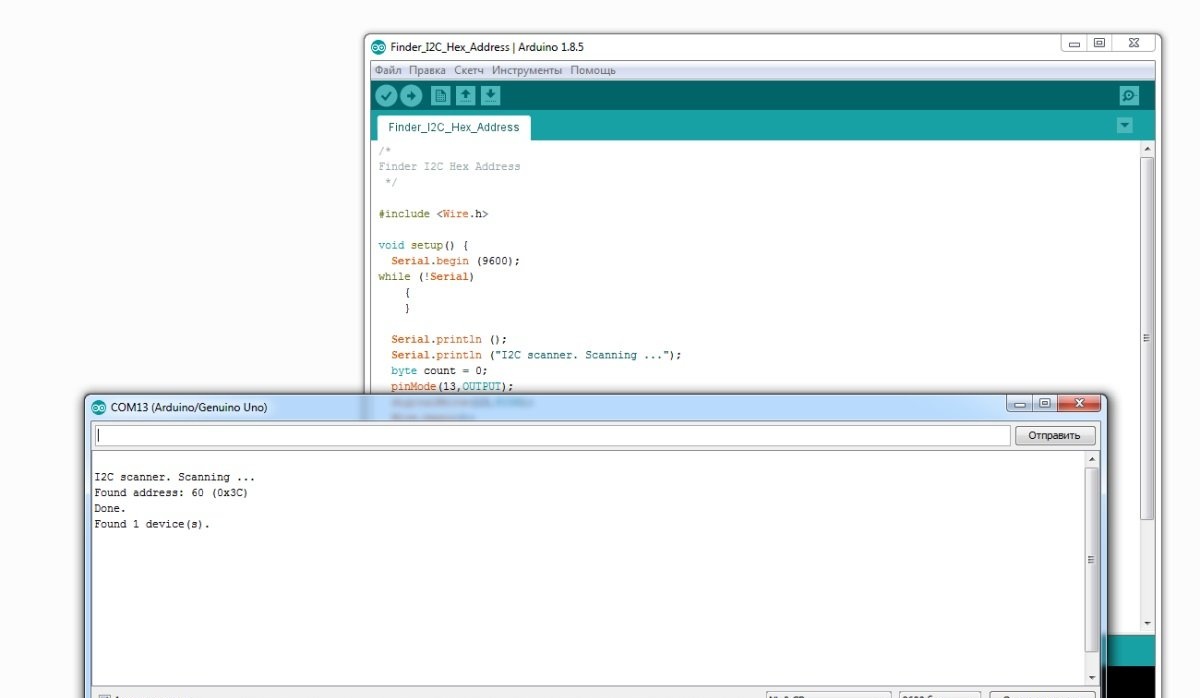
Download CODE Finder_I2C_Hex_Address.ino, upload to Arduino.
Open “Port Monitor”, set the speed to 9600 and if everything is connected correctly, the program will show the device address, in my case OLED with address 0x3F.
Step 5: Download and connect libraries
In order for everything to work correctly, and you do not have to reinvent the wheel, you need to connect a couple of libraries to the ArduinoIDE environment, namely: ADAFRUIT GFX and ADAFRUIT SSD1306, they are necessary for Arduino to be able to independently communicate with the OLED display.
You can include these libraries by following these steps.
- 1. In ArduinoIDE, go to the Sketch menu.
- 2. Select “Include Libraries”.
- 3.Select “Manage Libraries”.
- 4. Find ADAFRUIT GFX and install them.
- 5. Find ADAFRUIT SSD1306 and install them.
With the latest versions of the libraries, my display worked crookedly, this may of course be due to the curvature of my hands, but after I installed the very first versions of these libraries, everything began to appear smooth and beautiful. For some reason, Pushkin’s lines come to mind:
...and experience, the son of difficult mistakes,
and genius, friend of paradoxes.
Another way to install libraries is to find, download and install these libraries yourself.
For Github example:
https://github.com/adafruit/Adafruit-GFX-Library
https://github.com/adafruit/Adafruit_SSD1306
These are the same Adafruit libraries, but similar libraries can be easily searched in search engines, at the request of OLED I2C. Many enthusiasts write libraries “for themselves” and then post them on the web. Which library to use is up to you.
In order for the display to display Russian letters, special libraries are also needed, but this is a separate topic for a separate article.
After the libraries are installed, you can return to step 4 and finally find out the hexadecimal address of your display.
Step 6: Display Testing
To check if everything works as expected, run the test example from ArduinoIDE.
For this:
Go to FILE > EXAMPLES > SSD 1306 > Select 128x64 i2c
If you get "Error", try selecting SSD 1306 > 128x32 i2c.
If "Error" occurs again, try changing the I2C address on line 61 of the demo code and replace it with the address of your display that you determined in step #4.
If the error occurs again, you can try to edit the Adafruit_SSD1306.h file, it is located in the Arduino libraries folder.
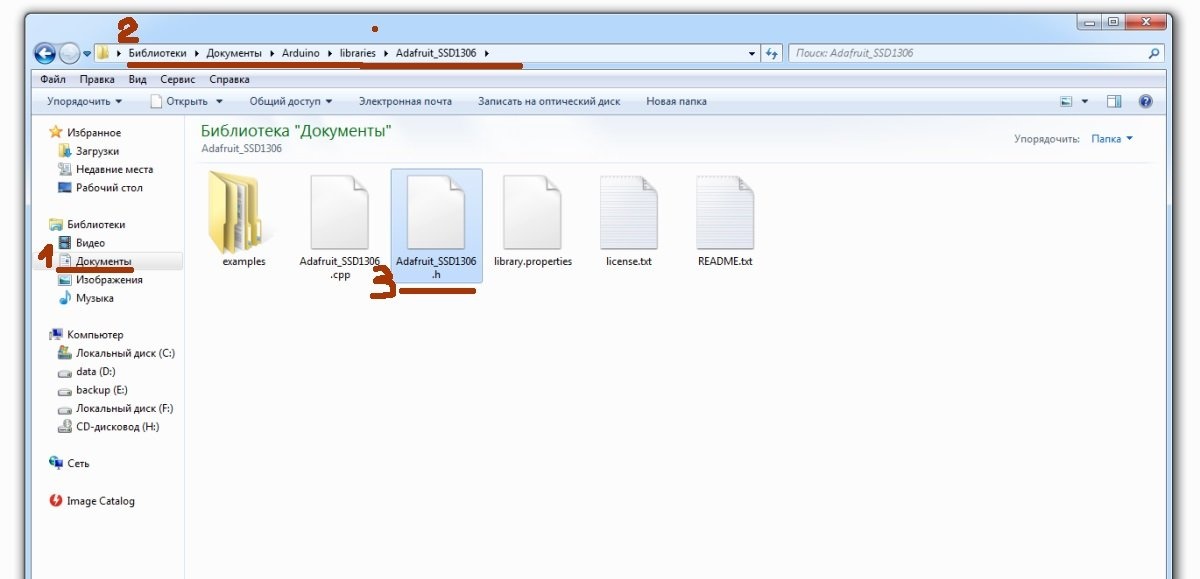
Open the Adafruit_SSD1306.h file in a text editor and find the lines:
//#define SSD1306_128_64
#define SSD1306_128_32
// #define SSD1306_96_16
Uncomment the line:
#define SSD1306_128_64. It should look like this:
#define SSD1306_128_64
//#define SSD1306_128_32
// #define SSD1306_96_16
If the error occurs again, you need to check the correct connections.
Once the download is complete, you will see a test animation on the screen, which means you have successfully set up your OLED display.
When you have thoroughly enjoyed this animation, you can move on to the next step.
Step 7: Write your own message
To write your own message, first create a new sketch in the ArduinoIDE programming environment.
In the header we include 4 libraries:
#include <SPI.h>
#include <Wire.h>
#include <Adafruit_GFX.h>
#include <Adafruit_SSD1306.h>
Then we write the reset protocol:
#define OLED_RESET 4
Adafruit_SSD1306 display(OLED_RESET);
In VOID SETUP we indicate the hexadecimal address of our display 0x3C, which we learned in “Step No. 4”.
Then, we initialize the display and clear it:
display.begin(SSD1306_SWITCHCAPVCC, 0x3C);
display.clearDisplay();
Next, in VOID LOOP we write the main code, that is, our message that we want to display on the display.
To do this, we describe the text size, text color, cursor position, and finally, display the message using the println command:
display.setTextSize(2);
display.setTextColor(WHITE);
display.setCursor(0,0);
display.println("Well done!");
display.display();
At the end don't forget to write display.displayso that the image is displayed on the screen, otherwise you will get a void.
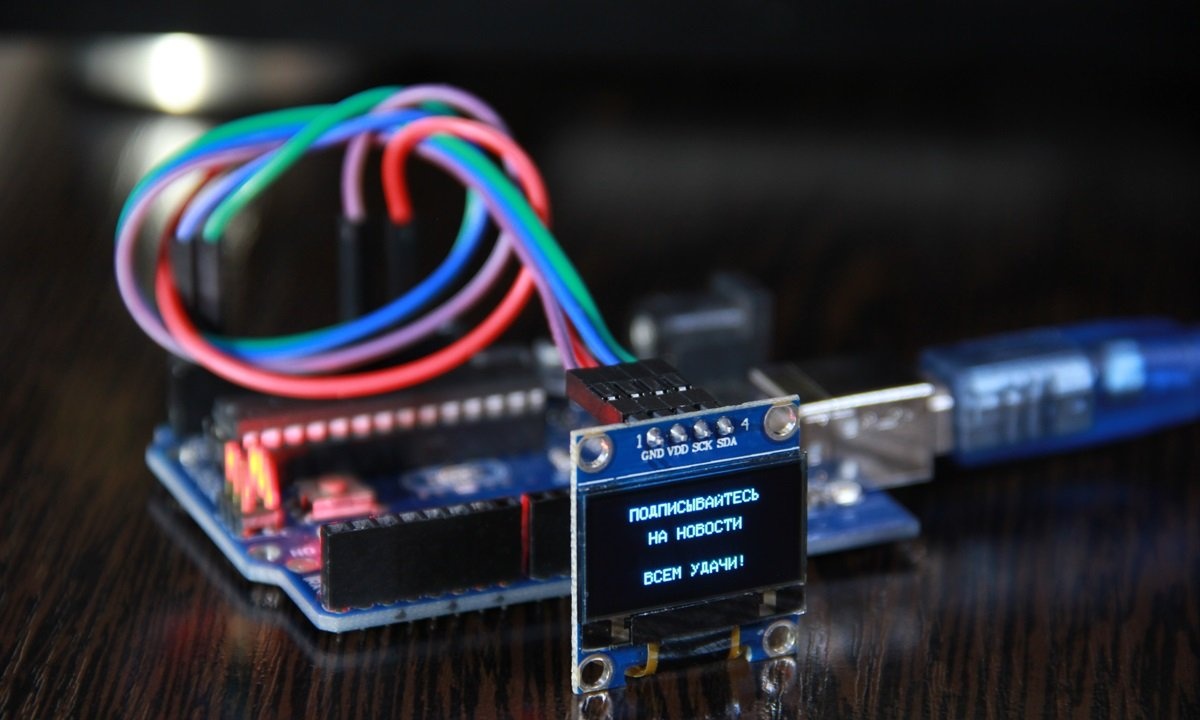
If you did everything correctly, a message will appear on the displays.
Here is the Starting_with_Arduino_OLED.ino CODE of our program:
code.zip
[946 b] (downloads: 4908)