Despite the obvious ease of use of a mobile device, most users sooner or later have a problem with their laptop overheating; as a rule, the culprit of the failure is one of the “heavy” applications. Another reason for overheating of the cooling system is hot weather; it also sometimes happens that the ventilation grilles are blocked by something, this often happens when the laptop is placed on an object with a soft covering, such as a blanket. The standard cooling system does not cope with its job and as a result, slowdowns, freezes, and drops in fps occur in games. It was this sad circumstance that made me think about additional cooling of the laptop.
Of course, many will wonder why not just buy a cooling pad from the store. It’s possible in a store, but a high-quality stand will cost quite a lot of money, besides, I was simply interested in making a cooling system with my own hands, especially since due to the nature of my activity at that time I was able to get most of the materials I needed completely free of charge.
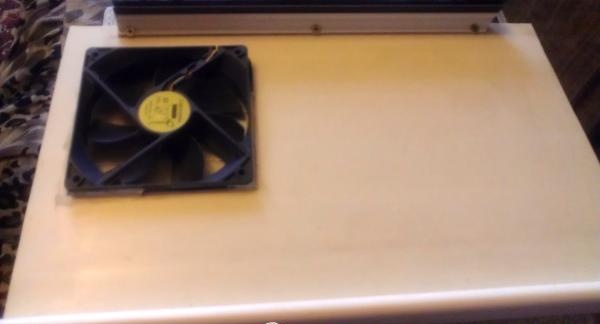
So, by the nature of my activity at that time I was associated with the assembly of plastic windows and doors, and I chose one of the small sections of a plastic window sill as the basis for the stand. The good thing about the window sill is that it consists of two thin plates connected by stiffening ribs, which fit well into my idea.
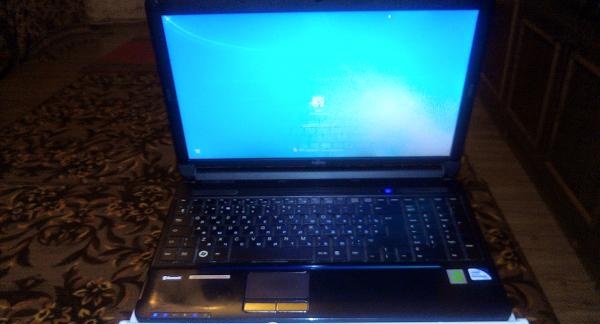
So; When I got home, I used a grinder to bring the size of the window sill to the size of a laptop, in my case it’s a FUJITSU AH 530, plus a centimeter of extra space on the sides.
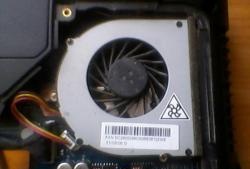
The next stage is a trip to a computer store in search of a suitable cooler; according to my idea, it should have been a fan powered from the laptop’s USB port. However, I could not find the desired copy and I had to be content with an ordinary cooler measuring 120 by 120 mm, voltage 12 volts, current 300 milliamps.
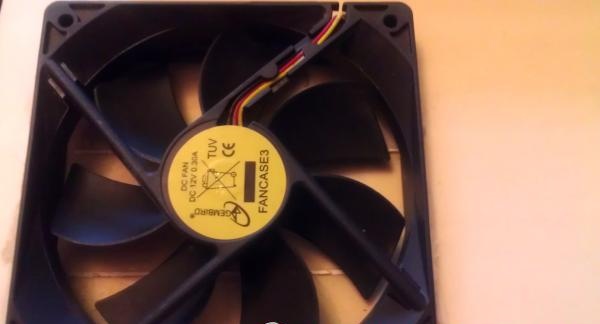
I decided to power the cooler from a radio-controlled car charger lying around at home. The charging current provided almost the necessary - 250 milliamps, but the voltage was only half the permissible - 6 volts. However, the propeller spun quite vigorously, but at the same time quietly, which suited me quite well. I decided to place the cooler in the stand in the place above which there should be a ventilation grill located under the processor, in order to additionally blow it from below.To do this, I marked the contours of the cooler socket and, using the same grinder, cut it out. As it turned out later, this was not an entirely optimal choice of location for the additional fan, but more on that later.
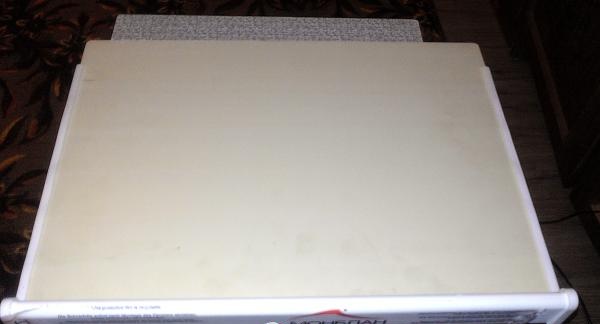
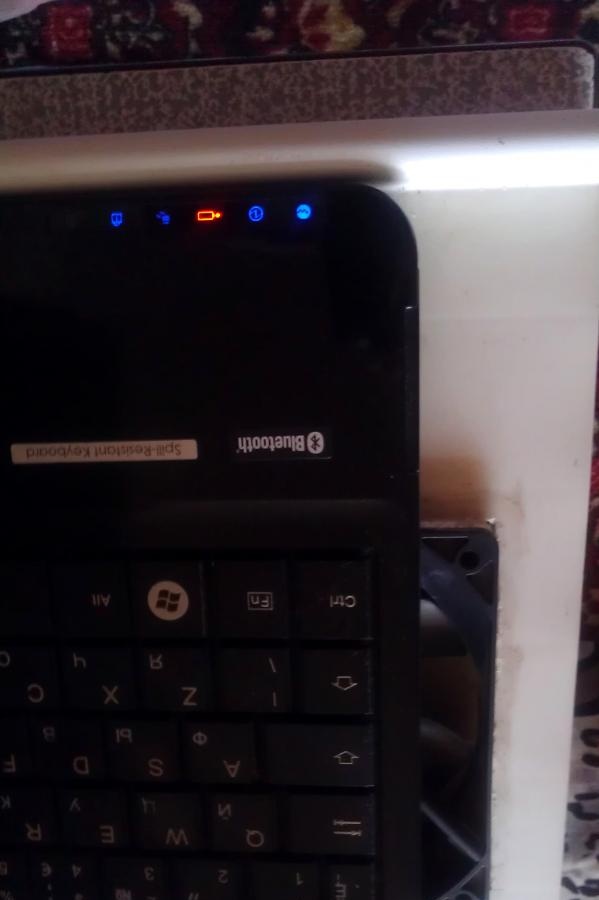
The placement of the laptop on the stand turned out to be as follows - the front edge of the lower part of the laptop rests against the side of the window sill, which prevents it from sliding off the stand even in a vertical position. The back of the laptop is mounted on a plastic bead with a rubber edge - a seal (screwed to the base with self-tapping screws), thanks to which it does not slip; in addition, when positioned horizontally, the laptop keyboard is at an angle to the user and its use is quite comfortable.
I installed the fan parallel to the bottom of the laptop case using ordinary plumbing sealant. The presence of cavities inside the main part of the stand allows the cooler to freely force air flow, and wires from the fan can be routed through them to either side. I had to come up with a plug for connecting the fan to the power supply myself in accordance with the connector located on the power supply cable. To assemble the plug, I used a wire connector; with two screws I secured the wires from the cooler, and the contacts were pieces of a metal antenna from a broken machine control panel. Thanks to this design, the cooling power supply can be connected only when necessary.

So, after making this simple cooling pad, I, of course, decided to test it in action. The popular game World Of Tanks was chosen for testing, the fps increase was approximately from 5 to 10 points, and the heating temperature of the central processor, motherboard and laptop hard drive also noticeably decreased.The cooling effect was best manifested when it was slightly moved to the side and the fan blew the hot air coming out of the laptop grilles upward.
I consider the resulting design to be quite successful; the stand is used both for cooling (especially helpful when working with a laptop in the evening in bed, on a blanket), and as additional protection for the bottom of the laptop from possible external damage or accidental contact with water (sometimes on a kitchen counter). table). In the future I plan to install another cooler (fortunately there is enough free space), which will increase the cooling effect.