Of course, you can immediately contact the Service Center. But, as a rule, it is too expensive. And sometimes for a long time. Often “services” deliberately delay the execution of an order in order to “aggravate the situation” and take more money from a client who is incompetent in matters of computer maintenance.
What if you try it yourself? It's not the Gods who burn the pots! And it’s not just about the money, but the fact that you can easily, sitting with friends in the bathhouse, for example, as if by chance say: “Yesterday I spent the whole day fiddling with the computer. Repaired... contact me if anything..."
And it pleases your own pride, and elevates it in the eyes of others. Well, go ahead!
We will need:
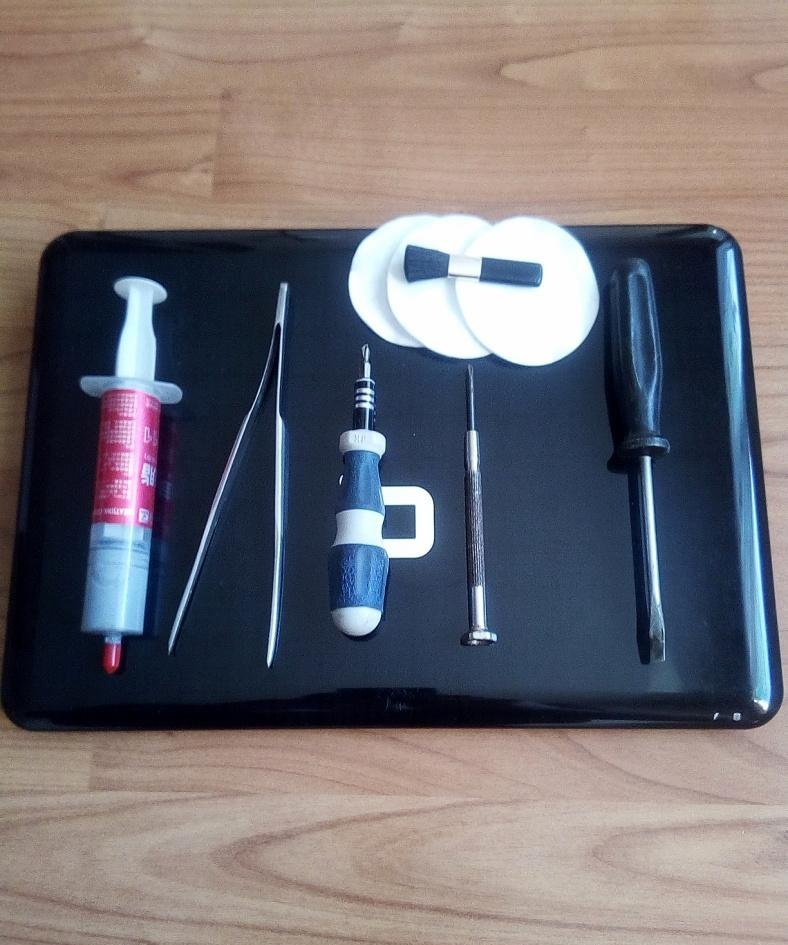
- Thin Phillips screwdrivers (preferably well-magnetized).
- Flathead screwdriver.
- Tweezers.
- Cotton pads and a small brush.
- Thermal paste (cooler paste). Sold at any radio store.
Disassembling a laptop
First of all, remove the battery.
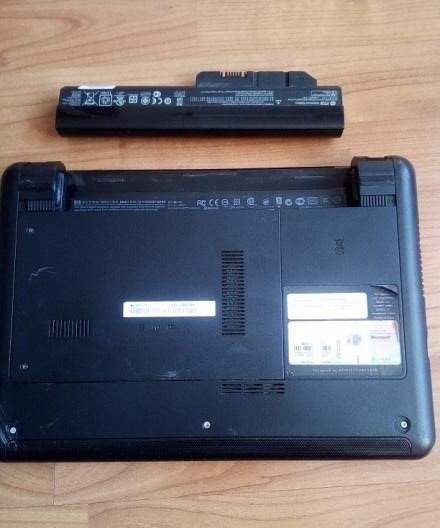
Now, very carefully examining the lower part of the case, we look for the mounting screws.
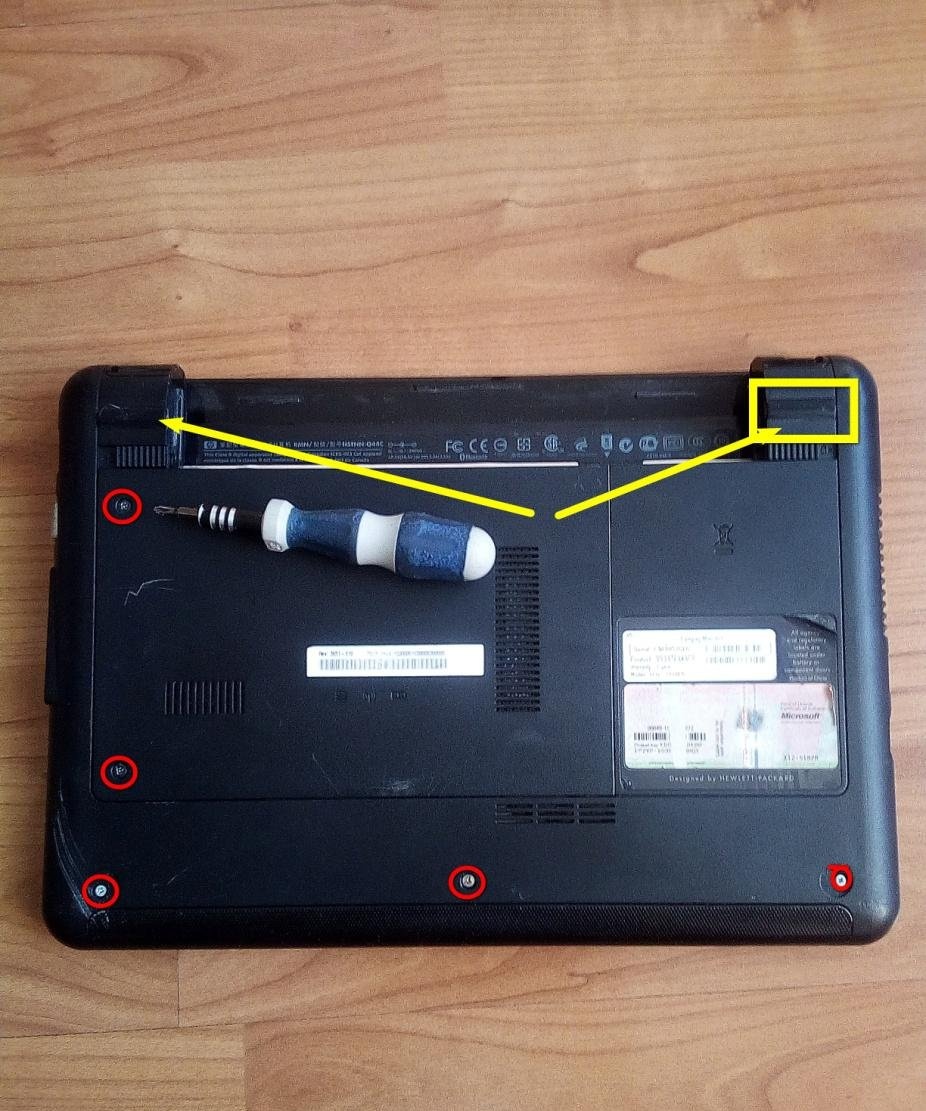
They can be either clearly visible or hidden under plugs (arrows).

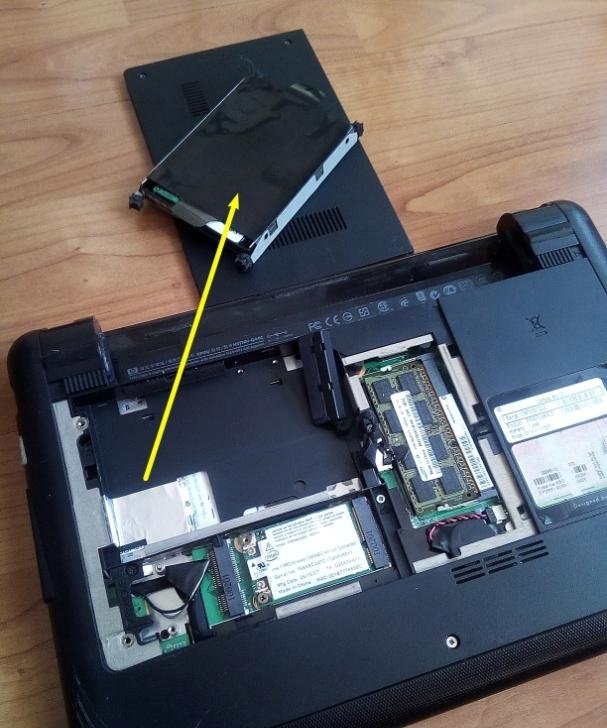
After removing the cover of the compartment with the hard drive, remove the drive itself, first disconnecting the connector. Let's put it aside.
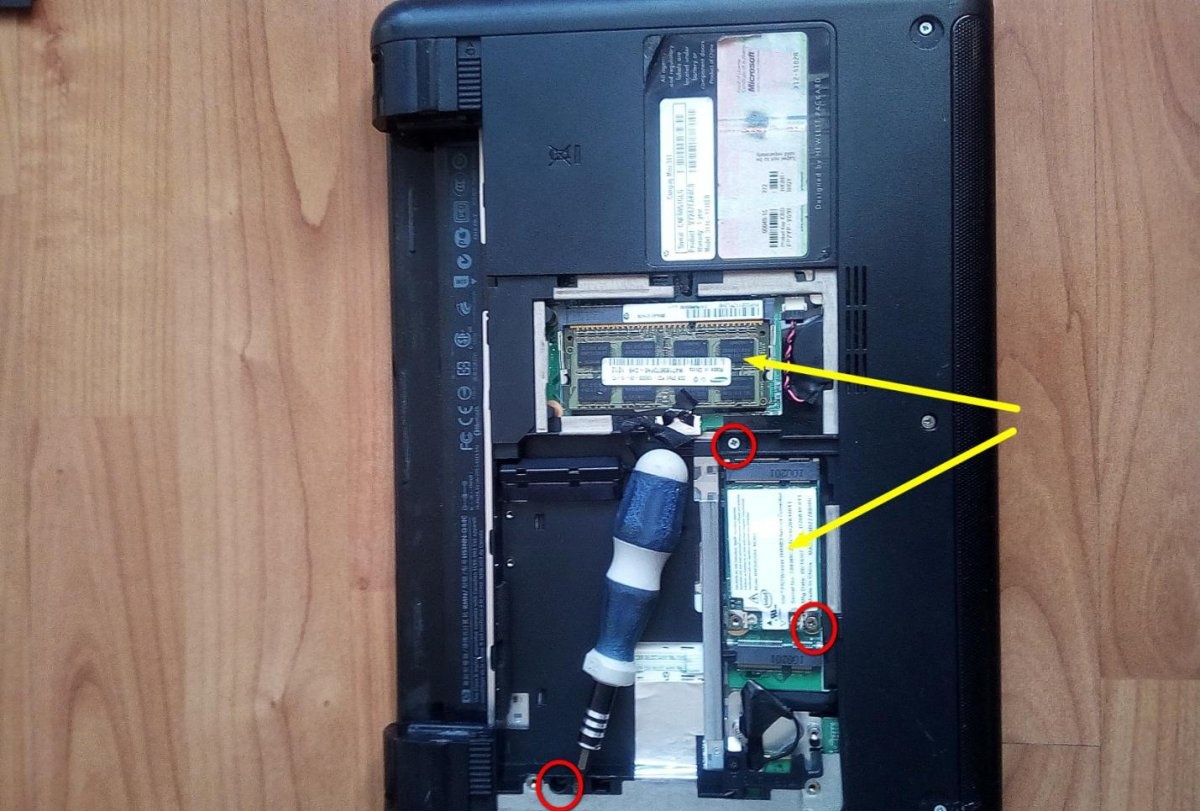
We look for screws that may be under the hard drive, and also remove the RAM modules, Wi-Fi and Bluetooth (yellow arrows).
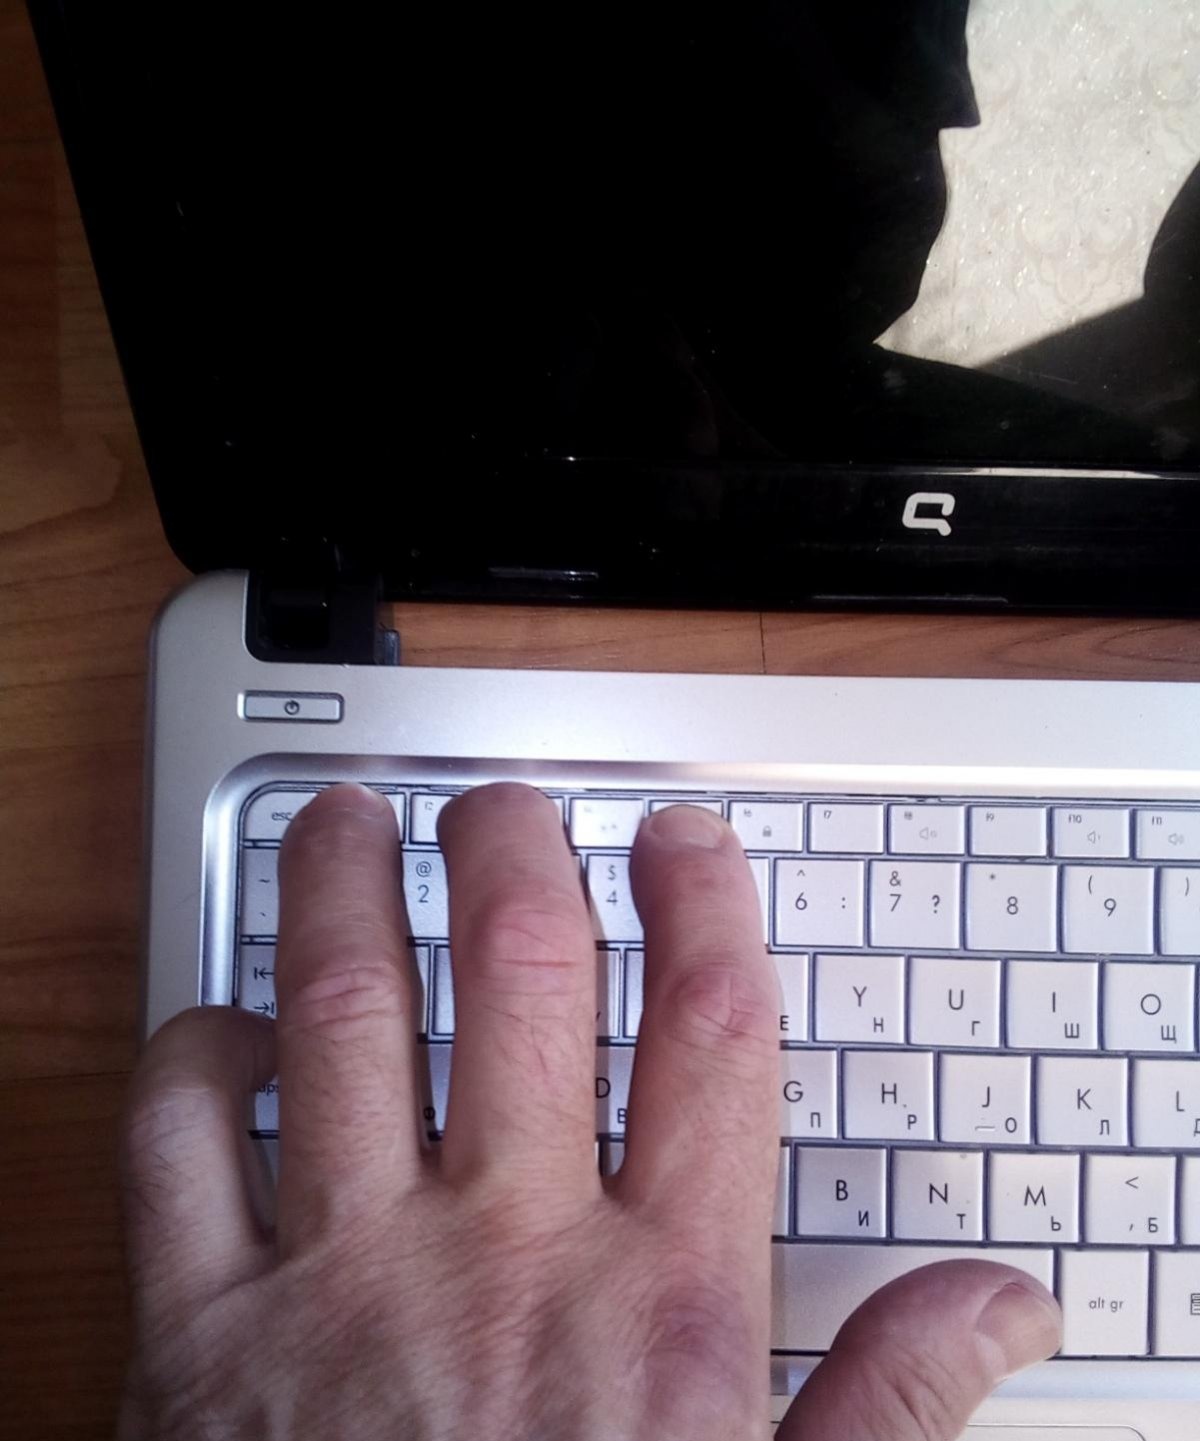
Let's move on to the keyboard.
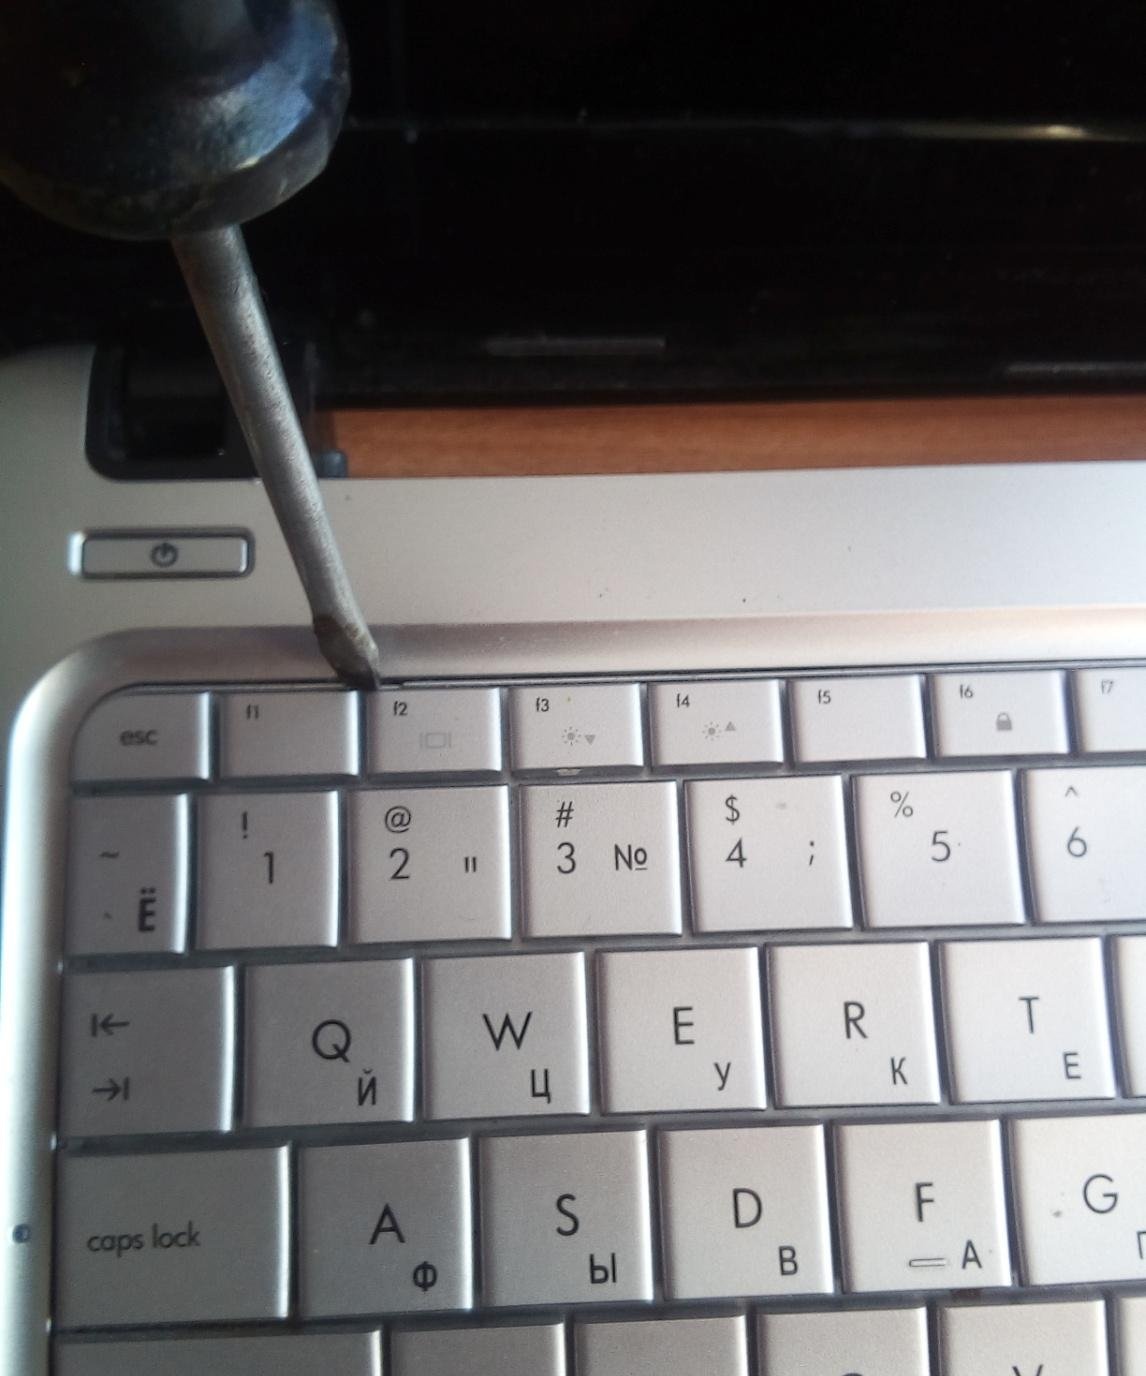
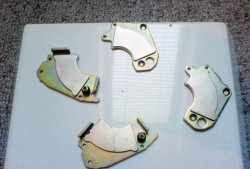
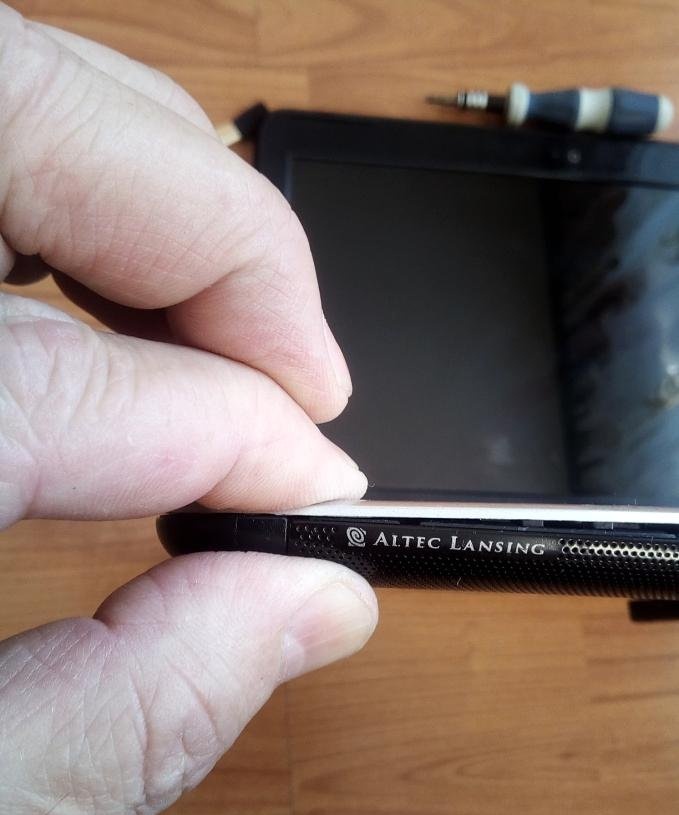
Along the edge of the keyboard closest to the monitor, use a flat-head screwdriver to carefully press the latches, while at the same time trying to slightly lift the entire keyboard.
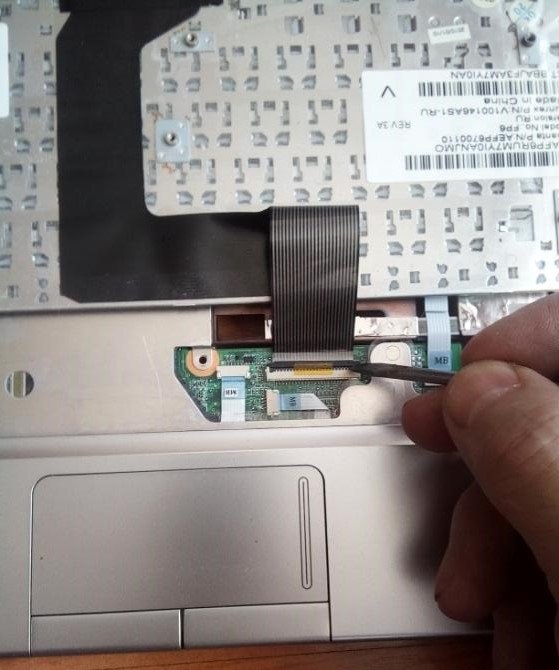
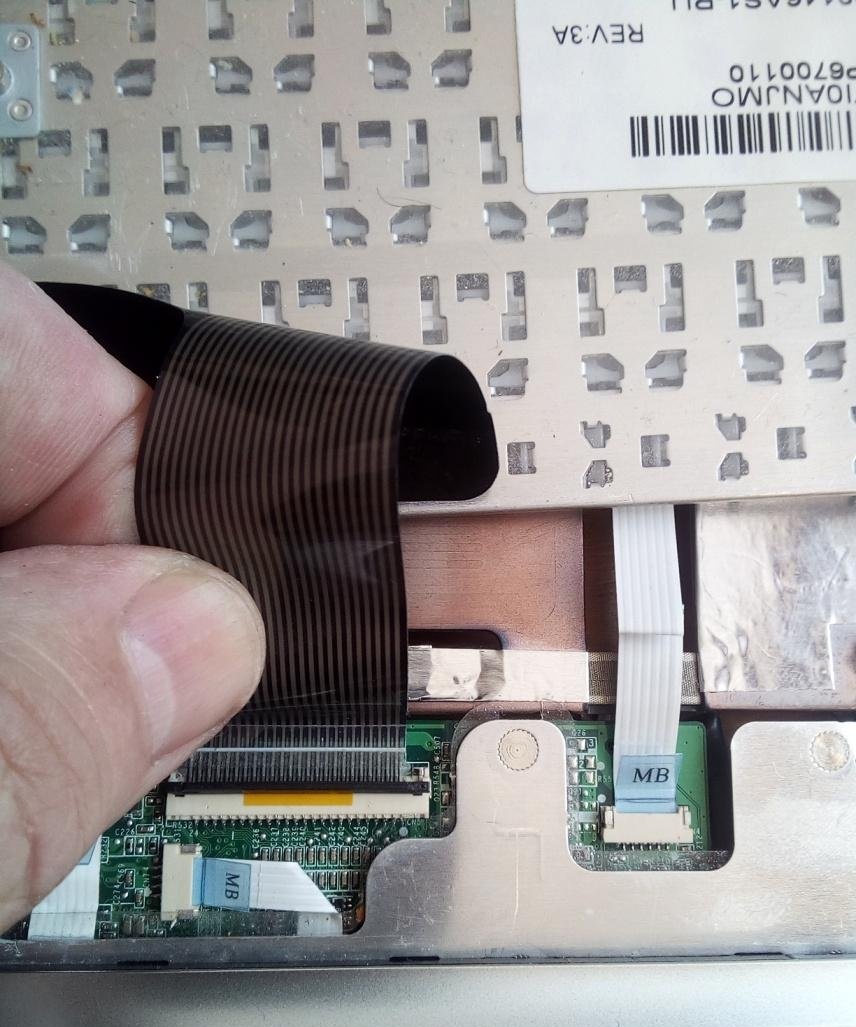
Phew! Out...DO NOT overdo it! The keyboard is connected by a cable to the body. We disconnect it by prying it from the sides with a flat screwdriver.
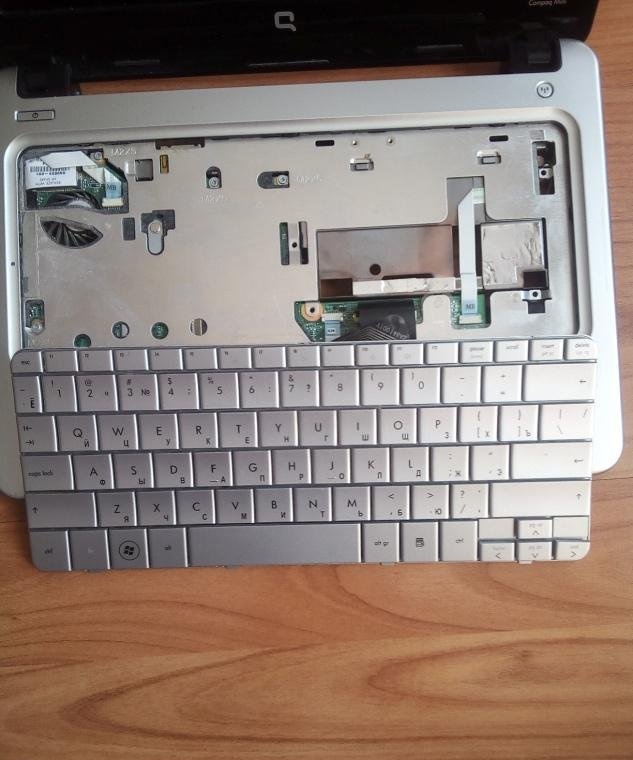
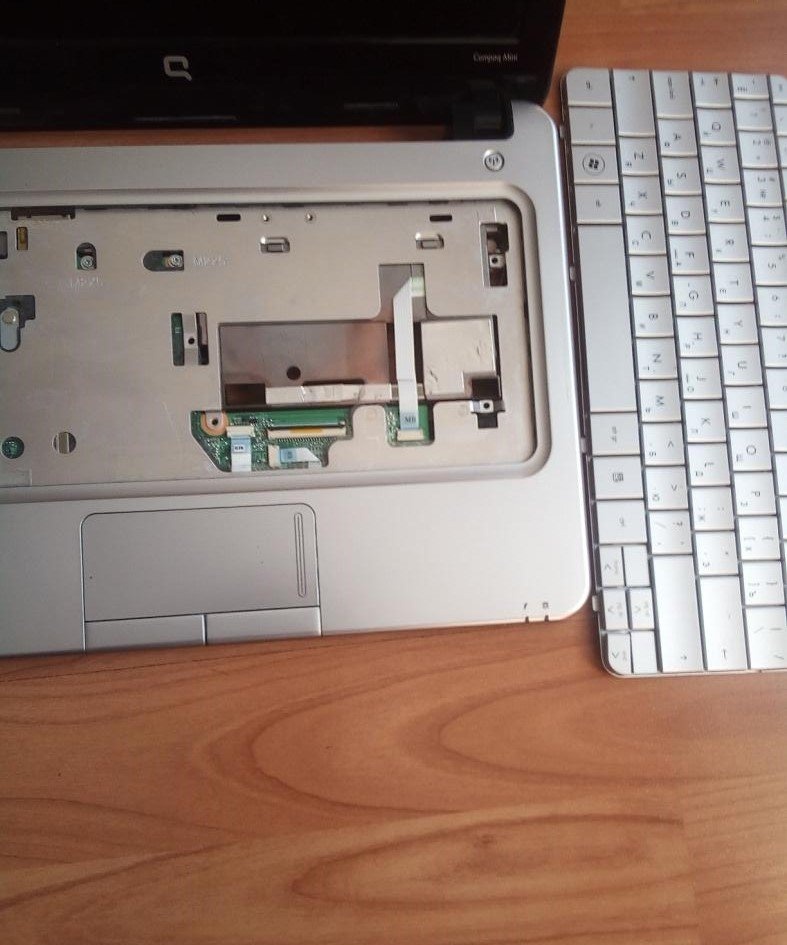
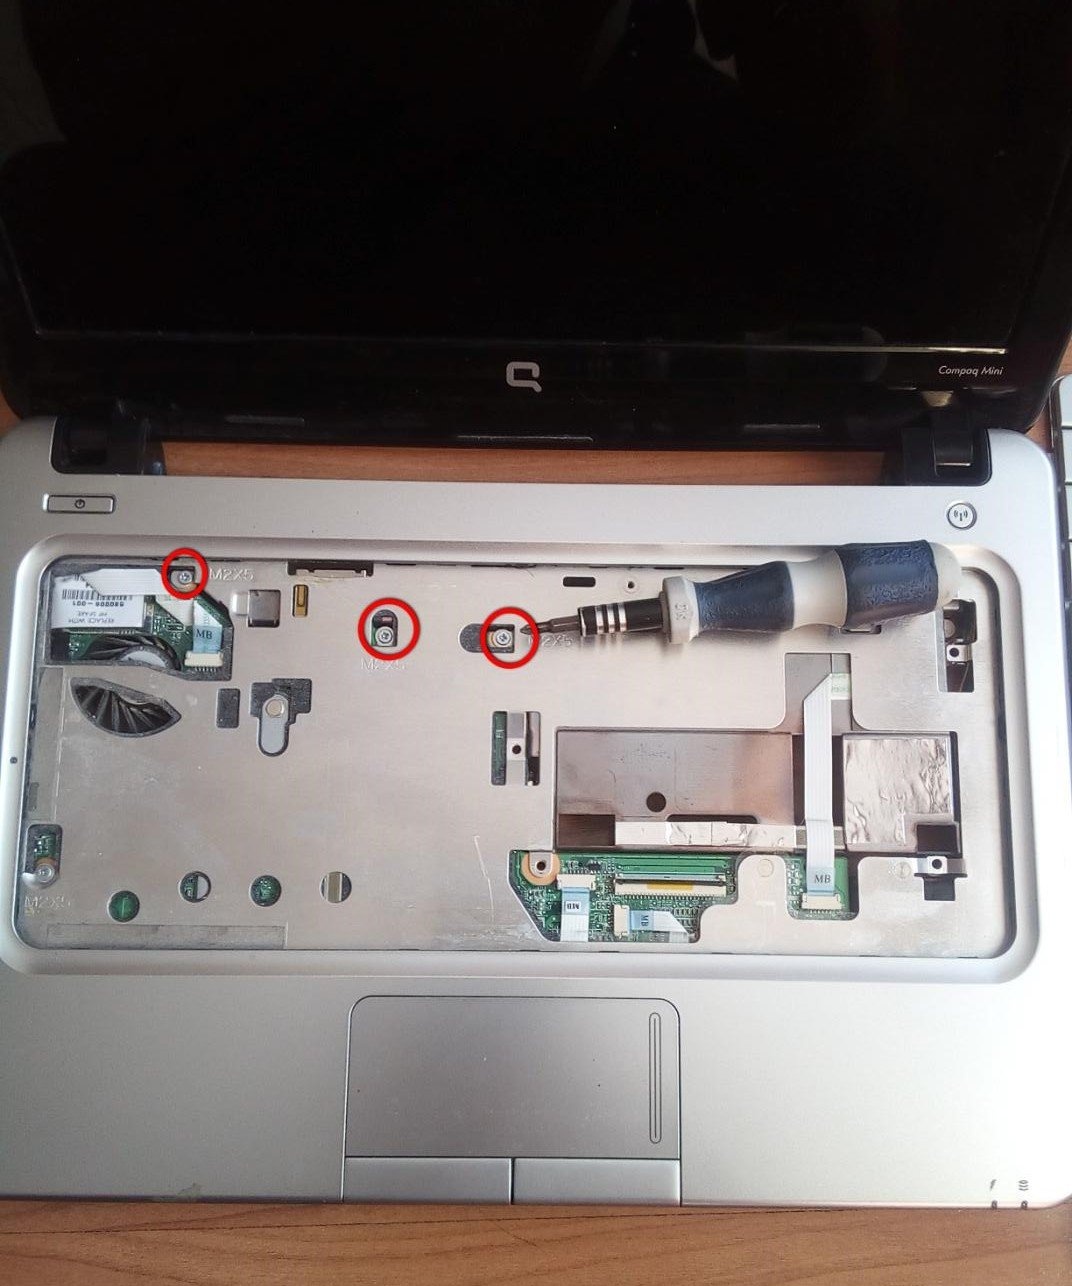
And to the side. Unscrew the screws hidden under the keyboard.
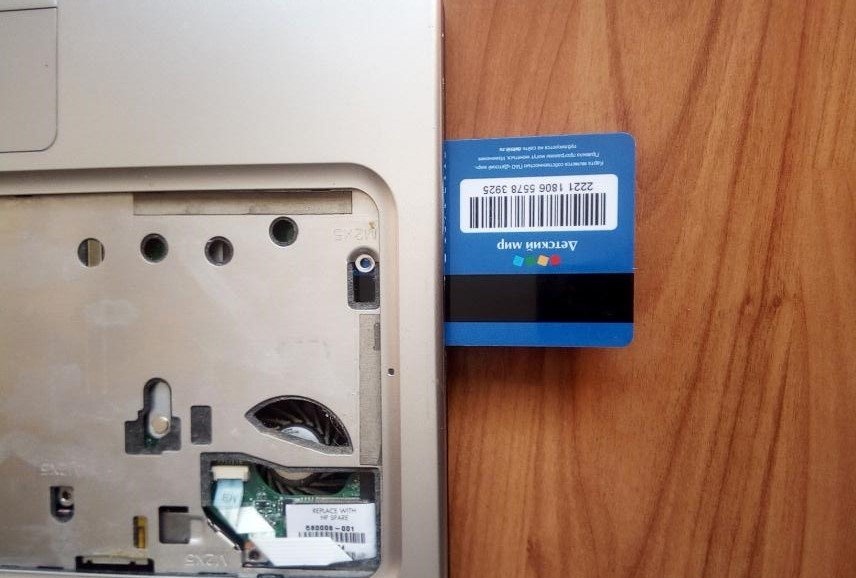
And by inserting a flat object, in this case a discount plastic card, we halve the case. Usually there are several cables under the cover. Carefully!

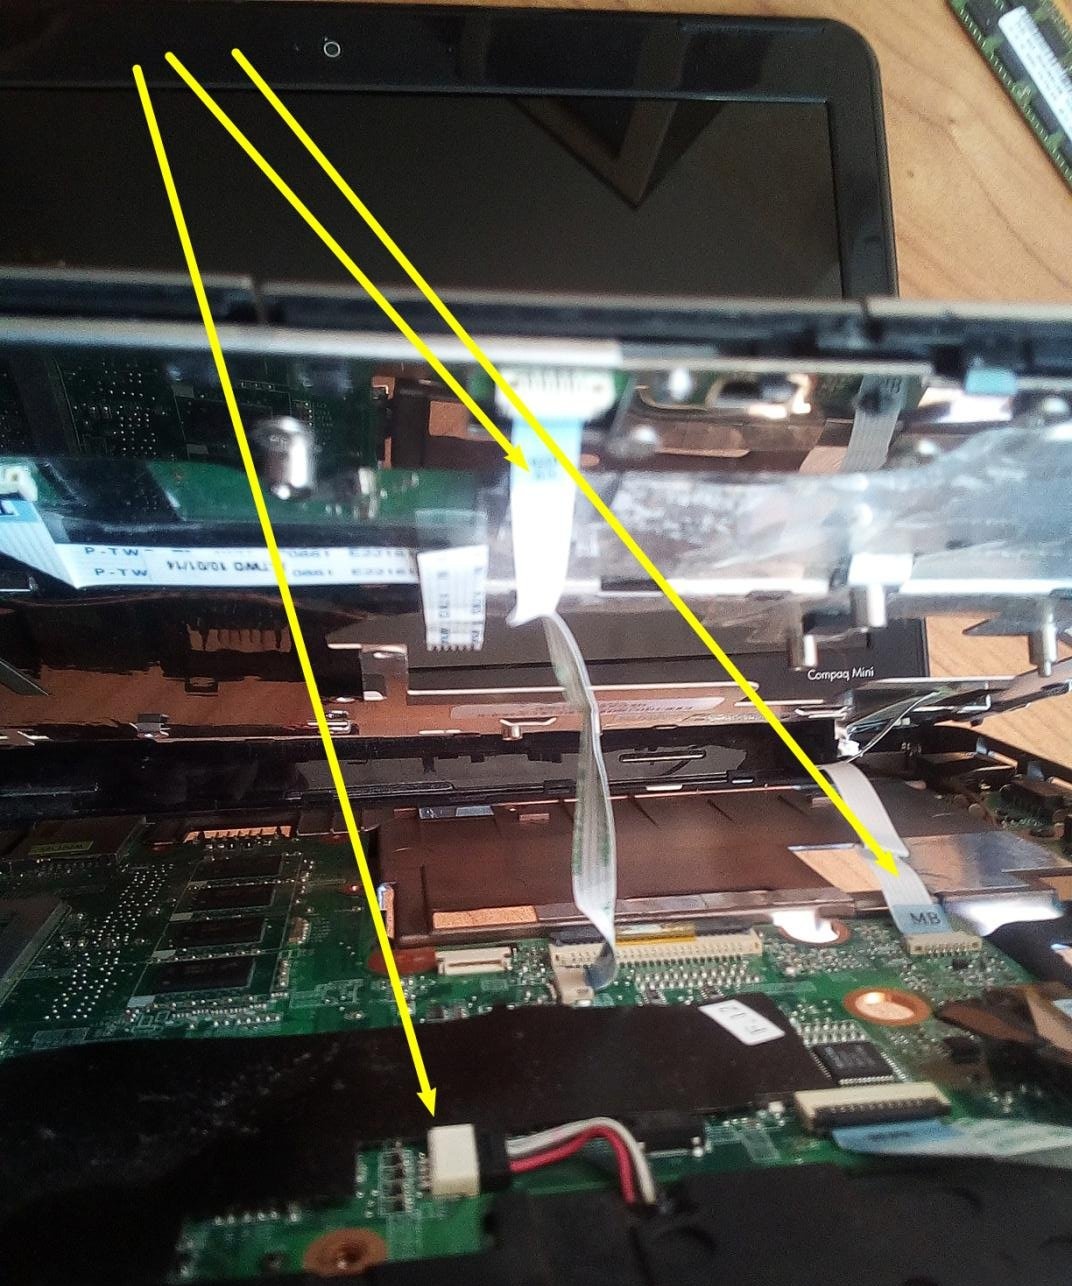
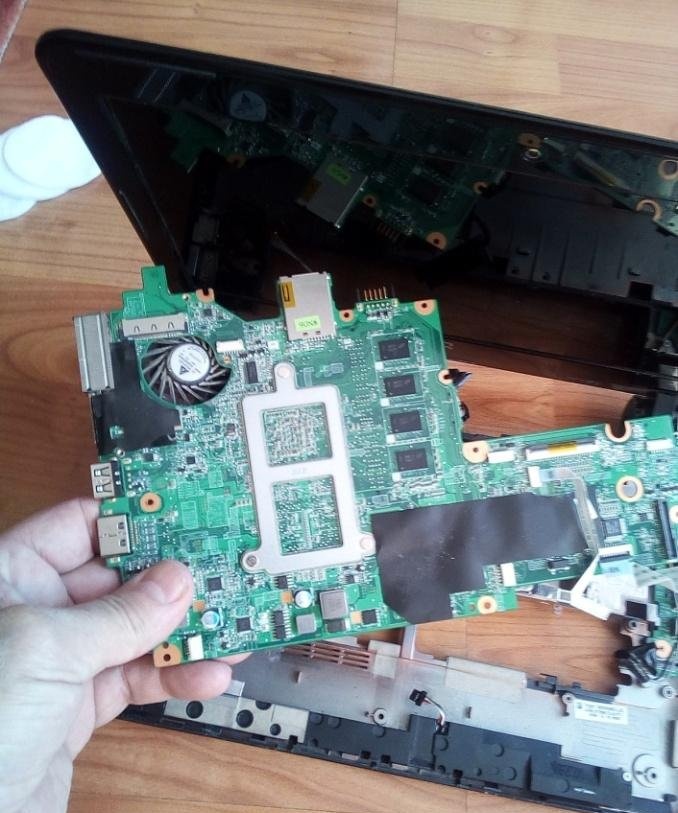
Carefully disconnect all cables and connectors (arrows) from the MOTHERBOARD.
And here we have the “internal organs” of our laptop friend.
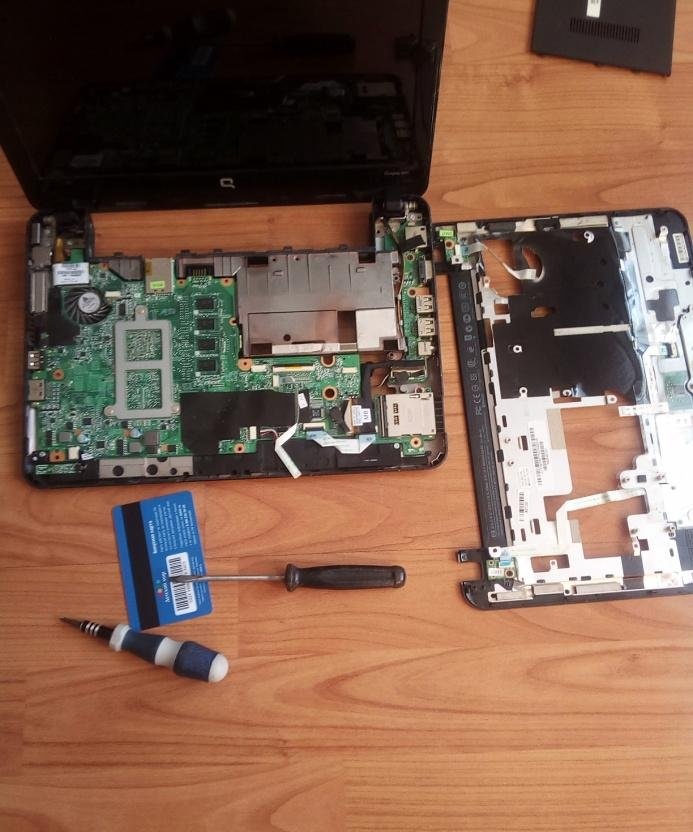
There is dust in it, like in a vacuum cleaner.
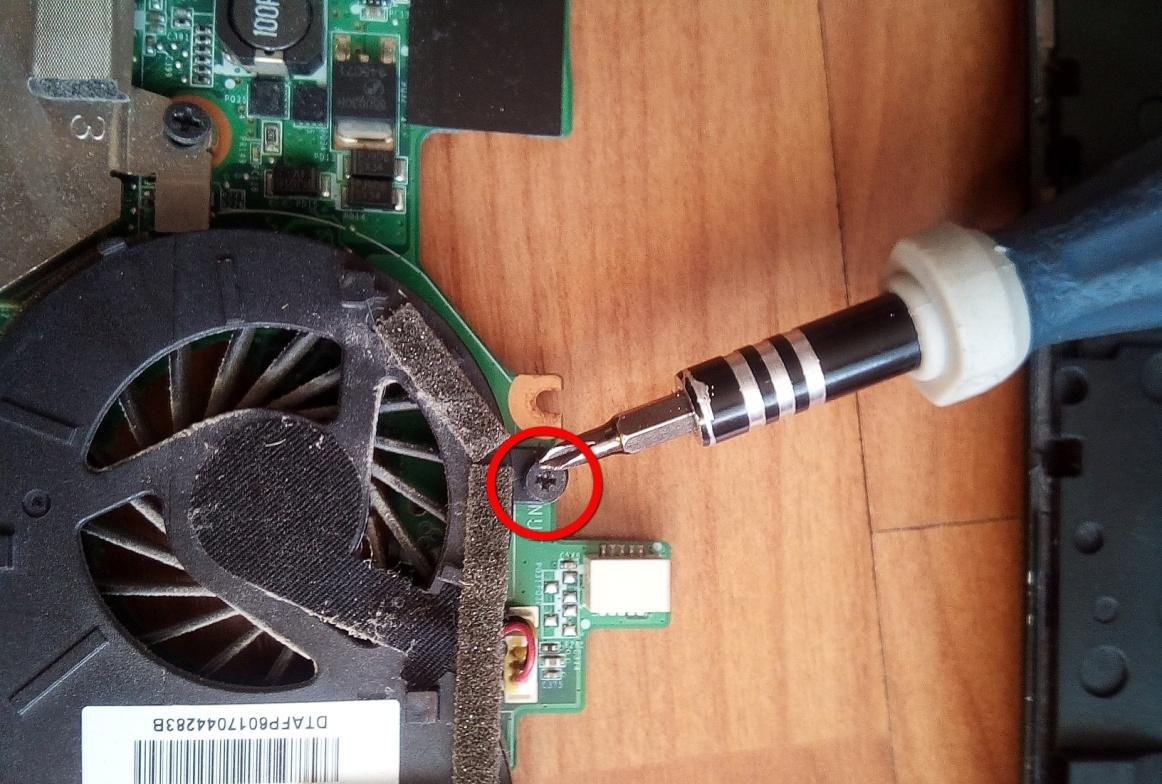
We look for and unscrew the screws securing the motherboard to the case and remove it.
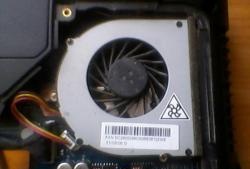
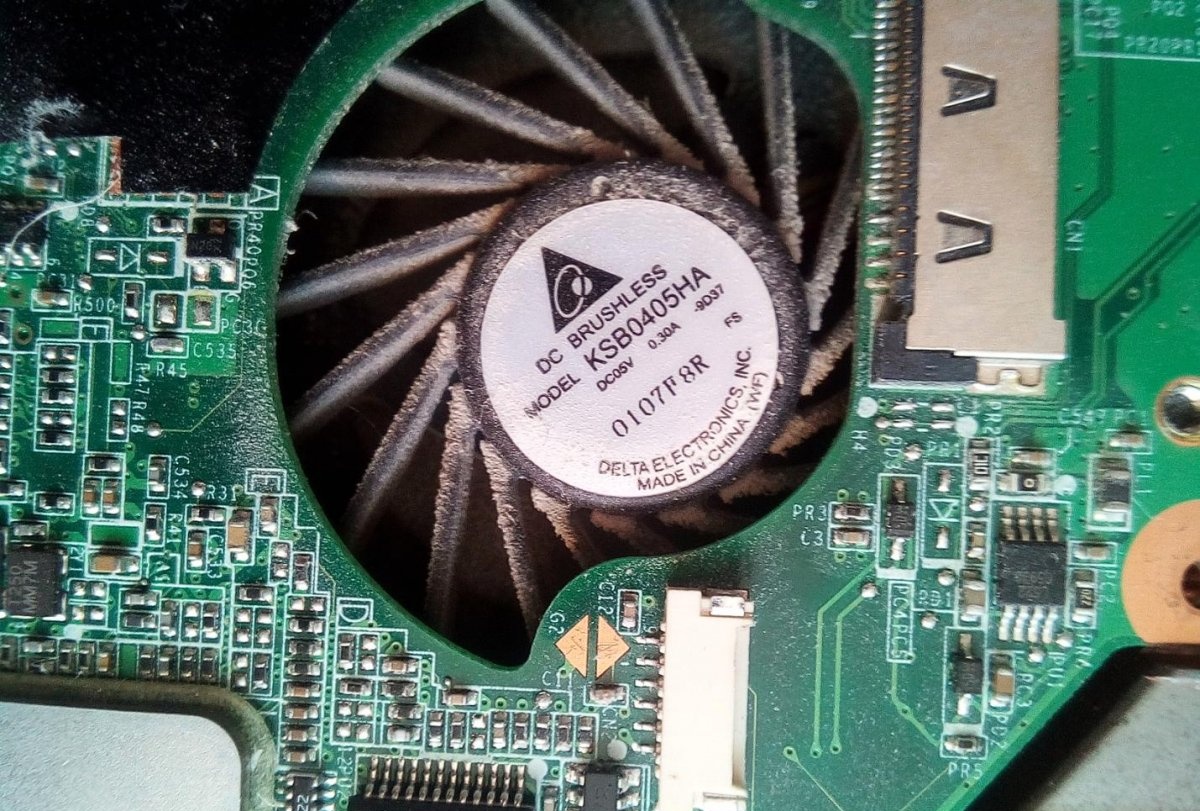
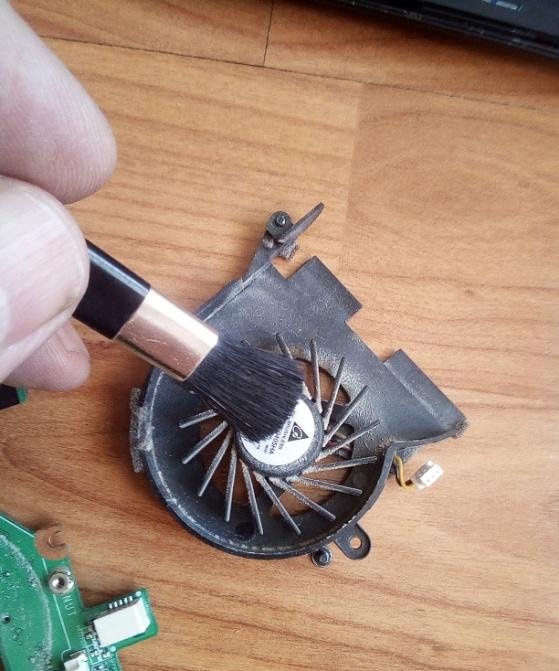
Having previously disconnected ALL wires and cables. We remove the cooler.
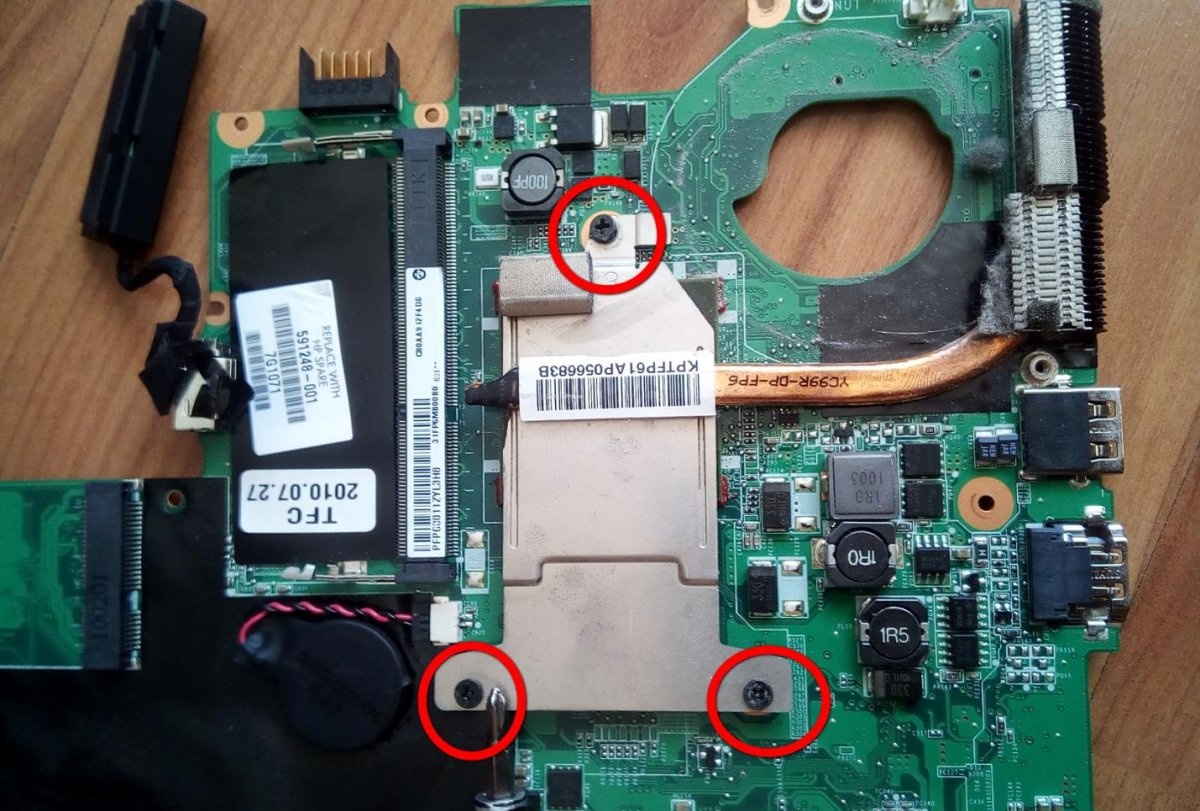
And having unscrewed the screws securing the heat dissipation system, carefully, STRICTLY UP, remove it.
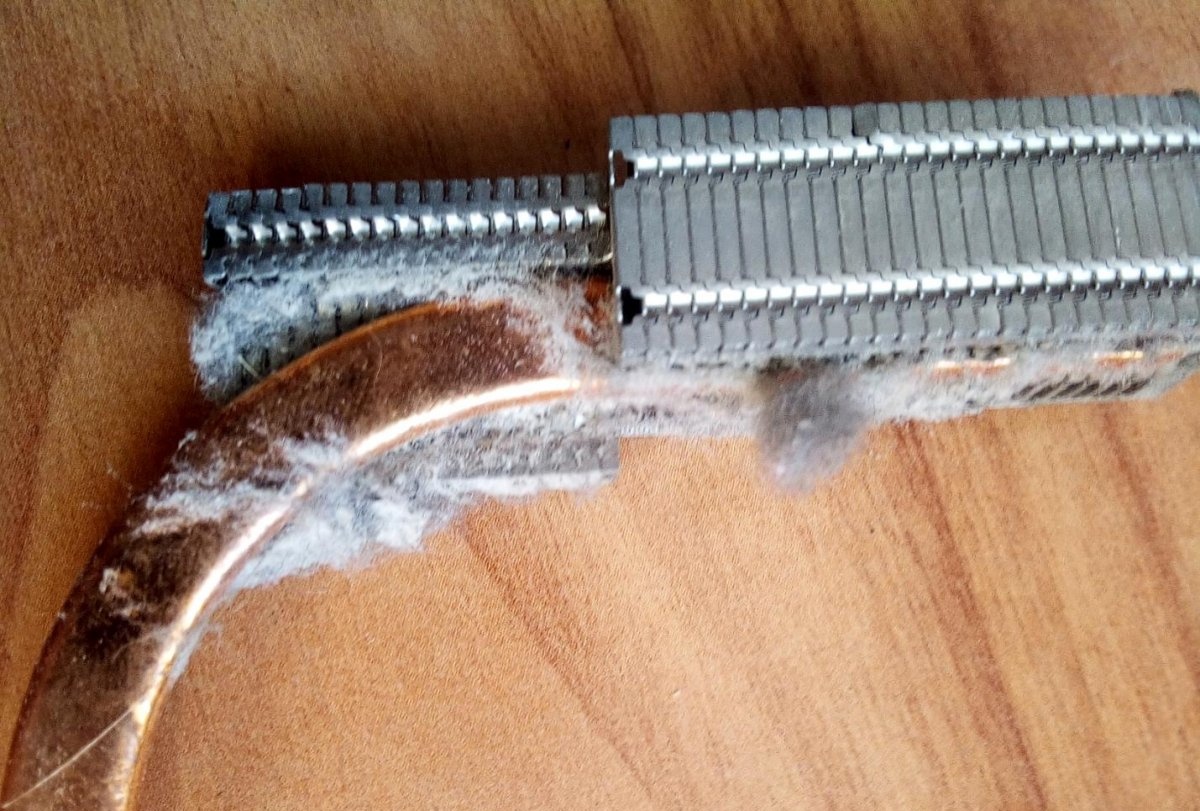
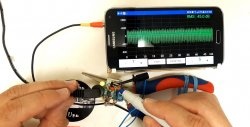
HERE!!! This is the reason for the howling of the cooler fan and the strong heating of the laptop!!! It resembles felted wool, which did not allow unhindered airflow to the heat sink. We remove it with a brush, blow it with the power of our lungs, or use a vacuum cleaner. Don't forget to also clean the cooler fan.
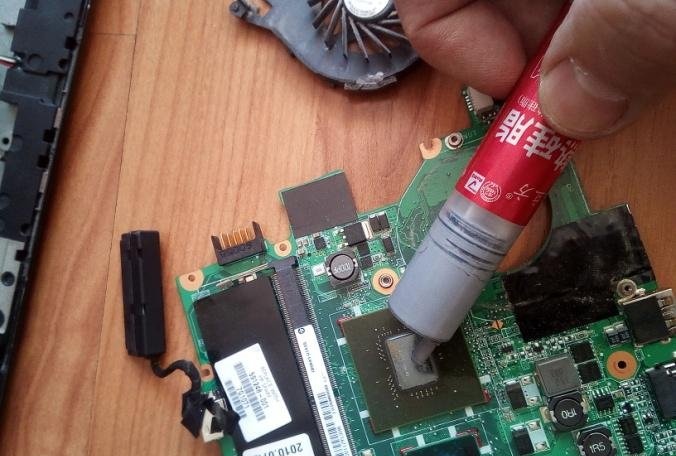
And there is very little left. Apply thermal paste to the main processor and video card processor.Which is exactly what we are doing. Using your finger, smooth out the applied very small amount of thermal paste to form a relatively even layer, 0.5 mm thick.
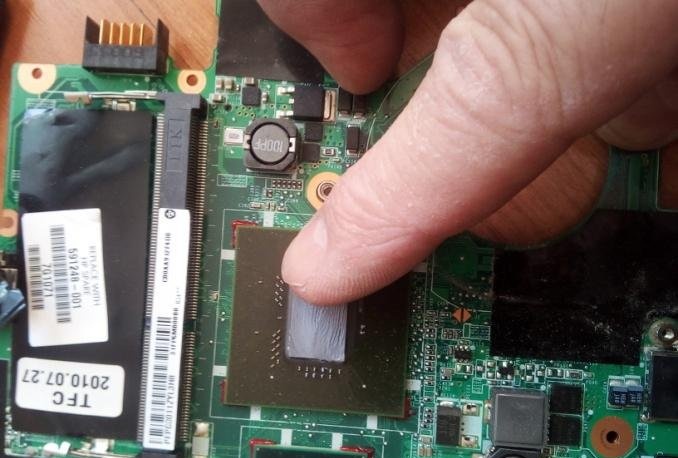
If you can’t apply the paste evenly and immediately, it’s okay. Remove it with a disk, making sure that there are no fluffs left on the processor platform, and apply again. Until it works. Now comes the crucial moment - installing the heat removal system in its place. The whole point is a SINGLE-STAMP installation. No offsets. There is nothing particularly complicated, since there are guides. But this is not the first time you bet. And even if it didn’t work out, and everything moved a little to the side, it doesn’t matter.
We start all over again from the moment of applying the paste. But now, all the parts are in place and the heat sink and cooler, we begin the process of assembling the laptop.
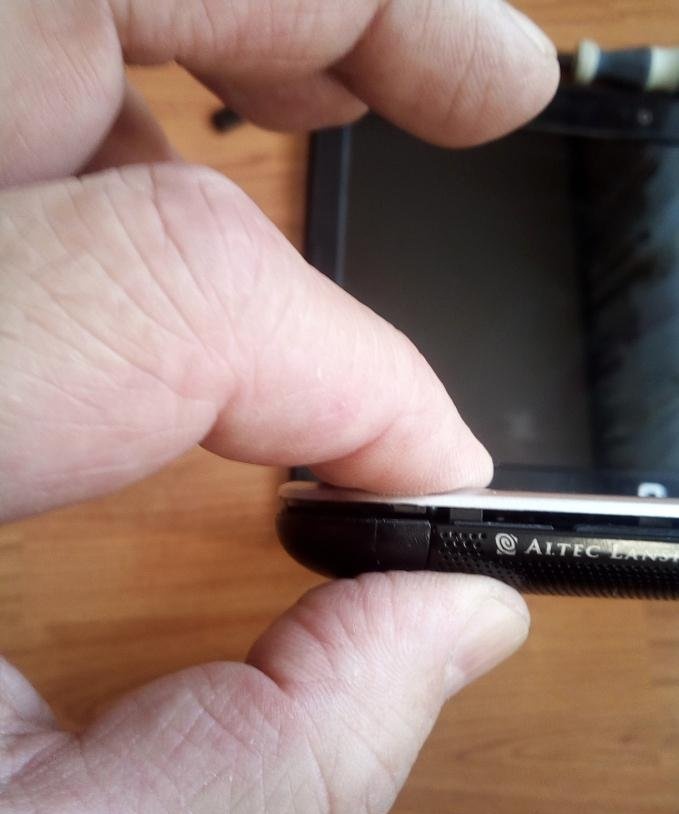
We put the Motherboard in its place, not forgetting to connect all the cables and connectors. Fortunately, they are made in such a way that it is impossible to confuse anything. The main thing is not to forget to connect anything. We tighten ALL the screws into place. Again, everything is done in such a way that not a single screw will fit anywhere else. Place the top cover of the case and squeeze both halves with your fingers until you hear a characteristic click. Along the entire perimeter of the body.
We put the keyboard in its place, not forgetting to tighten the screws located under it and connect the keyboard cable to the motherboard.
Then, we put the RAM, Wi-Fi and Hard drive strips in their places. The final touches will be the remaining loose screws and the battery.
We turn on the laptop... And... HURRAY! Everything is working. And the cooler has become much quieter. After all, WE CAN, whenever WE WANT! And Time flew by unnoticed and Knowledge and Skills were enriched.
P.S
This is how, or with minor differences, ALL laptops (netbooks) are disassembled.In more recent models, the battery is hidden inside the case, which, in principle, does not change anything for us. On laptops of earlier years, there are CD/DVD players, which are removed by unscrewing one screw under the Hard Drive compartment cover. Everything is quite simple. And interesting. The main thing is ATTENTION and DESIRE. Good luck!