Do it yourself
Life hacks, master classes, useful tips, recipes.
home » Handicraft techniques » Decor » Bottle decor » Decorating a bottle in the Biedermeier style
Bottles of unusual shape have long been a way of decorating the kitchen: they are decorated using the technique decoupage, painted in different ways, pasted over with natural material. My master class suggests two ways to decorate a bottle - creating a Biedermeier-style composition on it and layer-by-layer filling with cereal.

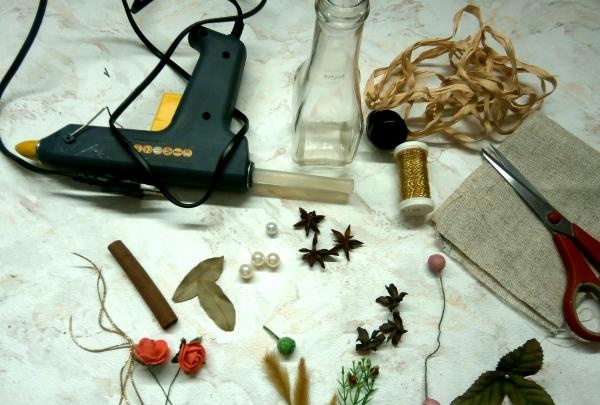
To create a “little masterpiece” for the kitchen you will need:
1) clean dry bottle without labels;
2) glue gun;
3) a small piece of burlap;
4) artificial flowers and branches;
5) paper tape;
6) spices (cloves, cinnamon);
7) gold wire;
8) any natural material (acorns, spruce or thuja cones);
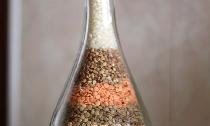
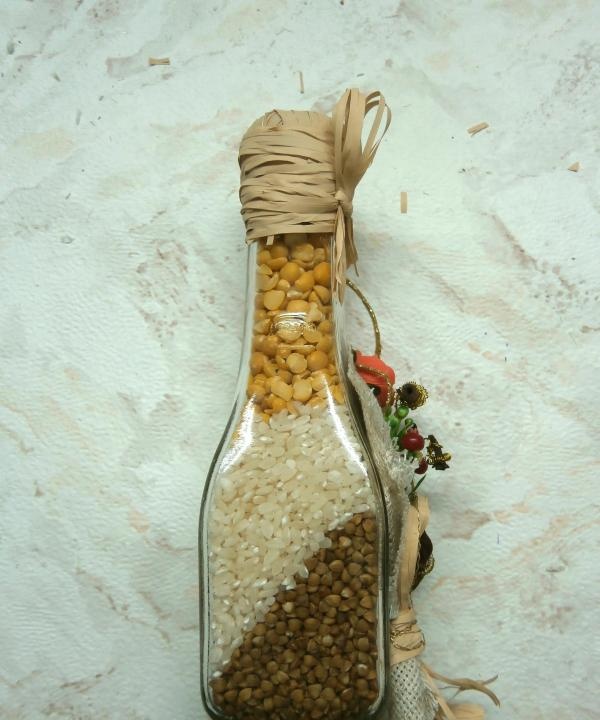
9) cereals (it is better to choose contrasting colors). For example, I settled on buckwheat, rice and peas.

will be needed


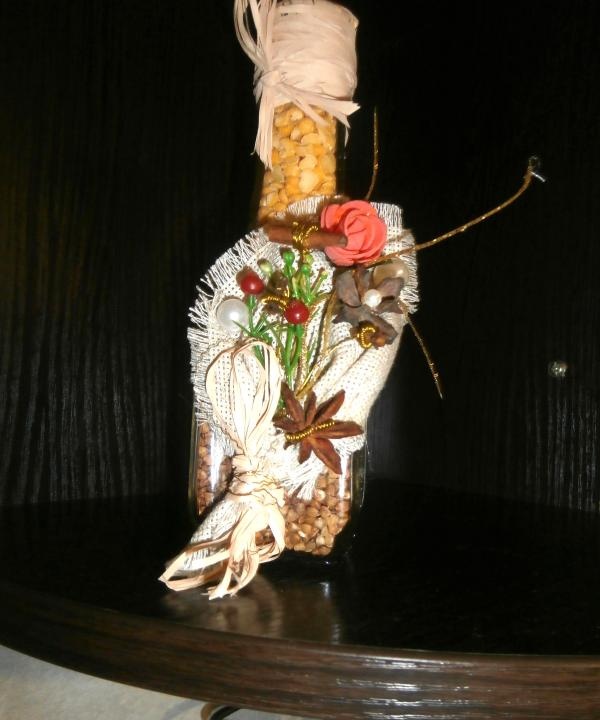
We start with the outer decor of the bottle.
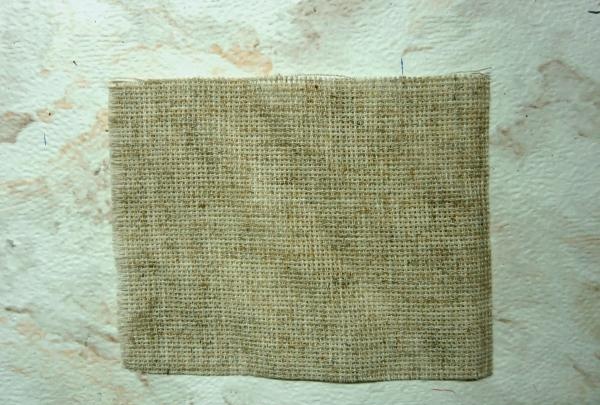
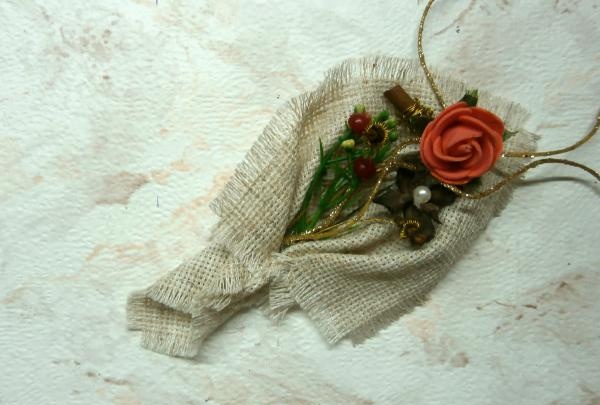
1. Cut out a 15x15 cm square from burlap. If there is no burlap, then it can be replaced with large-meshed embroidery canvas.

Cut a square from burlap


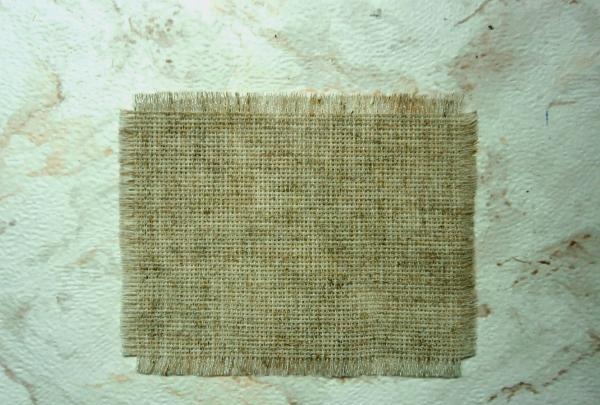
2. Make fringe on all sides of a cut piece of burlap. This “napkin” will become the basis to which all decorative elements will be attached.

make fringe


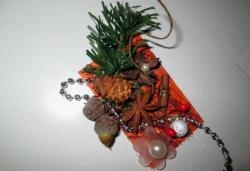
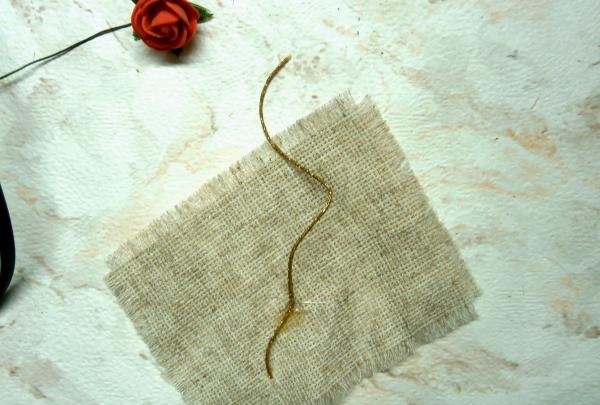
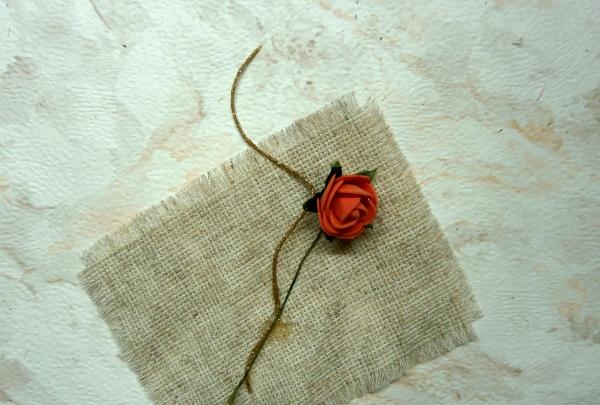
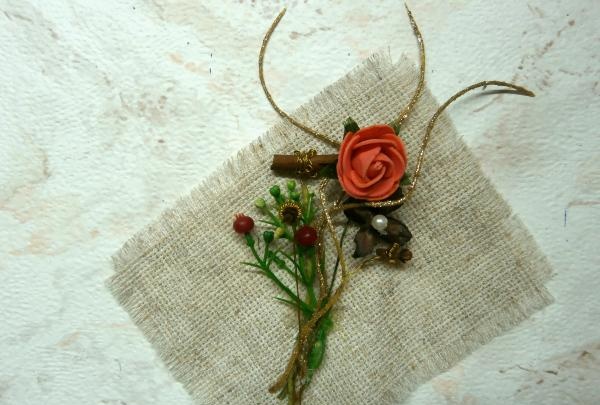
3. We start with gold wire and a small artificial flower.

We start with gold wire

small artificial flower


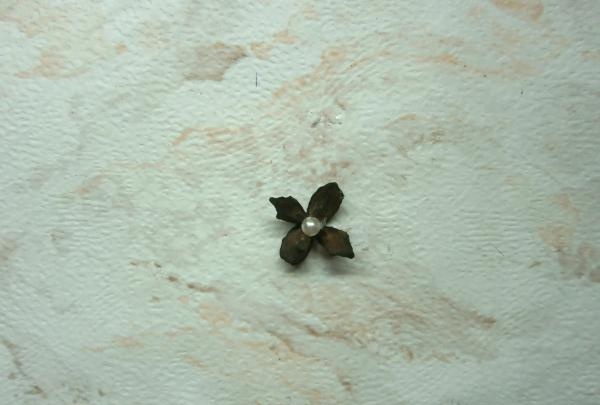
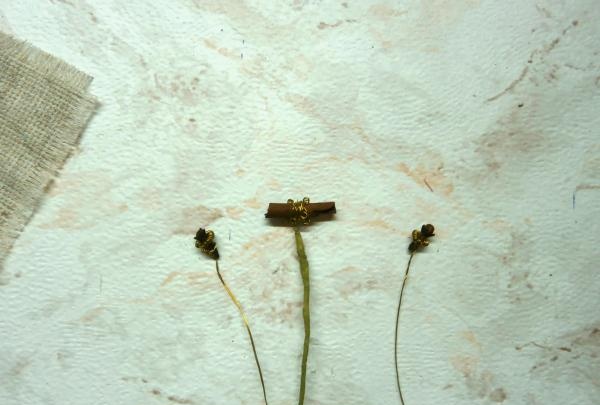
4.Glue a bead into the center of the open thuja cone and wrap gold wire around cloves and cinnamon sticks. We leave “stems” that can be wrapped in green paper. All elements are glued to burlap.

glue the bead

wrap in green paper

glued to burlap


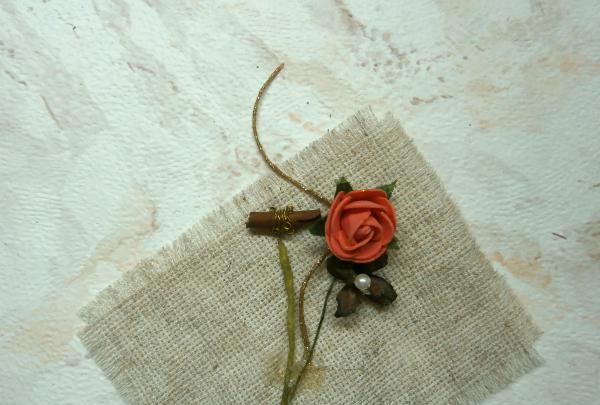
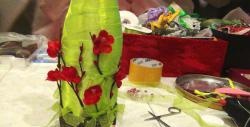
5. I had a small artificial branch with berries, which I also added to the composition.

added to the composition


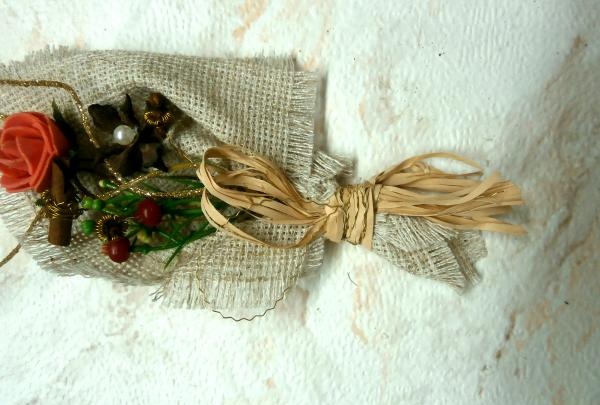
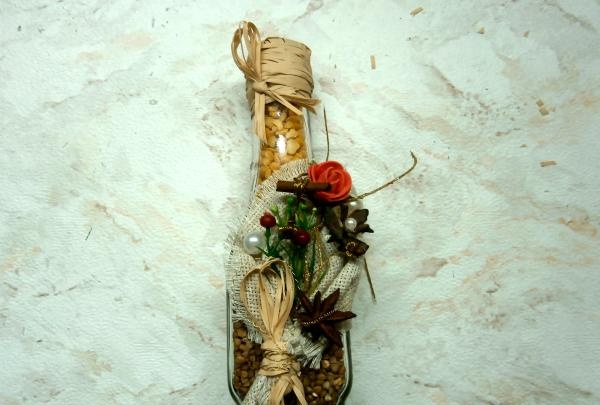
6. Roll up the free ends of the burlap to make a bag.

bottle decoration


7. The rolled up bag is tied with paper tape and gold wire. The cord can be replaced with satin ribbons or lace.

bottle decoration


8. The finished composition is attached to the bottle with hot glue.

bottle decoration


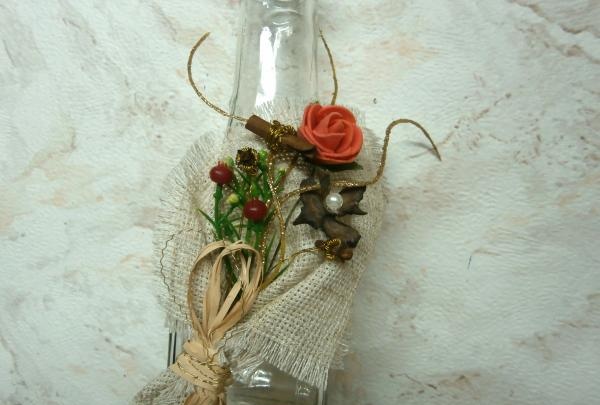
9. The upper edges of the burlap are fixed to the bottle with glue. The attachment points are covered with beads.

bottle decoration


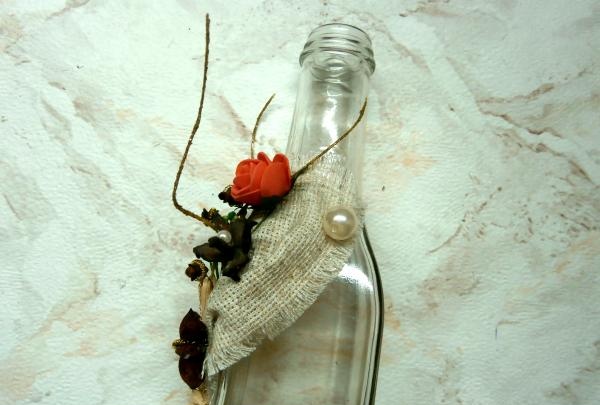
10. The bottle is almost ready. All that remains is to pour the cereal into it. A funnel is used for this. The more contrasting the colors of the selected cereals, the brighter and more elegant they will look. The bottle is closed with a cork and wrapped with paper tapes.

bottle decoration


11. The work is finished.

bottle decoration


You can put the bottle on the shelf and admire the result!

bottle decoration
come back
Comment
  • bowtiesmilelaughingblushsmileyrelaxed relaxedsmirk
    heart_eyeskissing_heartkissing_closed_eyesflushedrelievedsatisfiedgrin
    winkstuck_out_tongue_winking_eyestuck_out_tongue_closed_eyesgrinningkissingstuck_out_tonguesleeping
    worriedfrowninganguishedopen_mouthgrimacingconfusedhushed
    expressionlessunamusedsweat_smilesweatdisappointed_relievedwearypassive
    disappointedconfoundedfearfulcold_sweatperseverecrysob
    joyastonishedscreamtired_faceangryragetriumph
    sleepyyummasksunglassesdizzy_faceimpsmiling_imp
    neutral_faceno_mouthinnocent
3+three=
Comments (0)

40A Three Phase Solid State Relay

Repair and restoration of old speakers

How to Convert a Weed Trimmer

How to make a mini jet engine powered by USB and pocket lighters

«Do it yourself - with your own hands» - a site of interesting homemade products made from scrap materials and items at home. Step-by-step master classes with photos and descriptions, technologies, life hacks - everything a real master or just a craftsman needs for needlework. Crafts of any complexity, a large selection of directions and ideas for creativity.

We recommend reading

Washing machine error codes