Do it yourself
Life hacks, master classes, useful tips, recipes.
home » Handicraft techniques » Decoupage » Decoupage master class » Cover for autodocumento
Every girl or woman dreams, sooner or later, of her own car, in which she can independently go on different trips. Therefore, to drive a car you need a driver's license, which is best obtained before purchasing a car. The procedure for obtaining a license is not that fast, so you need special training, courses, lectures and practice, exams, and as a result of successful training, a driver’s license is issued. With the purchase of a car, every girl has another important document that she always needs to carry with her - a driver’s kit, which includes the license itself, a technical certificate and other documents necessary for the driver. Therefore, in order for all documents to be carefully stored in one place, it is better to carry them and store them in a special cover for car documents. There are many variants of such covers in the factory version, but it is somehow tritely simple and annoying.Or you can take an ordinary cover and make a very bright and original cover out of it, which only you will have, and the most important thing is that you can decorate it yourself and for this we will need this master class.
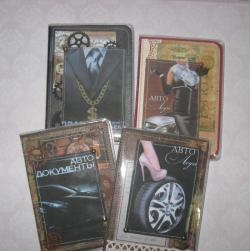
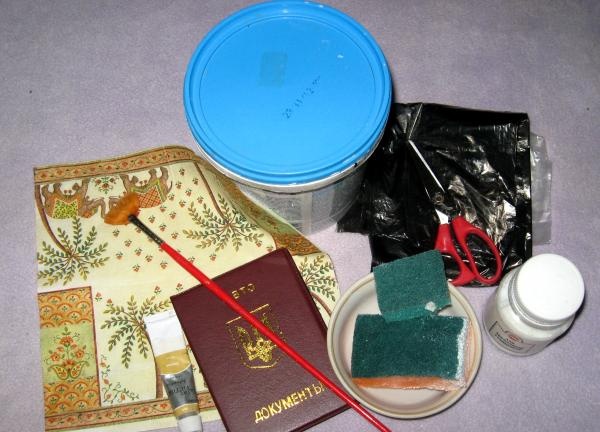
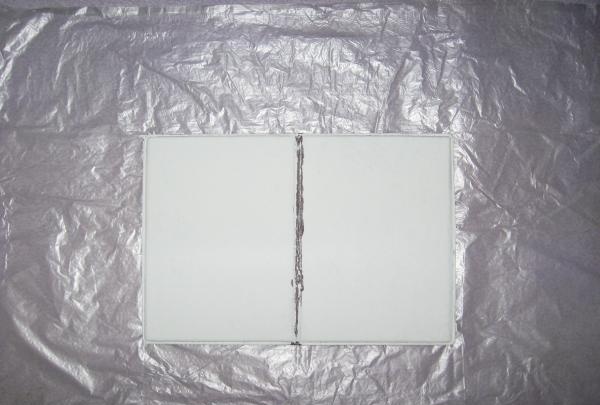
This master class will help us master the technique decoupage for decorating covers for automobile documents. For this we need:
• Matte leatherette cover for auto documents;
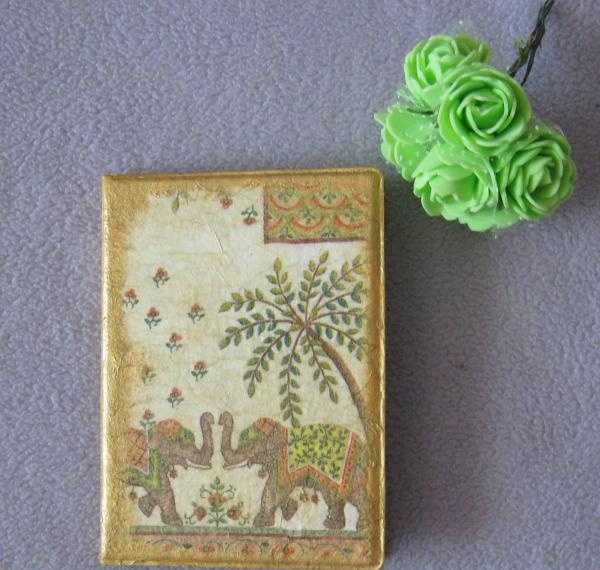
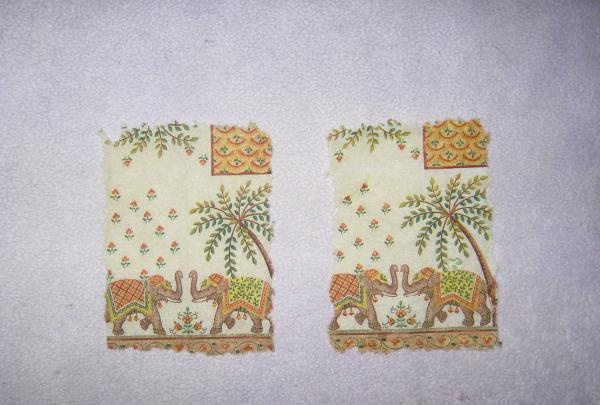
• Napkin for decoupage on an Egyptian theme with elephants, size 21x21 cm;
• Brush for decoupage;
• White acrylic paint;
• Foam sponge;
• Glossy varnish for decoupage;
• Paint container;
• PVA glue;
• Gold acrylic paint;
• Scissors;
• Bag and oilcloth for the table;
• Simple napkins;
• Hair dryer for quick drying of the product.

Cover for auto documents

Cover for auto documents


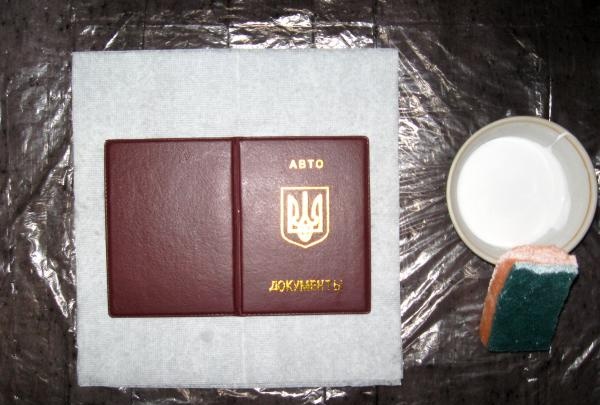
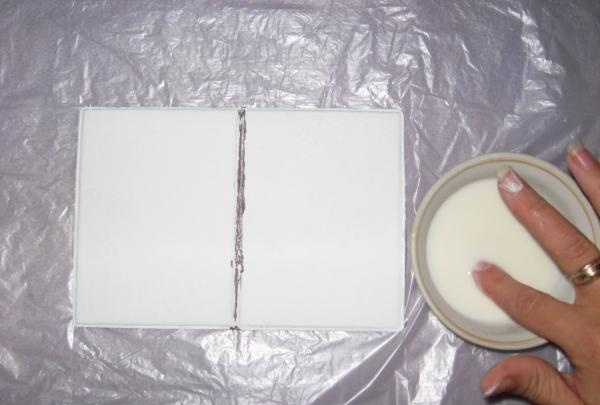
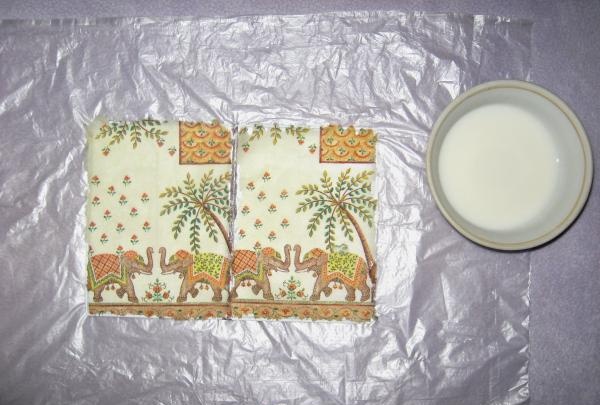
First, let's prepare the table. To do this, cover its surface with oilcloth. Unfold the napkin and place it on the table. Pour white paint into the container and dilute it by about 15-20% with water, mix well. Unfold the cover and place it on a napkin.

Cover for auto documents

Cover for auto documents


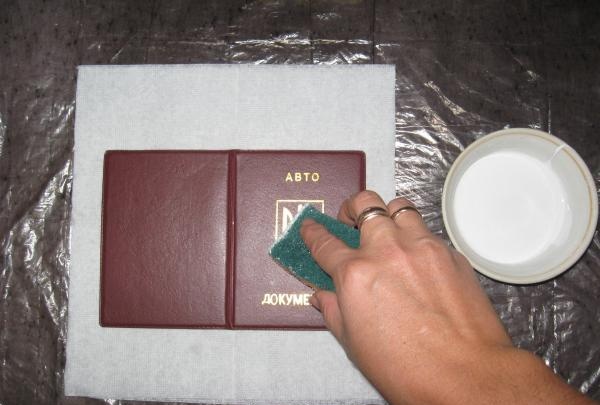
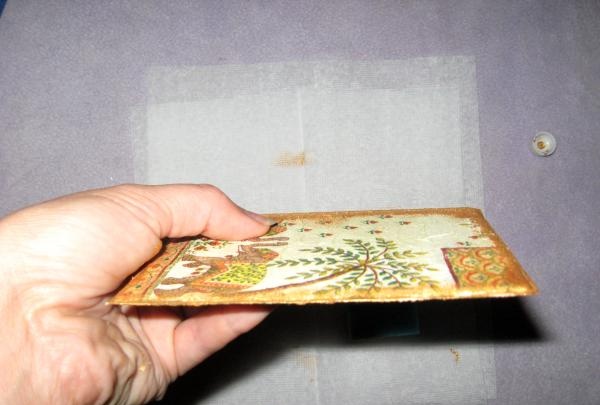
Dip a foam sponge into the paint and begin painting with the first layer of paint. Dry until completely dry using a hairdryer. The first layer will be quite unattractive, there will be a lot of gaps, so don't be alarmed. We paint with a second layer, it is already more saturated, and we dry it. We paint with a third layer, and if necessary, you need to look at the coloring, then a fourth. Dry the cover completely. Carefully close the cover halfway. The paint on the edge is starting to crumble, don't worry, that's how it should be. We remove the remaining white paint on the edge. We remove the crumbling paint, put the cover on a clean bag and add more color where necessary.

Cover for auto documents

Cover for auto documents


Prepare the glue mixture. Wash the container after painting and pour PVA glue and water into it in a 1:1 ratio.Stir the mixture well with your finger.

Cover for auto documents

Cover for auto documents


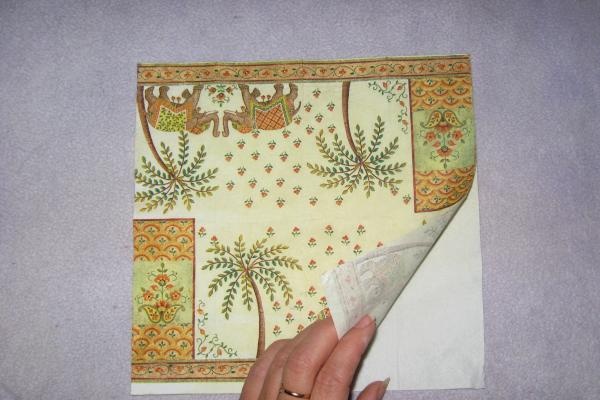
Carefully remove the topmost layer from the napkin; there are three of them in the napkin.

Cover for auto documents

Cover for auto documents


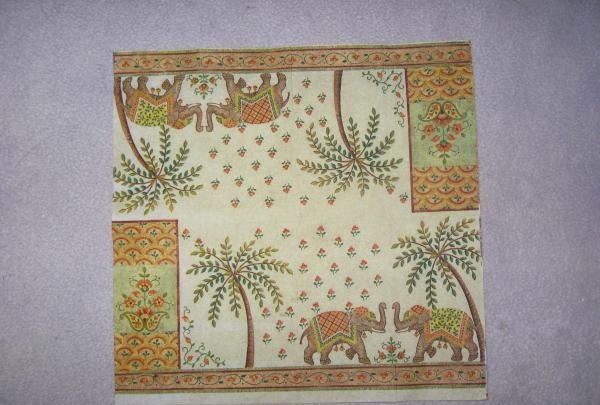
We carefully tear off the parts we need that will be needed for the cover. We attach them to the cover.

Cover for auto documents

Cover for auto documents


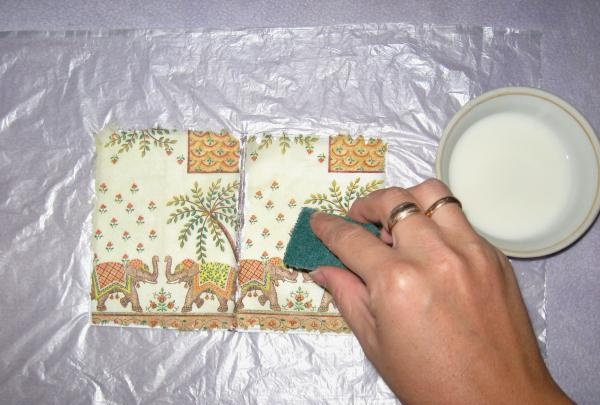
Dip the sponge into the prepared mixture and, with very soft and careful movements, begin to glue the napkin. We try to start work from the middle, and do it carefully so as not to tear the napkin. If it suddenly breaks, carefully glue it back together immediately. Dry the surface completely. Place the cover on a dry, clean napkin.

Cover for auto documents

Cover for auto documents


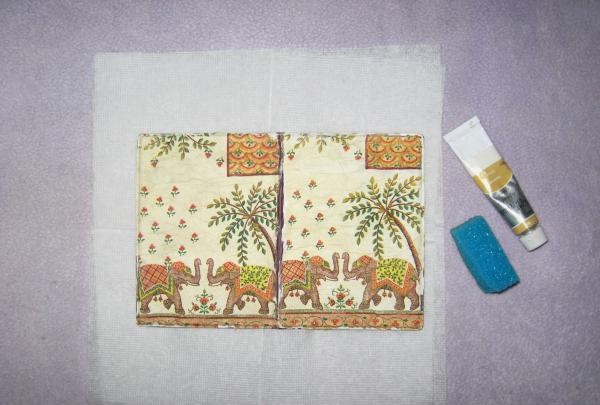
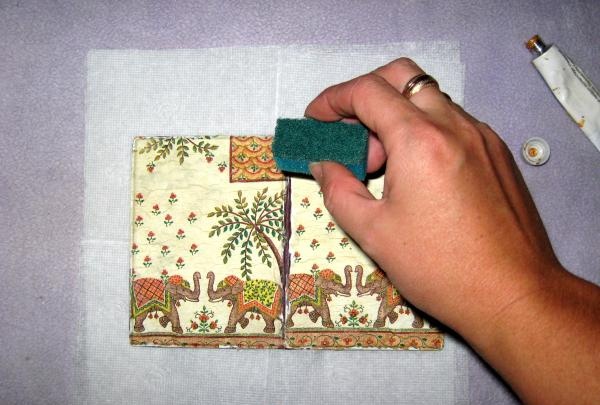
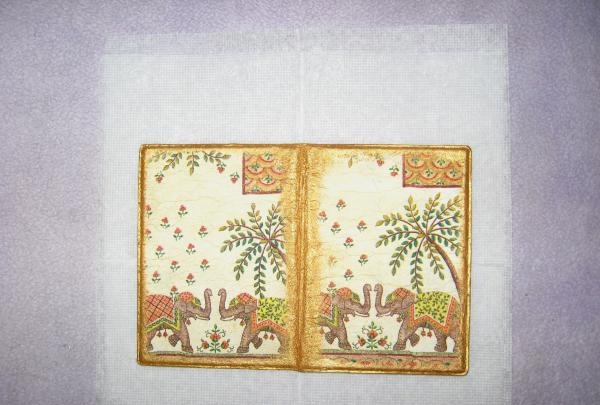
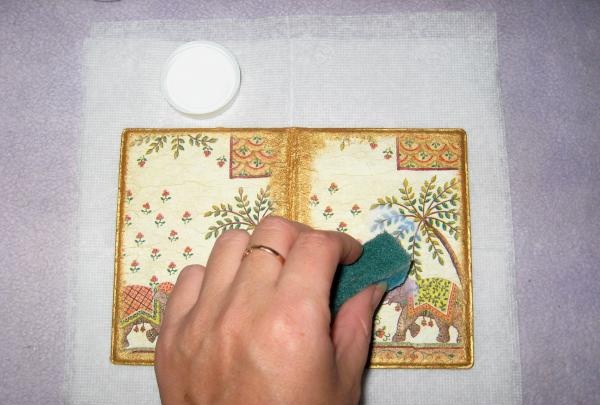
We cut off a piece of sponge and paint the half-closed edge of the cover with gold paint.

Cover for auto documents

Cover for auto documents


Then we go along the edge around the entire cover. The layer has dried, paint the second one.

Cover for auto documents

Cover for auto documents


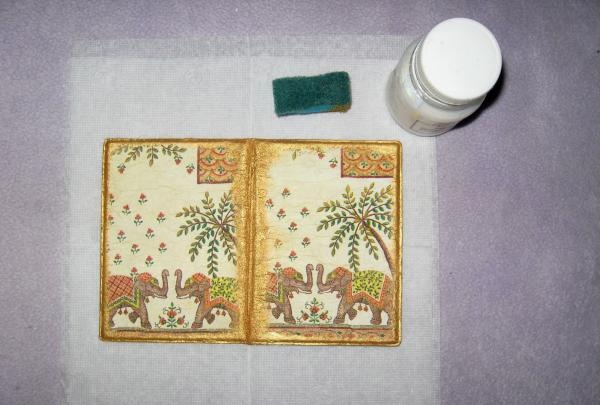
The final stage is varnishing. We apply glossy varnish either with a brush or with a sponge. We dry each layer, and there are 4-5 in total.

Cover for auto documents

Cover for auto documents


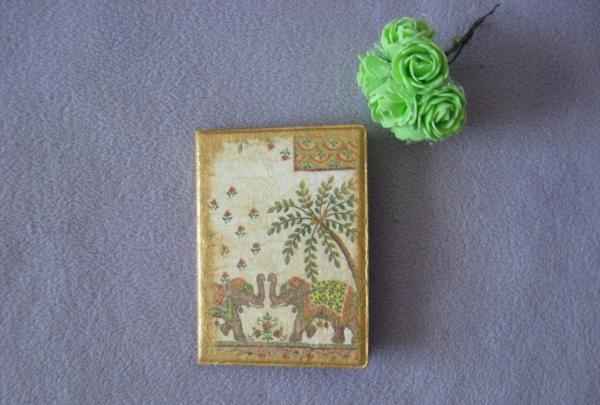
The cover is dry and ready to use. Thank you all and stay healthy!

Cover for auto documents
come back
Comment
  • bowtiesmilelaughingblushsmileyrelaxed relaxedsmirk
    heart_eyeskissing_heartkissing_closed_eyesflushedrelievedsatisfiedgrin
    winkstuck_out_tongue_winking_eyestuck_out_tongue_closed_eyesgrinningkissingstuck_out_tonguesleeping
    worriedfrowninganguishedopen_mouthgrimacingconfusedhushed
    expressionlessunamusedsweat_smilesweatdisappointed_relievedwearypassive
    disappointedconfoundedfearfulcold_sweatperseverecrysob
    joyastonishedscreamtired_faceangryragetriumph
    sleepyyummasksunglassesdizzy_faceimpsmiling_imp
    neutral_faceno_mouthinnocent
5+two=
Comments (0)

About storing computer cables | Do it yourself

New handle for an old knife

How to sharpen a chainsaw chain without dismantling

DIY solar wax melter

«Do it yourself - with your own hands» - a site of interesting homemade products made from scrap materials and items at home. Step-by-step master classes with photos and descriptions, technologies, life hacks - everything a real master or just a craftsman needs for needlework. Crafts of any complexity, a large selection of directions and ideas for creativity.

We recommend reading

Washing machine error codes