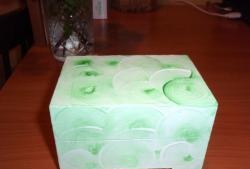
A multi-color background will help give your product uniqueness, which will give your creation airiness and depth.
For this you will need:
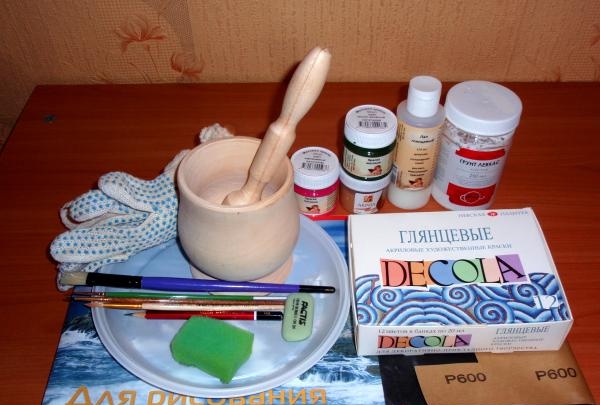
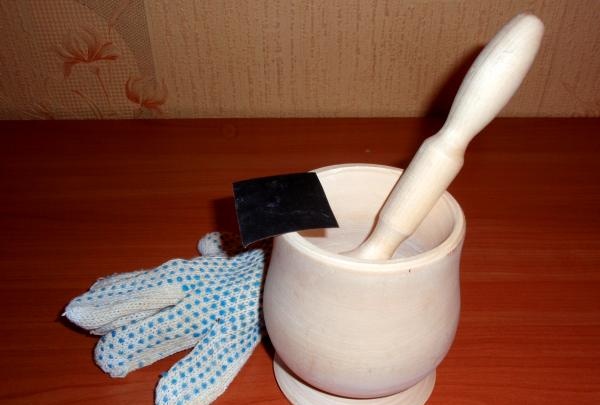
- wooden mortar and pestle,
- paper with an abrasive layer,
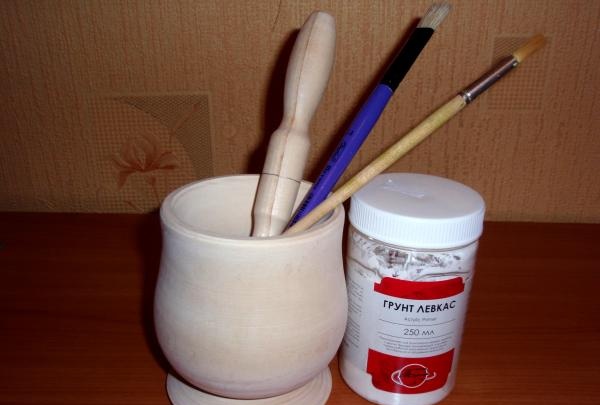
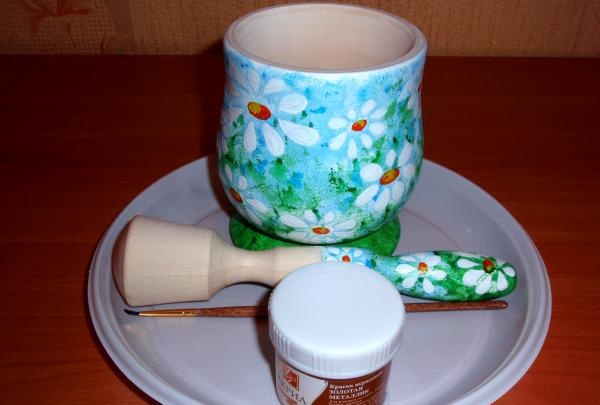
- primer, paints and varnish for decorative works,
- brushes of different diameters,
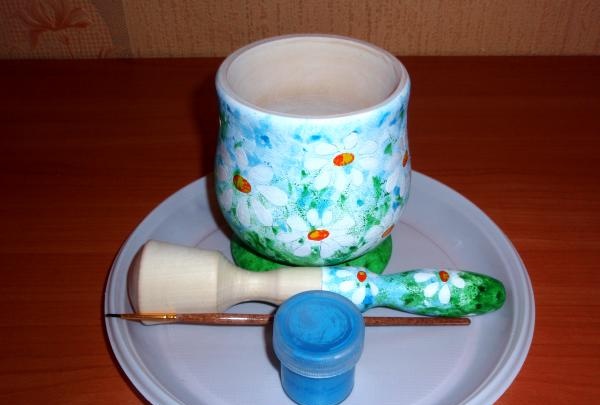
- container for paints,
- dish sponge,
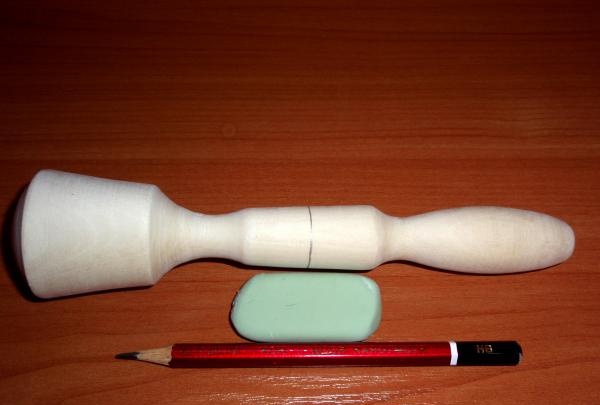
- pencil, eraser,
- A sketchbook and fabric gloves are a must for beginners and advisable for other craft enthusiasts.
Manufacturing method
1. The first step is to make the workpiece smooth for better application of primer and paint, as well as for safe use as a kitchen utensil.
We take a mortar and pestle and use sandpaper to remove small irregularities and roughness. We use fabric gloves to protect our hands and nails.
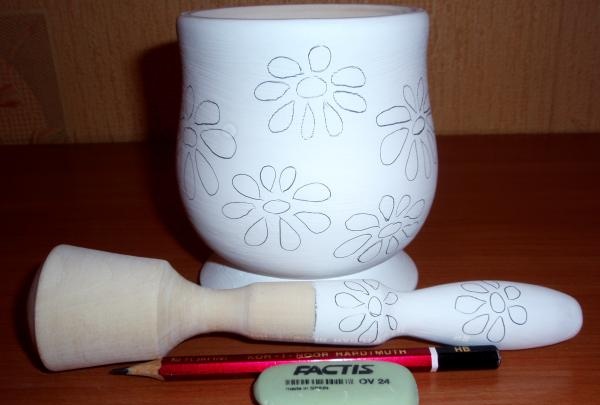
2. To delimit the surface of the pestle for drawing, draw a line around its handle with a pencil.If the application is uneven, use a soft eraser.
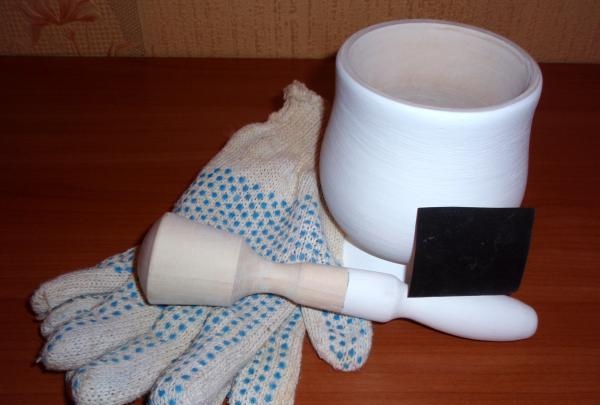
3. Then prime the surface using acrylic primer and a large-diameter brush made of natural bristles or nylon. Apply primer to the pestle along the line previously marked with a pencil.
4. To final level the surface, grind the workpiece with fine sandpaper. Then, after the first layer has dried, we reapply the primer and repeat the sanding.
Fabric gloves will come in handy when working to protect your skin and nails from abrasives.
5. Draw daisies on the blank, trying to give them the same shape. Size and location may vary. In this case, a checkerboard order is used. It is better to use a soft pencil and eraser; they do not leave a mark when erased.
If necessary, you can first make a sketch on paper.
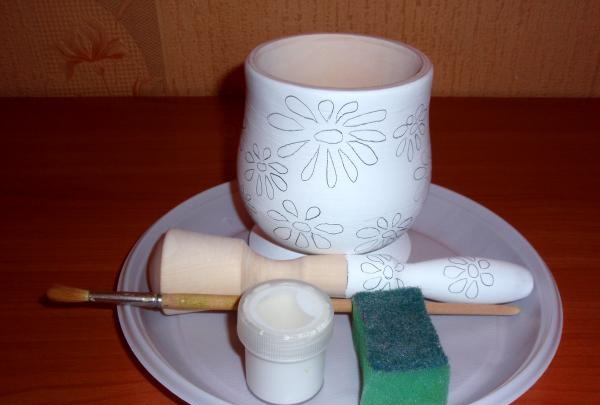
6. Take a soft dish sponge and cut it into small pieces. Fragments of the sponge will be the basis for creating a three-dimensional background.
Then we paint the blank and pestle with white acrylic paint. We apply the paint in two stages:
Using a brush, carefully paint the very top of the mortar and pestle at the dividing line about a centimeter wide
pick up paint on a sponge and apply it pointwise with light movements to the entire surface of the workpiece
It is better to place a small portion of paint in a flat container, such as a saucer, and take it a little at a time with a sponge.
There is no need to completely cover the workpiece with white paint, because in the future it will be covered with paint of other colors. In order for the pencil drawing to be visible, the paint must be applied in a thin layer.
To make the paint more transparent, you can add a drop of water or acrylic paint thinner.
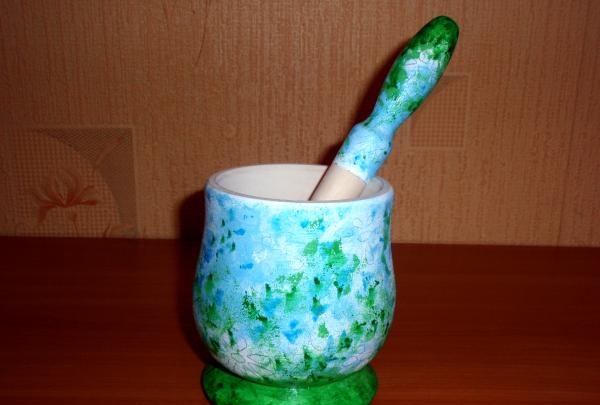
7. Let's start creating a colored volumetric background.
We will need a sponge, a saucer, white, blue, green and dark green paint, and a synthetic brush.
When working with a sponge, you need to remember that when changing the color used, you need to wash and dry it, or replace it with another one.
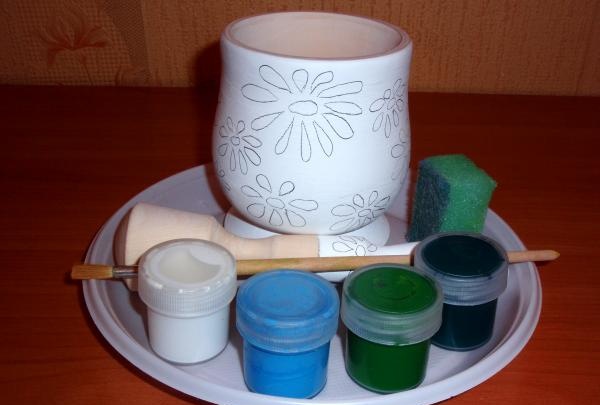
Mix white and blue paint on a saucer. We take the resulting mixture onto the edge of the sponge and apply it to the workpiece in connecting spots. Add a portion of blue paint to the mixture and repeat the procedure, but paint a smaller area of the workpiece. Paint can be applied one on top of the other.
For beginners, it is recommended to practice applying paint on a sheet of thick paper.
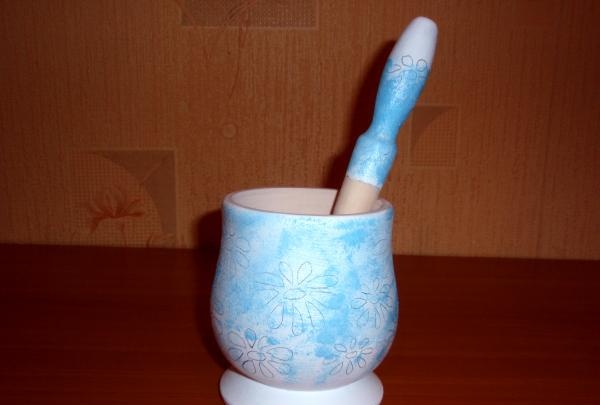
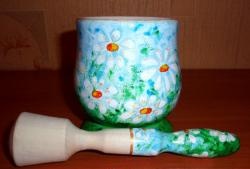
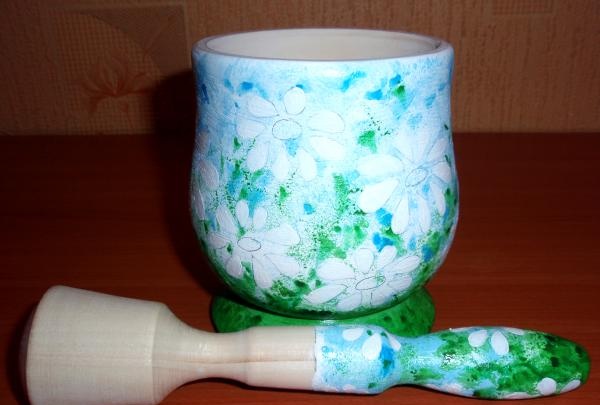
8. We continue to form the background. We fill the middle and lower parts of the workpiece with green paint, respectively, apply paint to the middle and top on the pestle.
In the final stage of creating the background, add a little dark green paint.
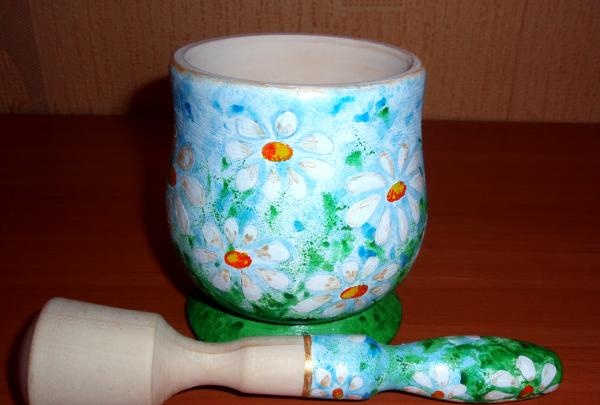
9. Use white paint to paint daisy petals.
10. Color the centers of the flowers yellow.
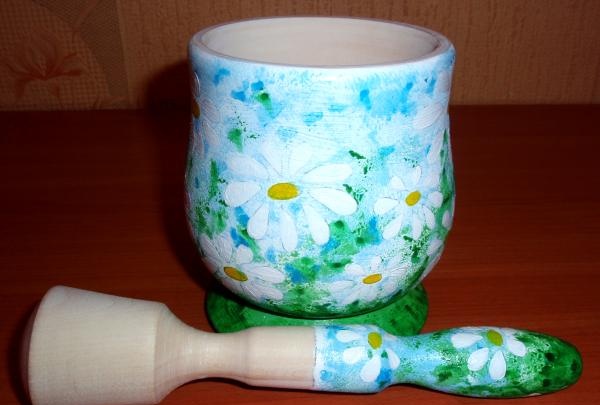
11. Add brightness and depth to the flowers by painting with orange paint.
12. Mix blue paint and a couple of drops of water and outline the daisy petals to highlight them against the background. Instead of water, you can use acrylic paint thinner.
If the daisies are clearly visible against the background, this step is not necessary.
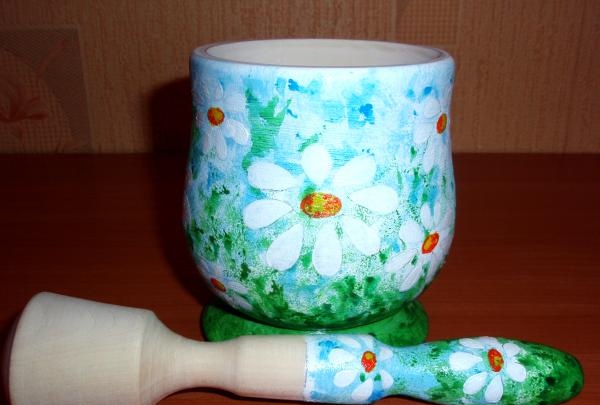
13. For the last stage of using paints, you will need a small diameter brush and gold paint.
We apply gold metallic paint to the rim of the mortar and the demarcation line on the pestle, and repeat the coloring for brightness.
To give the daisies life and shine to the product, we paint the petals with gold.
14. Coat the product with wood varnish. Repeat varnishing up to 3 times.
It is better to use synthetic brushes.
It is necessary to remember: to prevent the stickiness of the varnish, you must follow the instructions for its use, and do not rush to apply a new layer.
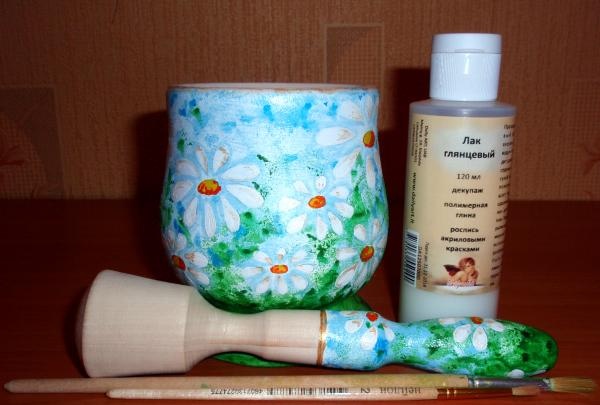
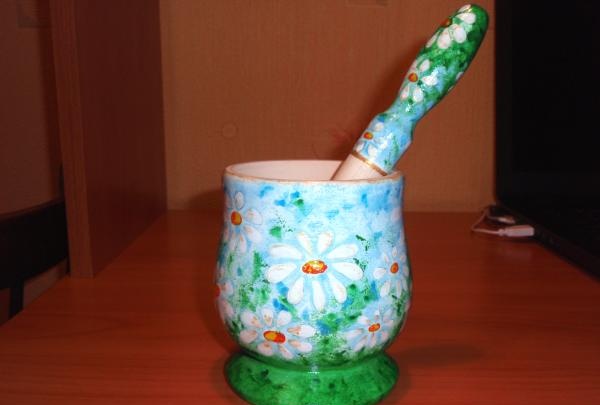
After varnishing, the mortar is ready.

Making a 3D background is easy even for a beginner. When using for the first time, it is better to practice on a sheet of thick paper or cardboard.
Creating an original item is not only a creative process, but also a benefit from a daily life point of view. The resulting product is safe and can be used as utensils.