Let's not complicate anything and paint a small box in soothing colors using colored primer made with our own hands.

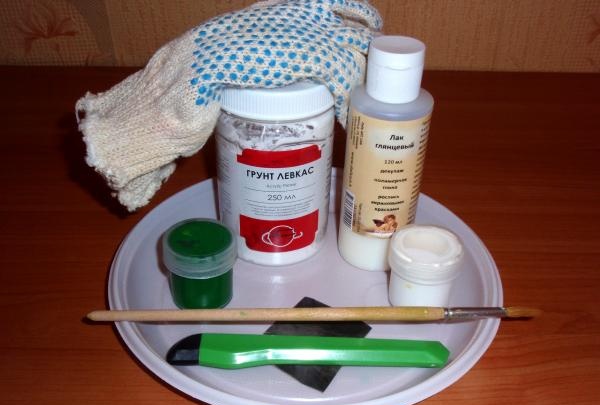
We will need:
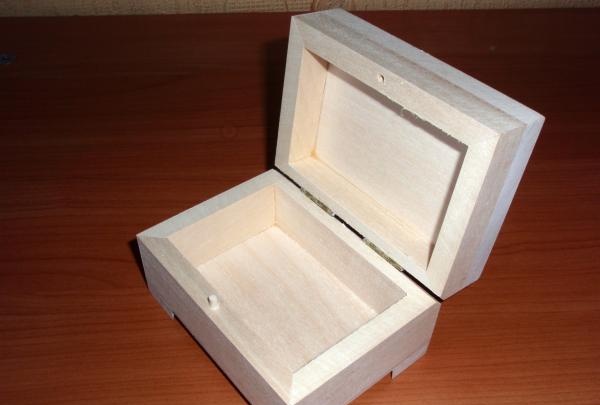
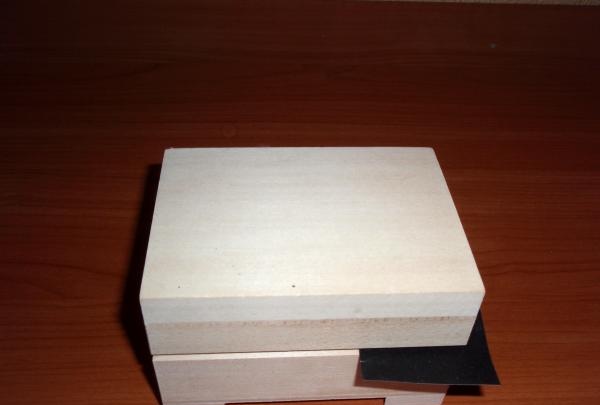
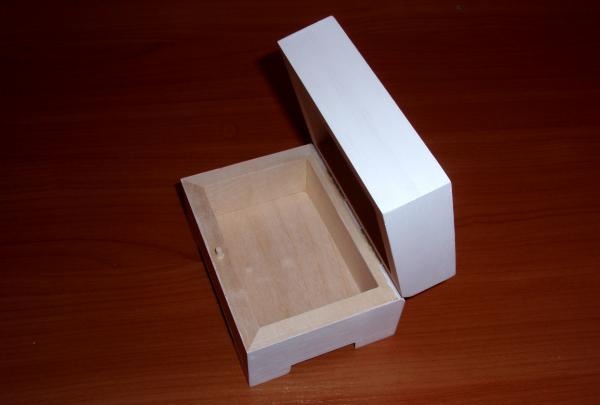
- blank for a box made of solid wood or plywood.
- fine sandpaper,
- cloth gloves (desirable, but not required),
- soil,
- brush,
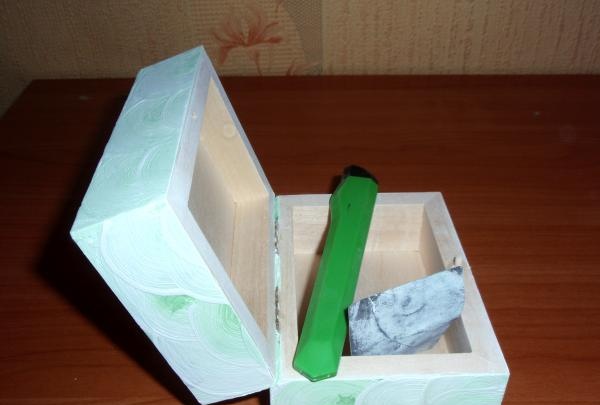
- small stationery knife,
- white acrylic paint,
- basic acrylic paint, we will take bright green,
- a plate for primer and paint,
- acrylic glossy varnish.
Manufacturing method
We take the box blank and sand it with fine sandpaper.
For convenience and protection of your hands when sanding, you can use cloth gloves.We prime the outer surface of the box with acrylic primer and sand it with sandpaper.
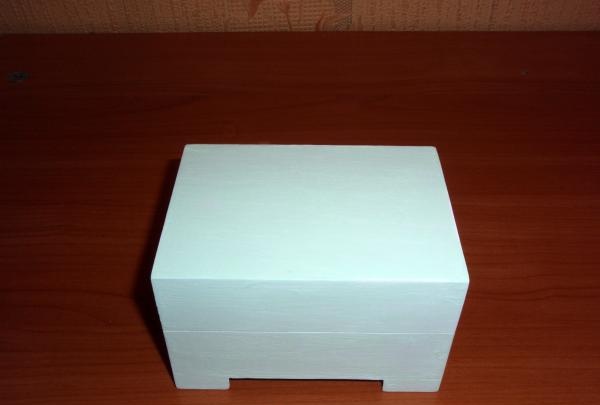
Mix the primer with a small amount of white and green paint to obtain a pastel light green shade, prime and sand the box.
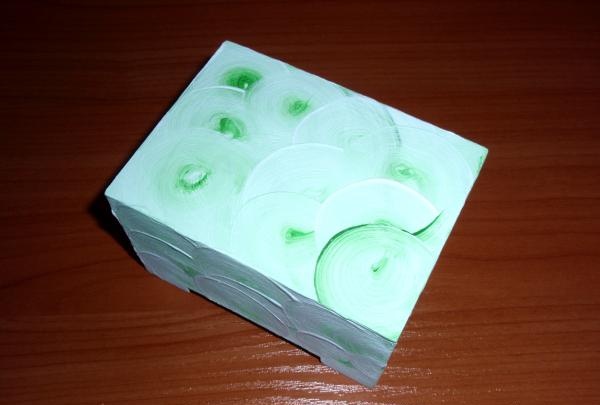
We apply a mixture of primer and white paint and a mixture of primer, white and green paint. Mixing primer and paint to give the product not only color, but also texture, is a manufacturing feature. And in the future it makes it possible to polish the box to make it smooth without changing the quality of the decor. The nice raised lines will remain undistorted and colored after sanding.
Place on a plate in thin parallel strips or small puddles:
- primer mixed with white paint
- a mixture of primer, white and green paint
- green paint
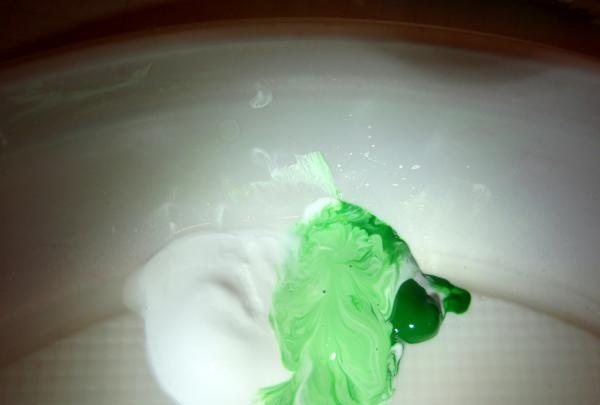
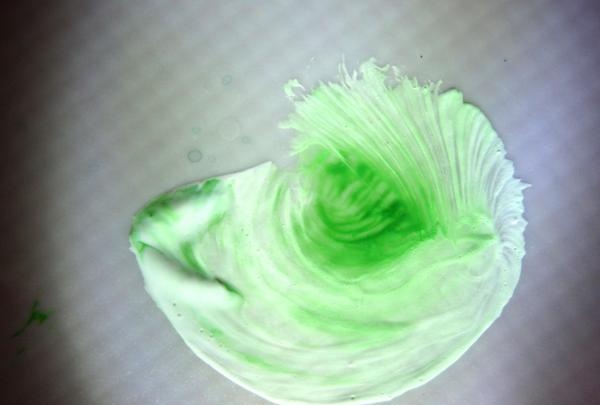
We put a drop of each of the previous mixtures on the brush so that the bristle of the brush is as if transversely striped.
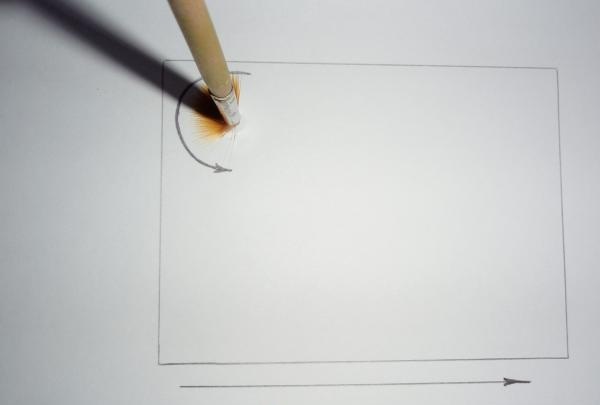
Place the brush perpendicular to the surface and draw 2/3 of the circle.
We always draw circles of the same type, for example, counterclockwise. We move only in one direction, for example, from left to right.
The box must be closed so that the design is general and flows smoothly from one part of the box to another. Depending on the desired diameter of the circles, select a brush of the required size.
Making this kind of decor is surprisingly easy. For beginners in needlework, it is enough to try to draw circles using this technique on a sheet of paper a couple of times. If there are deposits of soil along the edges of the box, carefully remove them with a utility knife, then sand them.
We take glossy acrylic varnish for artwork and decoupage, a synthetic brush and a blank.
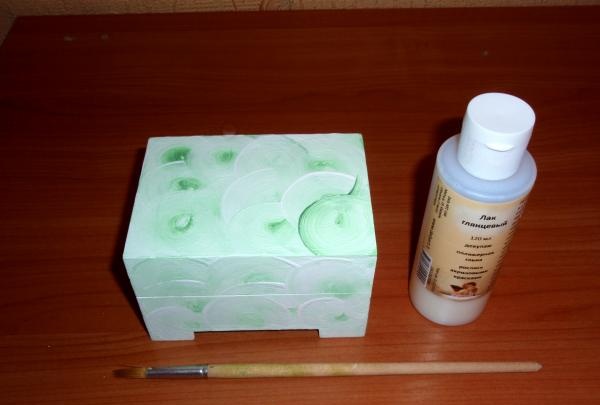
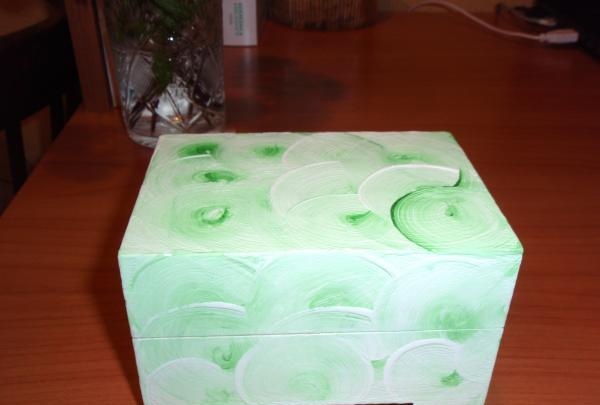
We apply the varnish several times, and before applying the next layer, wait for the previous one to dry completely.Varnish will make the colors bright and effective.
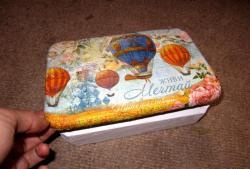
The result is an airy spring box.
As an example, green was chosen as a color-forming paint, but the main color can be any. Here are some examples: blue or cyan color will remind you of snow and winter, yellow - a sunny day, orange - orange candies, and so on. Try it, choose your color, because imagination is limitless and gives us an endless world of colors and shades.