Necessary materials:
- Yarn “Romance” chocolate (No. 063) – 8 pcs.
- Yarn “Romance” beige (No. 005) – 1 pc.
- Any thinner brown yarn - 2 pcs.
- Hook No. 3.5-4.
- Lightning.
- Warm, I'm a shirt for lining.
- Dv, large brass buttons
- Needle and thread.
How to knit a jacket
The product consists of several parts, which are made separately, and then sewn together and tied with an elastic band. These are the back, two front shelves, sleeves and pockets.
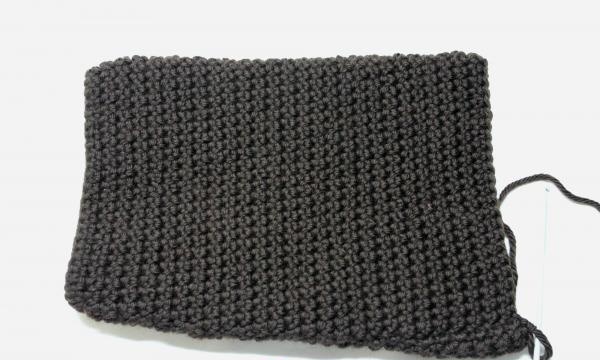
Knitting starts from the back. You need to cast on 70 chain stitches and perform 27 rows of double crochets. This is the length of the jacket from the armhole to the hem. Then you need to reduce the number of loops for the armhole according to the following scheme:
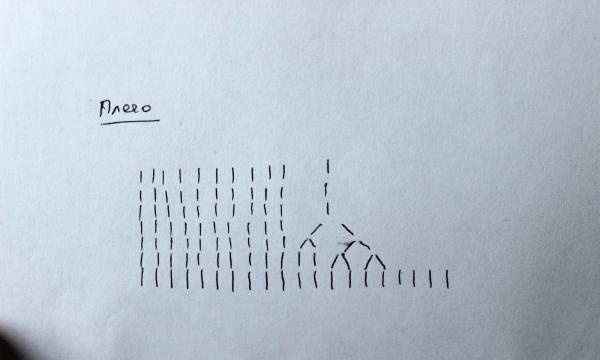
This is what it will look like:
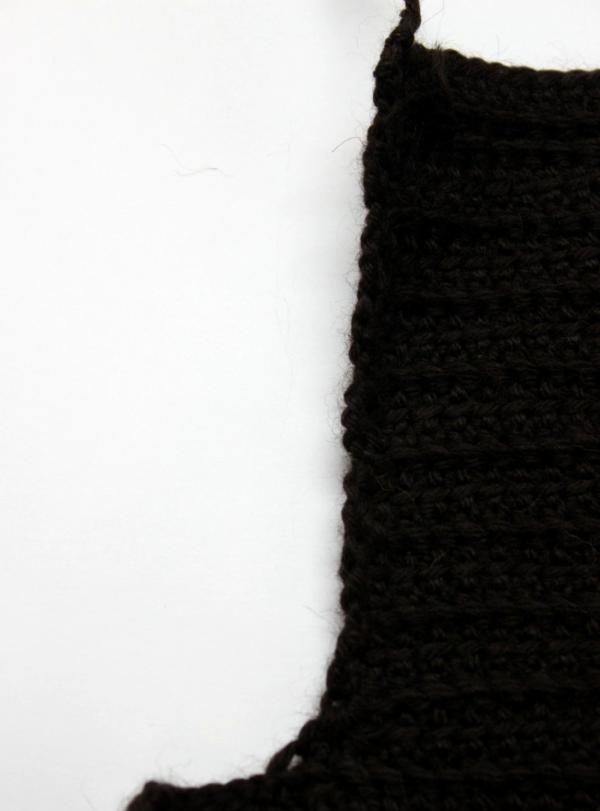
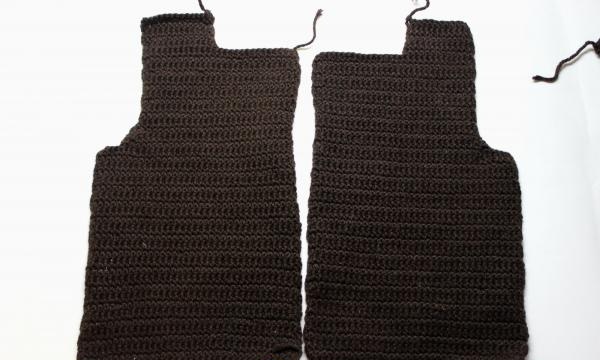
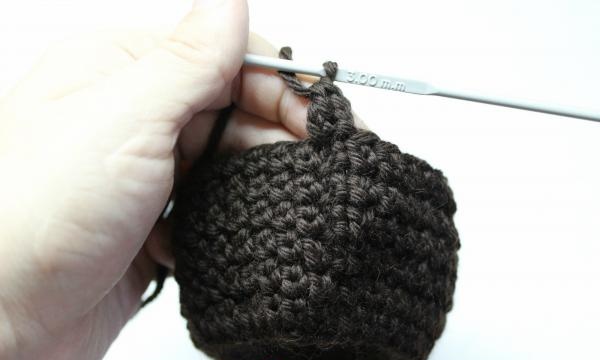
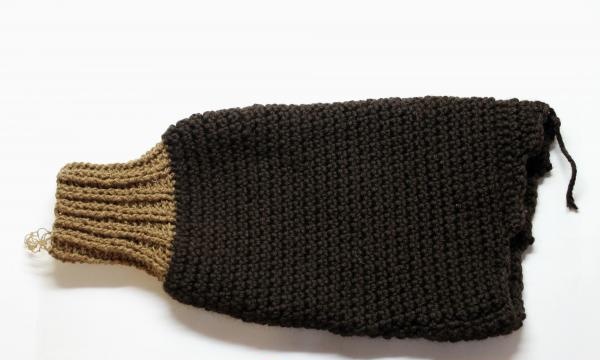
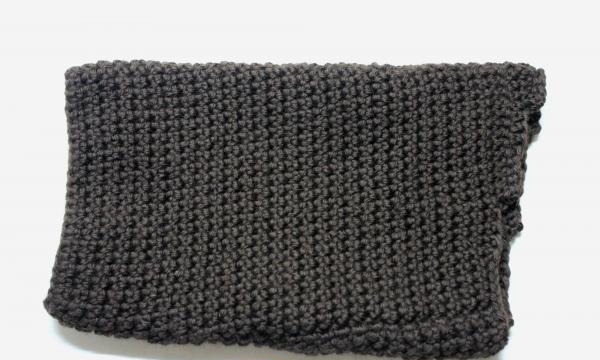
16 rows are made from the armhole to the shoulder, then two shelves for the shoulders are knitted.The result should be something like this:
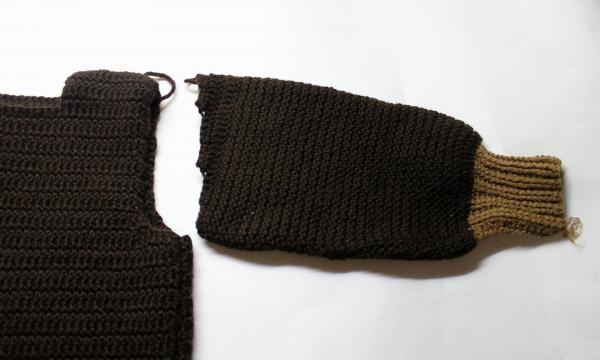
Now you can move on to the front shelves. For each, a chain of 35 chain stitches is cast, 27 rows are knitted, a reduction for the armhole and 13 rows with double crochets. After this, shelves for the shoulders are added. Their width is 13 loops.
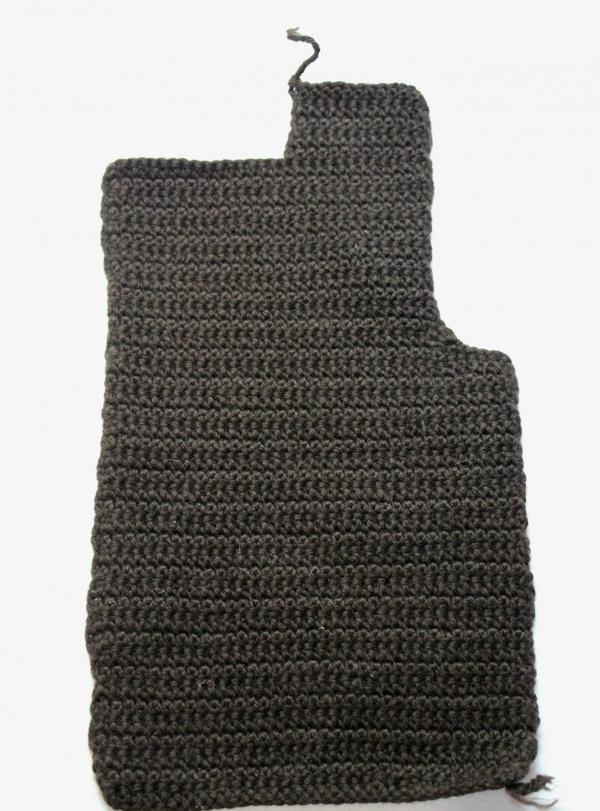
Finished front parts:
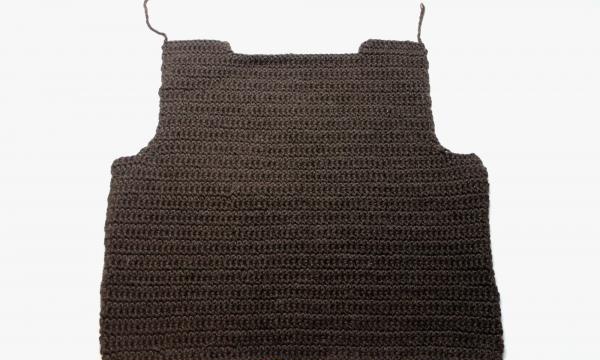
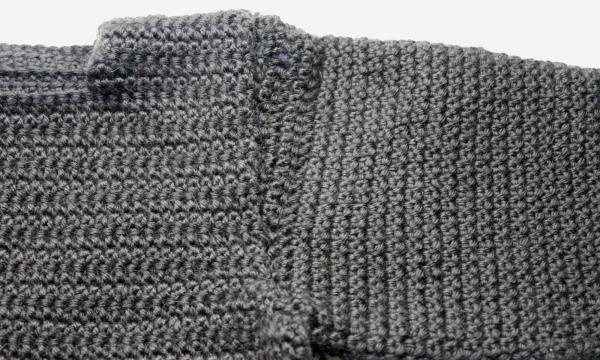
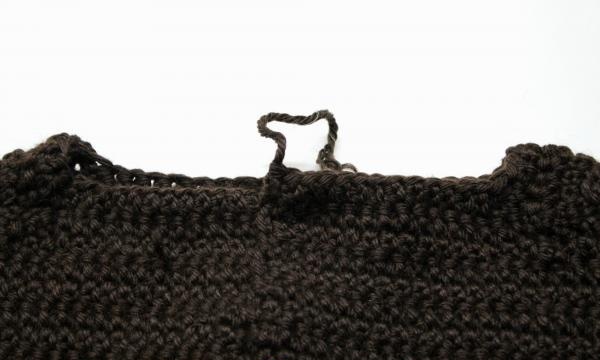
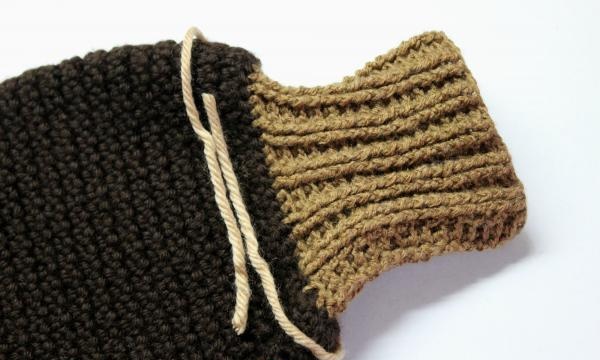
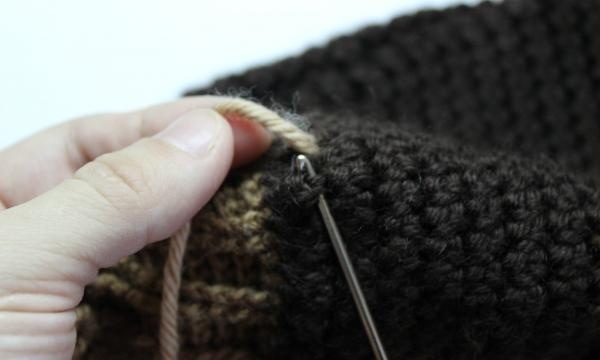
The next step is to carefully sew together the three finished parts of the jacket.
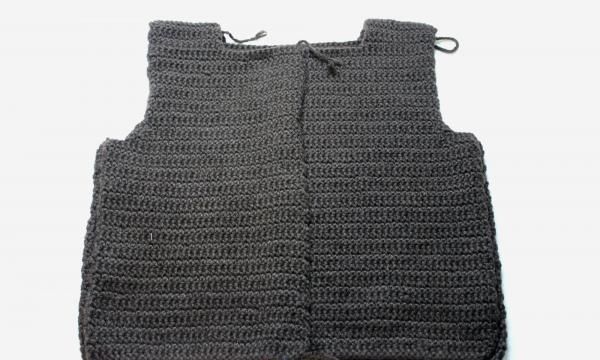
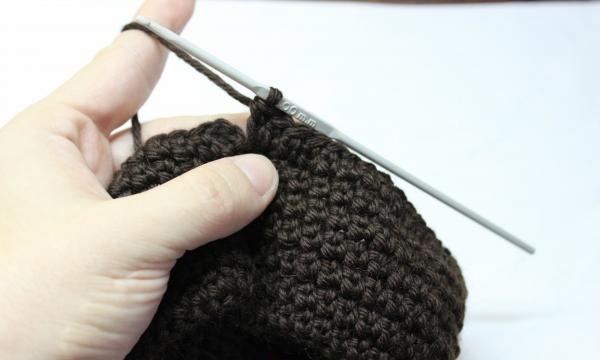
This is what the top part of the stitched elements looks like:
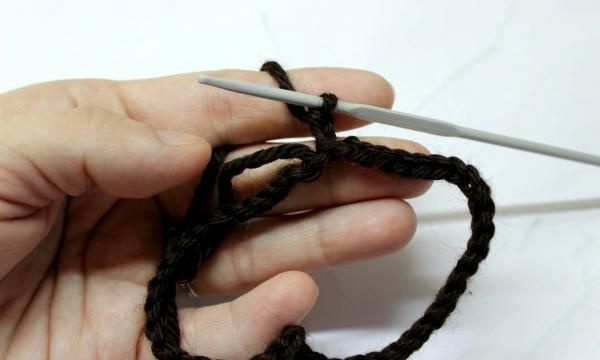
It's time to move on to the sleeves. For each, a chain of 40 air loops is collected and connected into a ring.
The first row is performed without increments with double crochets:
Then in every fourth row you need to add one loop. This is what the sleeve looks like on the sixth row:
The increase should be done like this:
The sleeve gradually expands:
Knitting continues:
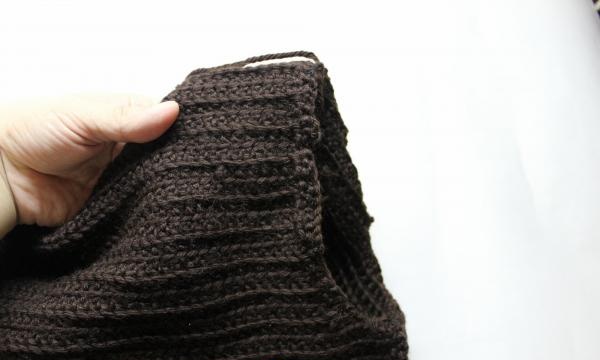
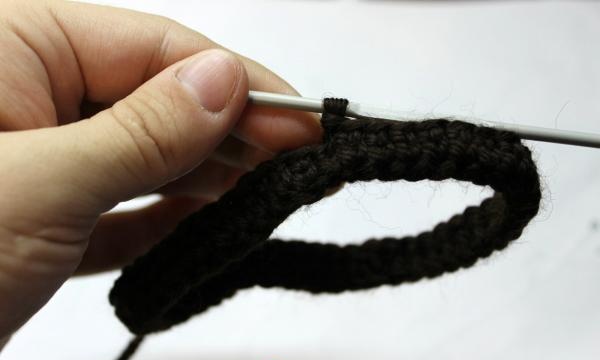
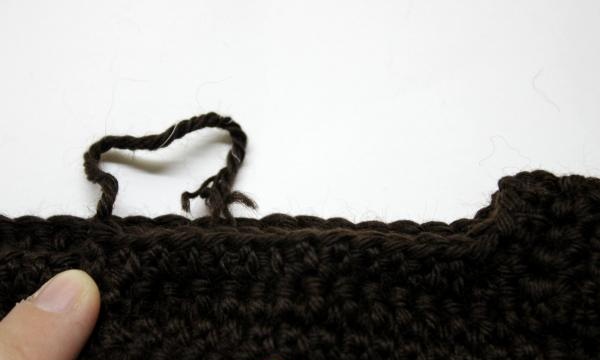
When the piece is equal to the length of the arm from hand to shoulder, you can decrease the loops. In the first row you need to step back five stitches from the edge and continue knitting in the round:
The opening will look like this:
The sleeve is almost ready:
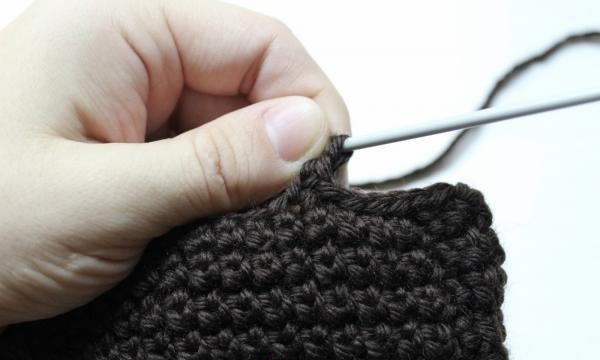
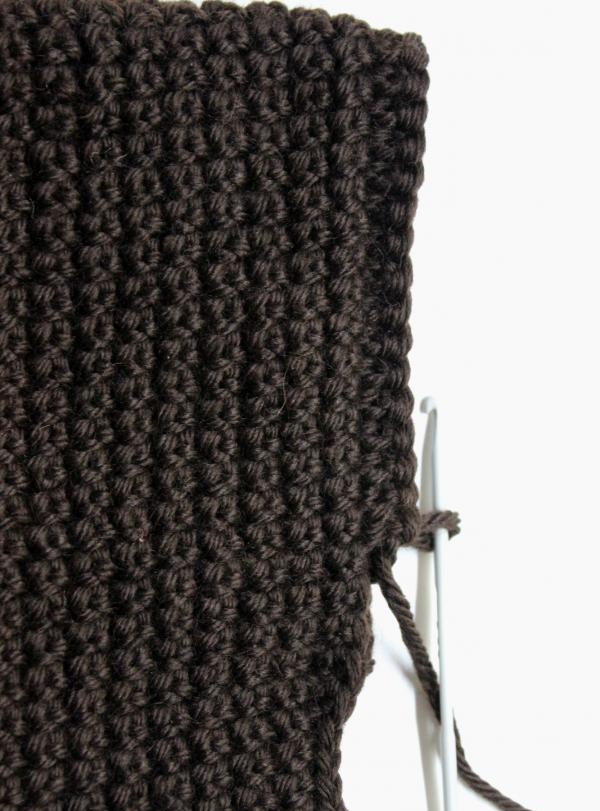
Now it's time to move on to tying the parts with an elastic band. It is best to take a yarn slightly thinner than the main thread, otherwise the embossed columns will seem too rough. The elastic is made according to the pattern “2 front stitches + 2 purl stitches”.
First, the sleeve is tied with a series of single crochets:

After that, you can move on to the elastic band itself:
The length of the elastic is arbitrary; you can make it a little shorter or longer.
The finished sleeve is sewn into the jacket.
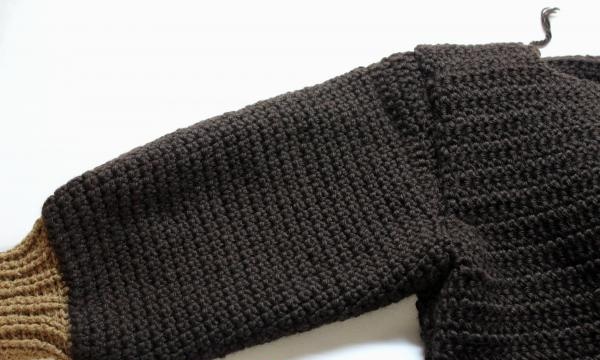
The same is done with the second sleeve:
The bottom and neck are also decorated with elastic. First, the bottom is tied with a row of single crochets:
Then you can do the elastic:

She will tighten the jacket at the bottom so that it does not ride up and does not allow cold air to pass through.
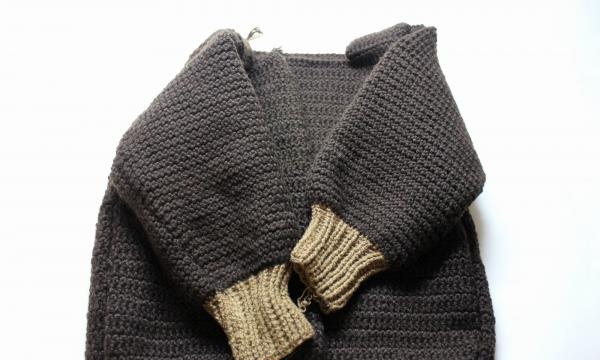
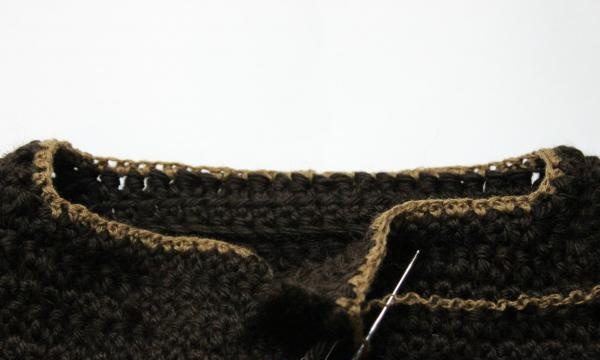
You can move on to the neck.First, you need to tie it with a row of double crochets using the main thread:
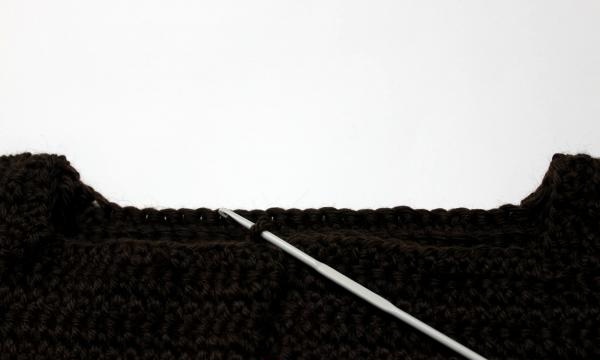
In the corners it is necessary to tie five columns together to make the transition smooth:
Now you need to use a thread for an elastic band to make a row of single crochets:
Only then can you do the rubber band:
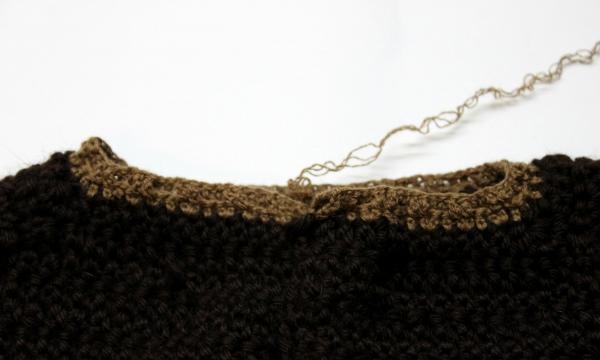
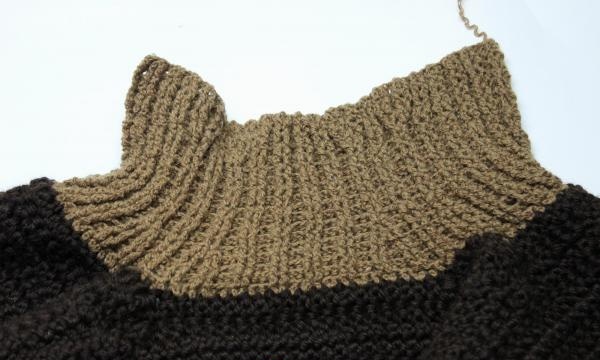
The elastic should be twice as long as the neck so it can be folded in half and sewn inside the jacket.
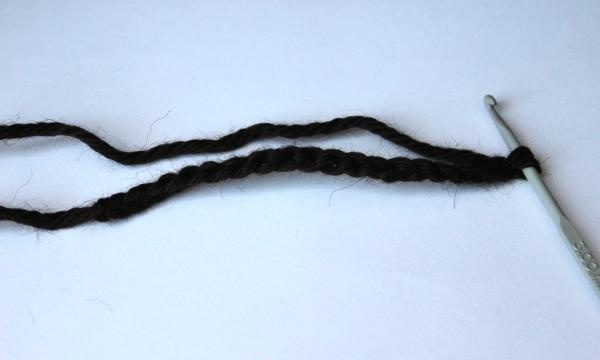
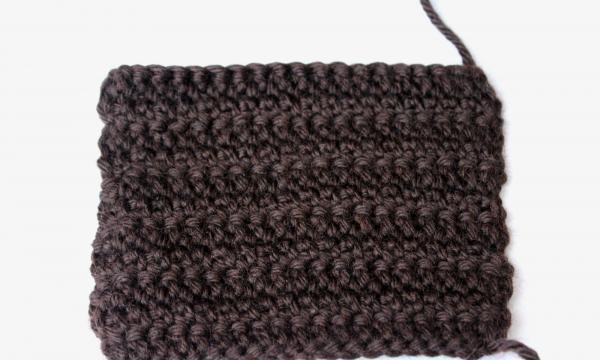
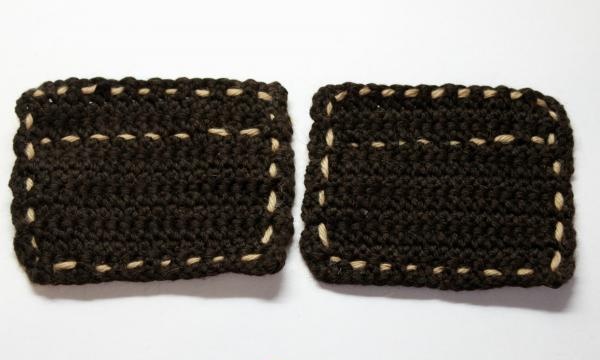
All that remains is to make the pockets. For each, a chain of 20 chain stitches is made.
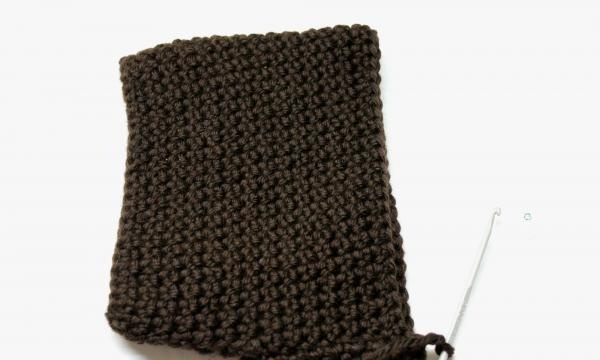
There will be 11 rows in the pocket:
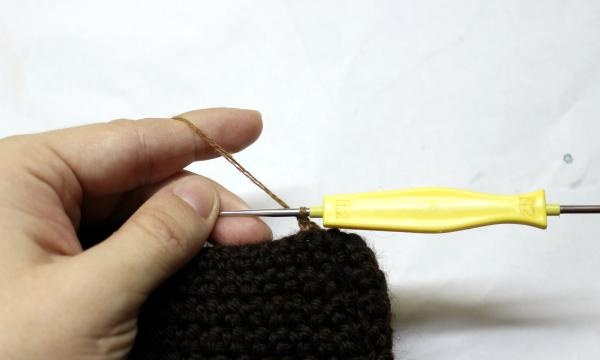
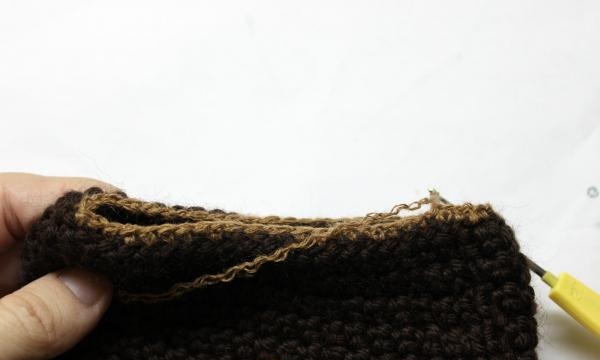
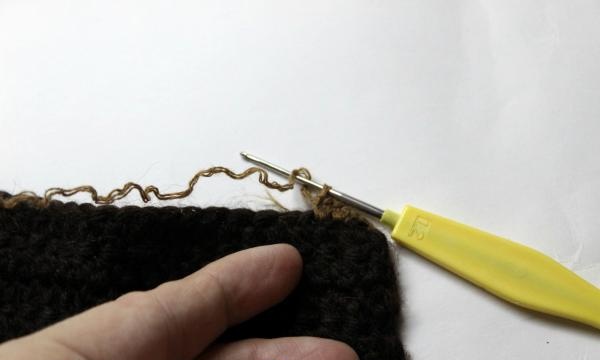
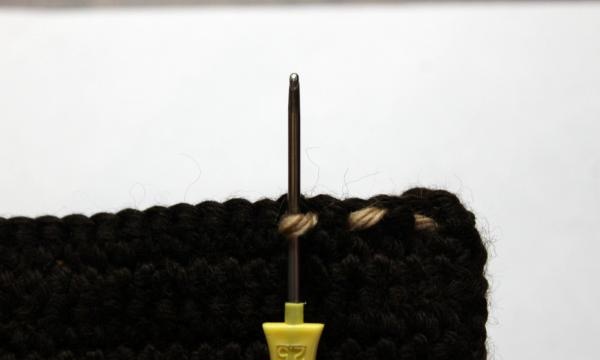
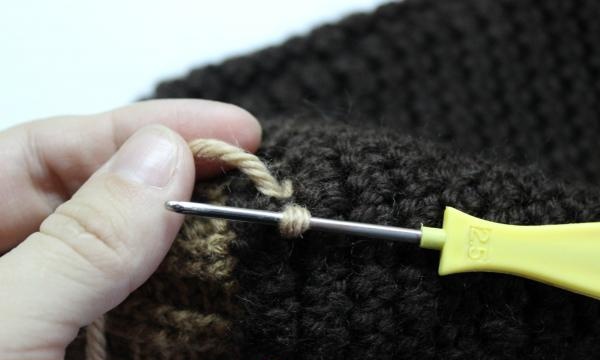
It's time to take a light beige thread and start decorating the jacket. For the pocket you need to cut this piece of yarn:
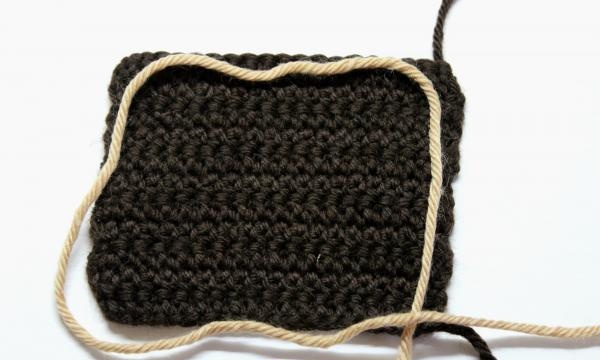
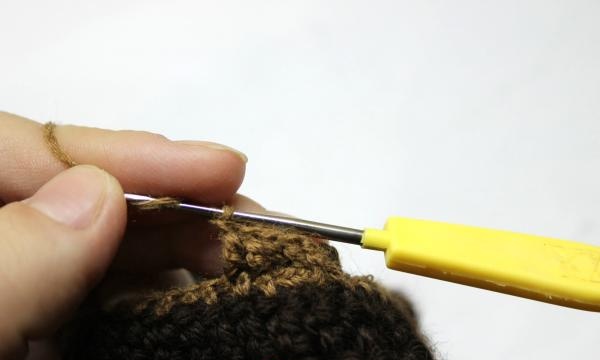
You just need to pass the thread between the tables using a hook:
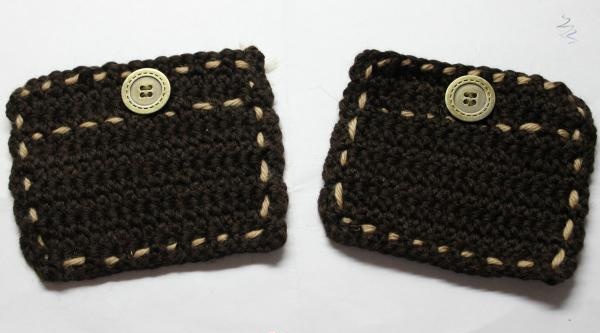
Almost finished pockets:
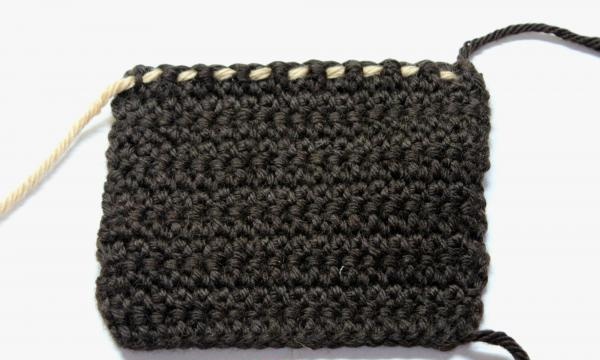
All that remains is to sew on the large brass buttons:
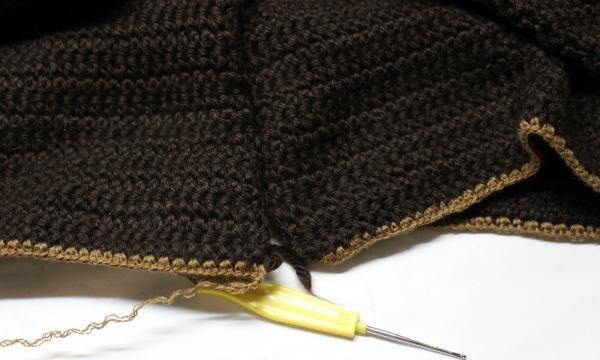
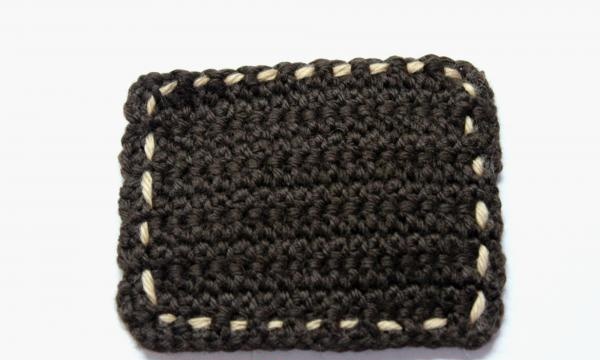
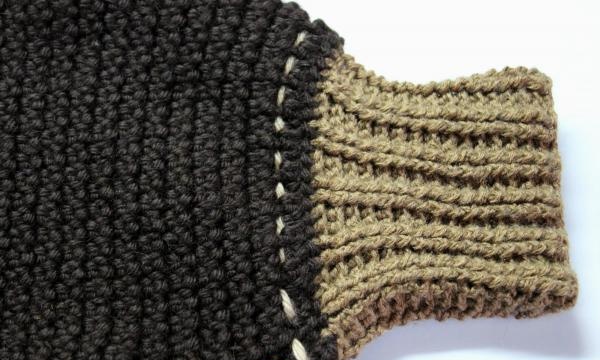
The sleeves of the jacket are trimmed with light thread in the same way:
This is what you should end up with:
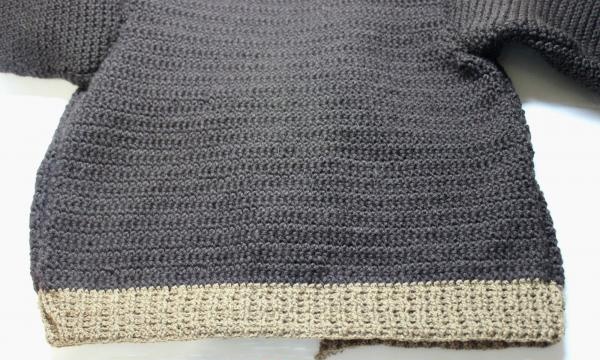
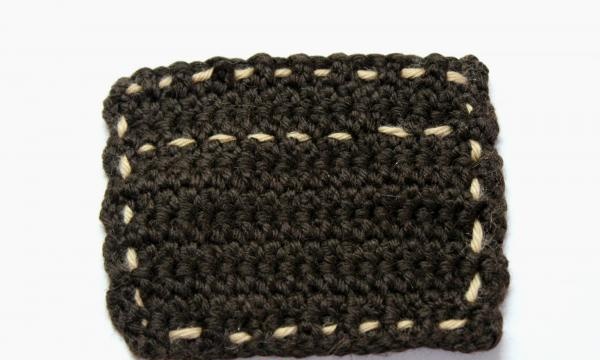
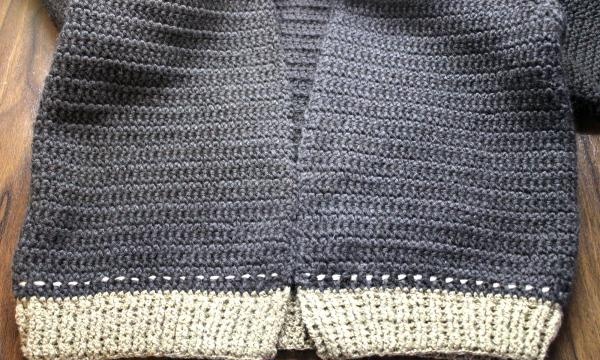
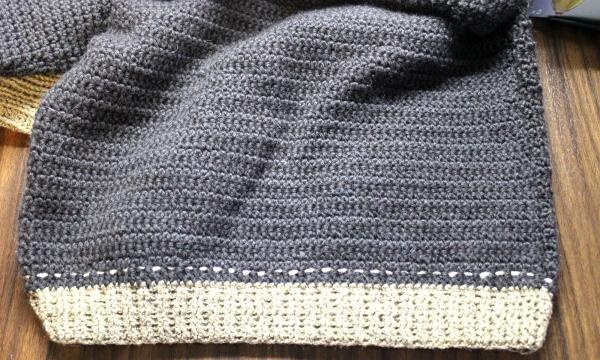
The same procedure is done with the bottom:
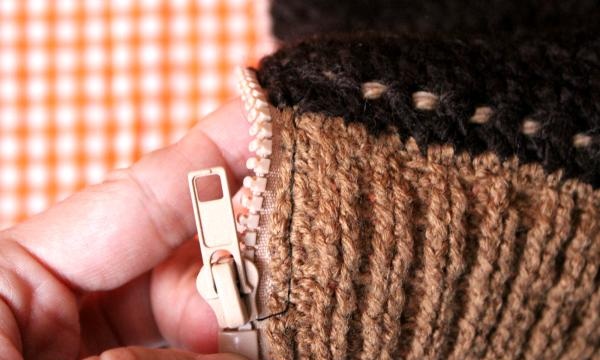
The lining for the product will be a warm flannelette shirt, although you can use any other material. The lining is carefully sewn into the jacket, followed by a zipper.
Finished jacket:

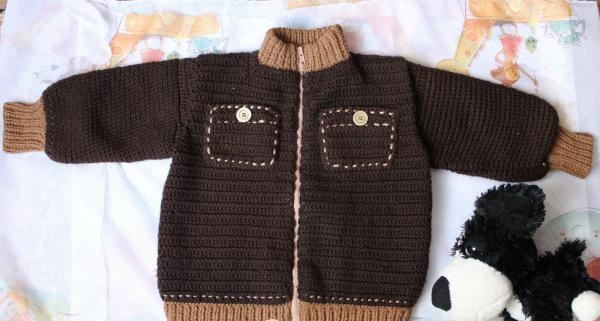
A warm autumn jacket for a baby will be a great addition to any boy's wardrobe.