
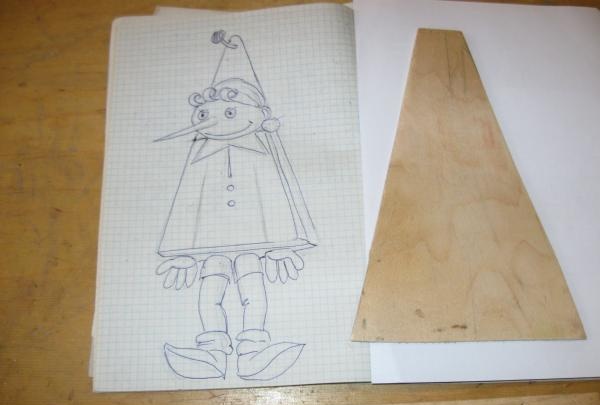
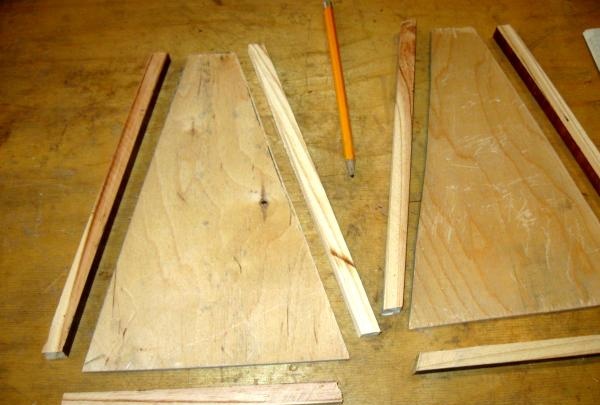
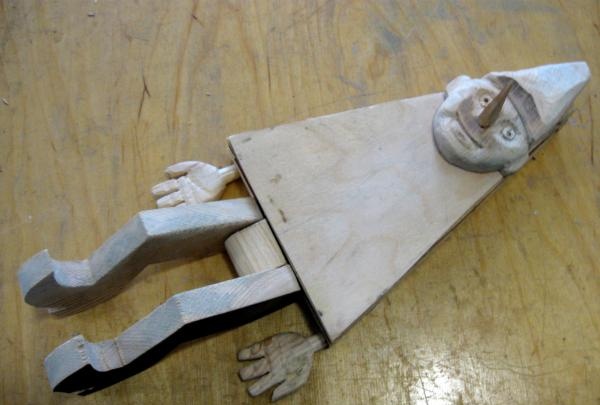
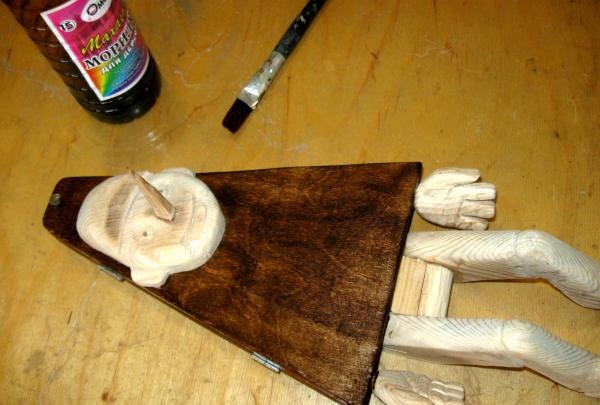
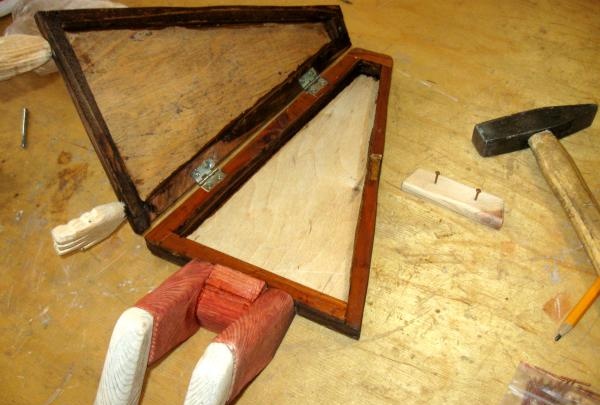
1. Before making such a box, you need to decide on its dimensions. The sizes depend on the number of keys in your family. First, you need to measure Pinocchio’s torso on a sheet of plywood 2–3 mm thick. To do this, you need to draw a 15x30 cm rectangle on this sheet. A trapezoid is made from it, the upper part of which should be 5 cm. After you have drawn the trapezoid, it must be cut with a jigsaw. We need two of these parts, of the same size.
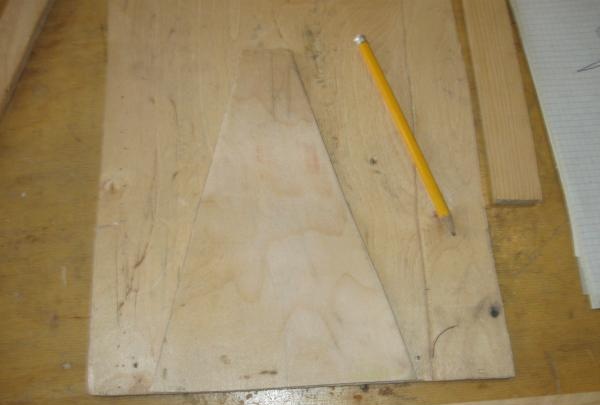
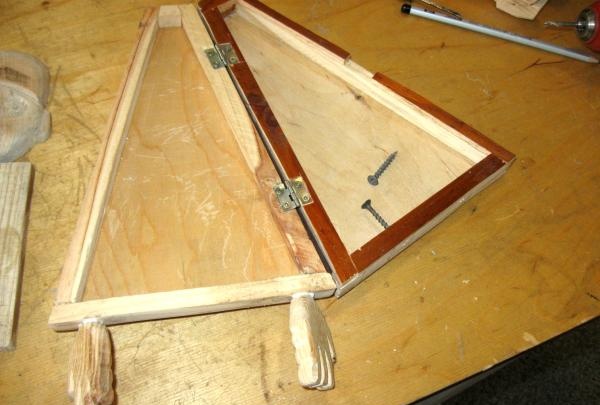
2. Next, the walls of the future box are assembled from thin slats, 10 mm thick and 20 mm high. It is not necessary to make a tenon to connect the walls. It is enough just to fasten them with PVA glue. Thus, you should end up with two identical trapezoids with walls at the edges.
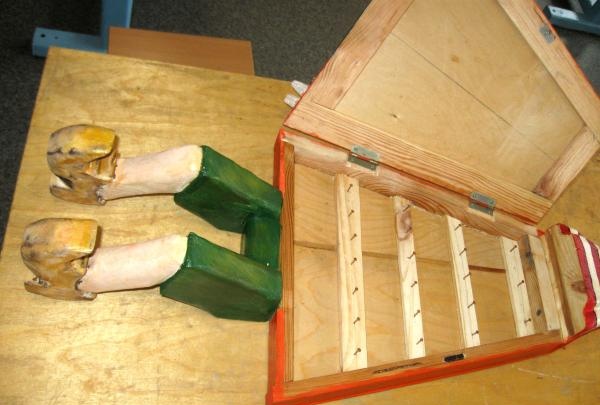
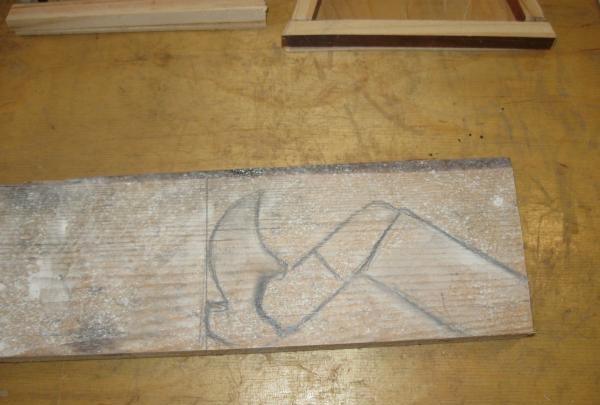
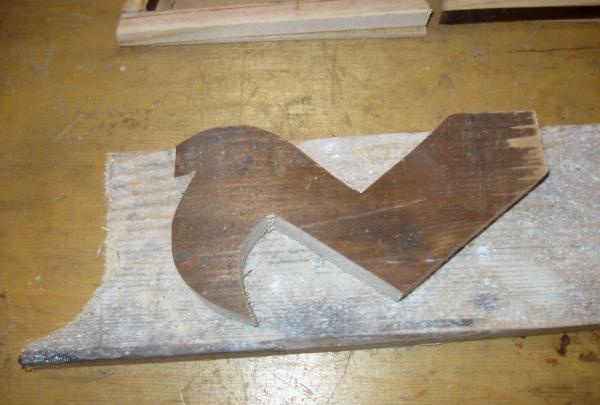
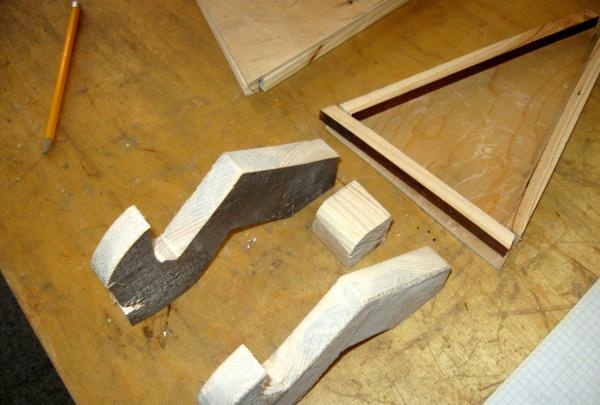
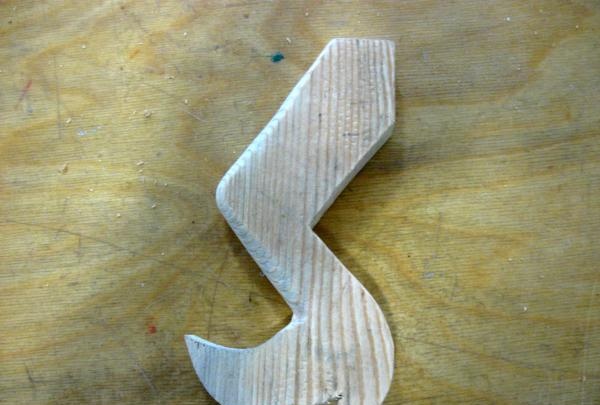
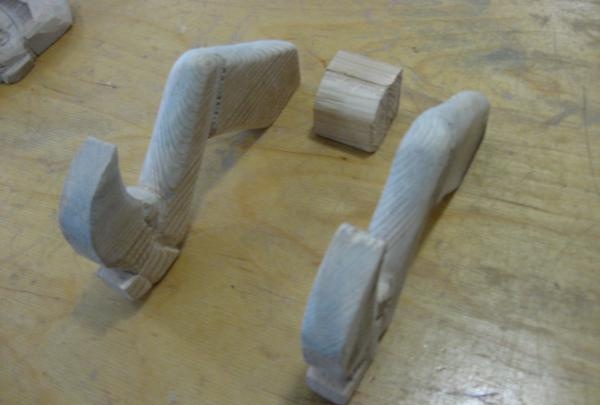
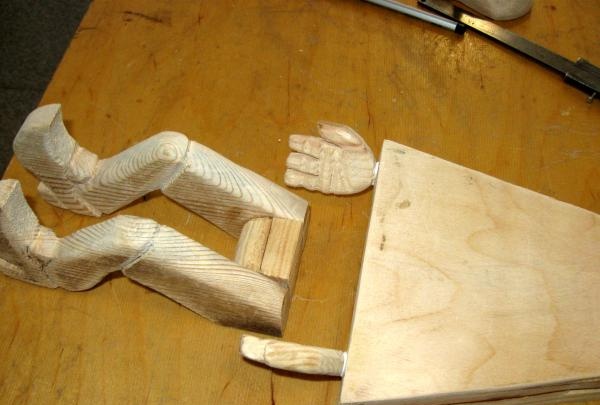
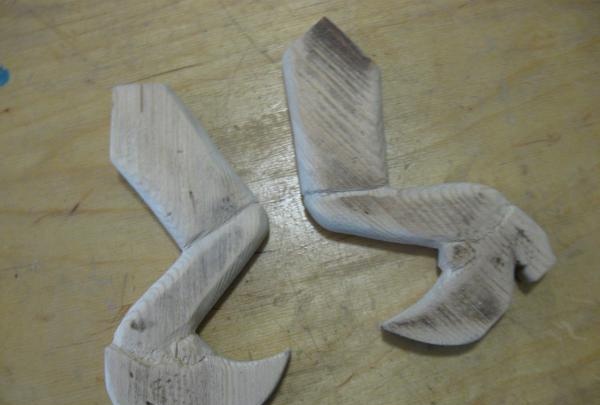
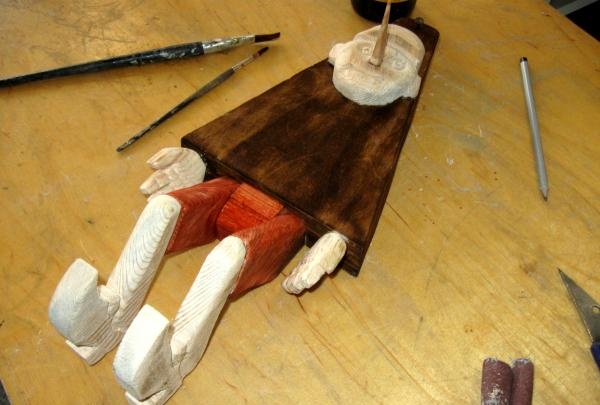
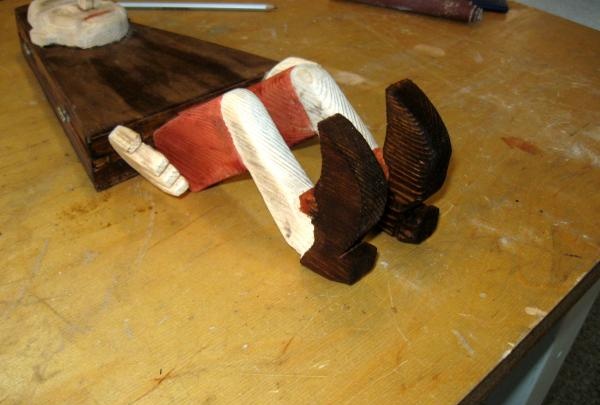
3. To make legs, you need to make a pattern so that both legs are the same. To do this, first draw a leg on paper, and then transfer the drawing to a board no more than 20 mm thick. All edges of the legs can be rounded with sandpaper so that there are no sharp corners. After this, the legs are glued together and attached to the body. The legs are attached with glue, and you can additionally fasten them with self-tapping screws from the inside of the case.
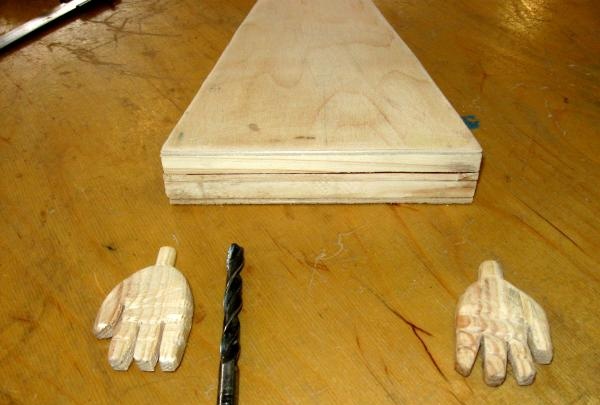
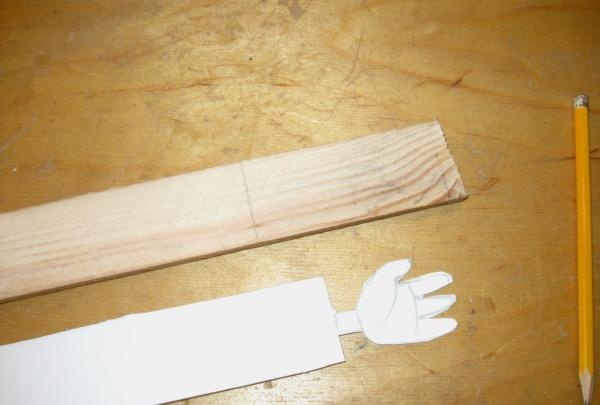
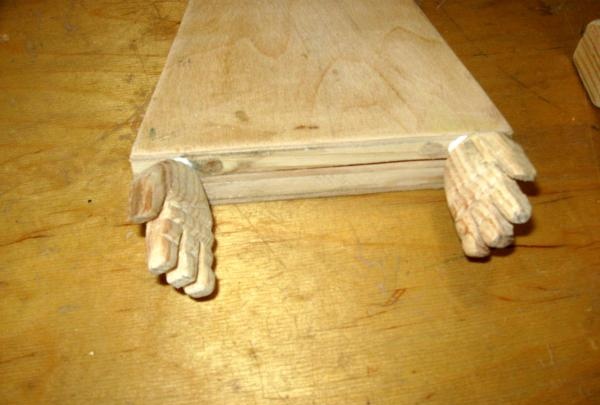
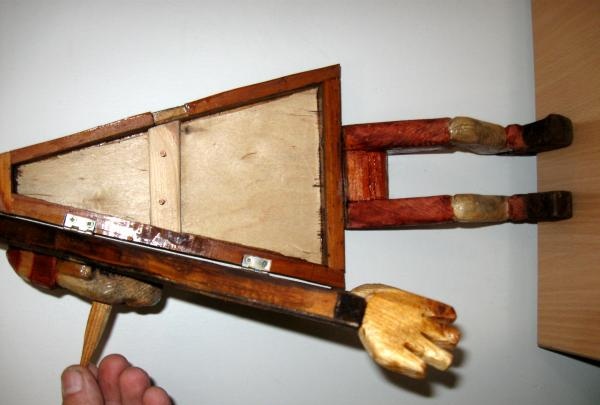
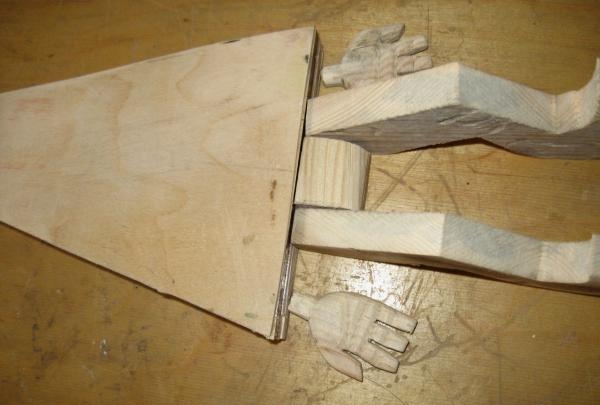
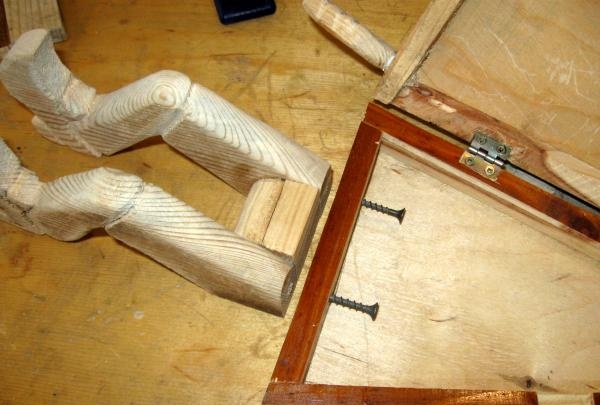
4. Next we proceed to making the hands. Again, you first need to make a hand pattern, and then transfer the drawing to a wooden slat. Next, the hands are cut out with wood cutters and attached to the bottom of the box, on dowels. The diameter of the drill you will need to drill the hole depends on the diameter of the dowel you get.
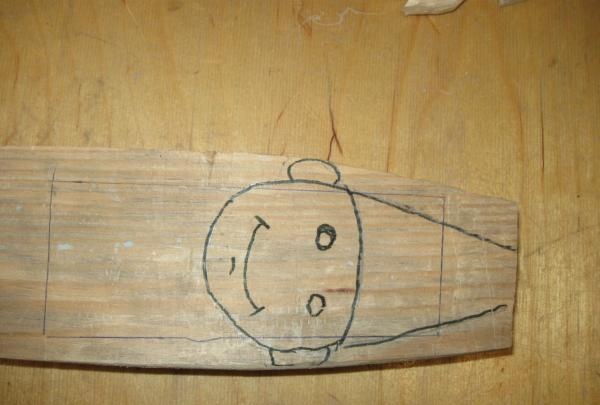
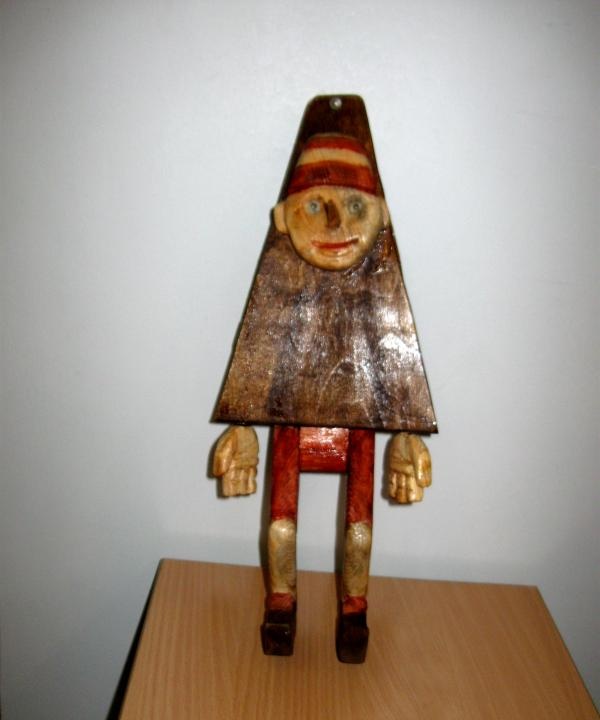
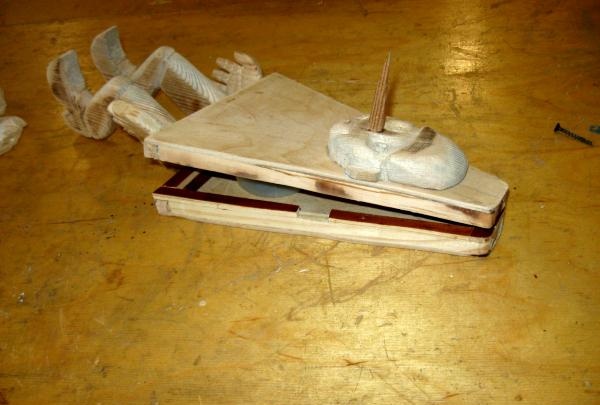
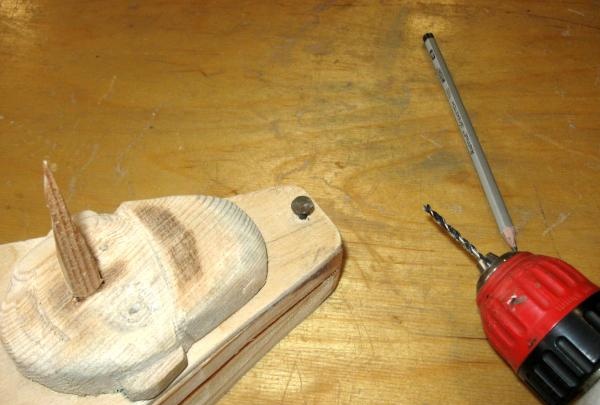
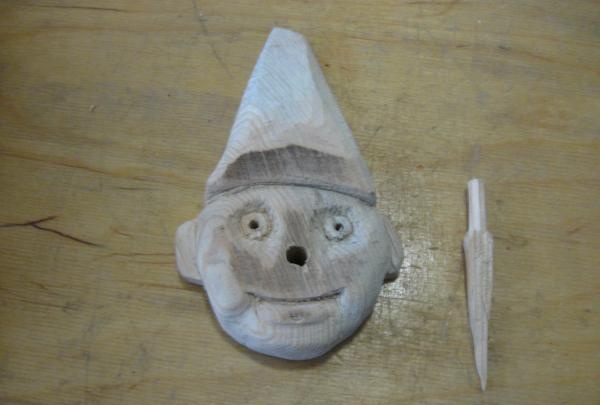
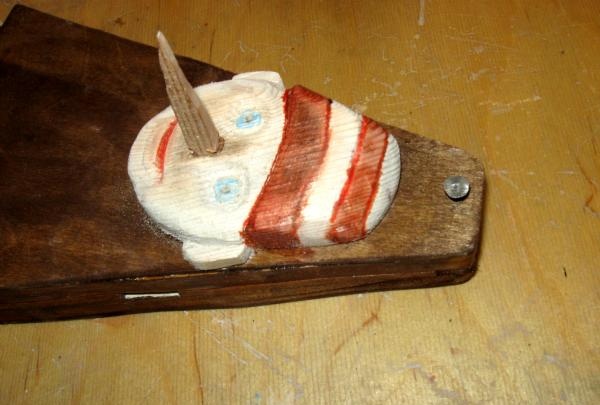
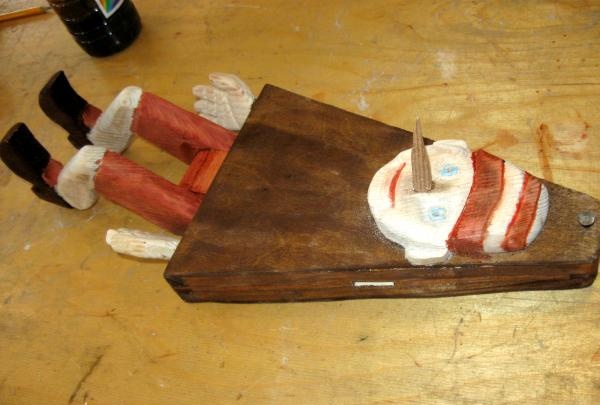
5. The next stage is making Pinocchio’s head. First, you need to draw it on a wooden board, and then cut it out with carpenter's cutters. After the head is made, it can be glued with PVA glue to the top of the box lid. You can drive a nail with a large head above your head. This will create the effect that Pinocchio is supposedly hanging on the wall, suspended from this nail, as it was in the cartoon. 12.jpg 13.jpg 15.jpg 25.jpg
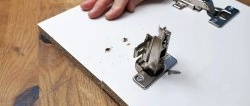
6. After the entire body of Pinocchio is done, you can begin the internal work. It is necessary to make recesses for the hinges on one and the other lid of the box. Which side to attach the hinges to depends on which direction you want the lid to open. For these works you will need a drill with a thin drill, self-tapping screws and a screwdriver. It is better to screw the screws into the drilled holes, since the walls of the box are thin and can break off.

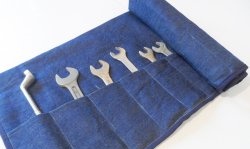
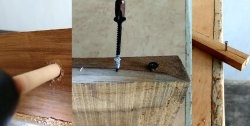
7. On the opposite side of the hinges, a small cutout is made to make it convenient to open the lid. If desired, you can attach a handle. Inside the box there is a strip or several strips filled with screws that are screwed in for hanging keys on them.

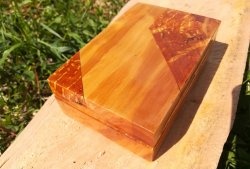
8. For painting we need varnish, stain or paint. The body itself and shoes can be covered with a dark stain. Next, using teak or mahogany colored stain, the shorts, lips and headdress are painted. After this, the product is completely varnished. Alternatively, instead of stain, you can use acrylic paint, red, white and green. But even in this case, it is recommended to varnish the product to preserve the wood, as well as to add brightness and shine to the paint.
So, we have looked at how an original key storage box is made. Of course, the manufacture of such a product requires special tools and the ability to use them. You can rest assured that this product will wonderfully decorate your hallway.