Do it yourself
Life hacks, master classes, useful tips, recipes.
home » Handicraft techniques » Sewing » Sewing for Beginners » Convenient wrench organizer
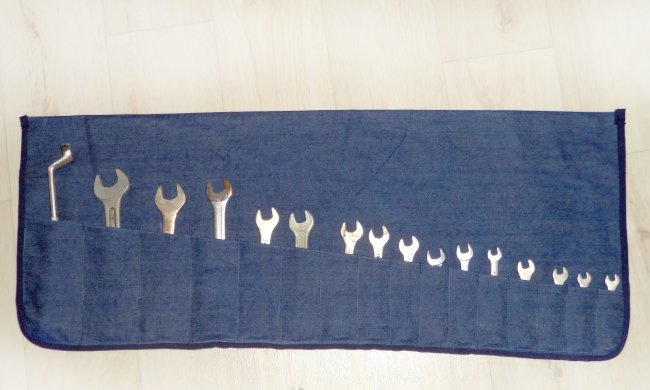
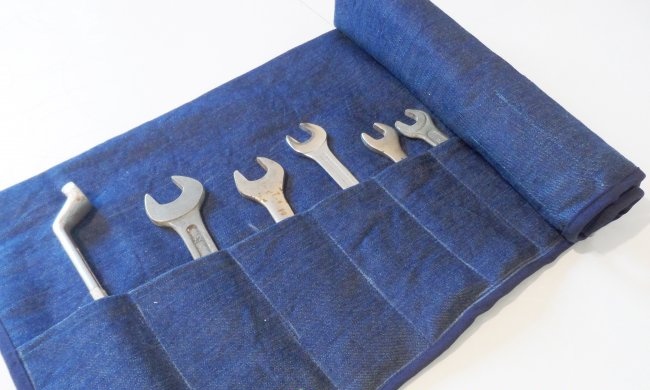
As they say, order should be everywhere. This also applies to your spouse’s tools. It is very easy to put things in order if you use an organizer for this. I suggest making your own organizer for wrenches. Now your accessories will be organized thanks to individual pockets. And the bag itself will take a very compact place among other tools.
Organizer for wrenches

We sew a organizer for wrenches with our own hands


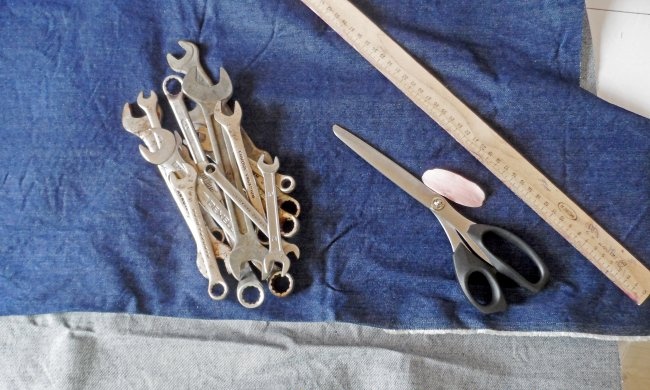
01. To sew the organizer we will need a minimum of materials and time. I recommend using thick, wear-resistant fabrics such as raincoat or tarpaulin. I made it from thick denim. We will also need matching threads, scissors, a ruler and the wrenches themselves.
Organizer for wrenches

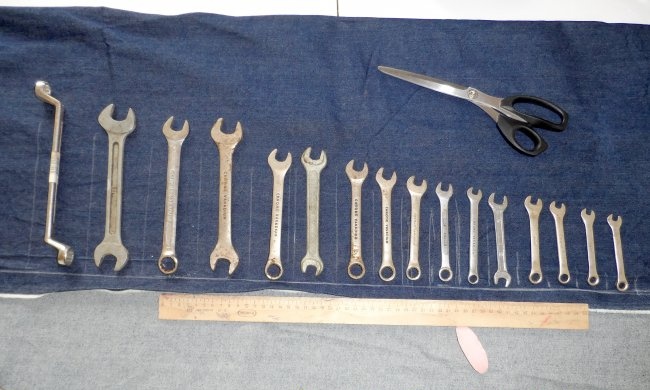
02. Decide on the size of the bag. To do this, you need to lay out all the keys in a row as they will lie in the finished product. That is, in descending order.
Organizer for wrenches

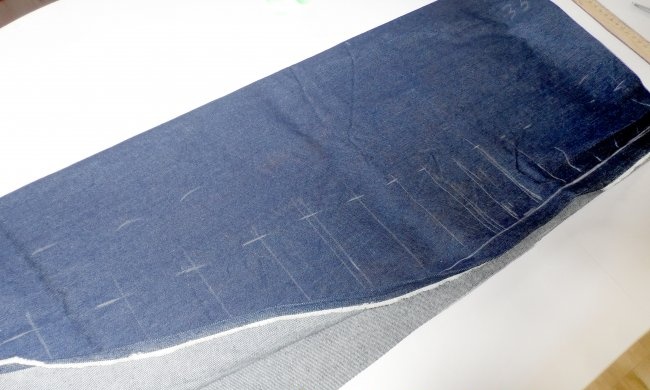
03. Now, using a ruler and chalk, mark the width for each pocket. The width of my largest pocket is about 7 cm. Further, in descending order, each pocket becomes narrower by 0.5 cm.
04. Keys can be removed. All that remains is to cut the pocket along the marked lines.
Organizer for wrenches

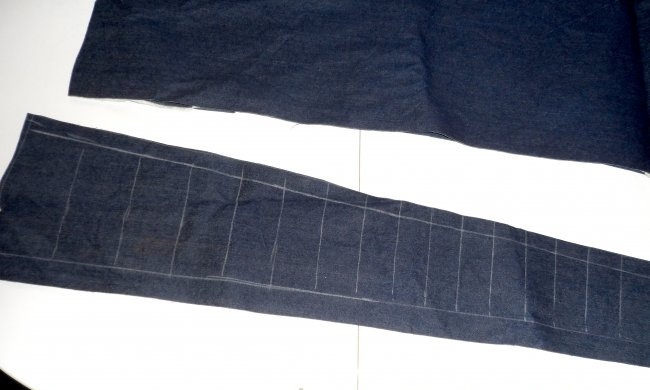
05. Cutting a pocket. I got the following.You may have different sizes depending on the number and height of the keys.
Organizer for wrenches

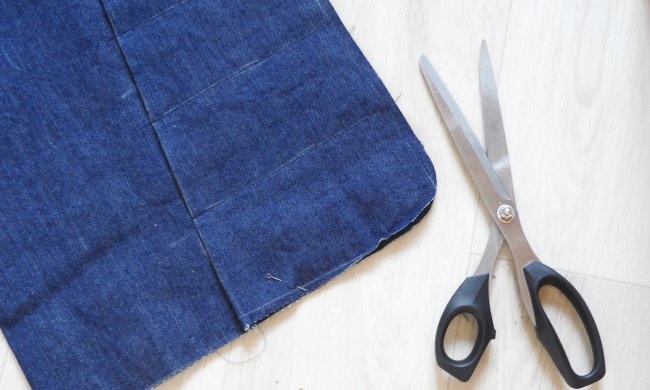
06. Cut out the resulting part and do not forget to add allowances for all cuts.
Organizer for wrenches

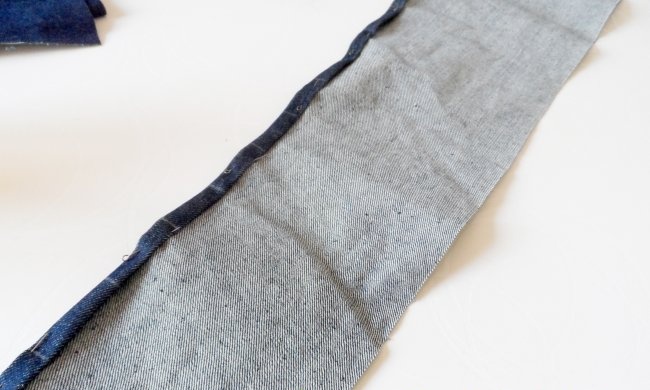
07. Fold the top edge of the pocket to the wrong side and hem it. For now we put it aside.
Organizer for wrenches

08. Let's work on the main part of the bag. We cut out the canvas according to the given diagram. The width of the organizer should be equal to the width of the pocket.
Organizer for wrenches

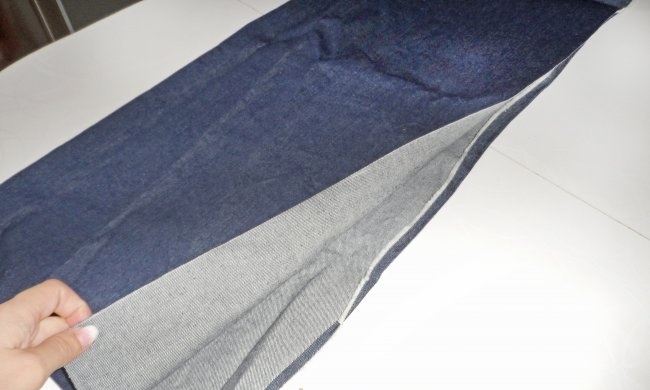
09. Cut out a rectangle and fold it in half.
Organizer for wrenches

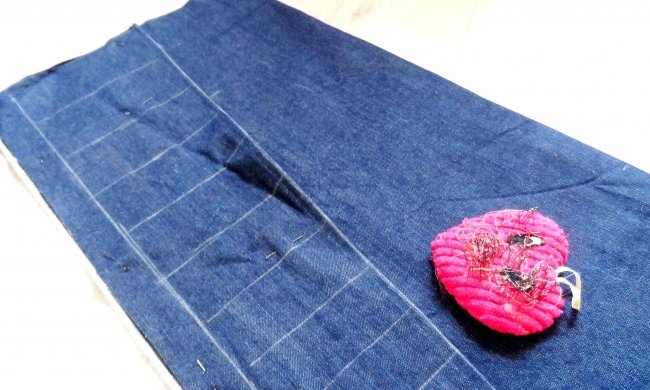
10. Using pins, baste the pocket piece on top.
Organizer for wrenches

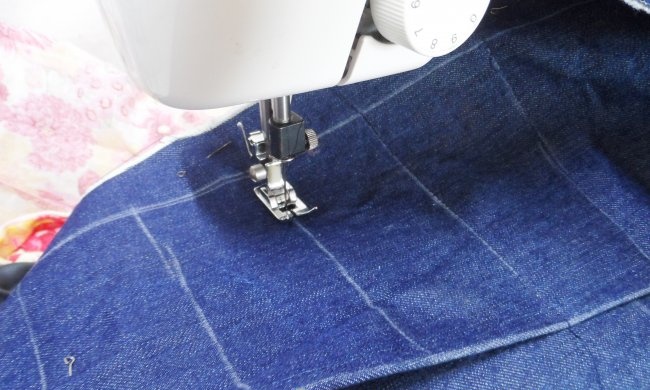
11. Sew using a sewing machine. We lay a line along each division on a turnkey basis. We fasten the ends of the lines.
Organizer for wrenches

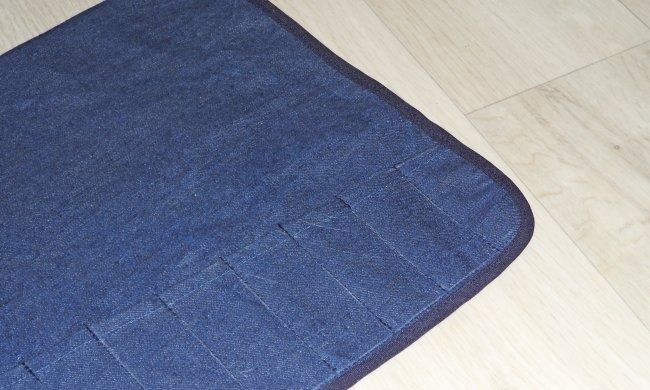
12. Round and cut off the bottom corners.
Organizer for wrenches

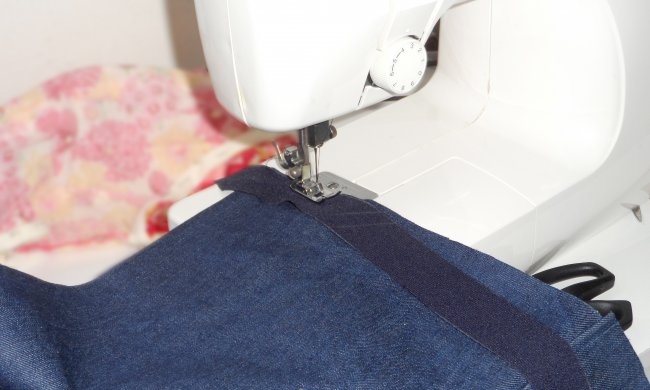
13. Sew bias tape around the perimeter of the organizer. It can be cut from any suitable material. You can buy ready-made.
Organizer for wrenches

14. Done!
Organizer for wrenches

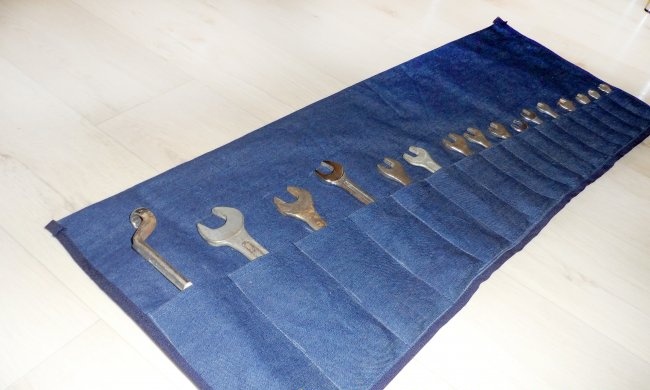
15. Trying it on.
Organizer for wrenches

16. The wrench organizer is ready! Now not a single key will be lost.
Organizer for wrenches

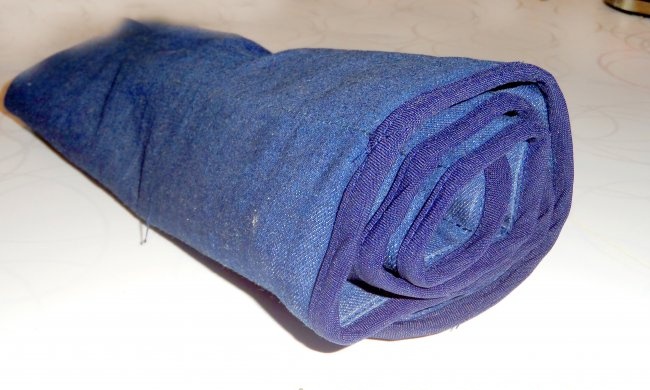
17. The handbag can be rolled up and put away until the next job.
Organizer for wrenches

Organizer for wrenches
come back
Comment
  • bowtiesmilelaughingblushsmileyrelaxed relaxedsmirk
    heart_eyeskissing_heartkissing_closed_eyesflushedrelievedsatisfiedgrin
    winkstuck_out_tongue_winking_eyestuck_out_tongue_closed_eyesgrinningkissingstuck_out_tonguesleeping
    worriedfrowninganguishedopen_mouthgrimacingconfusedhushed
    expressionlessunamusedsweat_smilesweatdisappointed_relievedwearypassive
    disappointedconfoundedfearfulcold_sweatperseverecrysob
    joyastonishedscreamtired_faceangryragetriumph
    sleepyyummasksunglassesdizzy_faceimpsmiling_imp
    neutral_faceno_mouthinnocent
3+three=
Comments (0)

Electric arc welding from super capacitors

How to make a 90 degree corner connection of three profile pipes without welding

DIY amplifier on TEA2025b chip

“Balyk” from chicken fillet

«Do it yourself - with your own hands» - a site of interesting homemade products made from scrap materials and items at home. Step-by-step master classes with photos and descriptions, technologies, life hacks - everything a real master or just a craftsman needs for needlework. Crafts of any complexity, a large selection of directions and ideas for creativity.

We recommend reading

Washing machine error codes