In this article I will not only tell you how connect the joystick from dandy to the computer, but I will also offer you to download games for Dendy, Nintendo, Sega consoles. So even if you are not going to connect a joystick, you can simply download games and play on a regular keyboard.
.
The design is very simple. But, before you test the interface you made, make sure that all the wires are soldered correctly and that no exposed wires are touching anything. I highly recommend using an enclosure for these interfaces to reduce the risk of short circuits.
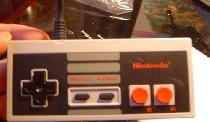
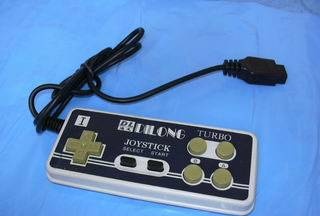
Let's start with the joystick for Dendy (NES). If you have a gamepad, and it has buttons A, B, Turbo A, Turbo B, Select and Begin (the last two may not be there, I strongly recommend not to take them) and communicates through 5 wires, then it is either an NES or an analogue NES will work if you do everything right.
However, it's time to get down to business. All you need is an LPT port connector (aka parallel, it’s from the printer), a soldering iron, five absolutely any diodes, and, in fact, the joystick itself. Let's get started.
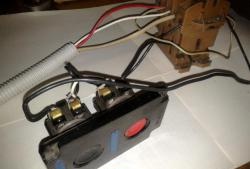
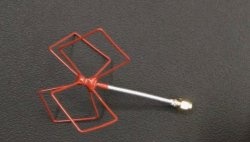
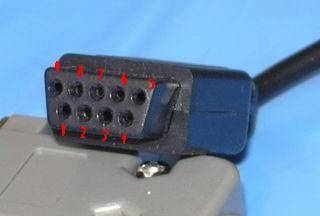
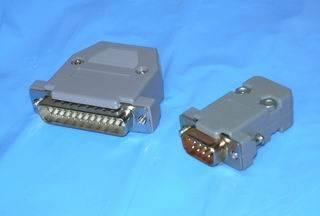
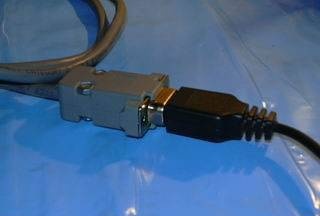
Here is the joystick connector itself (does it look like COM?)
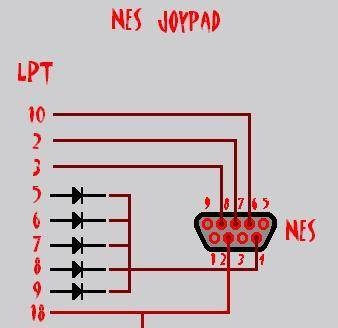
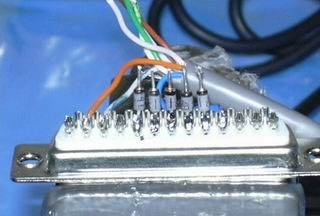
Everything is soldered according to the diagram, if you want to connect two joysticks, then all the wires are also soldered except for pins 8 and 7 on the NES, they must be soldered to pins 11 and 12 on the LPT.
And if you have a joystick with a different connector, then see below:
To solder the wires according to the diagram, you need to open the connector, but I suggest making everything much simpler. You can simply make a kind of extension adapter. In addition to LPT, we also need a COM connector (male)
Another very important detail. There are markings on the diodes; they should be soldered with the strip facing up. Just solder the wiring according to the diagram to the LPT and that’s it.
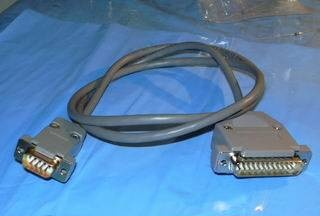
It turns out very well. But design is not as important as work!
And now the software matters.
We have to :
1) Install the driver and configure it.
2) Launch the console emulator and use it to open the game that interests you.
All.
Let's start with installing and configuring the driver.
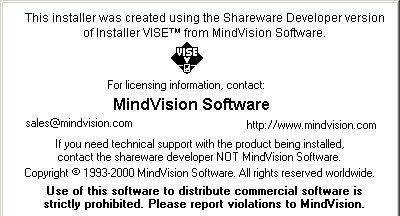
According to the manual, it is suitable for OS: Win9x/Me/NT/XP/2k. Unzip it to any convenient place and run it Setup.exe. The following window appears on the screen which you need to click on:
The installation process consists of clicking the “Next” button and should not cause any difficulties, so I see no point in considering it in detail.
After installation, the “Parallel Port Joystick” folder will appear in the Start menu, and there are several shortcuts in it. We are interested in “Configure Joysticks” - we launch it. The joystick configuration utility window appears on the screen. In it, click the “Add” button.
We see the window for configuring the new joystick. We set the values in it as shown in the figure. Do not be confused in choosing the interface type; in our case, this has nothing to do with the Linux OS.
Having set all the values correctly, click on the “Add” button. We go to the previous window.If we have only one joystick, we can safely press the “Done” button. If we need to configure the second joystick, then click “Add” again, a familiar dialog appears, although our choice is already somewhat limited, but the values will need to be set in the same way as in the picture above. The only exception is in the penultimate line, i.e. The controller number is now indicated not 1, but 2 or more, depending on which joystick we connect.
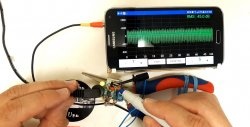
Well, half the work is done, all that remains is to check the functionality of the joystick.
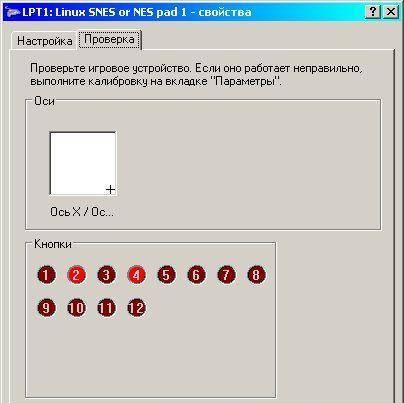
Go to the "Control Panel" and launch the "Game Devices" shortcut. Select the joystick we are interested in and click on the “Properties” button. The properties window appears. In the "Test" tab we can check whether our joystick works. At the moment when no one touches the joystick and none of its buttons are pressed, the cross of the axes will be in the center of the white area, and the button images will all be the same dark red.

If we have connected the joystick correctly and press the buttons, the reaction of the cross and the button images will be corresponding. In my case, I pressed the down and right cross button at the same time, as well as the "Start" button and the "B" button. By the way, I also had to press “Alt” + “Print Screen” on the keyboard to create a screenshot... and given the late hour, there was no one to ask for help.
If you have passed the screening test with a positive result, then congratulations!!! You were able to connect and configure the joystick from the “Dandy” console to the computer via the LPT port with your own hands.
And perhaps the most important thing is downloading the archive.
In him :
1) Driver
2) Emulators for 3 consoles
3) More than 1000 games for these consoles - enjoy!
[/b]
[b]Good luck!