What to take:
- Any dark green yarn (like Lotus).
- Light green yarn.
- Pink, green "Iris".
- Hook No. 1,2.
- Needle.
- Satin ribbon.
How to knit a product.
The “Tender Roses” potholder is very easy to do and does not require a lot of effort or a lot of time. The main thing is to follow the diagrams and do everything very carefully.
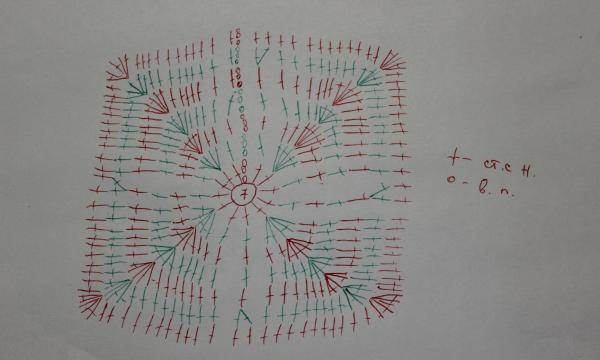
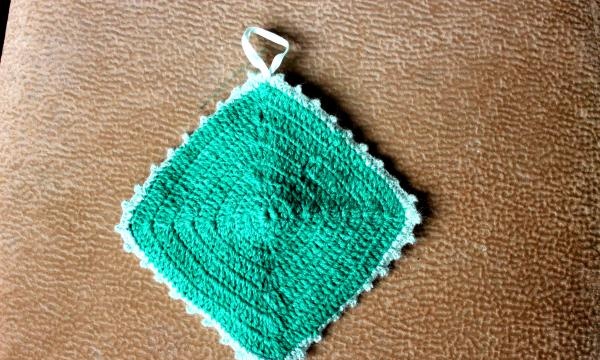
First, you need to knit a tight square from dark green yarn. To do this, you can use the following scheme:
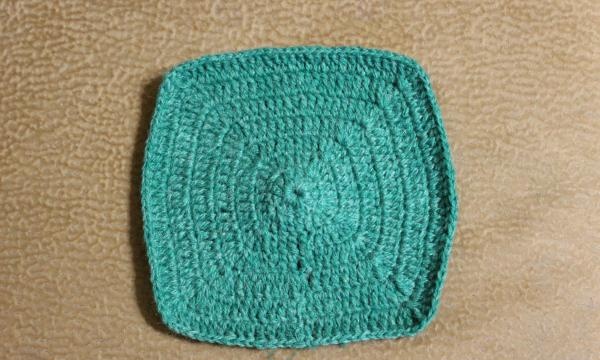
The canvas should be “solid”, without holes, otherwise you can burn your hands through such a potholder by grabbing a hot dish. This is what should come out:
The front side of the potholder, on the contrary, will be openwork. It should be done according to the scheme below:
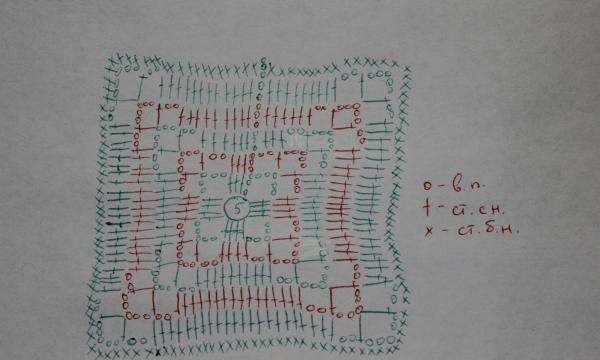
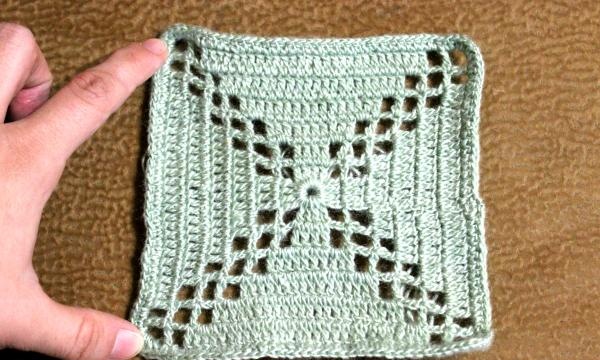
The last row consists of single crochets. The finished side of the product looks like this:
Now you can move on to the decorative elements that give the potholder a unique flavor and special charm.
First you need to make greenery for the future bouquet. The scheme is very simple:
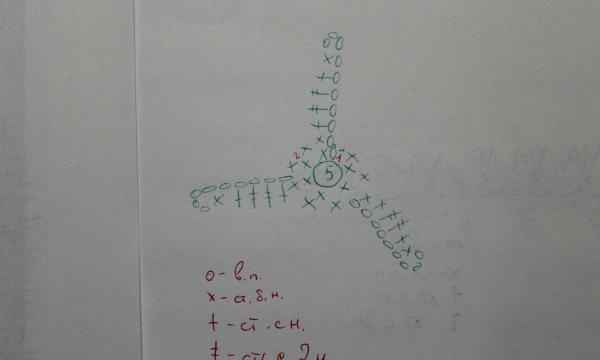
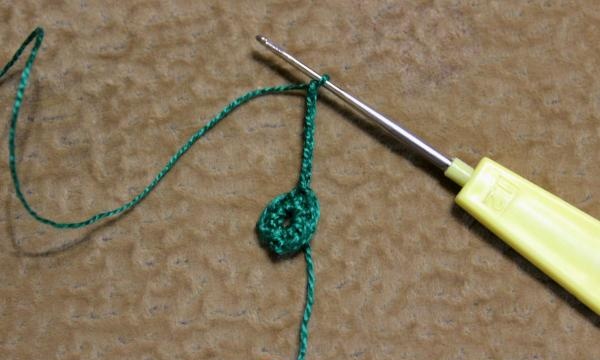
First, a ring of five chain stitches is cast on and tied in a row consisting of single crochets. To this base is added a side of a sheet of seven air loops:
To return to the beginning, you need to knit a single crochet, a double crochet, two double crochets, again a single crochet and a single crochet. This is what the result is:
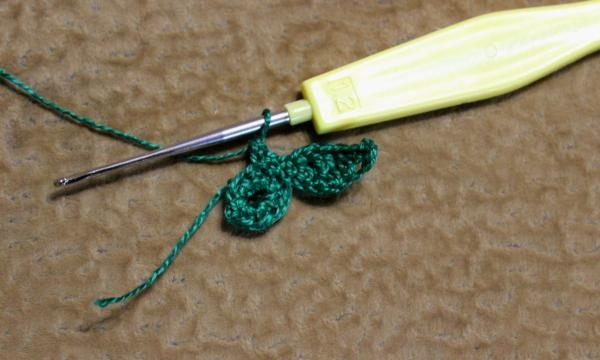
Two more leaves are performed in the same way:

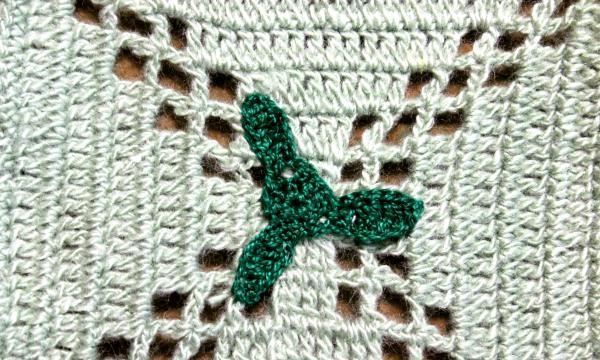
The finished element can be carefully attached to the front, that is, openwork side of the potholder:
Then you can start creating roses. Each one needs to be connected according to this scheme:
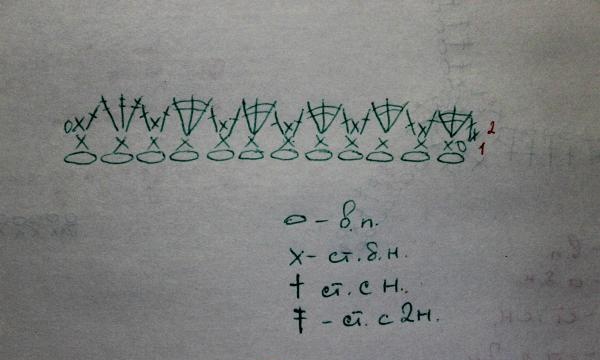
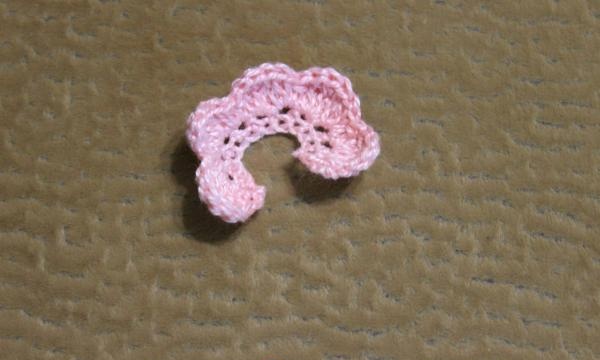
Here's a neat preparation for the future flower:
Two more roses are made using the same pattern:

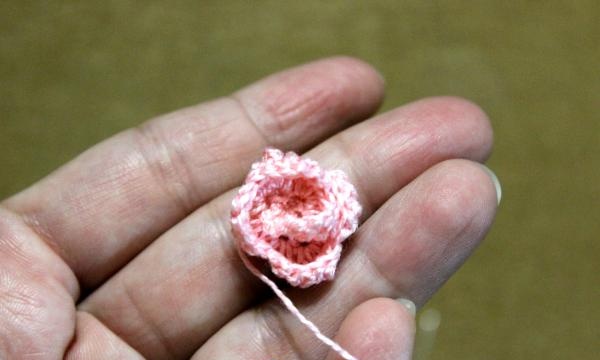
Now you need to assemble the workpiece at the bottom and secure the structure with a thread and a needle. Finished miniature rose:
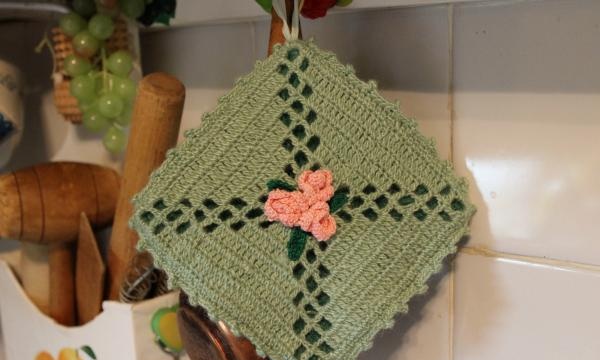
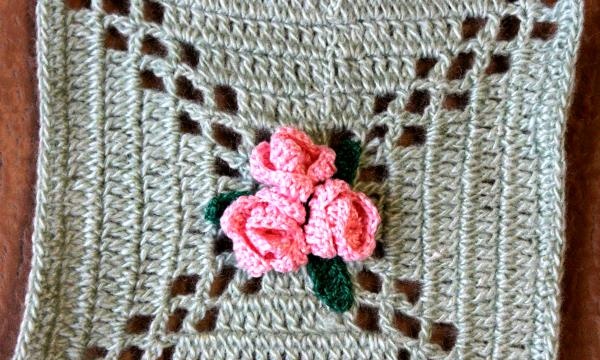
The finished flowers are sewn onto a potholder on top of the greenery:
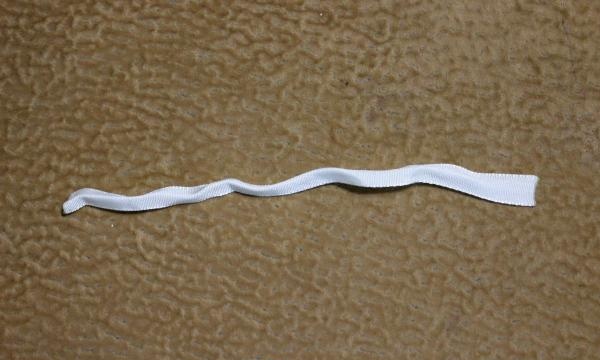
After this, you can move on to the satin ribbon. It is best to carefully burn its edges with a burning match so that the threads do not fray:
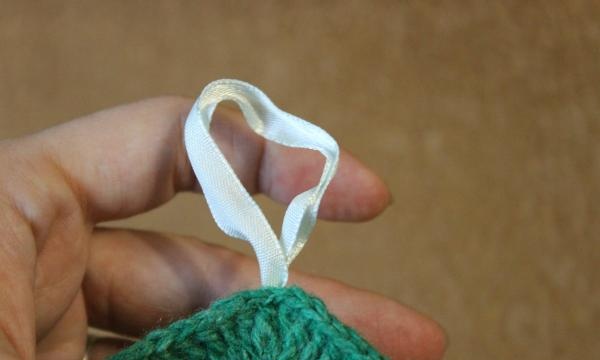
The ribbon needs to be folded in half and firmly sewn to the dark green side of the product:
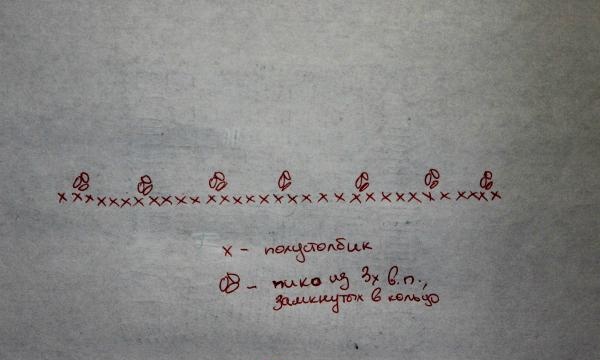
When everything is finished, you can assemble the potholder by connecting both sides. This should be done using an ordinary row of half-columns, where every fifth loop is crowned with an openwork picot. The work is carried out according to the following scheme:
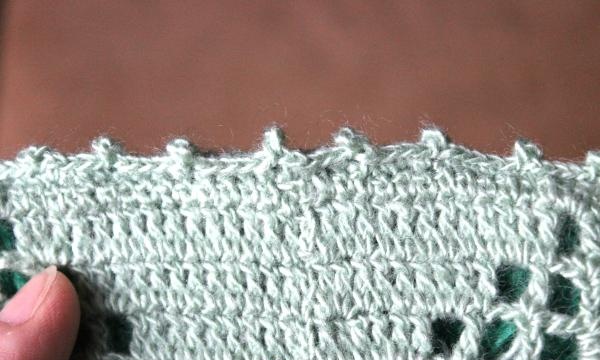
This is what the edge of the finished potholder will look like:
That's it, the potholder is ready, all that remains is to iron it through the fabric, steam it and straighten the flowers:
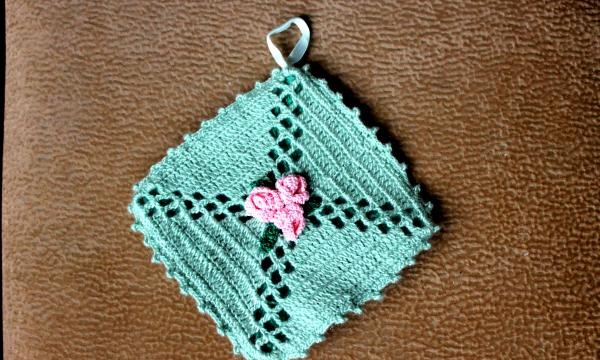
Beautiful and unusual, it will bring a great mood to the kitchen and make you smile.