If you need to save money and install the doors yourself, then a problem often arises with their finishing. People who are far from such work may simply not know how to get out of some difficulties.
Most often, the following problems arise when installing doors:
• Mismatch between the dimensions of the opening and doors;
• Mismatch between the depth of the opening and the door block;
• Inconsistency of the wall surface with the vertical level.
1. In the case when the opening is narrower than the assembled door block, the problem is solved by expanding it, this is the only way. But if the door does not fit in height, then sometimes it’s easier to saw it off a little. You just need to remember that many doors are empty inside; wooden bars are installed in them only around the perimeter. Therefore, sawing off more than 3-5 centimeters is not recommended.
If the doorway is too wide and there is no way to reduce it, then this space can be filled with polyurethane foam. However, if the thickness of the foam layer is more than 5 cm, this design may be weak, not rigid. On the other hand, foam is easy to plaster. A 2 cm layer of plaster has excellent reinforcing and strengthening properties.

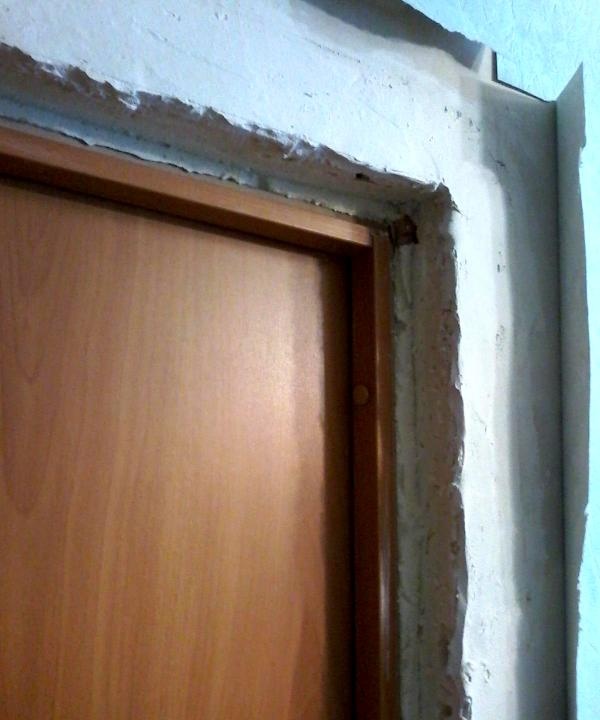
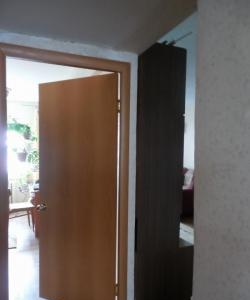
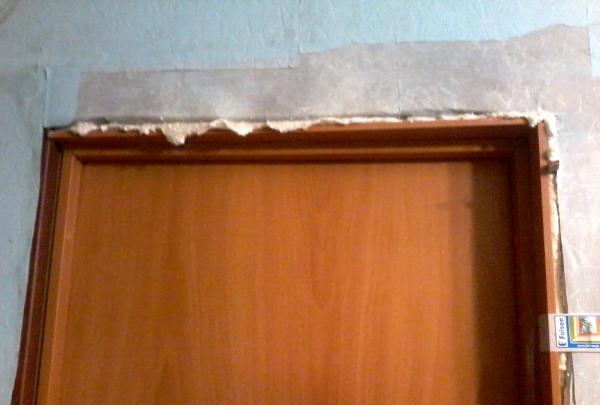
2. The depth of the opening is the thickness of the wall in which it is located. This parameter extremely rarely coincides with the depth of the door block, which, as a rule, has a standard value. It is this difficulty that is directly related to the finishing of the door and opening.
Questions may arise already during the installation of doors. For example, which side of the wall should be in the same plane as the door, and which side should stick out. In most cases, the side where the hinges stick out, that is, the opening side, is made flush. But sometimes this rule can be neglected.
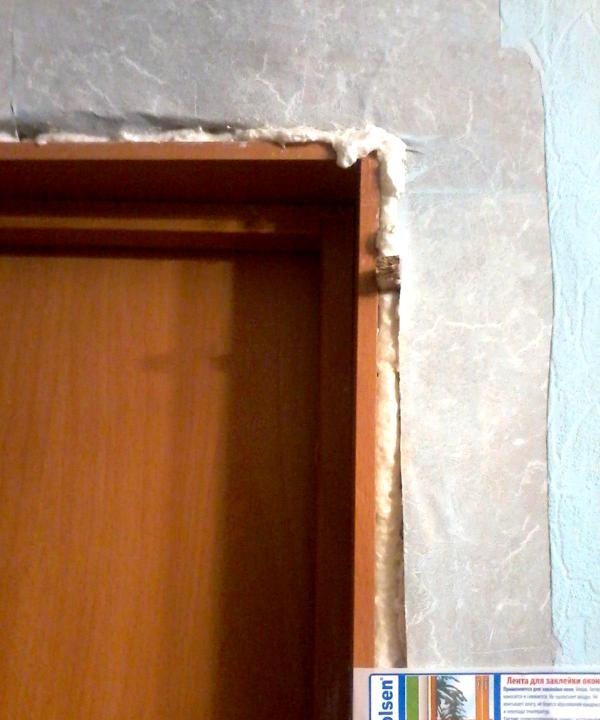
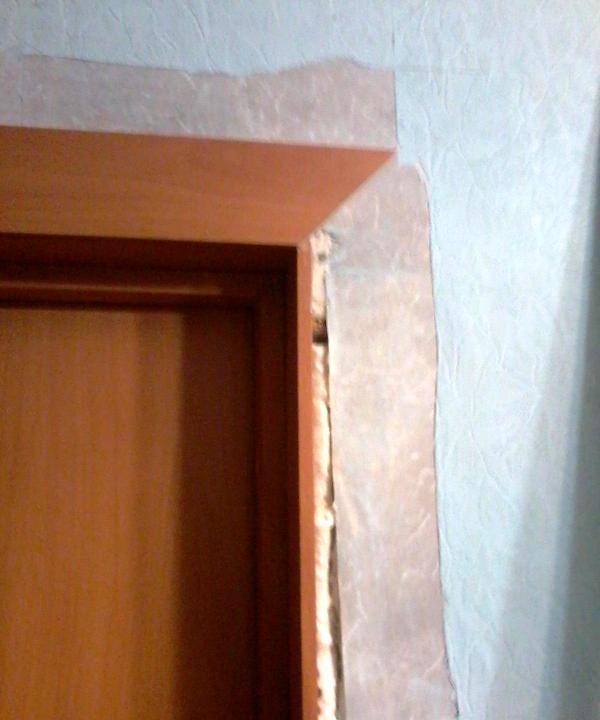
In any case, the wall section protruding from behind the door frame remains open. This is precisely the problem for an inexperienced installer.
Additional elements.
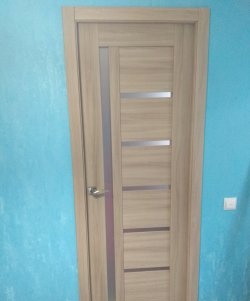
This name hides means that increase the width (depth) of the door block and hide that very section of the wall (they are also called “extensions”, “extensions”, “slopes”). Due to this, both sides of the wall and the end faces of the risers become respectively coincident in the plane. By the way, the side parts of the door block are called risers: there are loop and lock risers.
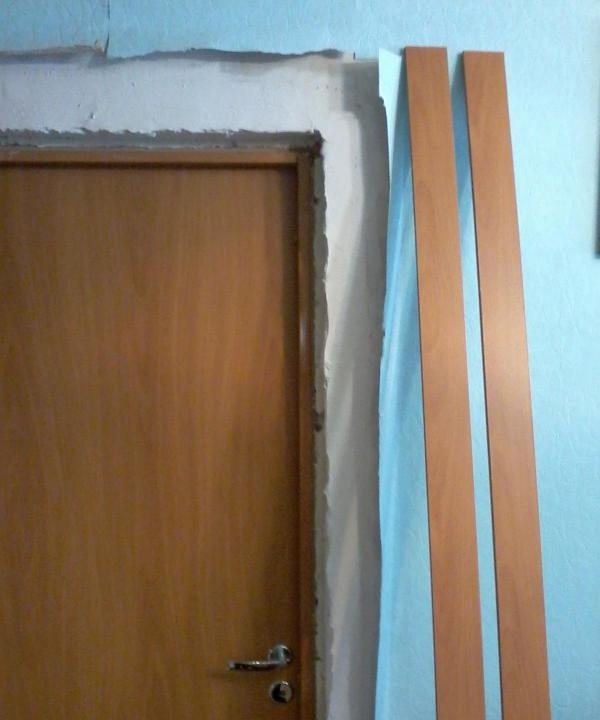
When buying a door in a store, they usually also purchase a set of casings (panels) - sort of boards, usually 7 cm wide and 2.2 m long. Their color and texture must completely match the color and texture of the door leaf.In order not to rack your brains about what to make additional elements from, you can buy three additional cash strips.
In fact, special boards are also used for this purpose. But they can be significantly more expensive and not available in the store. However, this will be the only option if the protruding wall section exceeds 7 cm.
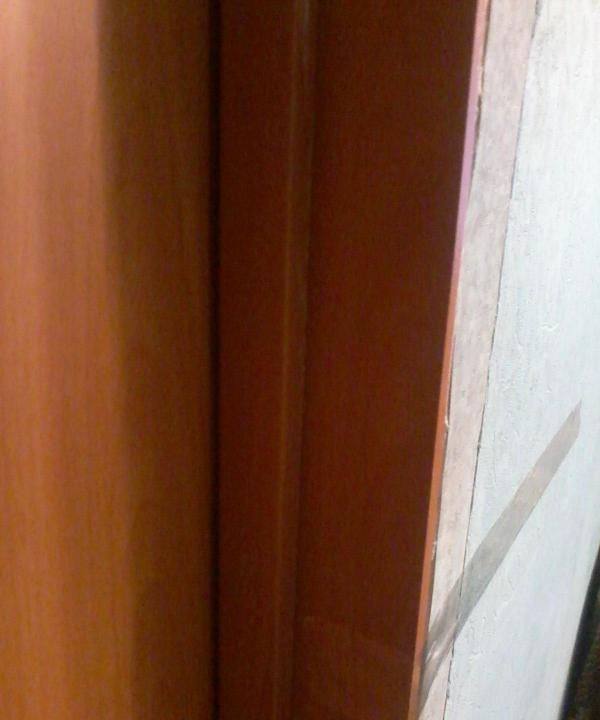
No matter how hard you try, you won’t be able to cut it perfectly like at the factory. Moreover, along the length. But the uneven edge is usually hidden. Many door blocks have special grooves for this. If they are not there, the extensions are installed behind the riser, having previously removed the mounting foam in this place.
The easiest way to attach additional elements is polyurethane foam. It is used to fill the space between them and the wall cut, having previously secured the extensions themselves with tape. To avoid gaps, spacers are used - pieces of dry foam or wads of paper.
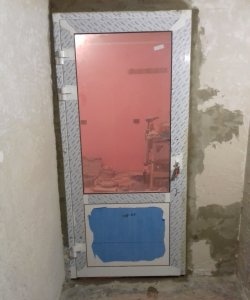
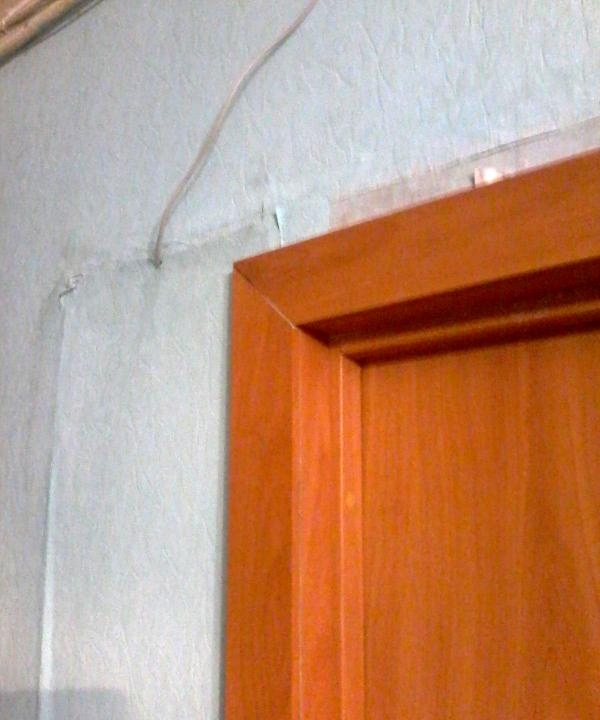
3. What to do if the wall does not correspond to the vertical level, or, to put it simply, is filled up? There are two options:
First, cut the extensions into a wedge or “carrot” shape. The main thing is not to forget to leave 5-10 mm for insertion into the groove. Of course, any wedge will always catch your eye, and this option is not for everyone.
Secondly, you can cut extensions of equal width along the entire length, mount them, and then trim the wall. Perhaps this solution to the problem is optimal. But if the deviation from the vertical does not exceed 5-10 mm, then you can simply ignore it.
Installation of cash registers.
Paneling is a mandatory attribute of a doorway. Many people find it difficult to articulate the platbands in the corners. Indeed, they need to be cut at an angle of 45 degrees. A professional installer uses a special electric saw called a miter saw. This function is provided there.
What to do if there is nothing except a hacksaw and a square? Firstly, the hacksaw, at a minimum, must be sharp. It's better if it's a "spike". Secondly, for sawing corners, it would be a good idea to purchase a miter box. It's inexpensive.
Instead of a miter box, in principle, a square will do. If you don’t have that either, you can fold a sheet of paper diagonally to create an angle of 45 degrees. It should be applied to the panel and drawn with a pencil. You must first take all measurements using a tape measure.
Installation of cash strips starts from the top. This will make it clear whether everything is measured correctly. Many people believe that nails spoil the appearance of the entire structure. However, specialists, as a rule, do not hesitate to use them. Of course, the nails must be special. Otherwise, you can simply bite off the caps with pliers.
In addition, the panel can be attached to liquid nails or polyurethane foam. Only fixation can be difficult. Clamps are used for this purpose.
Be that as it may, with careful attitude everything will definitely work out.