Do it yourself
Life hacks, master classes, useful tips, recipes.
home » Different » How to decorate a folder organizer
In the modern world, many people are interested in studying their ancestry. In the process of collecting information, piles of securities are formed. Some store them in boxes, others in piles on the table. The stacks move apart, and you have to take everything out of the box every time. And it’s somehow rude to store your past in a simple folder. You can store documents in a thick organizer folder, but it doesn’t look historical at all. However, it is easy to decorate the front side of the folder with your own hands and create a worthy memory book for your family.

Materials for work:
• Folder – organizer – 1 pc.;
• Printouts of drawings – along the perimeter and center of the front side of the folder;
• Openwork braid – several pieces;
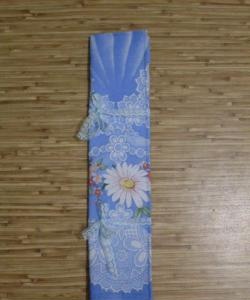
• Rope from blinds – a piece;
• PVA glue, liquid nails glue, gold paint, white gouache, eye shadow, rhinestones, scissors, brush.

Stages of work:

First stage: preparing the base.
We paint the front side of the folder with white gouache.
How to decorate a folder organizer

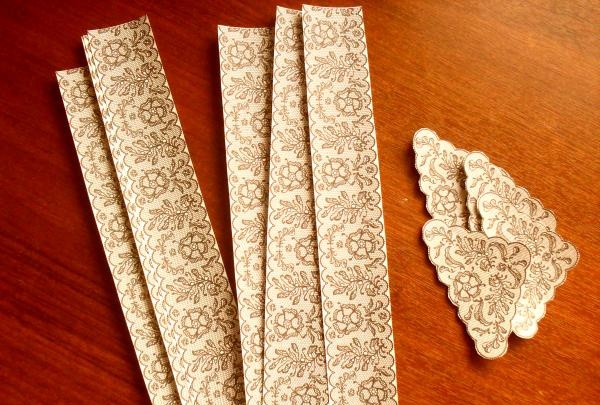
We print out pictures of straight and corner paper laces and cut them out.
How to decorate a folder organizer

We glue lace on PVA around the perimeter of the cover, combining angular and straight patterns.
How to decorate a folder organizer

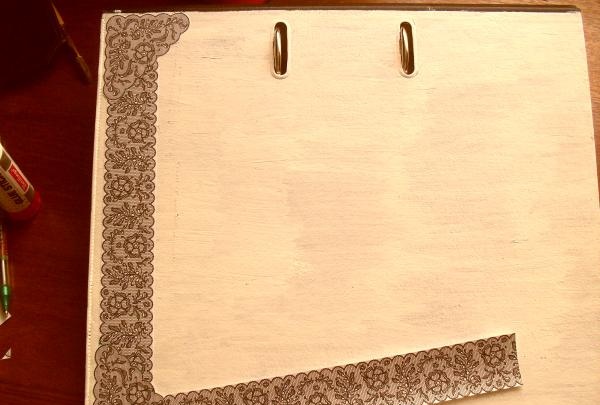
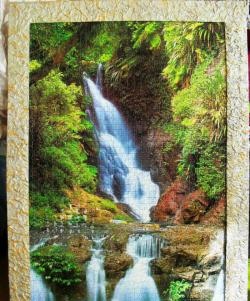
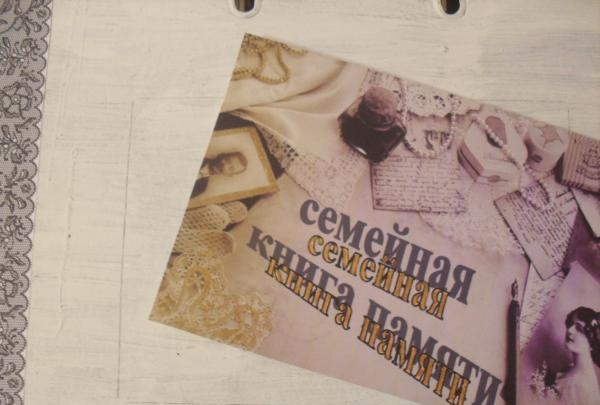
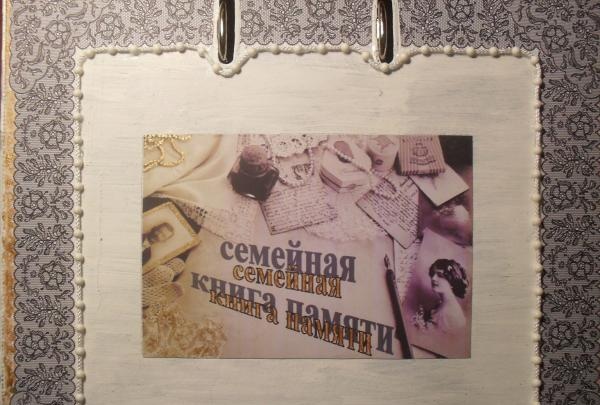
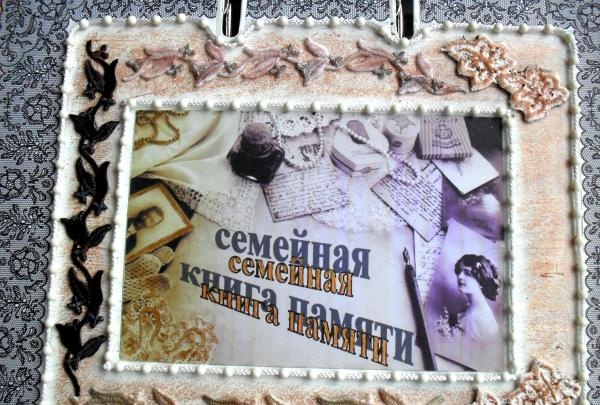
We print out the picture we like for the center of the front side and outline its outline.
How to decorate a folder organizer

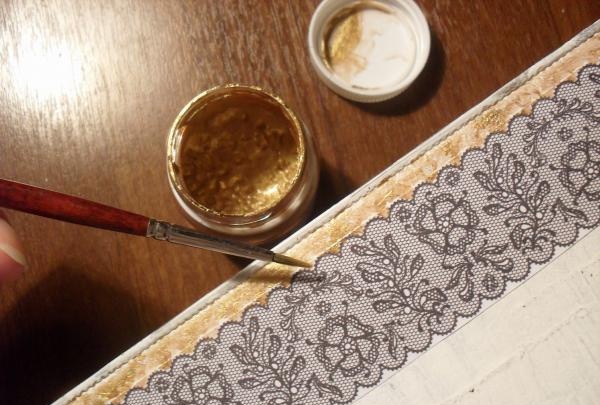
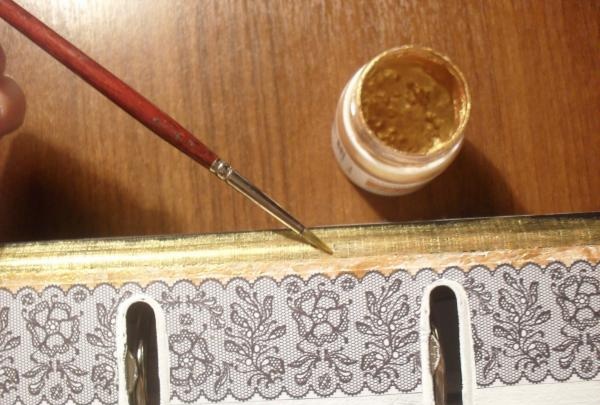
We apply gilded paint to all edges of the front side of the folder.We also apply gilding to the entire binding of the folder.
How to decorate a folder organizer

How to decorate a folder organizer


Second stage: we frame the perimeters of the paper inserts.
Take “liquid nails” glue and a piece of string from the blinds.
How to decorate a folder organizer

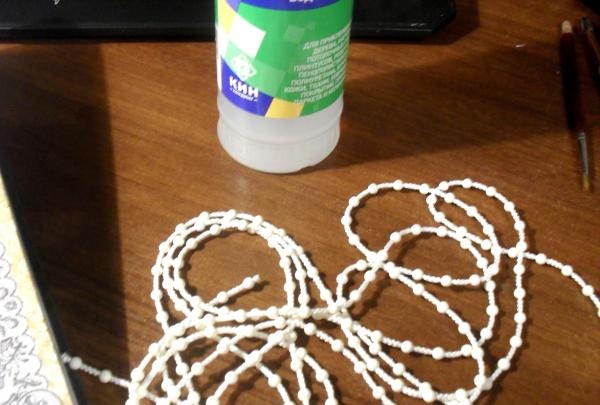
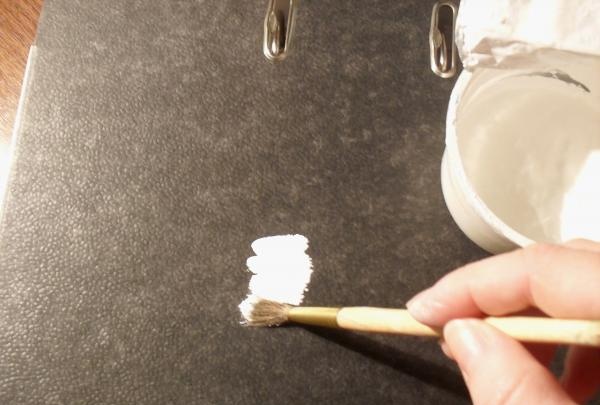
Pour glue into the lid. Dipping several beads into “liquid nails” we glue the string along the inner perimeter of the paper laces, carefully pressing them to the surface of the folder. Gradually moving the cap, we lay out a rectangle from the rope.
How to decorate a folder organizer

We glue the center image onto the front side of the folder, aligning the edges with the previously outlined perimeter.
How to decorate a folder organizer

We frame it with beads from a piece of blinds rope.
How to decorate a folder organizer

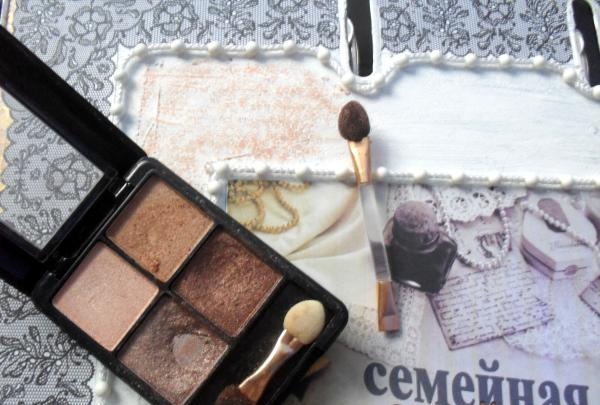
We tint the voids on the front side with eye shadow, rubbing it over the white paint.
How to decorate a folder organizer


Third stage: adding volume.
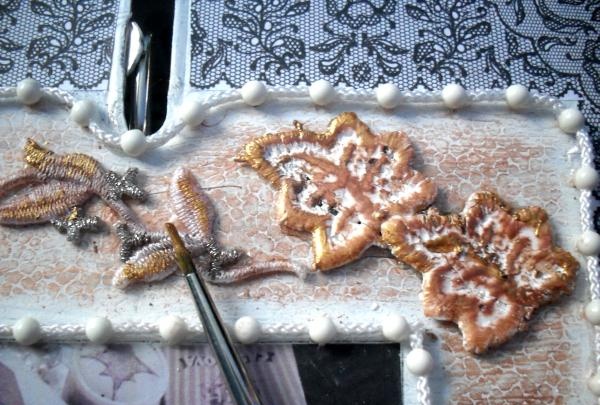
We take openwork braid in dark and light tones.
How to decorate a folder organizer

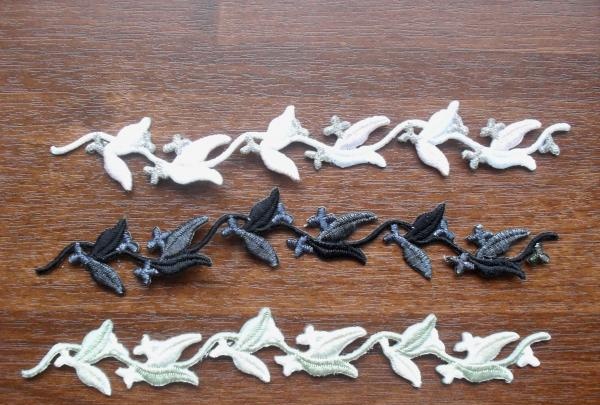
Use eye shadow to tint the light braid.
How to decorate a folder organizer

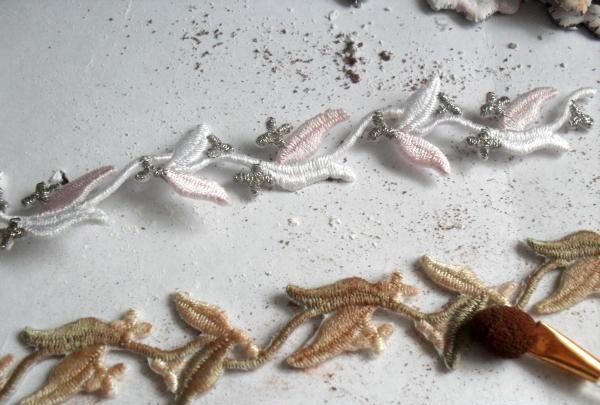
Cut the large openwork braid into pieces.
How to decorate a folder organizer

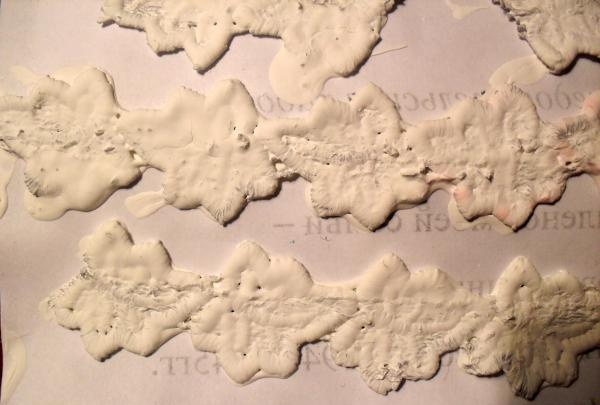
Dip pieces of braid into white gouache so that it fills all the gaps. Let's dry it.
How to decorate a folder organizer

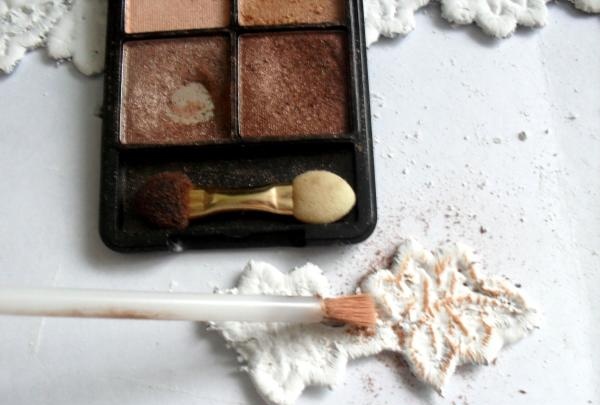
Matte with eye shadow using the color of the previous tint.
How to decorate a folder organizer

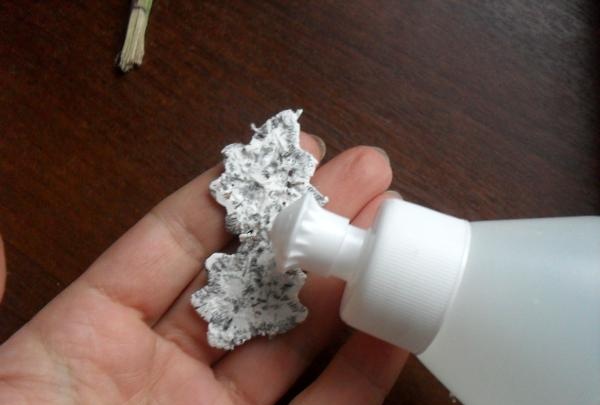
We apply “liquid nails” glue to the inside of the braid and fill the voids on the front side with it.
How to decorate a folder organizer

How to decorate a folder organizer

We use gold paint to create the brightness of the braid, applying it to some areas of the unpainted braid and to the painted areas.
How to decorate a folder organizer


Fourth stage: decorate with rhinestones.
We take several large round rhinestones and three oblong ones.
How to decorate a folder organizer

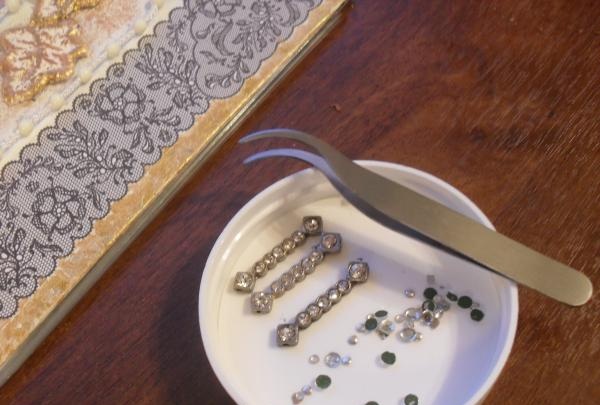
We do not often apply rhinestones to the surface of the braid and into the voids using “liquid nails” glue.
How to decorate a folder organizer

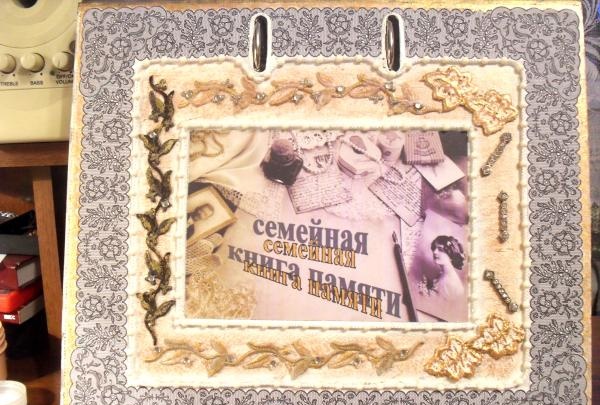
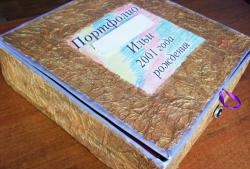
This is how an organizer folder becomes a worthy family memory book. Now everyone to whom you invite to familiarize yourself with the precious information will carefully examine the cover and admire: how beautiful! how simple! Such a beginning of acquaintance with history will undoubtedly arouse respect for the internal content.
come back
Comment
  • bowtiesmilelaughingblushsmileyrelaxed relaxedsmirk
    heart_eyeskissing_heartkissing_closed_eyesflushedrelievedsatisfiedgrin
    winkstuck_out_tongue_winking_eyestuck_out_tongue_closed_eyesgrinningkissingstuck_out_tonguesleeping
    worriedfrowninganguishedopen_mouthgrimacingconfusedhushed
    expressionlessunamusedsweat_smilesweatdisappointed_relievedwearypassive
    disappointedconfoundedfearfulcold_sweatperseverecrysob
    joyastonishedscreamtired_faceangryragetriumph
    sleepyyummasksunglassesdizzy_faceimpsmiling_imp
    neutral_faceno_mouthinnocent
4 minus one =
Comments (0)

Useful and interesting | Page 79 | Do it yourself

DIY compact hot air gun

Brazier made from a wheel rim without welding | Do it yourself

String art - paintings made from nails and threads | Do it yourself

«Do it yourself - with your own hands» - a site of interesting homemade products made from scrap materials and items at home. Step-by-step master classes with photos and descriptions, technologies, life hacks - everything a real master or just a craftsman needs for needlework. Crafts of any complexity, a large selection of directions and ideas for creativity.

We recommend reading

Washing machine error codes