It is best to use cotton fabric to make an organizer. It is easy to care for and easy to wash. Its only drawback is the high degree of shrinkage. Therefore, before cutting, all fabrics must be thoroughly ironed through a damp cloth so that they immediately shrink. Otherwise, during further sewing, the product may become deformed and its appearance will be irrevocably damaged.
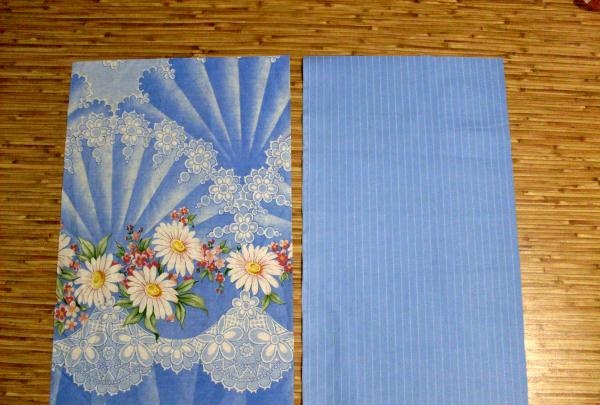
The finished size of the organizer is 32*50 cm.From the prepared fabrics you should cut out two parts of the base. The front part is 37*57 cm in size, the inner part is 34*57 cm.
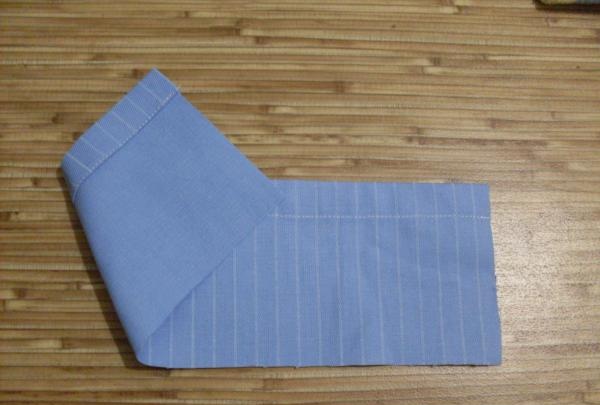
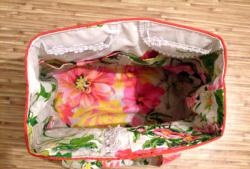
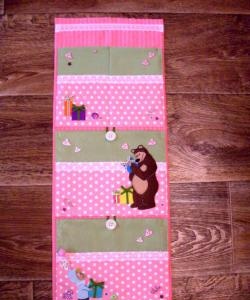
On the inside of the organizer there are 3 rows of pockets: the bottom one is for small items, the middle one is for knitting needles, the top one is for hooks. You should cut out the pocket parts according to the following dimensions: bottom and top – 43*15 cm, middle – 34*31 cm. The upper sections of the pocket parts need to be ironed towards the wrong side by 4 cm, and then this allowance should be folded inward and ironed again. After this, you need to fix this bend with a machine stitch, placing it 1 mm from it. This is how the top edge of the pocket is processed.
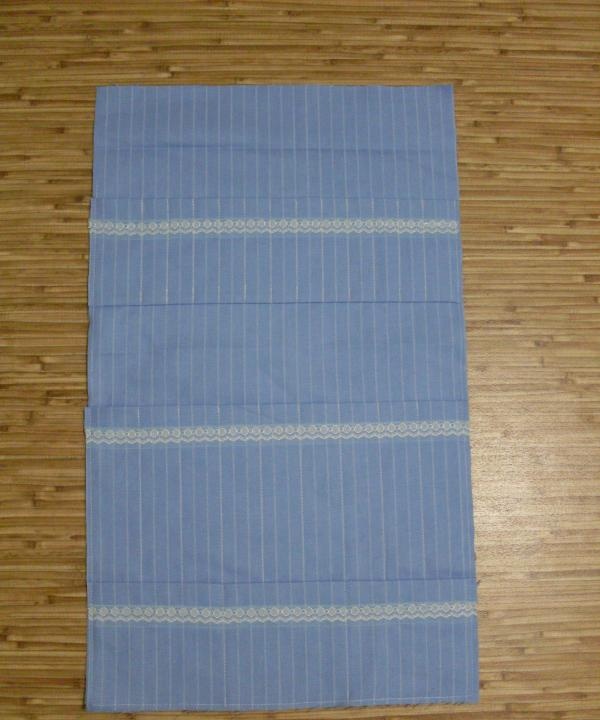
If desired, finished pocket parts can be decorated by sewing narrow lace or braid onto their front side. After this, the middle and upper pockets should be placed on the inside of the organizer, pinned along the edges with pins. Then they need to be sewn to the base part along the perimeter, and machine stitches must be laid, dividing the pockets into separate sections for knitting needles and hooks. The distance between the dividing lines should be at least 3 cm. Then even thick knitting needles and hooks can easily fit into such pockets. The middle pocket should be aligned along the bottom edge with the base piece, and the top one should be placed 9 cm from the top of the middle pocket. The bottom pocket for small items is sewn on last. It is divided into three parts by machine stitches that match the stitches of the pockets for the knitting needles.
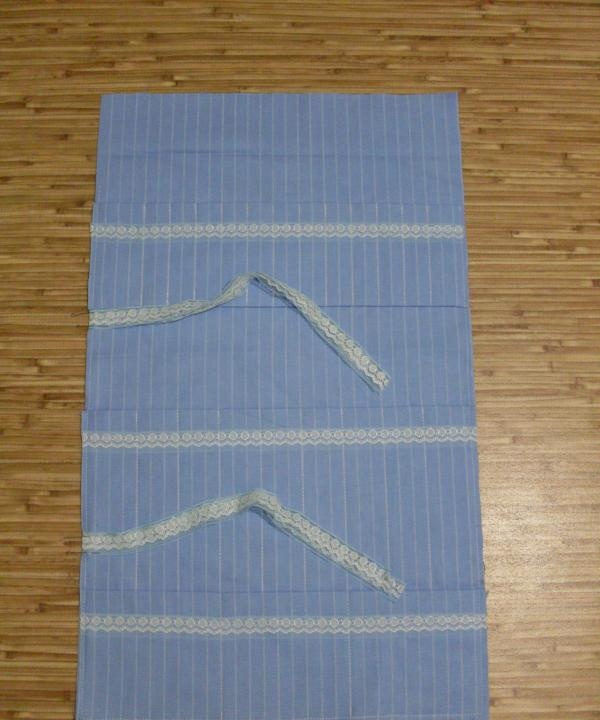
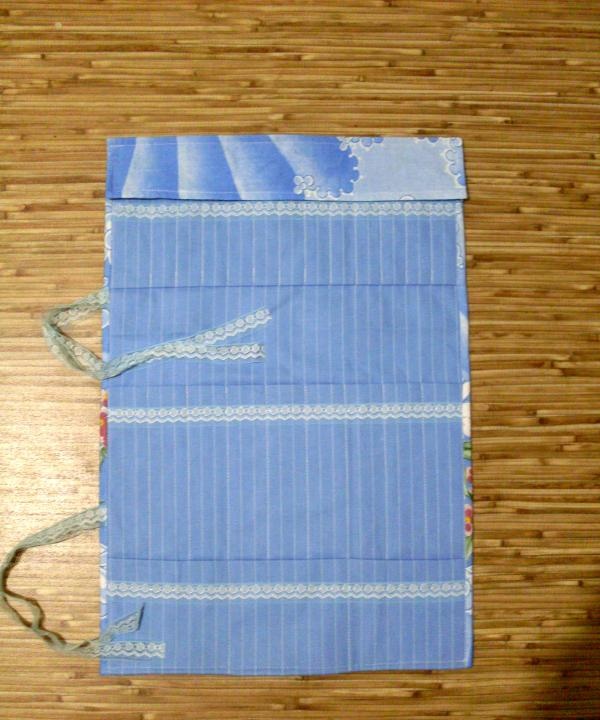
Sew two ties on the left side of the inside of the organizer. They should be located as follows: the lower one - at a distance of 16 cm from the lower cut, and the upper one - at a distance of 21 cm from the upper cut.
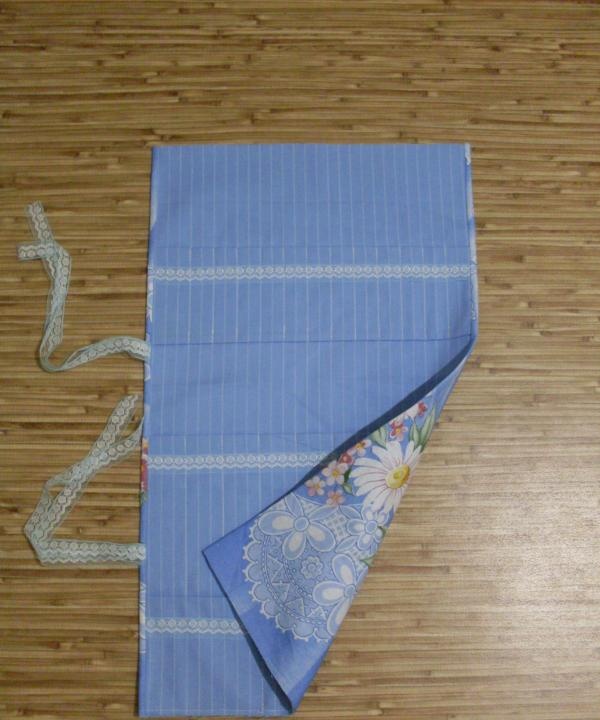
Once the inside of the organizer is completely prepared, you can assemble it into a single piece.For this purpose, the front side of the organizer must be placed on the inside (face to face), pinned and sewn along the side sections with a 1 cm seam. Then the organizer should be turned onto the face, the corners straightened, and the sides ironed. The resulting kinks will help to process the upper and lower sections of the product.
The organizer must be turned inside out, guided by the bends of the sides, and the top and bottom seams should be processed, stitching 1 cm from the cuts. You need to leave a hole in the bottom seam through which the product will turn right side out. The inside out organizer should be ironed again. The opening for turning inside out must be sewn up with hidden stitches. Along the entire perimeter of the organizer you need to lay a finishing stitch at a distance of 5-7 mm from the edges. The top edge of the organizer needs to be ironed 5 cm towards the inside. The resulting valve will help the hooks not to fall out during use of the product.

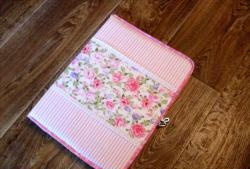
The finished organizer is folded into thirds along its length and secured with ties.