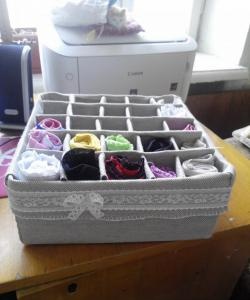
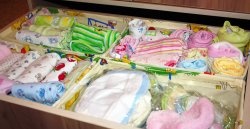
Such a thing can be purchased in a store, or you can make it yourself, completely tailoring its design and all the details to your needs.
To make an organizer measuring 36*58 cm (opened) you will need:
1. Thick adhesive pad (this can be adhesive for shirt collars, bandeau or shabrak). Instead of adhesive, you can use thick cardboard.
2. Fabric for decorating the organizer (elegant American cotton is best, several types are available).
3. Threads in the color of the fabric.
4. Thin padding polyester (density no more than 150 g/m2).
5. 2 detachable zippers 45-50 cm long, in the color of the organizer.
6. 1 zipper, 20 cm long, for a pocket.
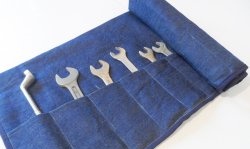
7. Elastic braid for fastening knitting needles and hooks.
8. White knitted linen braid for decorating the organizer, 1.2 cm wide, about 1 m long.
9. Sewing machine.
10. Iron.
11. Needle for handwork.
12. Ruler.
13. Chalk, soap or a simple pencil for cutting.
14. Scissors.
15. Glue “Moment Crystal”.
16. Pins.
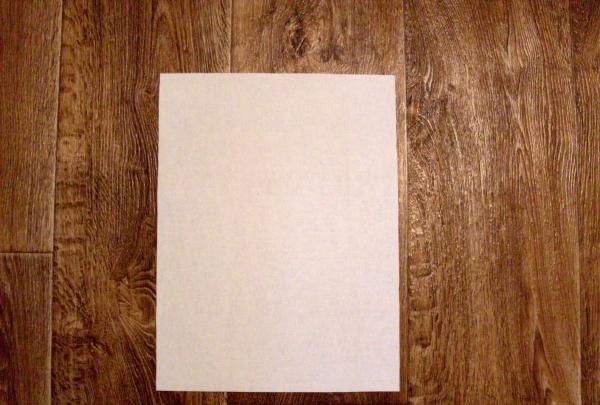
From the adhesive, cut out 4 rectangles measuring 27*36 cm and 2 rectangles measuring 58*36 cm. Each two parts must be folded with the adhesive sides facing each other and glued together using an iron.
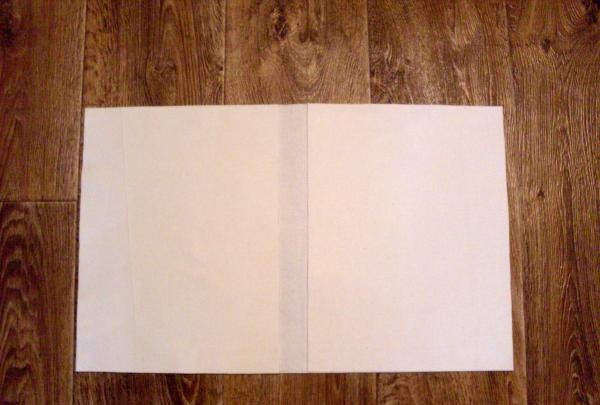
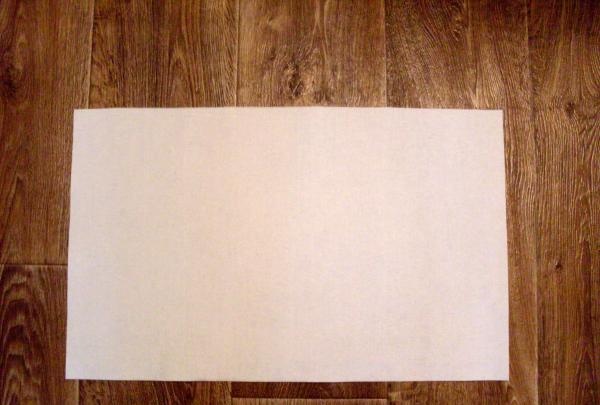
Small rectangles of glue must be placed on top of the larger one, aligning the side cuts and glued in all corners to avoid them moving relative to each other during further processing.
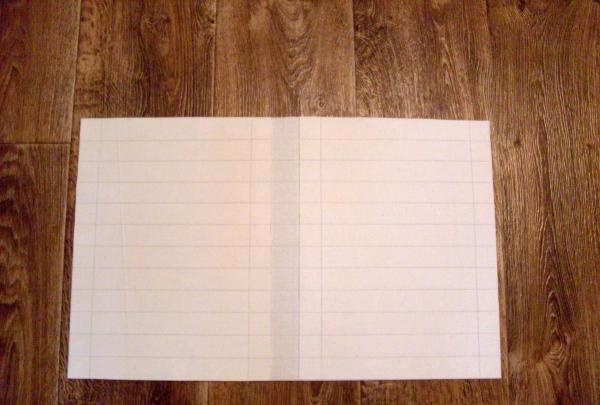
Then the resulting part must be marked for stitching as shown in the photo, placing the lines at a distance of 3 cm from each other.
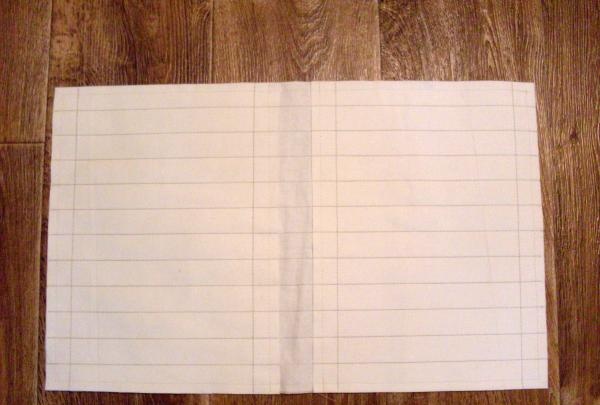
The organizer seal should be quilted along the marked lines, as well as along the perimeter of the small rectangles. This technique will add rigidity to the seal.

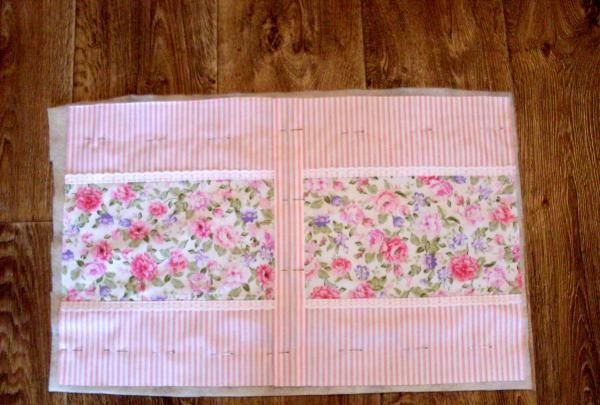
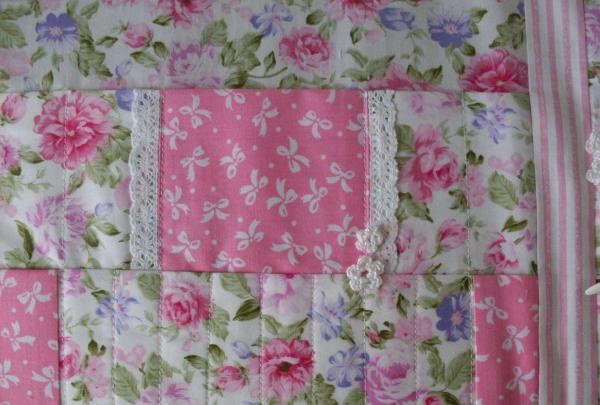
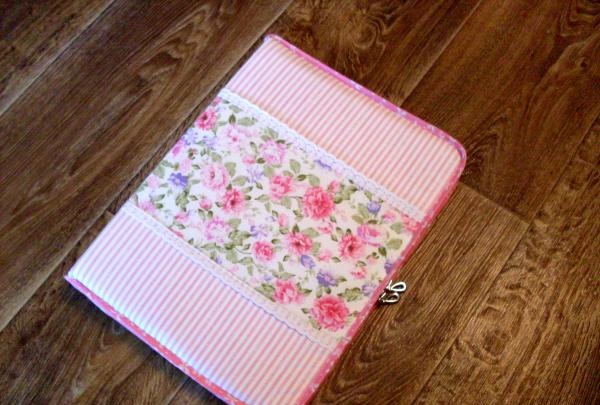
From the main fabric of two types you need to cut out the “cover” of the organizer. It can be of absolutely any design, the main thing is that the cut pages are 28*38 cm in size. You also need a central insert - a strip measuring 38*6 cm, which will be located at the end of the organizer.
In this case, the dimensions of the parts are:
Striped part – 4 pcs. 12*29 cm.
Flower detail – 2 pcs. 18*29 cm.
Central insert – 1 pc. 6*38 cm.
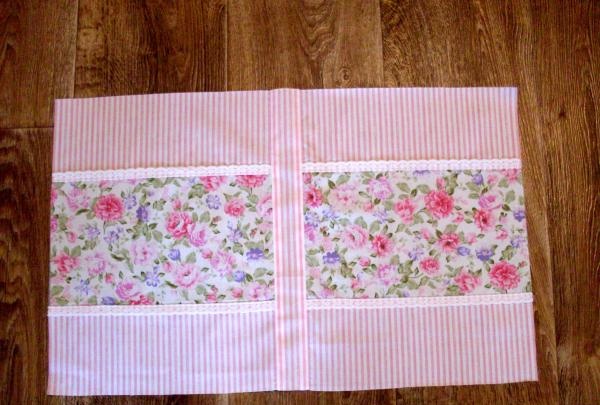
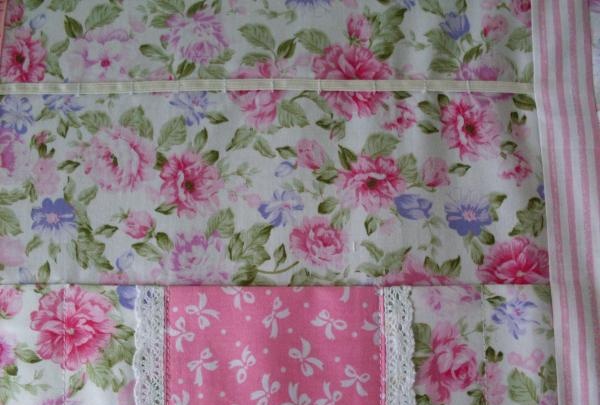
All details of the organizer cover must be sewn together into a single fabric. The seams connecting the parts can be further decorated by sewing lace on top.
The prepared cover must be pinned onto the padding polyester.
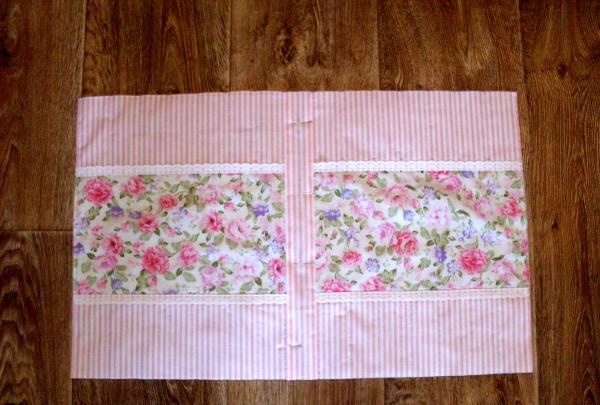
The cover must be machine quilted over striped fabric inserts.
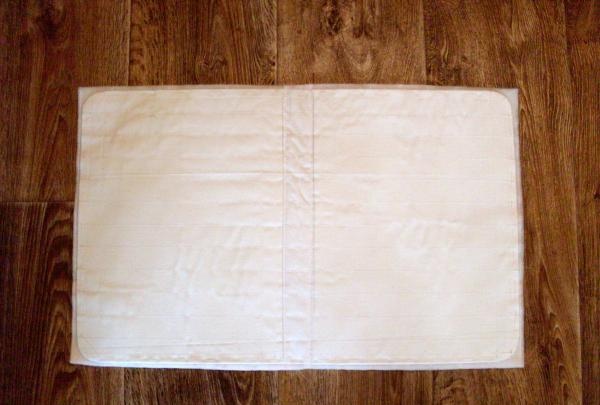
You need to apply a sealant made of adhesive gasket on the quilted cover and baste it with large hand stitches along the entire perimeter. It is best to make the corners of the seal rounded - it will be more convenient to process it with bias tape.
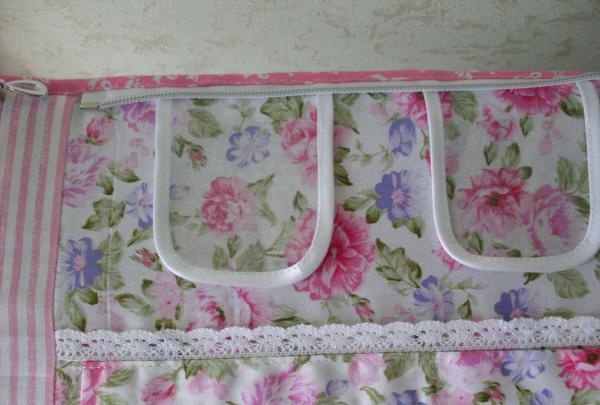
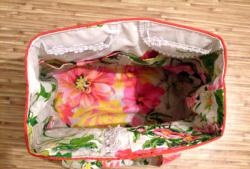
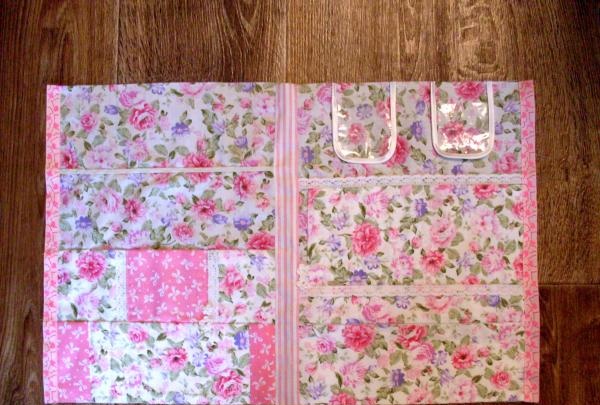
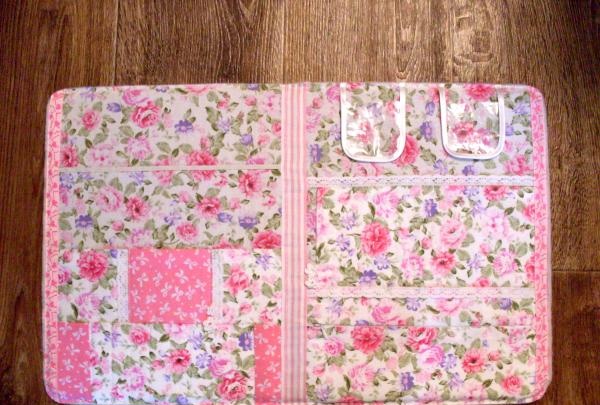
Based on the known dimensions, you should cut out and assemble the inside of the organizer - pages with numerous pockets and a central strip. Pockets can be anything you want - with a lock, with Velcro, for knitting needles and hooks, etc. The main thing is that there are a lot of them and they are comfortable.
After this, the inside of the organizer needs to be placed on the cover, back to back, and carefully basted around the entire perimeter. The corners need to be rounded, cutting off the excess.
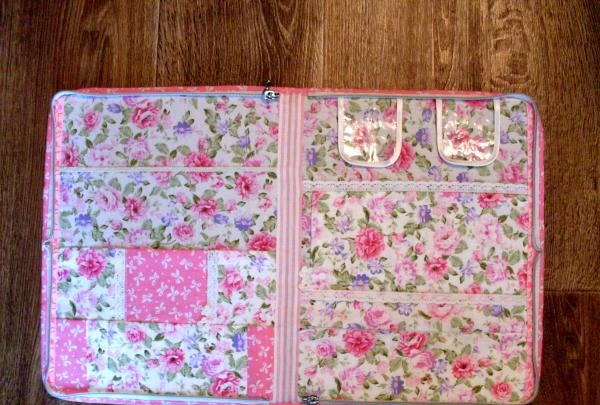
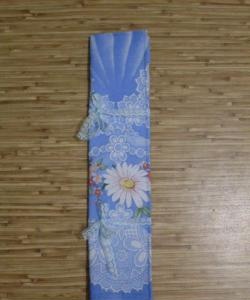
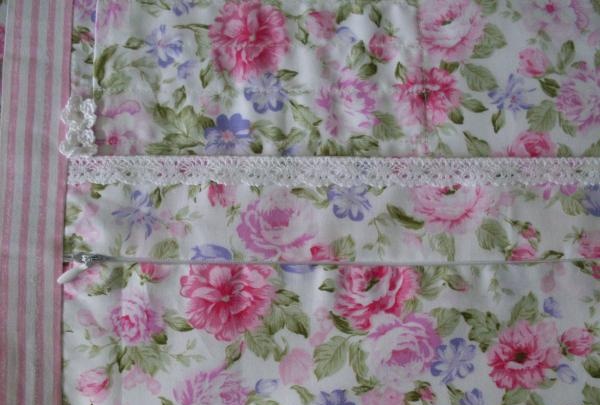
The organizer blank should be edged along the outer edges with bias tape cut from the same fabric as the product itself. First, you need to stitch it on the front side, and then turn it over and stitch it on the back side, at the same time inserting a zipper into the seam for fastening.
The finished organizer needs to be zipped up and all hand-basting threads removed. The product is completely ready for use.