To create a “Violet” clip you will need:
- hairclip.
- gel with purple glitter.
- scissors.
- tape 25 mm wide, purple.
- ribbon 50 mm wide in a light lilac shade.
- thermal gun.
- lighter.
- center for flower decorations.
Sequence of making the “Violet” clamp.
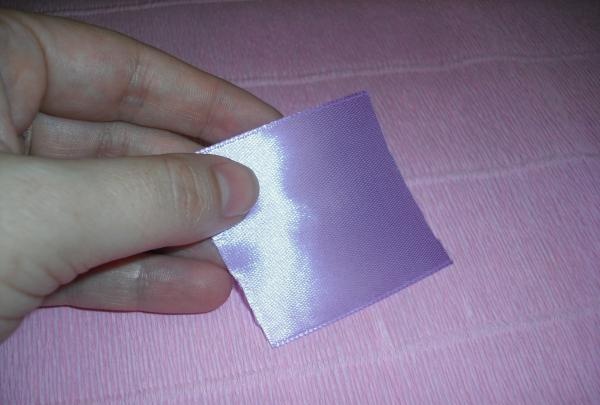
It is necessary to prepare squares from purple tape with a width of at least 25 mm, all sides of which must reach 25 mm.

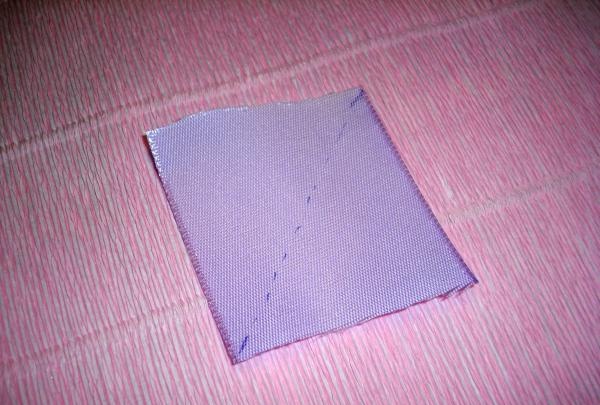
Each individual part must be turned face down and defining the diagonal between two corners from the opposite sides of the part and marking this line with a dotted line.
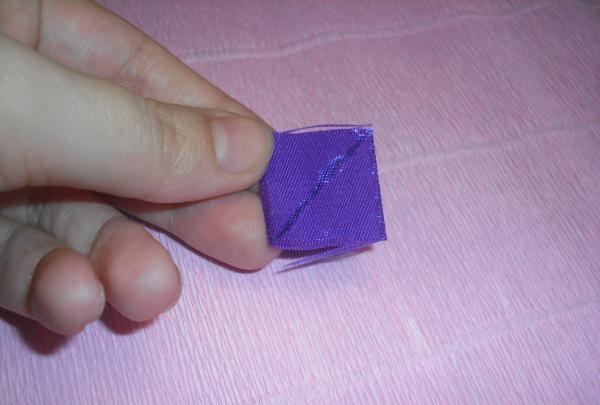
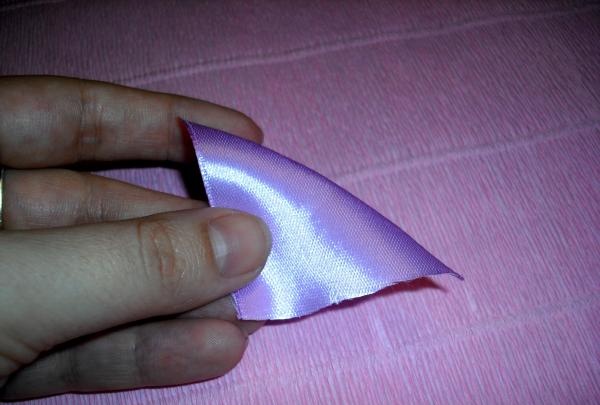
The square should be bent along the prepared line, giving the workpiece a triangular shape.
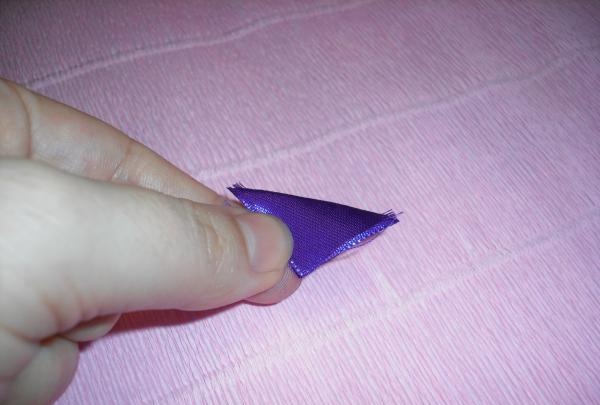
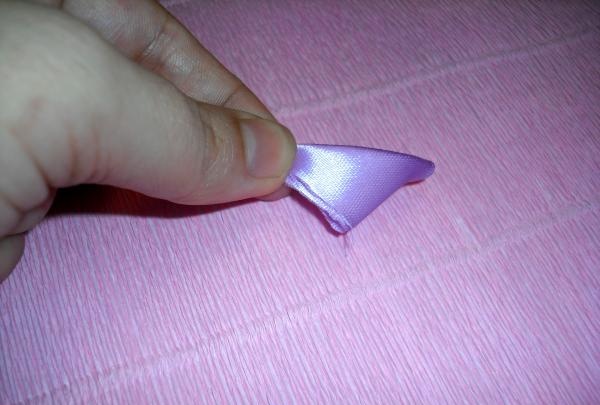
Now you should fold the right side at an angle of 45 degrees.
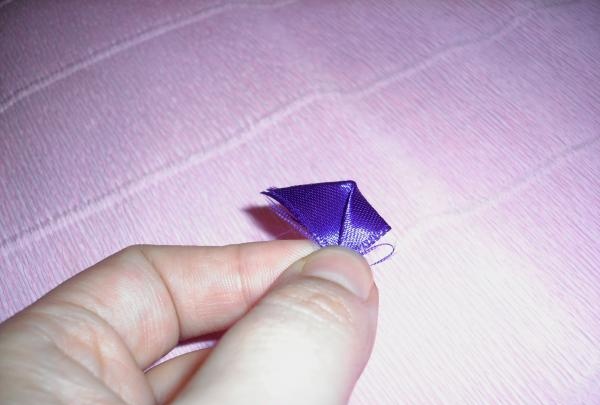
On the other hand, you need to do a similar action.
The result is a small detail with two parallel lines in the middle. The workpiece now needs to be folded in half, aligned with two lines in the center.
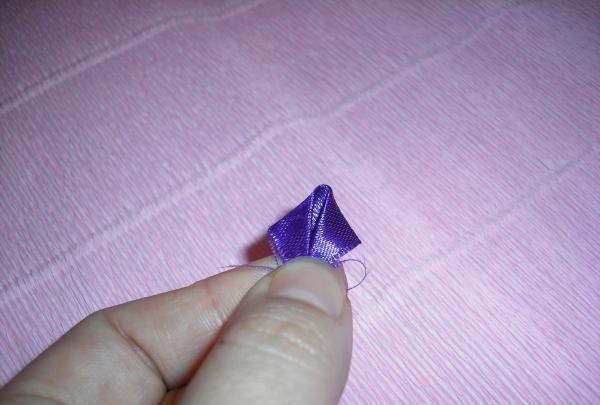
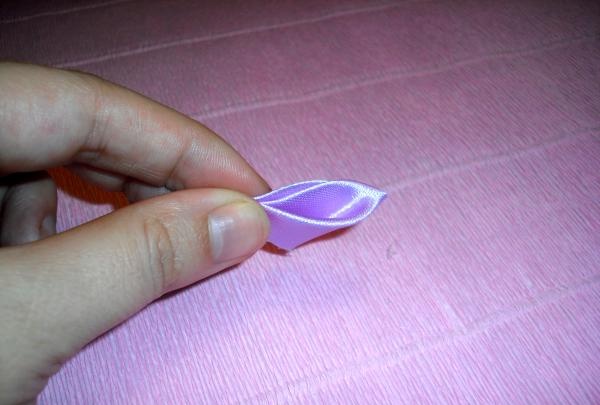
Now all the tape sections are connected in one place. First you need to singe the corner to secure the folds of the part.
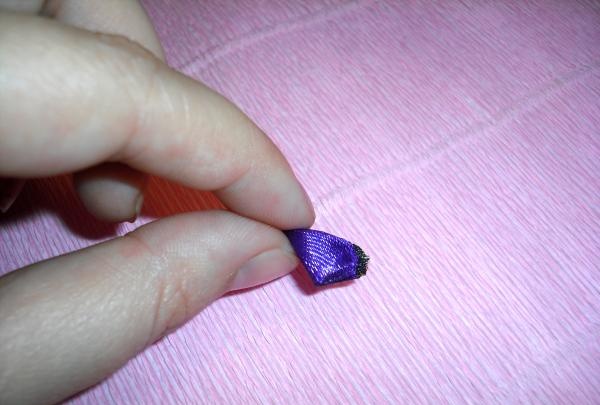
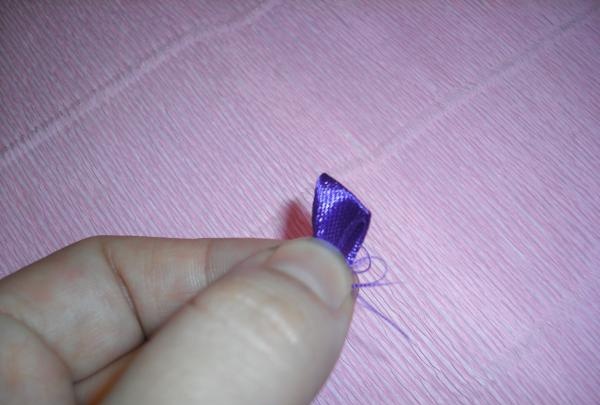
All that remains is to process the cuts, finally shaping the petal. As a result, the petal turns out to be oblong in shape with a rounded tip.
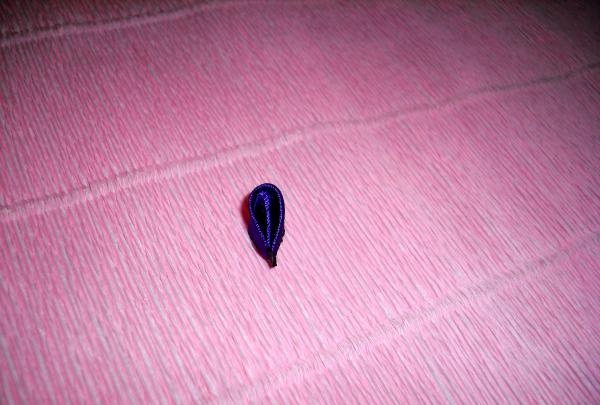
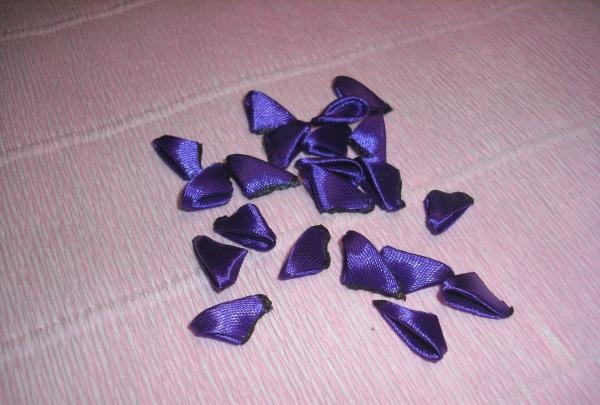
You will need 21 such petals to create a clamp.
The resulting petals should be combined in threes, gluing them into small branches.
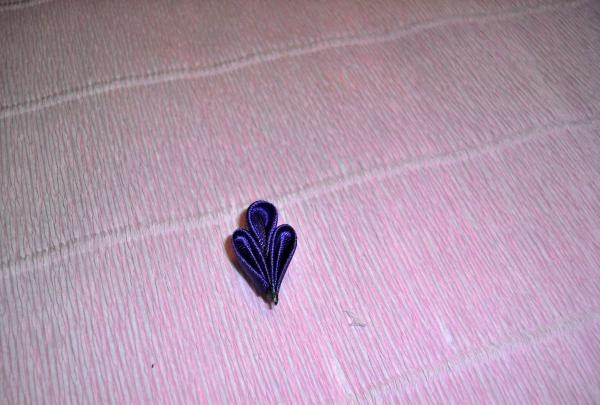
At the end of gluing the petals, 7 branches are obtained. Now the branches can be temporarily put aside and proceed to further work. Now you will need a lilac-colored ribbon, from which you should cut blanks into the shape of squares with sides of 50 mm.
Between two corners from different sides you need to mark a line, marking it with small dotted lines.
The prepared line is a guide along which you need to fold the squares in half, completely covering the wrong side.
The resulting triangle must be folded in half again, repeating the action twice.
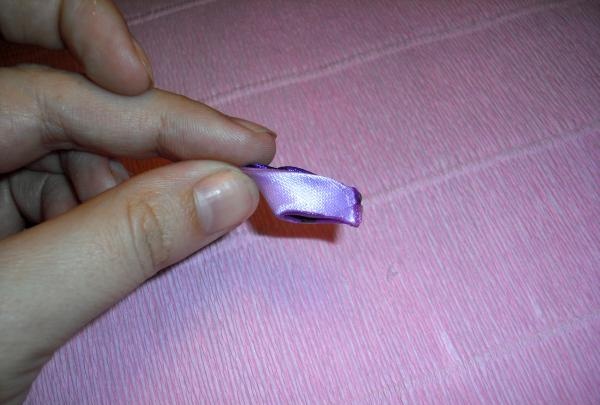
On the resulting triangular part, the sides of the tape with cuts are collected on one side.
Thanks to several folds of the tape into a triangle, a loop was created in the middle of the part, which will be needed for further creation of the petals.
The branches of their purple ribbon that have been put aside need to be returned to work. Each branch must be placed in the middle of a lilac ribbon blank.
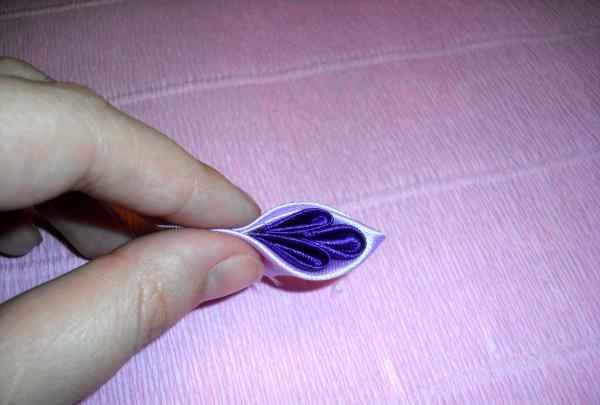
Paying attention to ensure that the parts are located at the same level and do not protrude beyond each other’s edges, you should cut off the excess fabric, focusing on the edges of the branches from the purple ribbon. The cut must be treated with fire to solder the strips together.
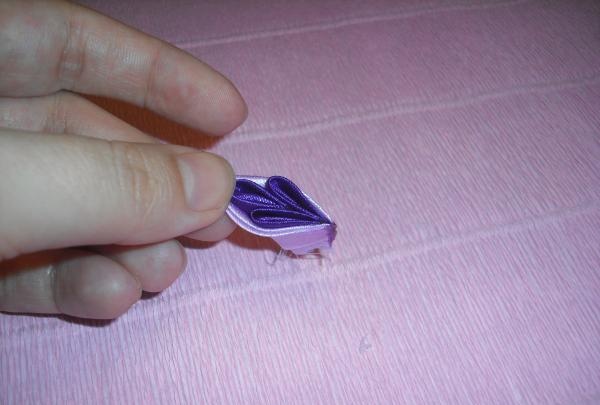
The depth of the petal is designed in a similar way. The excess tape must be cut off, leaving the lilac fabric flush with the purple blank. After removing excess edges, the sections need to be scorched with a lighter, securing their position.
The result is a beautiful multi-colored petal.
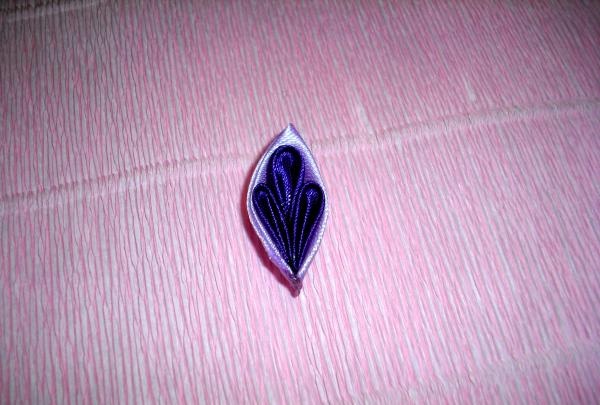
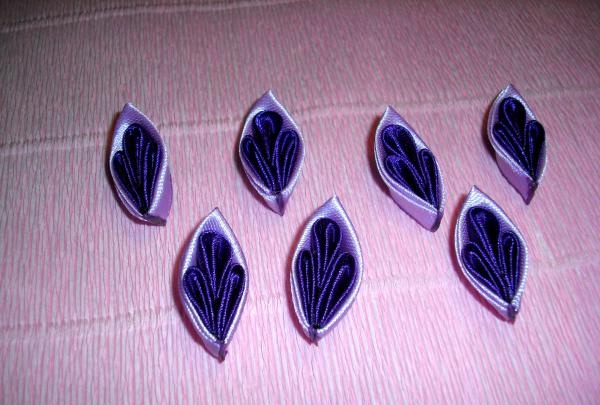
A total of 7 such parts should be made.
Next, the two-color petals need to be glued together, forming a circle from them.
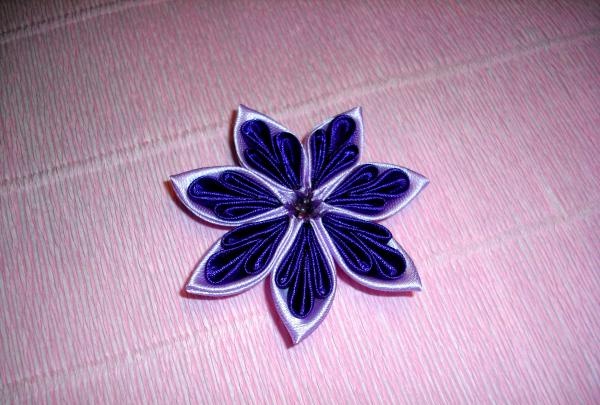
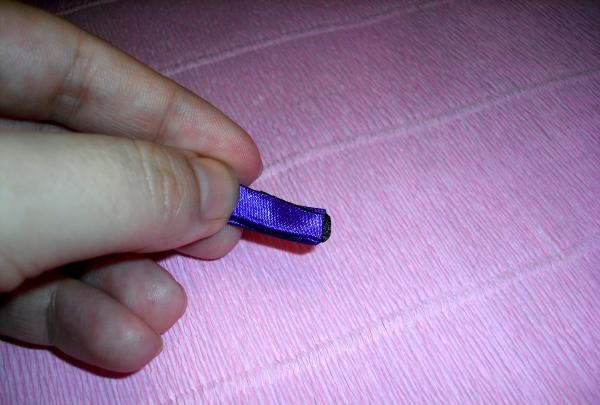
The main piece for the decoration is ready, all that remains is to make additional details. To do this, you will need 7 rectangles from purple ribbon with sides measuring 7x2.5 cm.
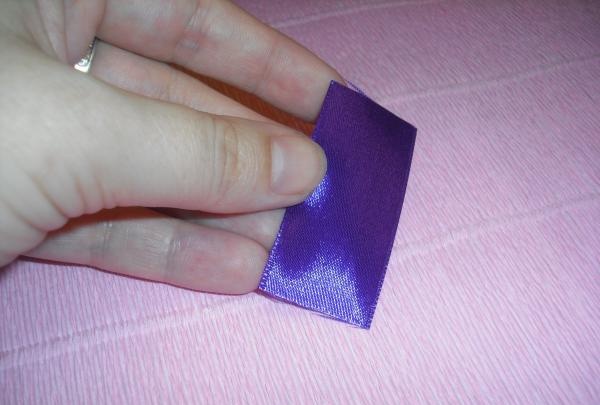
On each rectangle, the cuts must be carefully treated with fire. Then each piece needs to be folded into small folds.
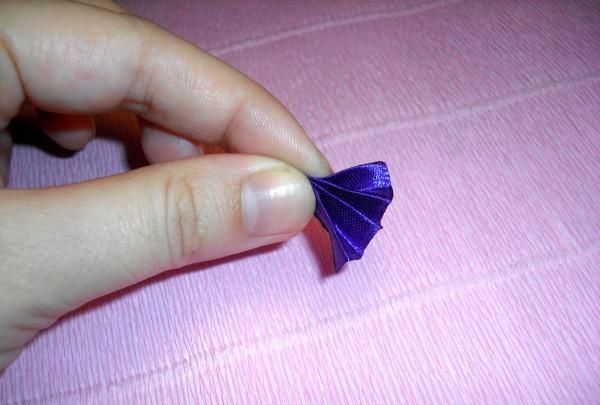
Holding the parts with folds, you should melt one of the sides of the workpieces, securing the layers of tape.
With a slight straightening of the folds, parts are obtained in the form of neat fans.
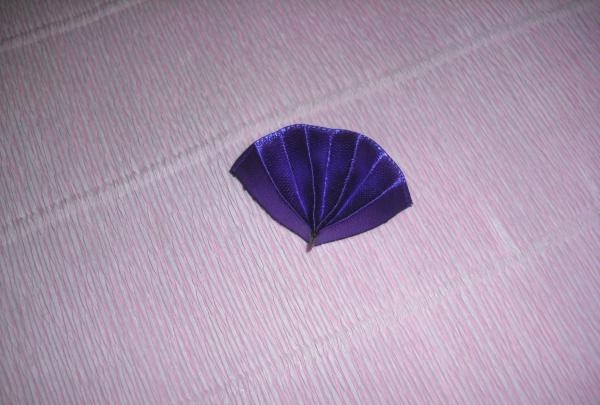
All 7 rectangles should turn out to be the same fans.
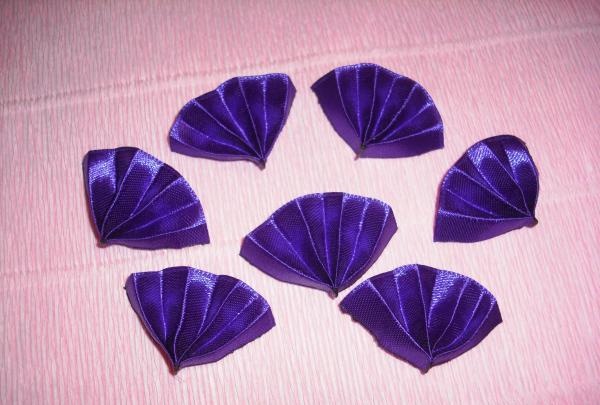
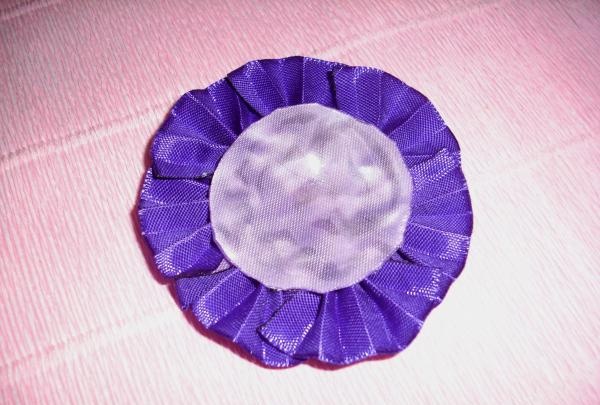
After this, fans from purple tape must be glued to the prepared base. Fans should be placed between the petals.
From the lilac ribbon you will now need a circle with a diameter of 4 cm.
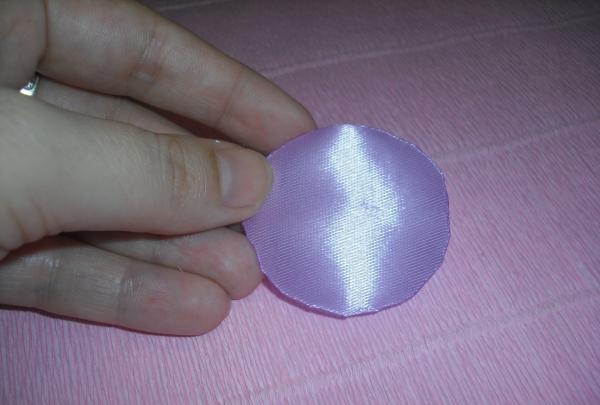
The workpiece must be treated with fire, protecting it from shedding, and immediately attached to the wrong side of the future decoration.
The metal clip remains to be attached on top of the glued lilac circle.

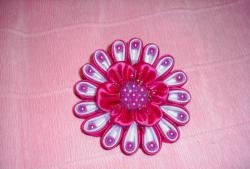
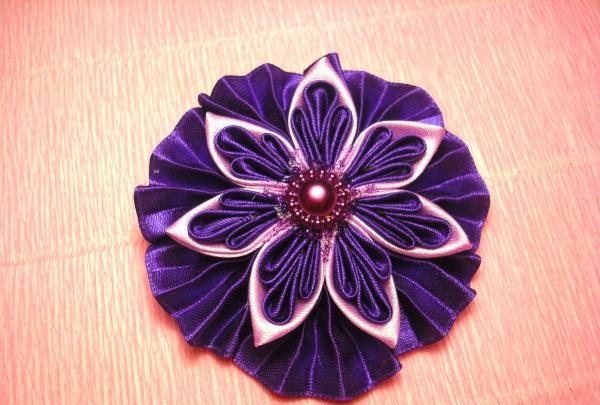
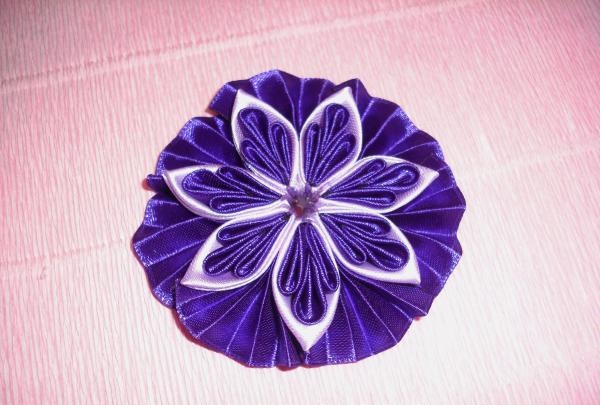
On the front side, the decoration should be complemented with a beautiful center and several lines of glitter gel.
The “Violet” clamp is ready!