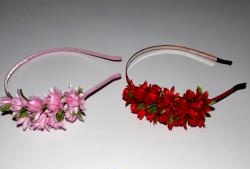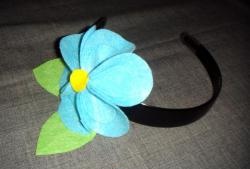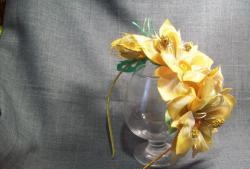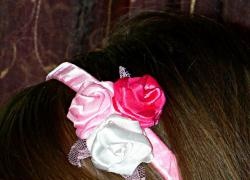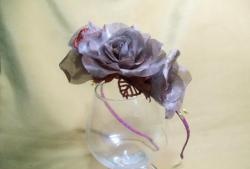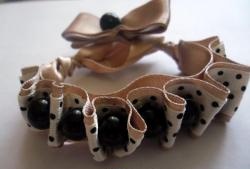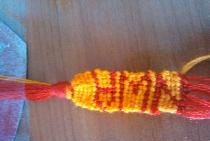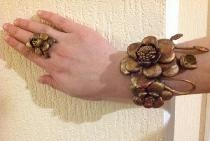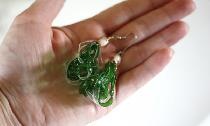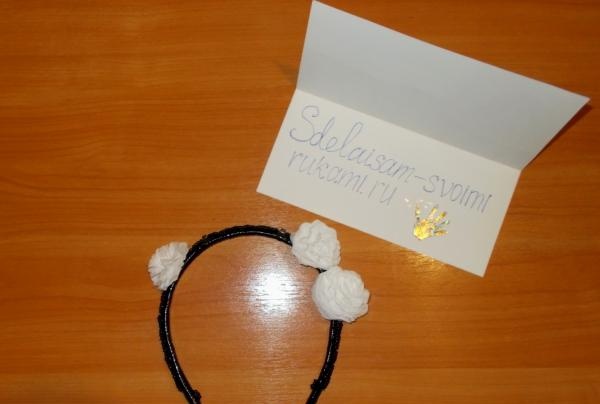
Decorative embellishments (like flowers) can be made from crepe paper or heavy-duty foil if you don't have any extra fabric. Foil is resistant to water damage, but durable foil suitable for sewing can be found in gift boxes:
Here is a list of everything you need for work:
- Thick copper wire (you can take 2 pieces);
- The wire is thin;
- Needle;
- Old belt (we have a black leather belt);
- Medium-sized black beads (matching the color of the belt);
- Napkins, stapler and (or) durable foil (we use foil from gift wrapping);
- Scissors;
- Black threads.
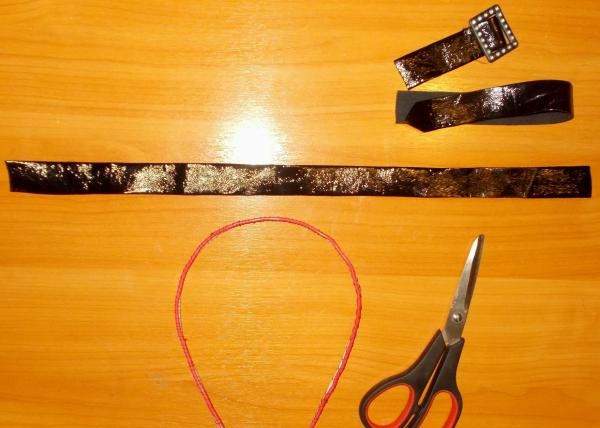
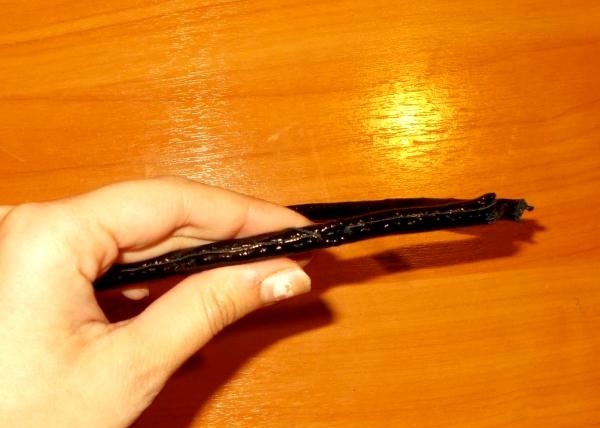
Getting to work, we selected the appropriate wire and belt. The thickness of the wire is 0.2 cm, and the belt turned out to be quite thin, comfortable, and has not yet deteriorated. Unlike ordinary fabric, its fabric will not fray after cutting:
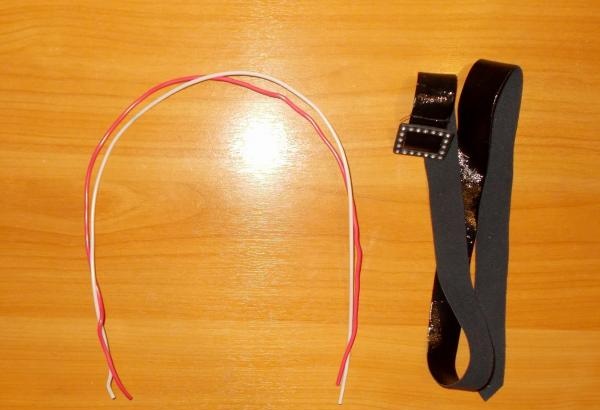
For work, we decided to take two thick wires. Having measured the required length for each of them, we connect them together, twisting them with thin wire:
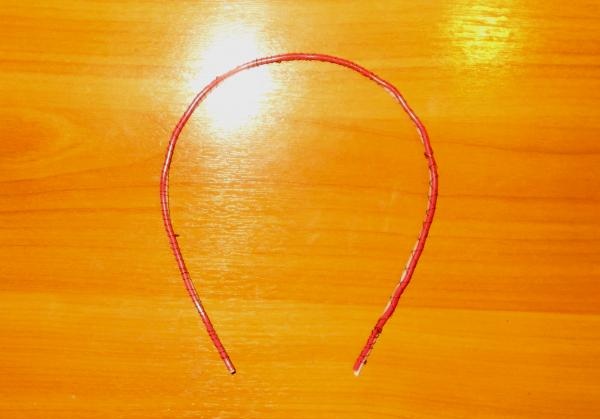
Now we need to cut off a part from the belt that is slightly longer than the wire (about 1 cm) in order to leave fabric that would hide the wire inside the fabric of the finished headband:
After this, wrap the wire in the belt fabric and sew its longitudinal sides, bending the excess sections inward (allowance):
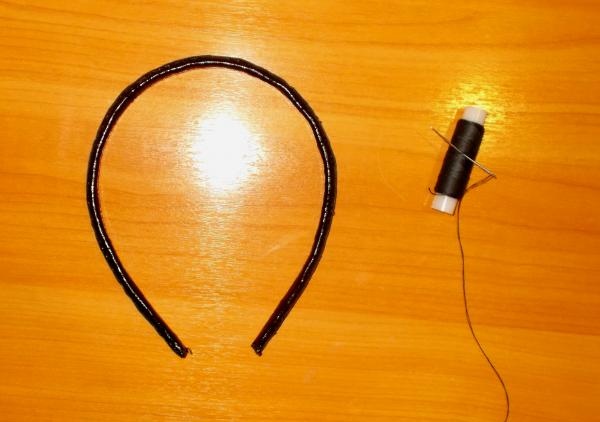
Seam areas are best done on the top side, not the bottom or sides. We will embroider with beads in these areas.
We only need two bags of beads:
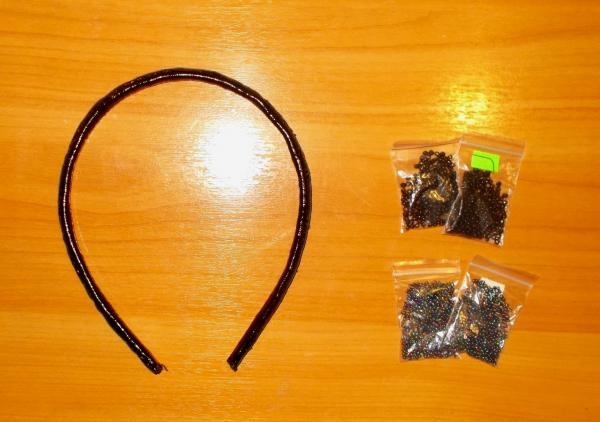
We will embroider with beads in two rows; small areas at the bottom can be left for the base.
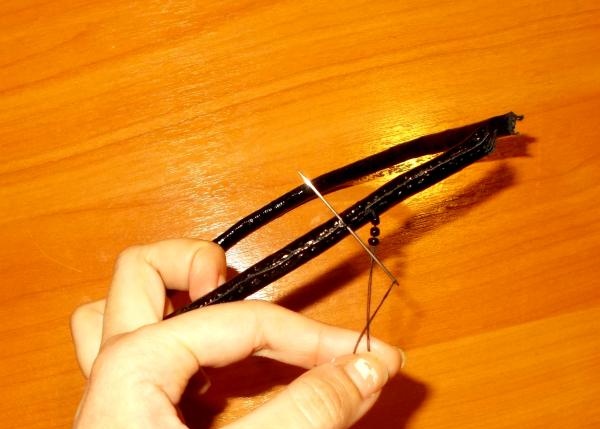
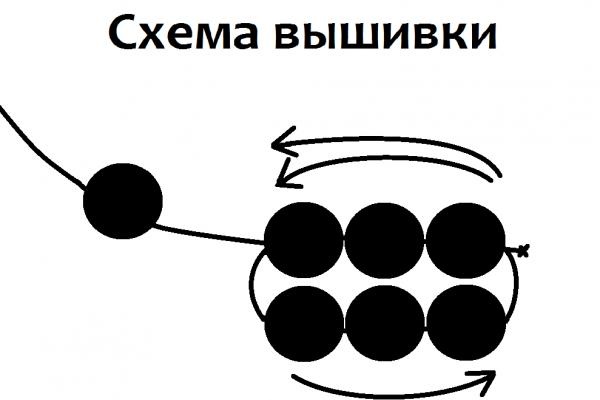
We embroider in a circle, 3-4 beads in each row:
Here is our embroidery pattern:
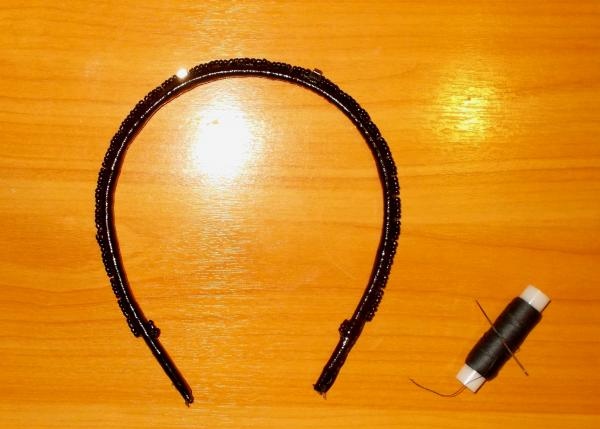
In this way we decorate the entire upper side of the headband. If you have black timber or glass beads, you can add them to your work; and at the bottom of the bezel you can make two short rows of several beads on the inside to make the bezel slip less easily:
Next, we decided to make artificial decorative flowers from napkins.
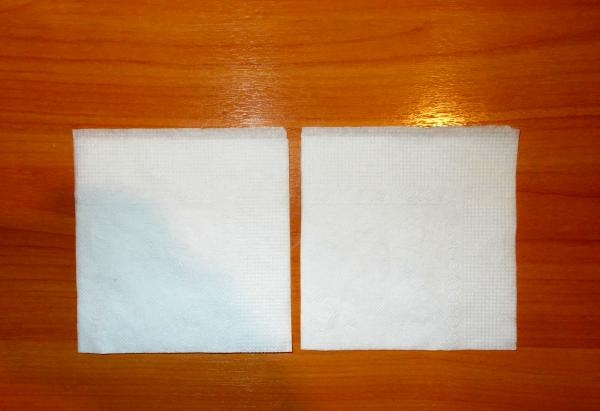
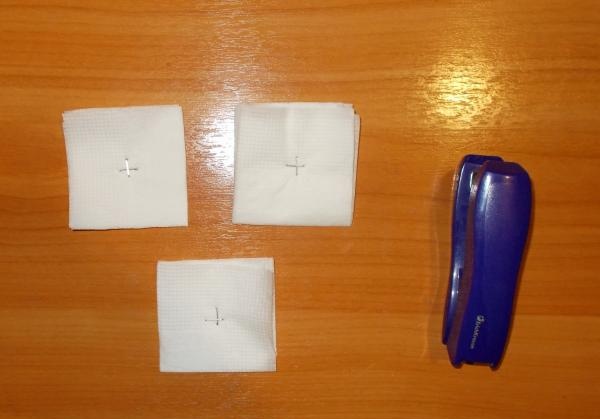
First, we fold three napkins twice and secure each of them in the middle with staples:
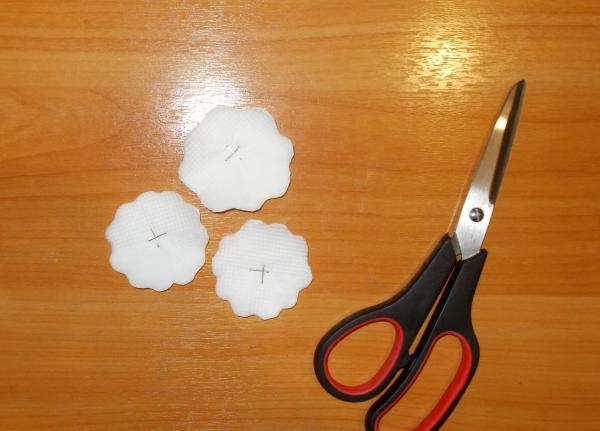
Then we need to cut out three shapes in the shape of flowers from them, after which each of the layers of paper in turn is lifted to the middle and compressed, and then released:
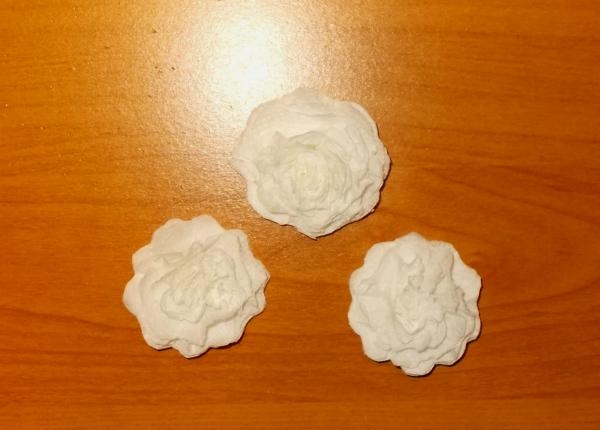
We sew the resulting decorative flowers to the headband:
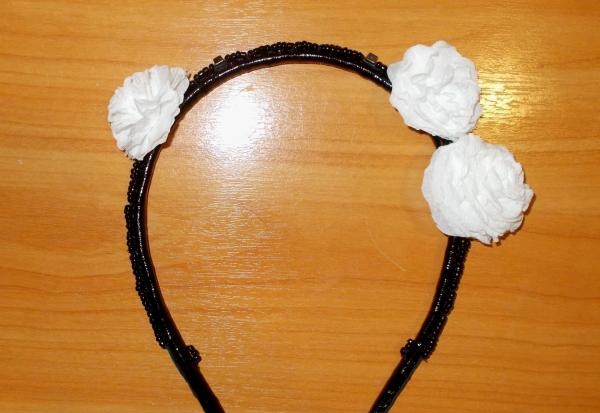
After that, that's it - our headband is ready.
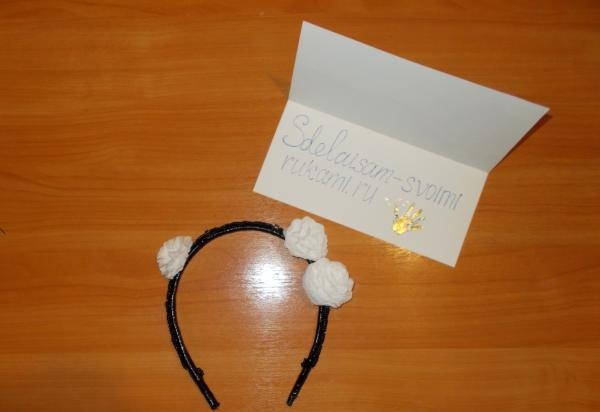
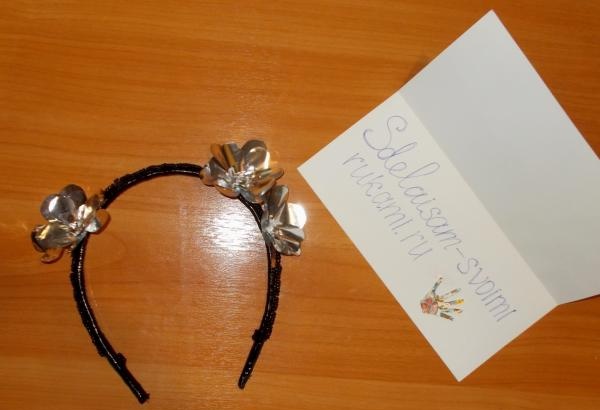
Some time after the holiday, we received durable silver foil from the gift. And from this foil we decided to make new decorations for the headband and replace the paper ones with them:
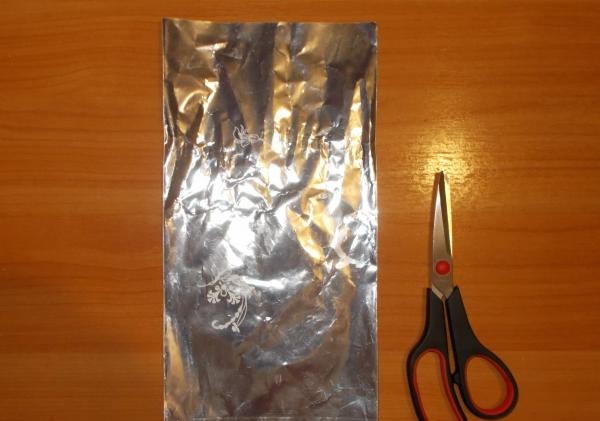
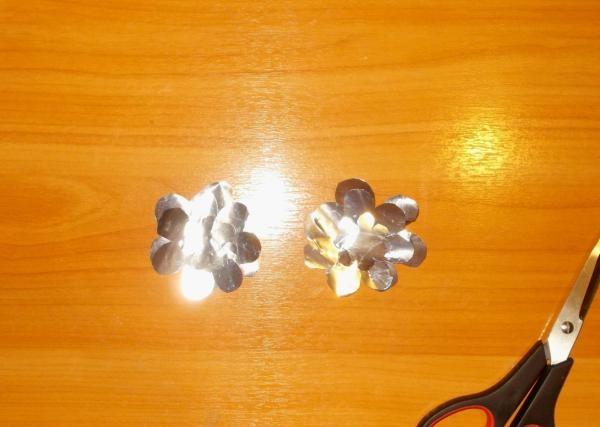
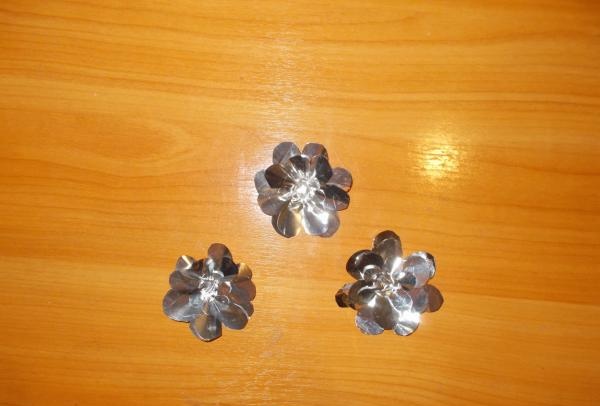
First, we cut out six flower-shaped shapes of different sizes from foil, and then joined them together with seams:
In order to give the shapes some dimension, we made stitches in a circle in the middle of each of them, and then carefully pulled the thread together:
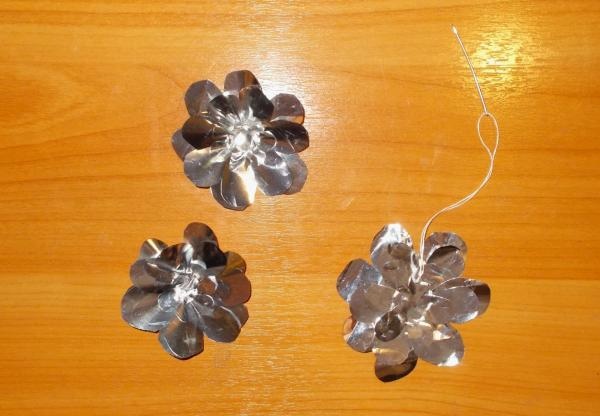
This is how we managed to make such decorations without the foil being torn:
After that we attached our decorations to the headband:
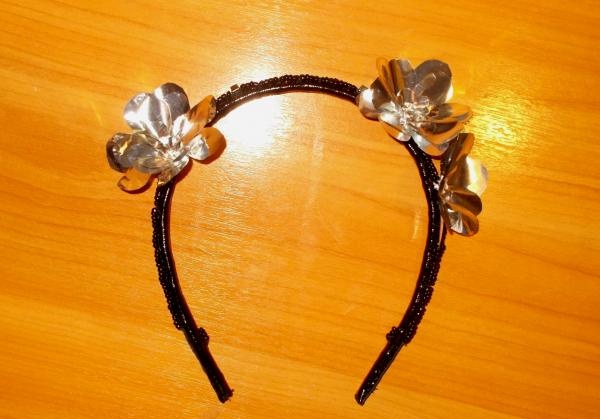
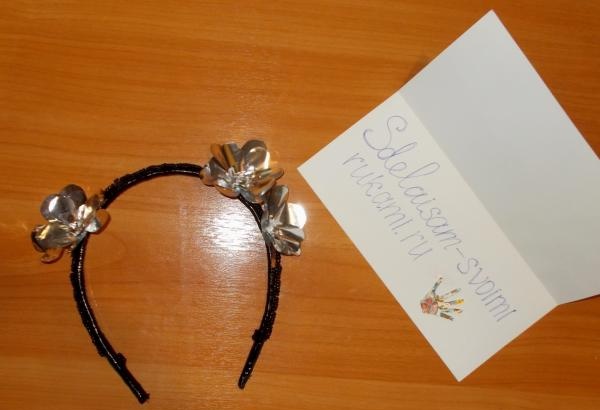
Now that's it - our craft is ready.
Sincerely, Vorobyova Dinara.
