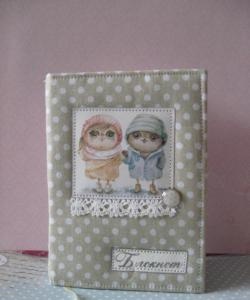
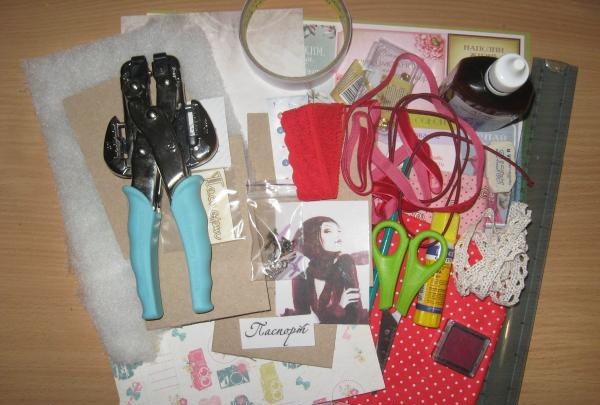
• Thick cotton fabric, red with white small polka dots and pink with bagels;
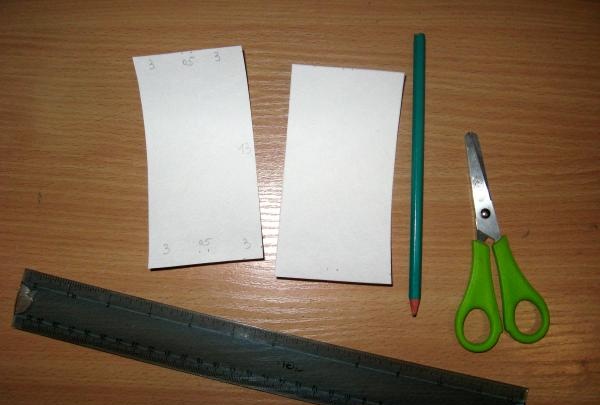
• Binding cardboard, 4 blanks 9.2*13 cm;
• White cardboard;
• Sintepon;
• Installer of eyelets and eyelets of gold and copper colors;
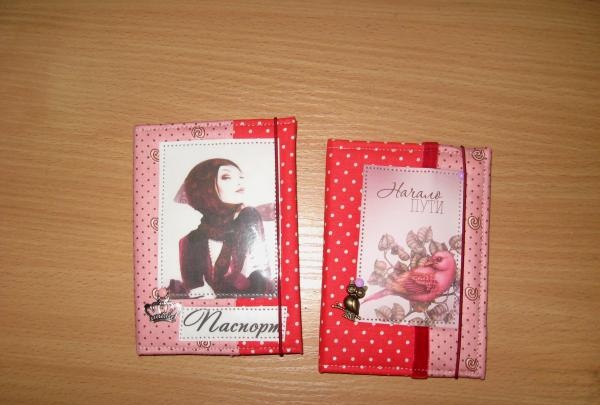
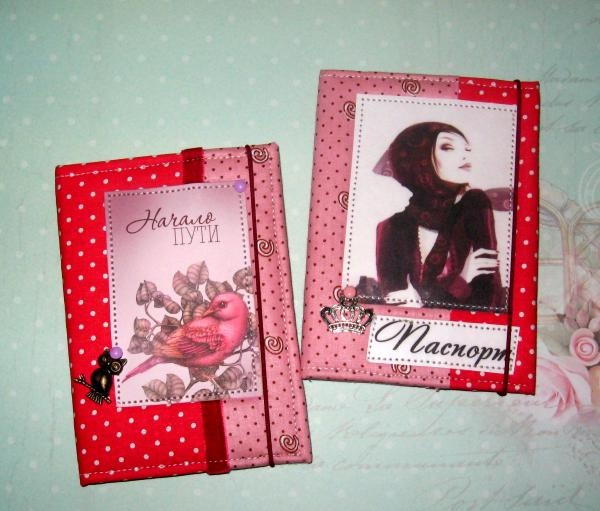
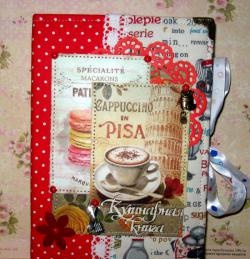
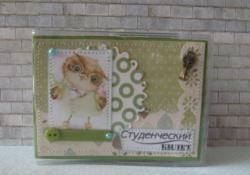
• Color pictures;
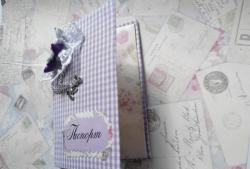
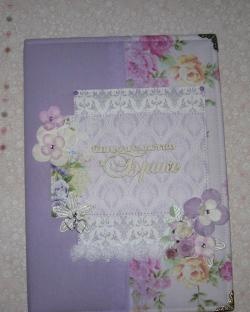
• Printed passport inscription;
• Metal crown and owl pendants;
• Metal brads pink and purple;
• Narrow burgundy hat elastic;
• Scrappaper for interior decoration;
• Red velor tape;
• Glue “Double-sided tape effect”;
• Glue stick, scissors, ruler, pencil, eraser;
• Thermal gun.
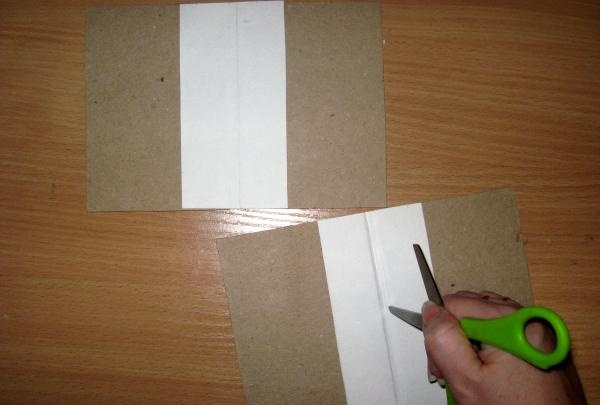
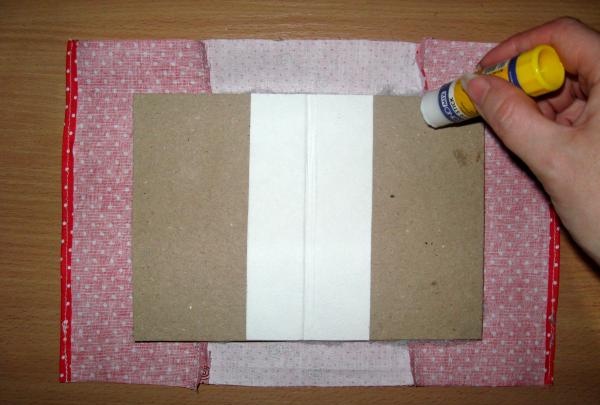
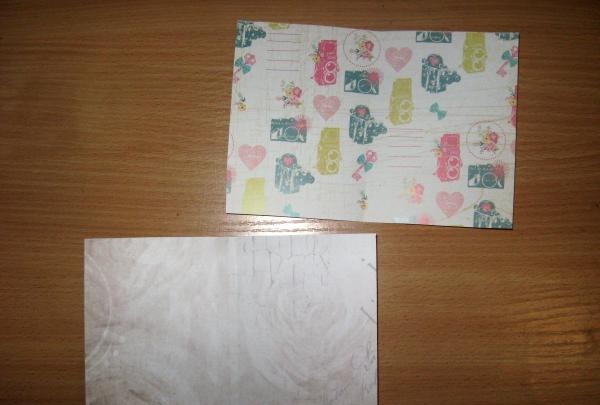
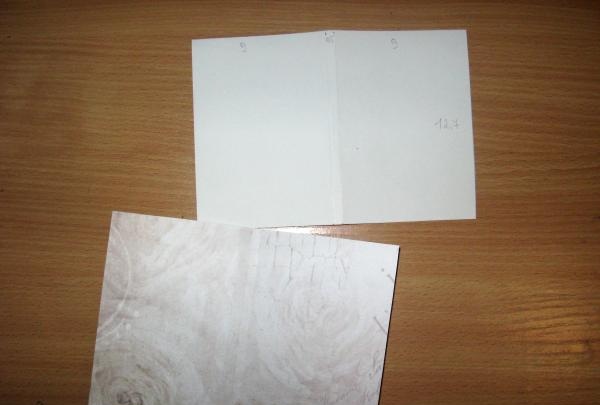
So, we need to start with the fact that first, we need to prepare a solid book base made of binding cardboard for the covers. To do this, we need to combine two blanks into one single one. To do this, we cut off white cardboard or watercolor paper measuring 6.5 * 13 cm. And divide it on the smaller side into the following parts: 3 cm * 0.5 cm * 3 cm. Place marks at the top and bottom.
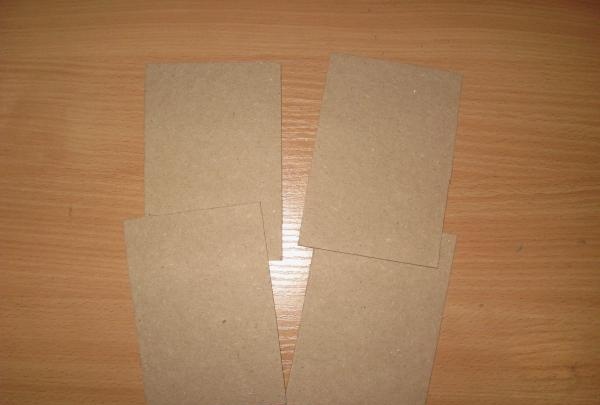
Now, using the blunt end of scissors, we draw bend lines under the ruler, fold them and, using a glue stick, glue and connect two binding sheets of cardboard to each other.
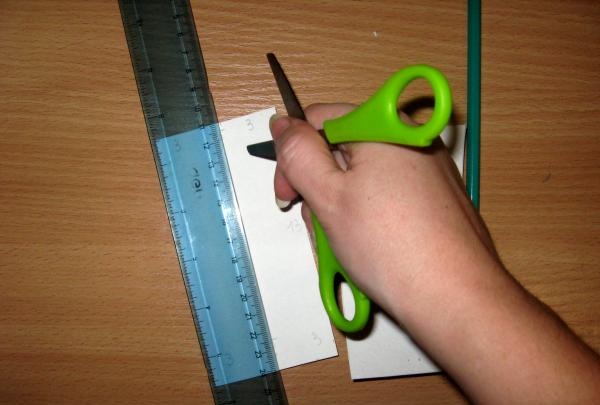
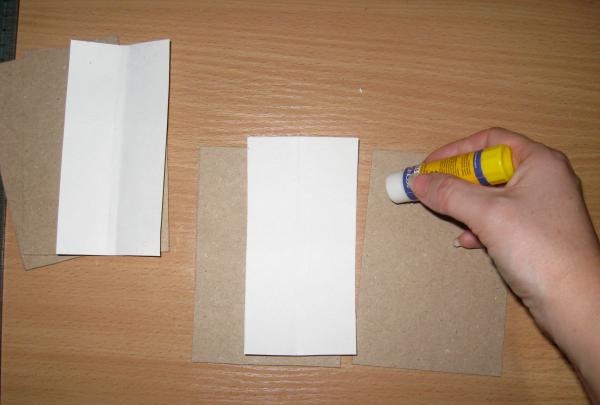
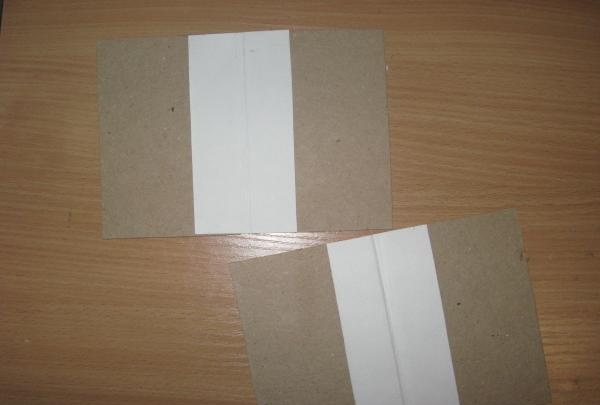
We press well, smooth it out and draw it with the blunt tip of scissors at the bend on both sides. Thus, there is a space of 0.5 cm between the blanks for folding the finished cover.
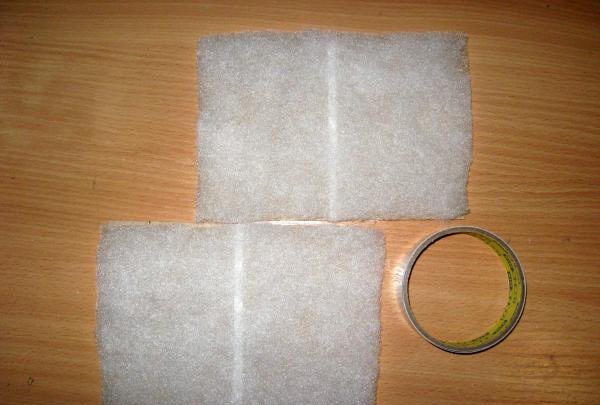
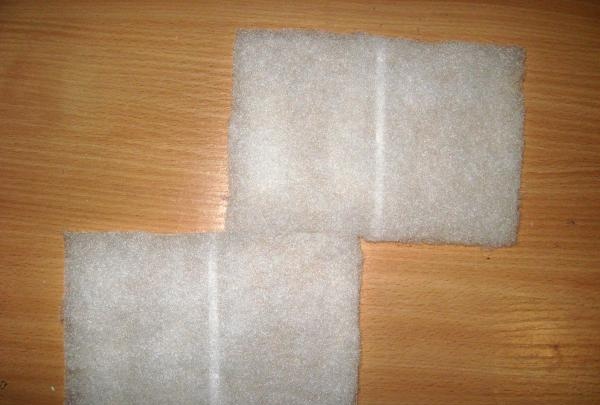
Now we cut off the sheet polyester and glue it with double-sided tape on the outside of the blanks.
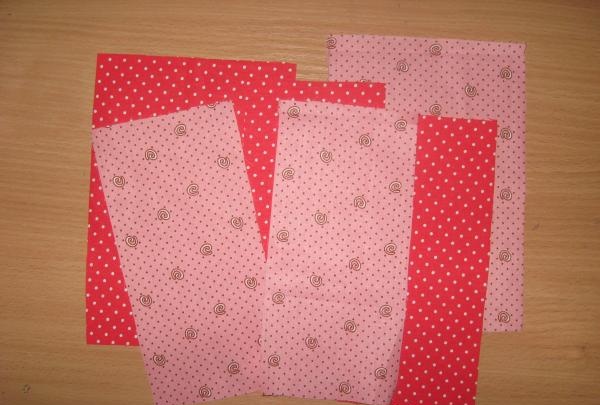
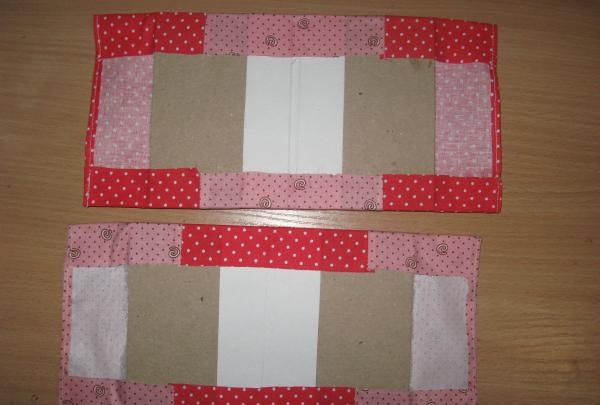
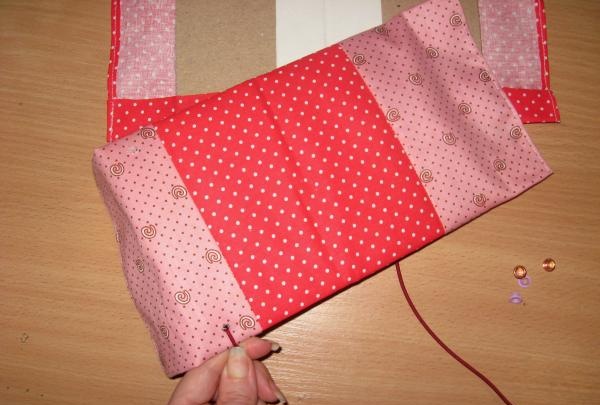
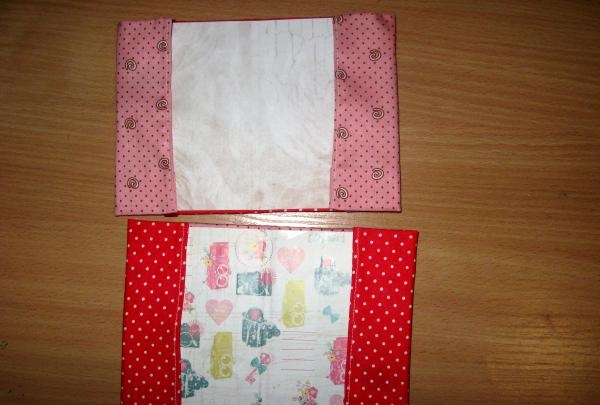
Now we need some fabric. We will combine colors both here and there, so we cut pieces of the following sizes for the first cover: red size 8*18 cm two cuts and pink 13*18 cm, for the second, on the contrary, we take the sizes: pink two cuts 8*18 cm and red one cut 13*18 cm. We calculate so that when sewn we have 26-26.5 cm by 18 cm.
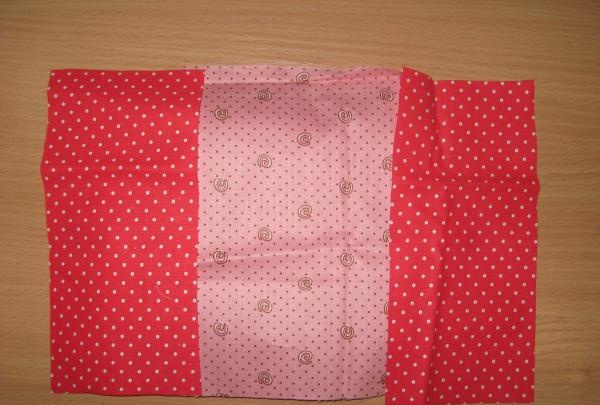
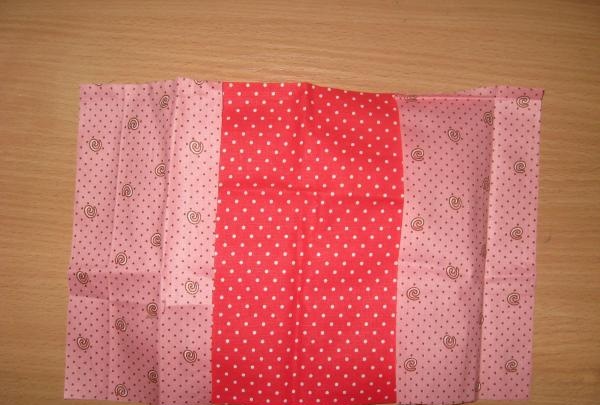
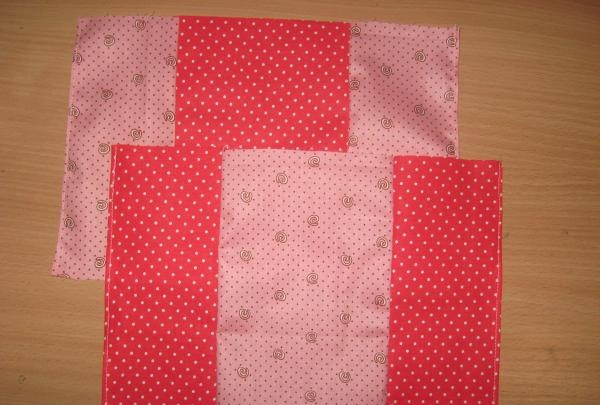
Now the fabric needs to be thoroughly ironed to a single fold using steam. Now we sew the pieces together, and also pay attention, we immediately sew the sides of both pieces.
Now we turn the fabric face down and apply a glue stick to the binding blank from the bottom and top.
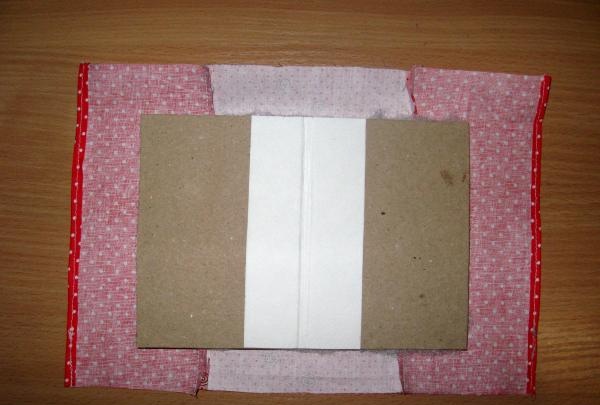
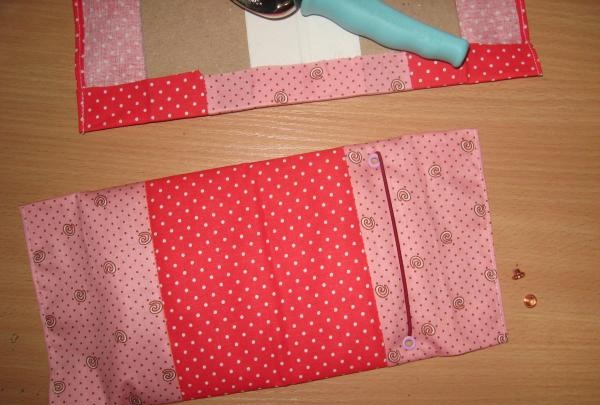
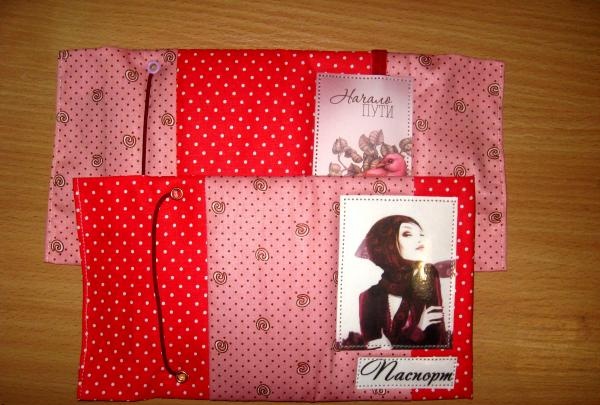
We wrap and glue like this on two blanks. Now we need to insert the elastic onto the eyelets.
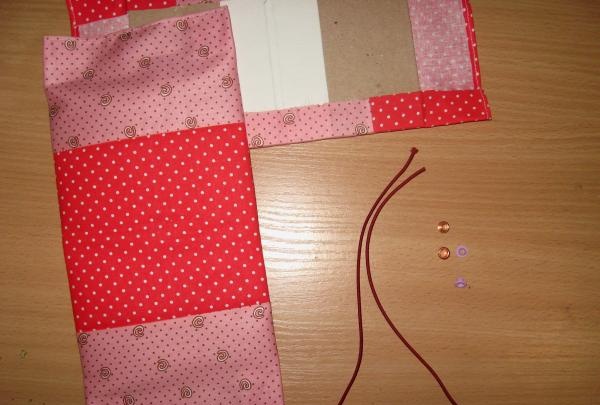
At the back of the covers, we make holes at the same distance with the eyelet installer from below and above, insert an elastic band so that a tail remains, then the eyelet and secure it with the installer.
It turns out to be a fastener like this to keep the cover closed. We do the same on the second one.

Now we cut out the following blanks from scrap paper: 9*0.5*9 cm and 12.7 cm. We also draw bend lines.
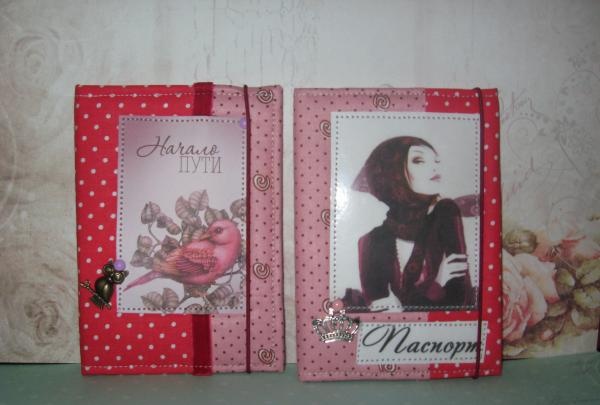
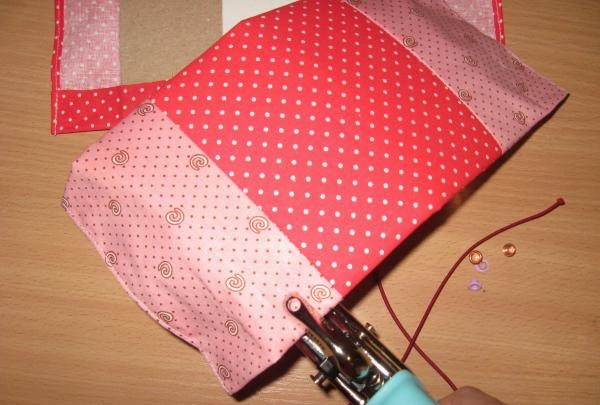
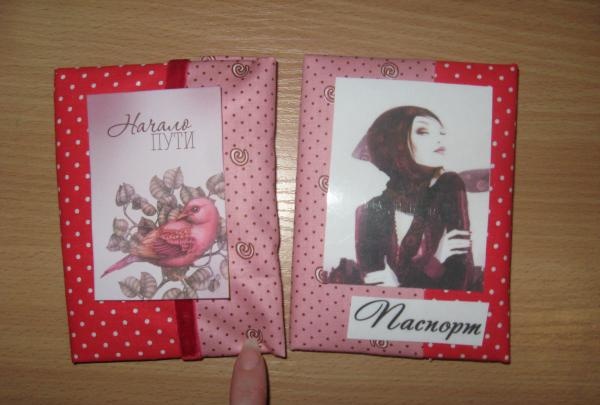
Now we pre-fold the covers, wrap the inner parts and glue the tape, pictures and inscription. We sew them on with a machine.
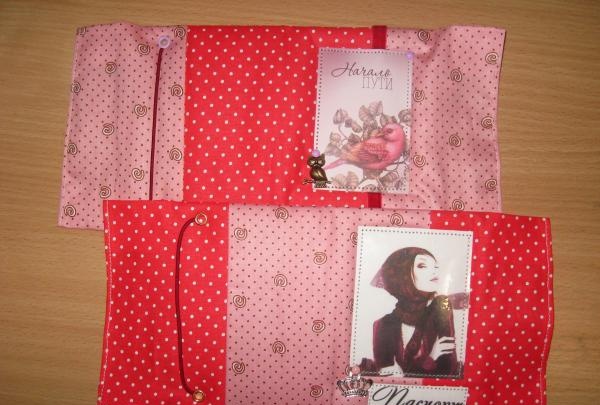
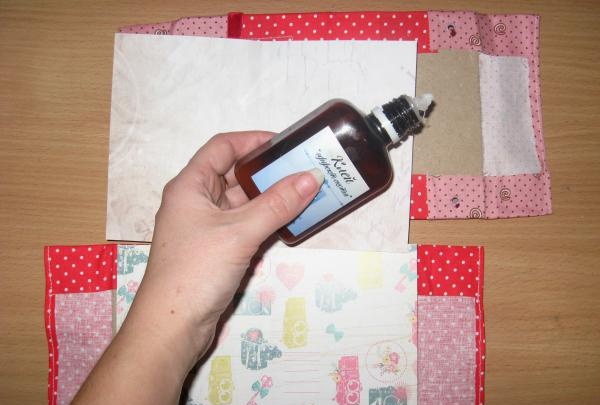
Now we put pendants on the brads.Now all we have to do is glue in the inner parts of the cover and stitch them. We take glue with the effect of double-sided tape and paste it into both covers. We press just a little.
Now we wrap the fabric tails inside and stitch each cover on the outside. Done, you can insert your passport.
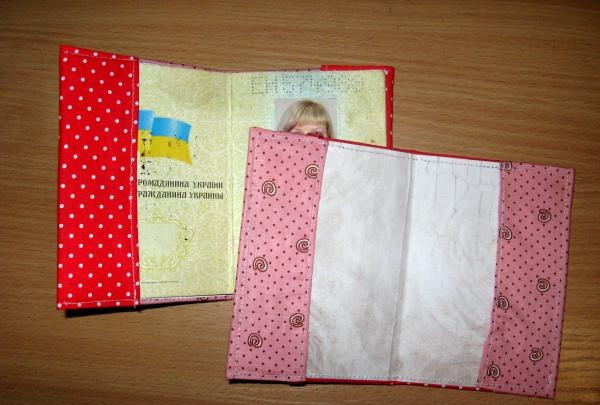
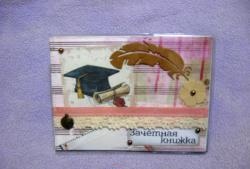
The covers turned out bright and rich and very interesting. Thank you for your attention!