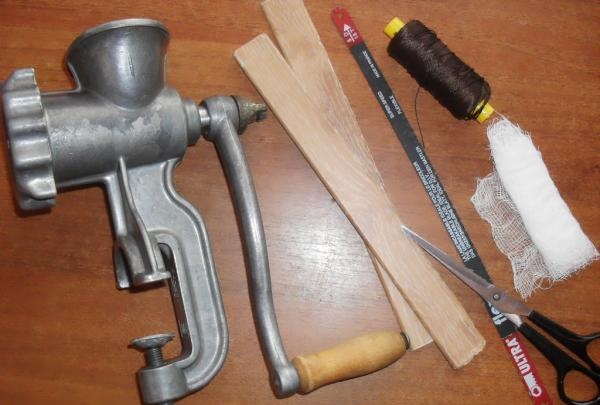
Materials for work:
• text printout – A4 format, 2 pages per back;
• photo paper – 1 sheet;
• PVA glue – 1 pencil;
• old meat grinder - can be replaced with a special device;
• nylon threads – 20 cm;
• jigsaw blade – 1 pc.;
• leather or its substitute – 35 x 40 cm;
• sewing machine, wide stationery tape, a piece of medical bandage, gold paint, scissors, brush.
Stages of work:
First stage: binding.
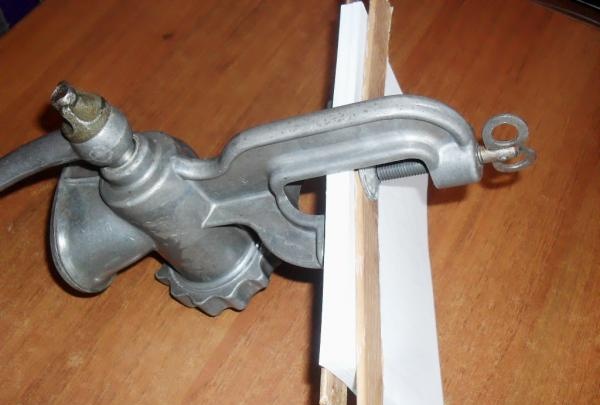
We take the necessary tools and materials.
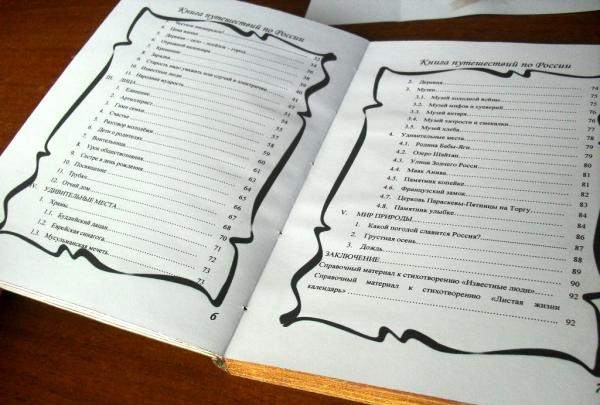
We make a “book” printout on A4 paper in a text editor. Each sheet has 2 sheets of the future book on both sides. Fold the sheets in half and straighten them. Place short boards on both sides where the sheets are folded and compress the future binding with a meat grinder.
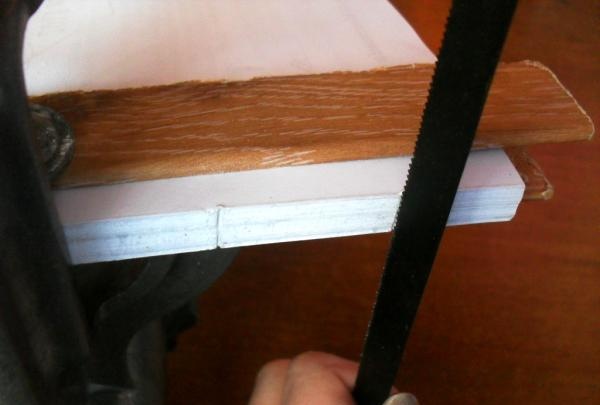
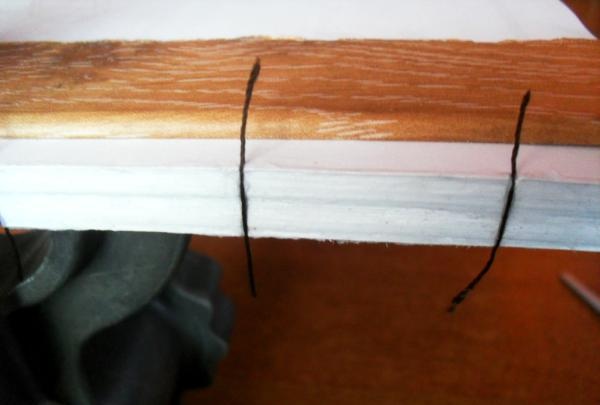
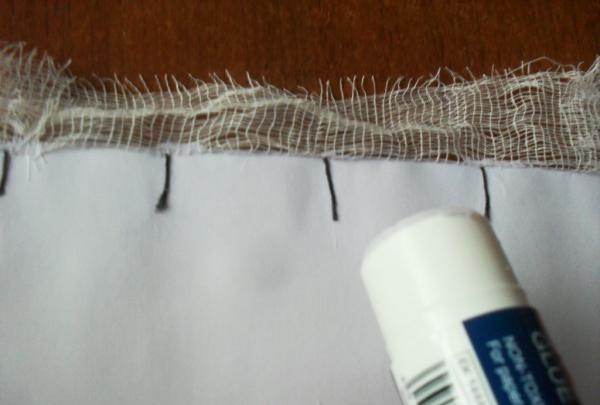
Using a jigsaw blade, we make transverse shallow cuts at a distance of several centimeters from each other.
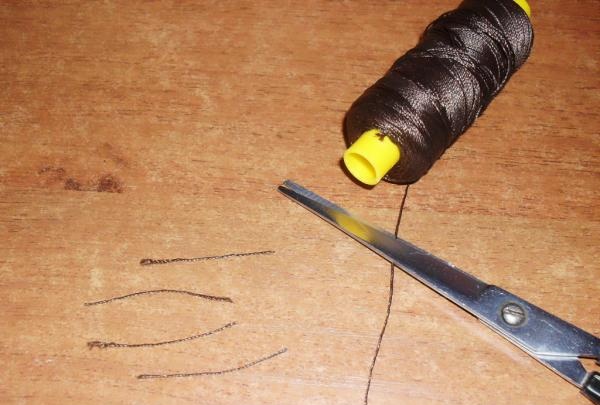
We cut the thread according to the number of cuts. The length of each thread should be twice the height of the binding.
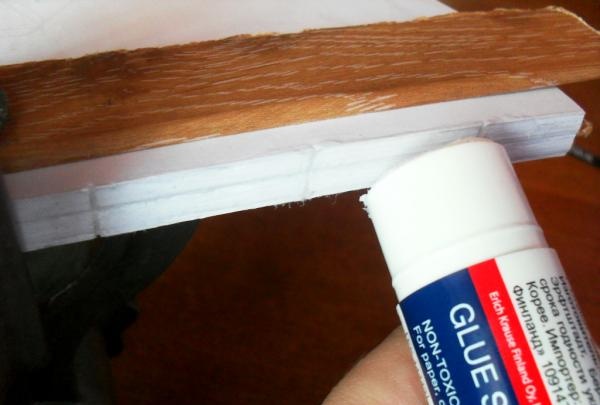
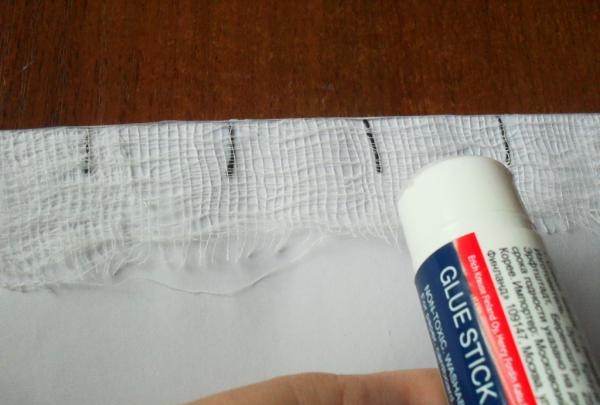
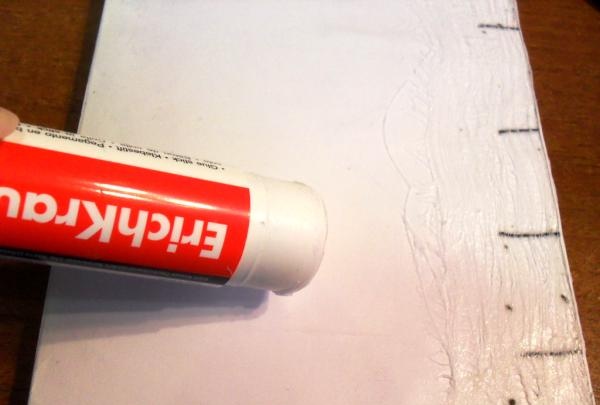
Carefully coat the cuts with PVA glue, filling the voids with it.
We insert threads into the cuts, leaving their ends free on both sides of the binding. We “drown” the threads in the cuts. Let the glue dry, remove the meat grinder.
Second stage: fix the binding.
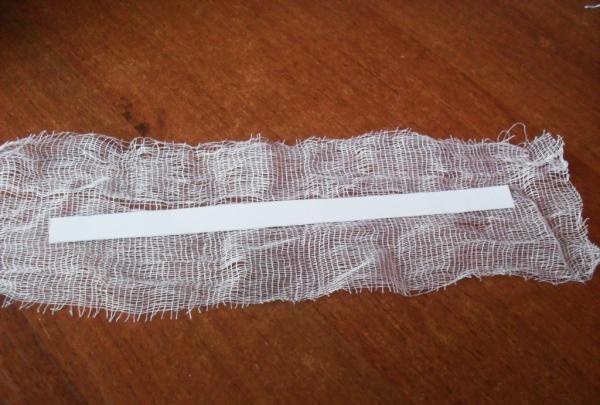
We cut a piece of medical bandage so that its length is enough to cover the length of the binding and the bends on both sides. We cut out a strip of paper that completely matches the length and width of the book’s binding.
We apply a thick layer of glue to the entire binding, and on top of it - a bandage (with the edges previously bent inward).
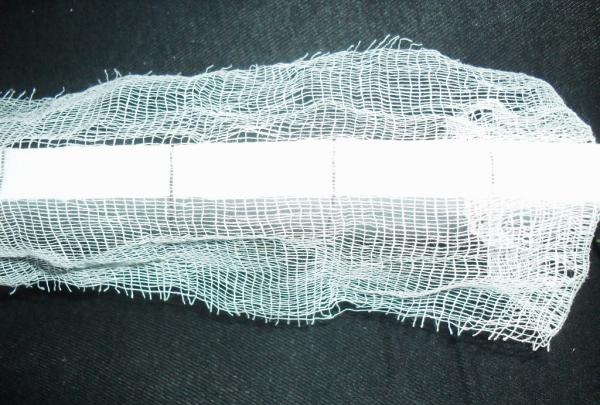
Apply glue to a strip of paper and smooth it onto the binding over the bandage. Carefully smooth the entire surface of the strip.
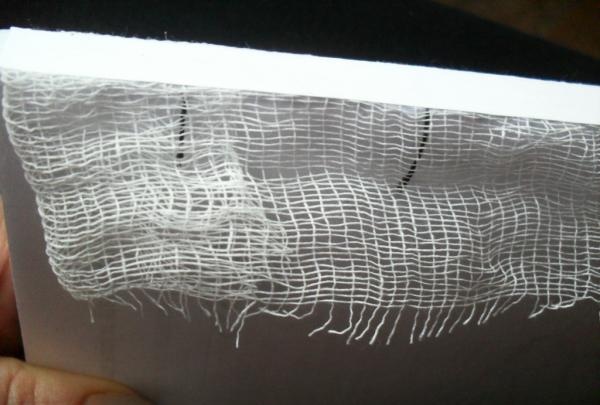
Apply glue to the top of the book.
Smooth the ends of the threads and the edges of the bandage, while simultaneously stretching it in both directions from the binding. We dry the book in a standing position (with the binding upside down).
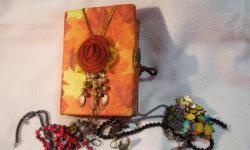
Third stage: blank for the cover.
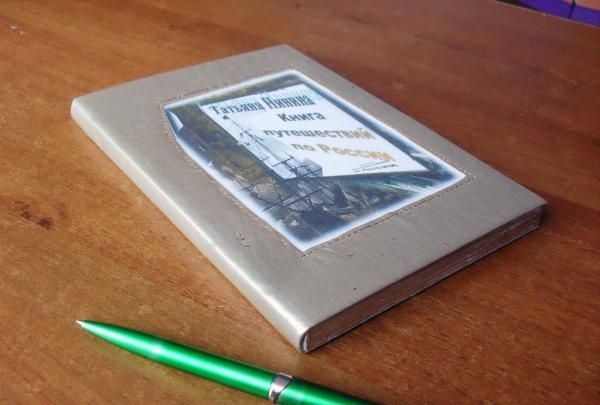
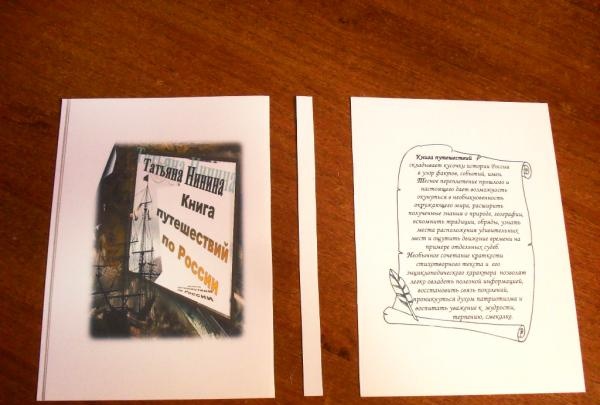
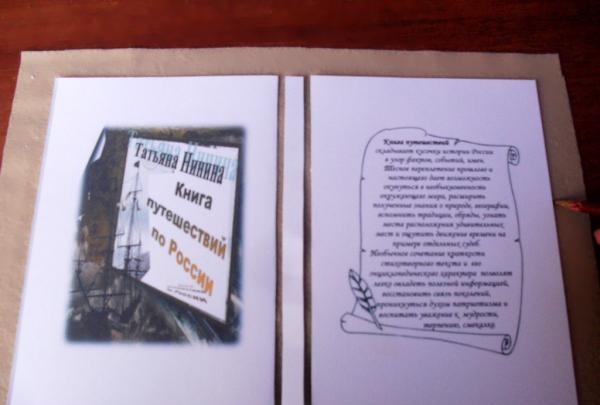
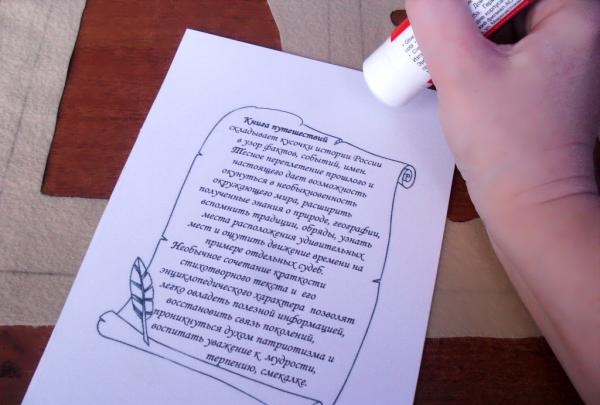
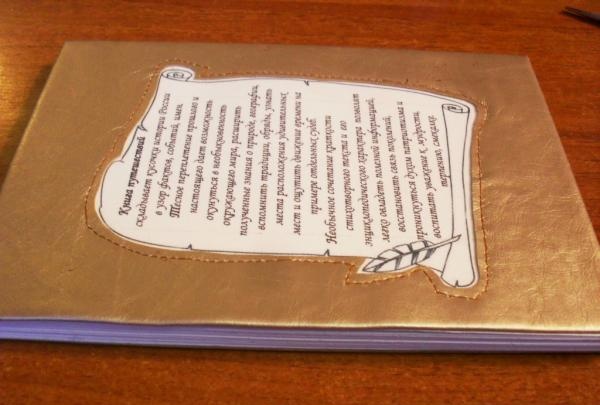
We print on photo paper (or paste prepared clippings onto it) pictures for the title and back sides of the book. The size of the blanks should be 0.5 cm narrower than the width of the book. We cut out a strip of photo paper that exactly matches the size of the binding (both in length and width).
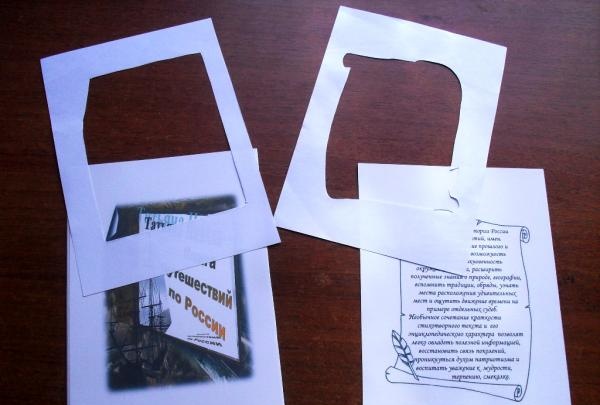
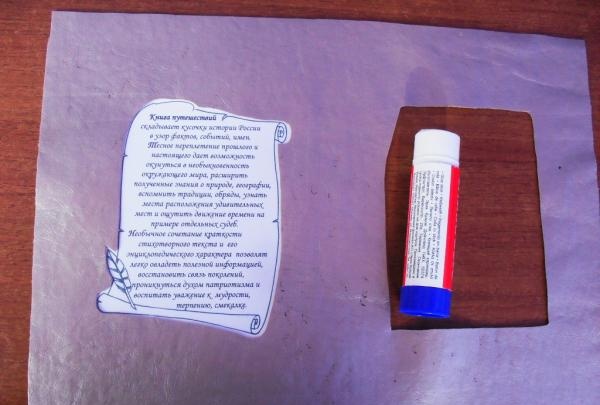
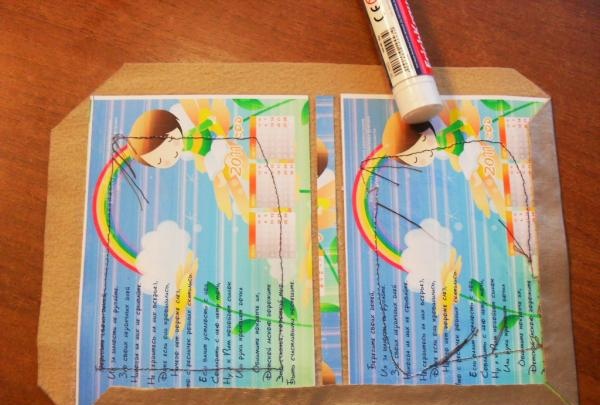
In order to make cutouts in the leather according to the size of the pictures, we make stencils from plain paper. If you need perfect accuracy in matching the lines, you can use tracing paper or make a translation by attaching the picture and the top sheet to the window glass.
Fourth stage: we work with a leather substitute.
For the cover you can use genuine leather or its substitute. In this case, a substitute purchased at a fabric store is used.

We place the cover and binding blanks on the reverse side of the leather. Don’t forget to make a distance between them slightly larger than the reduced width of the cover (about 0.7 cm each). We trace the contours with a pencil.
We place inverted stencil blanks on the drawn areas. The main thing in this stage of work is not to confuse left and right. We outline the places for future cutouts.
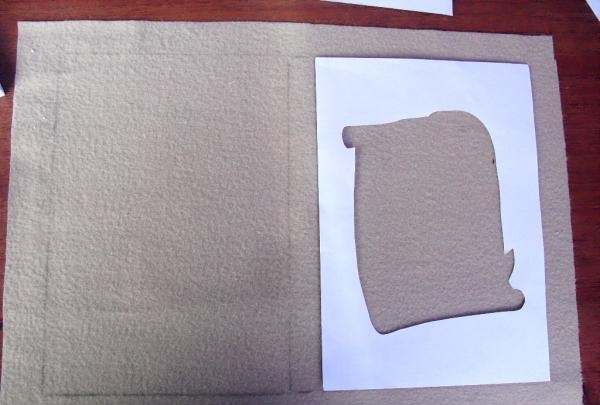
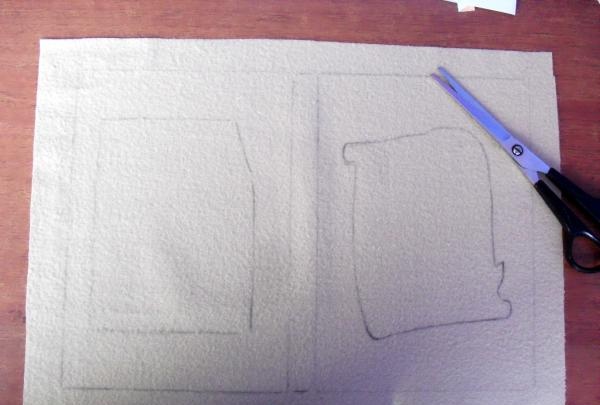
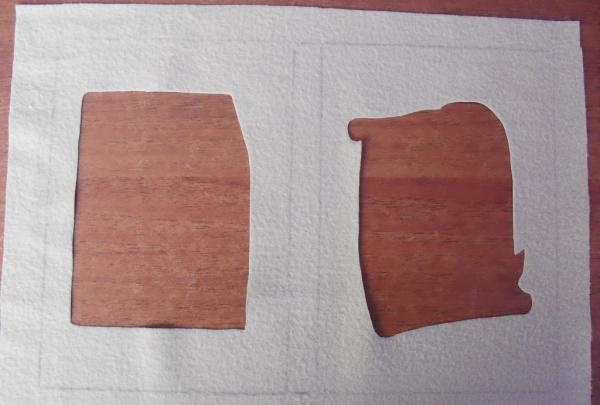
Cut out the outlined outlines.
Fifth stage: preparing the cover.
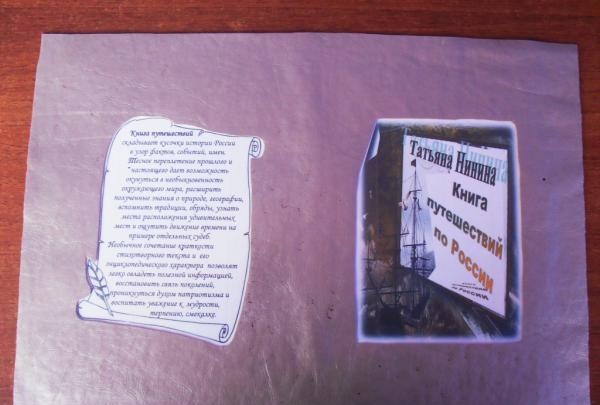
We cover pictures on photo paper with stationery tape so that they do not get dirty in the future. We glue the tape only to the front side of the sheet, without wrapping it on the back.

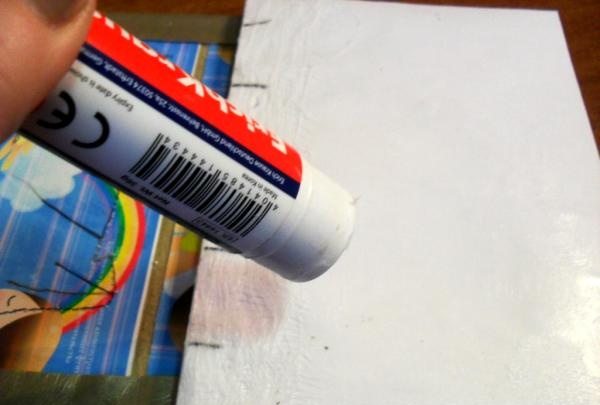
Apply glue to the areas of the photo paper free from the picture.
Combine the skin cutout and the picture.
Gently, without stretching, press the skin to the glue.
We machine stitch along the edges of the cuts, securing the leather.

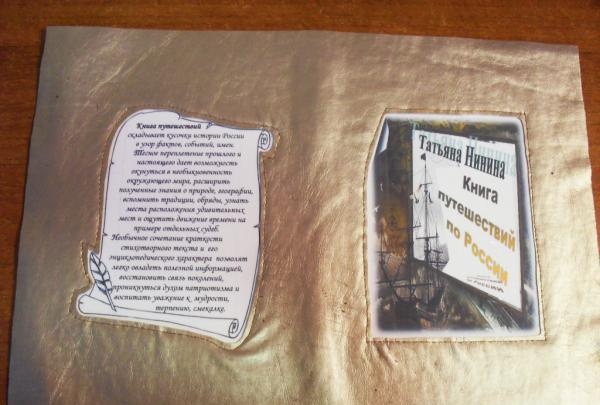
Cut off the corners of the cover.

We bend the edges of the leather inward, after applying a thick layer of glue.
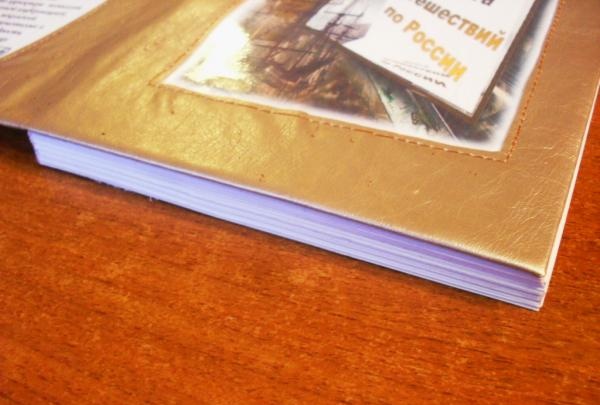
Stage six: connecting the cover and the book.
Apply a layer of PVA glue to the side surface of the book.
Place the cover on the book, wrong side down. We press, gently, without stretching, smooth the skin.
Turn the book over and apply glue to the back side.
Pull it slightly and bend the cover. Press, smooth.
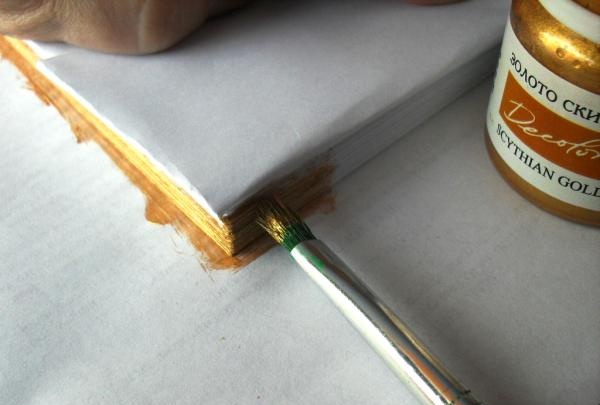
We place paper under the cover on both sides of the book and fold it onto the surface of the cover.Apply “gilding” to the sides of the pages using vertical strokes.
We place the book under a press (from heavy, larger format books) and dry it for a day. After drying, the unique masterpiece of your creativity is ready for endless turning of your favorite pages.