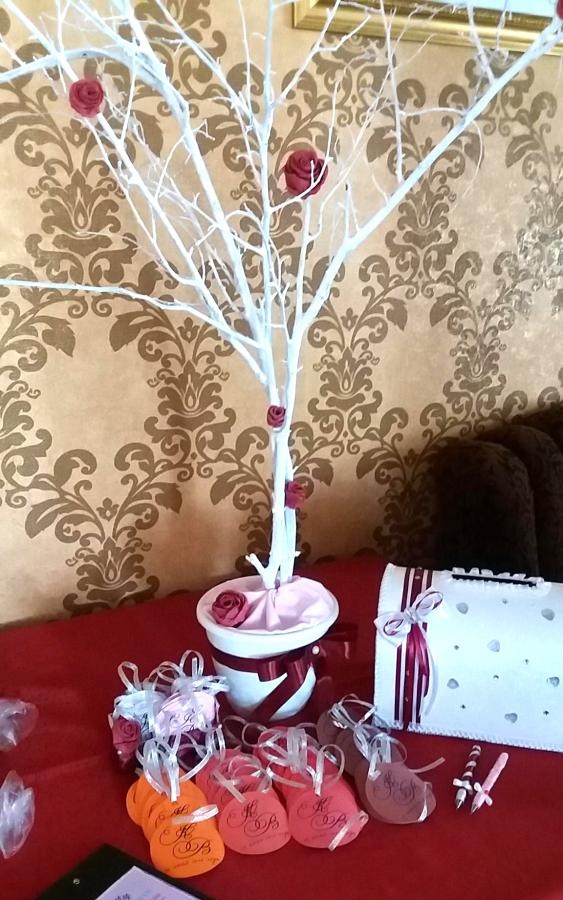
Trees for wishes come in different types: on posters, with fingerprints and others, but in our article we are talking about the classic version, stylized as a real tree. Special tags of different formats and colors are hung on it, with wishes from the guests. The number of cards must match or even exceed the number of invitees.
Advanced event agencies and decor studios have long been using such art objects to decorate events, but they charge huge sums for handmade items. After studying this master class, you can make an amazing tree yourself for up to $5.
List of required materials:
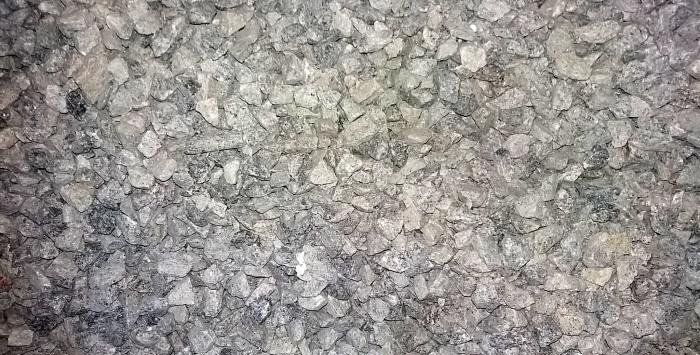
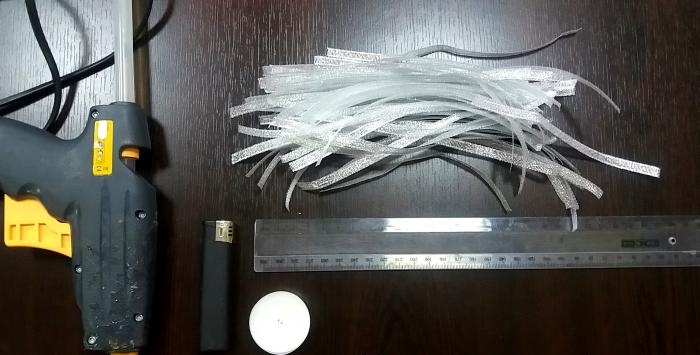
tree branches; clamps; white and silver/gold spray paint; flower pot 3 liters; 1.5-2 kg of gravel or stones (liter jar); alabaster 2 kg; water; silicone hot glue in a gun; PVA; corrugated paper; scissors; hole puncher; lighter and candle; tape 5 cm - 3 meters; tape 0.5 cm - at the rate of 20 cm per 1 tag; pieces of fabric for decorating the base; half-cardboard colored A4 - at the rate of 1 sheet for 6 tags; white/colored paper - at the rate of 1 sheet for 6 tags; ballpoint pens; small box - for delivery; half beads, any glass beads for decoration;
Wood processing
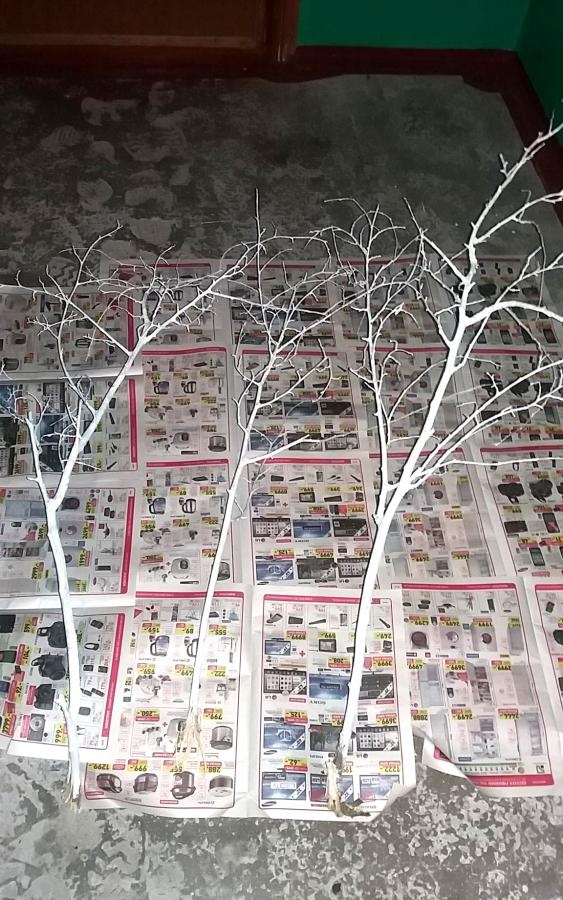
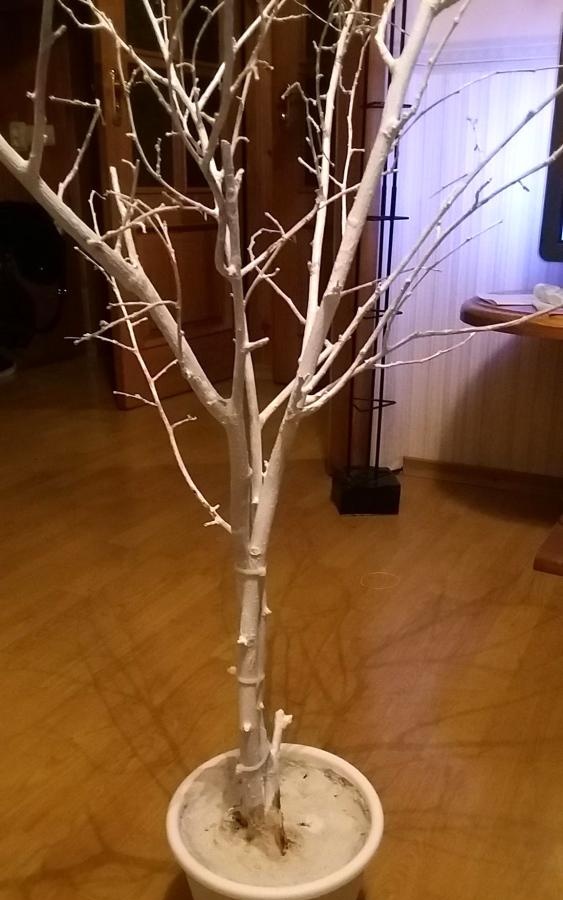
You should start by selecting a high-quality basis for future design know-how, namely, carefully consider all the plants growing around your house. Acacia is ideal. The branch you choose should resemble a real tree: thick at the base and branching into many tiny branches towards the end.

Advice! Break off the branch as close to the base as possible. You can stock up on a few copies just in case.
Next, we place the branches in the hottest place in the house or on the street so that the greenery wilts and the inside dries out (2-5 days). After which they must be cleared of leaves and buds, minimally damaging the bark and the smallest shoots.

We open with the first layer of white spray paint. Everything should be applied from 4 to 7 layers, depending on the degree to which the desired effect is achieved, with breaks until each layer is completely dry. Some branches in the finale can be shaded with silver or gold.
After finishing painting, you can start “planting” the tree in a pot. To do this, pour 1 kg of alabaster into a pot, pour in water in portions and stir until smooth, the consistency of thick sour cream.Having mixed thoroughly, pour out the crushed stone and press it into the alabaster, stirring gently.

We clamp the painted branches in three places at the base, with an interval of 10-15 centimeters, with clamps and lower them into the pot. At this stage the layer of alabaster and stones should be approximately halfway up the pot. We install the tree as needed and let the mixture harden - 6-8 hours. During this period, it is best to support the tree on both sides so that it does not lean, or hang it upward using threads, hooking it onto a cornice or chandelier.
Advice! If the clamps are too noticeable, they can be painted over with leftover paint from the spray can.
When the bottom layer of alabaster has completely hardened, dilute another 1 kg of the same mixture in a separate bowl and carefully pour it on both sides of the tree. We are waiting for complete hardening and proceed to decorating the base and branches.
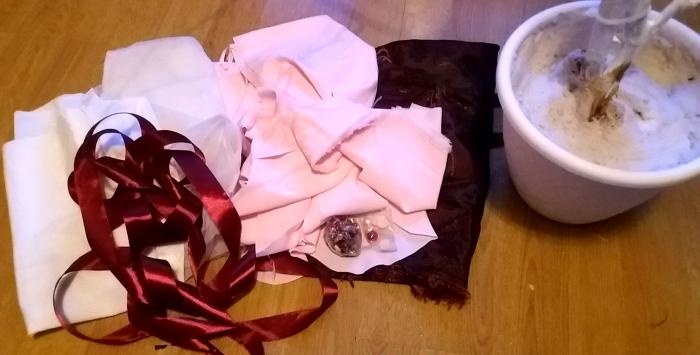
The easiest way is to cover the unevenness of the alabaster with artificial moss/plants or fabric. Our version uses a rectangular piece of chiffon fabric. We bait it with thread into folds and wrap it around the trunk.
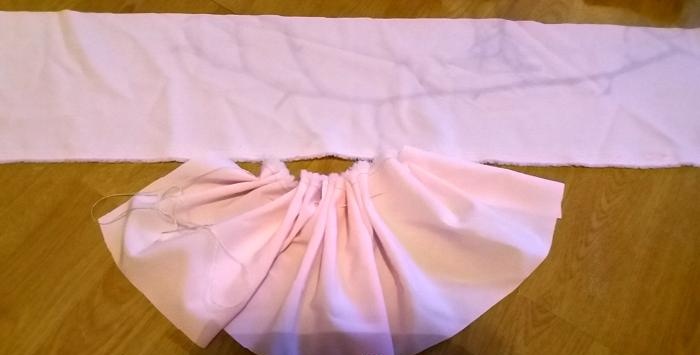
Advice! Secure the baited folds at the base with a clamp or thread so that they do not come out.
We glue the remaining edge of the fabric with hot glue along the inner contour of the pot, tucking the cut area inward, and laying out the folds evenly and beautifully.
We decorate the pot itself with a ribbon and a bow using a glue gun.
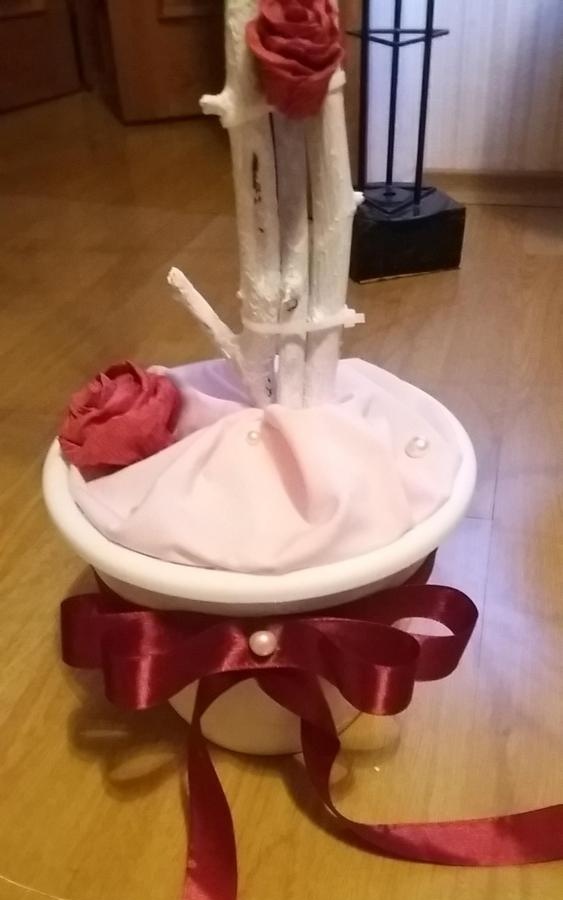
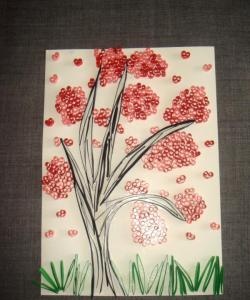
In addition, roses made of corrugated paper or ribbons can revive the branches until wishes appear on them. The creation of similar roses has been described dozens of times on the Internet, use any master class. It is convenient to attach roses using hot glue.
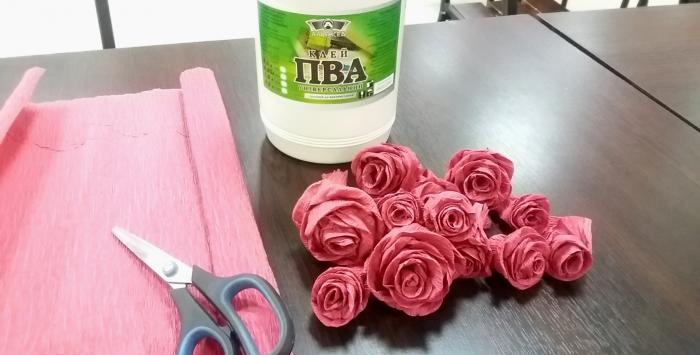
Advice! You should not make them too many or large; remember, they are just an addition to the main purpose of the tree.
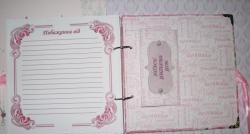
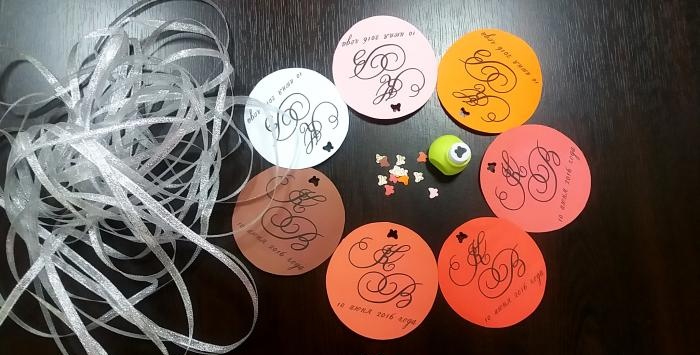
Tags for wishes
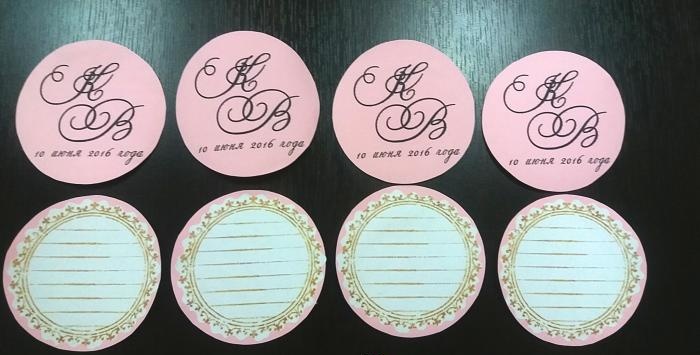
The card on which guests will write can be of any shape and size. To save paper, we suggest investing in dimensions of 10*10 cm. This will allow you to create 6 tags on one A4 sheet. The easiest way to do this is on a computer in programs such as Microsoft Word or Photoshop, depending on which one you are more comfortable with. Let's describe the capabilities for Microsoft Word.
Open a new document and go to the "Insert" tab.

Select the “Shapes” item and the appropriate model in the menu that appears. Draw the shape you like.

If you do not accurately specify the dimensions manually, you can correct them by right-clicking on the object in the “Auto Shape Format” menu.

In the “Size” tab, set the parameters 9 cm by 9 cm, and the figure will change automatically.

After that, add the text and all the inscriptions that you want to see on the front side. As a rule, the first letters of the first and last name, the date of the celebration, and other key points are located here. After that, copy the object several times.

Place 6 identical cells on a sheet and print on colored half-cardboard. Set the number of A4 copies in accordance with the desired number of cards. Then we cut along the line.
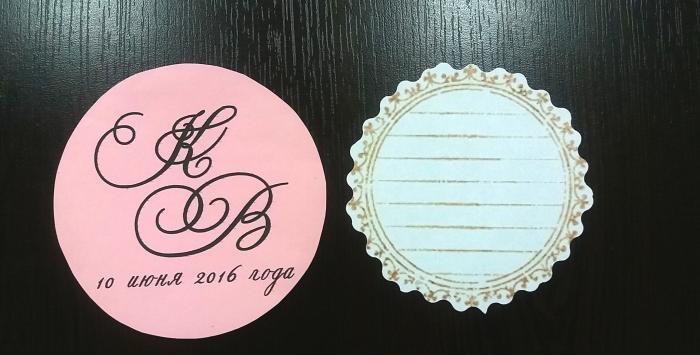
It’s difficult to adjust the layout of the back so that when you turn the sheet over, it prints evenly, but we don’t need that. The reverse side, on which guests will take notes, can generally be left as is. Or download their template online and print 6 units on plain paper and cut it out again. Set the number of A4 copies in accordance with the desired number of cards. Next, we glue both parts together using PVA and place them under a press, having previously lined them with newspapers so that moisture is absorbed.
We wait for it to dry completely, take it out from under pressure and make holes in the upper part of each tag with a hole punch. If you don’t have a curly one, then a regular one for binders will do, only instead of two holes you put the tag under one.
We arm ourselves with 0.5 tape. We divide it into the required number of segments, based on calculations of 15 cm per 1 tag. After this, we singe the edges of the tape on both sides.
Advice! If the amount of work is large, it will be convenient to use a candle instead of a lighter.
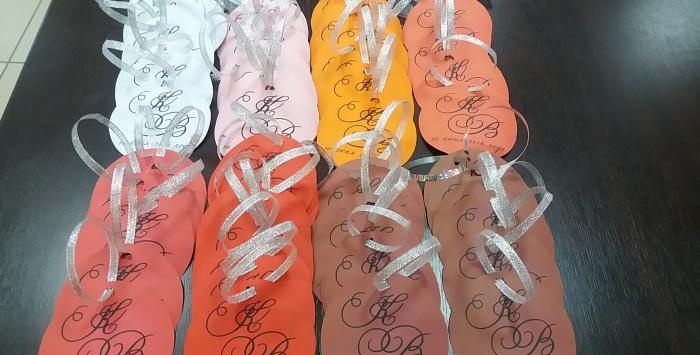
We pull the piece through the hole in the tag and fasten it with a glue gun. The card is ready!
Handles and stand
To complete the picture, you can also decorate the pens with which guests will write.
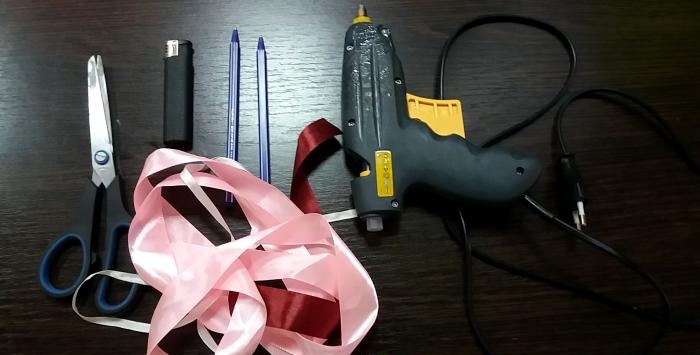
Just wrap them with the remaining tape or fabric, securing them with silicone glue in stages.

You can place a large number of tags in a beautiful box. Make it from ribbons and corrugated paper.
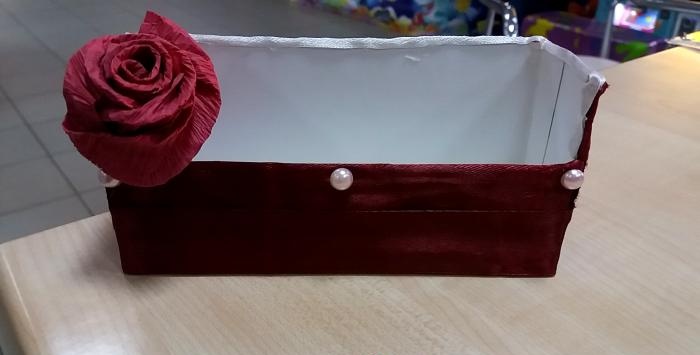
Advice! Think in advance about transporting such a large object, and if time and opportunity permit, then install it initially in the celebration room. In our case, transportation was carried out in the trunk of a station wagon.
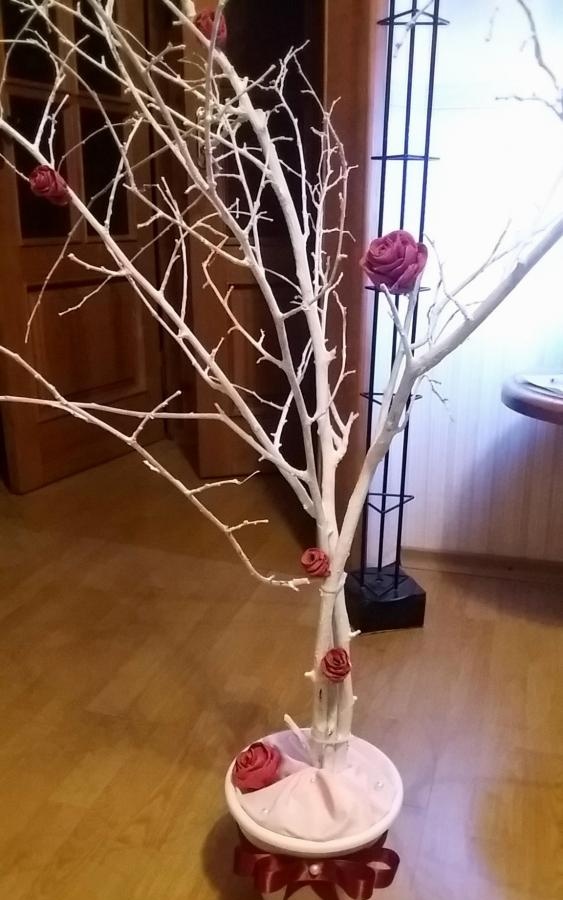
It is best to place the tree on a table, in a visible place. Be sure to inform guests of its availability and offer to fill out the tag. And soon your home will be decorated with a beautiful hand-made art object.
We wish you a happy holiday and best wishes.