Do it yourself
Life hacks, master classes, useful tips, recipes.
home » Handicraft techniques » Scrapbooking » Scrapbooking album » Album with a mouse Mini Mouse for a little girl
Any mother dreams that from the very birth her little daughter had everything, all the best. Clothes, toys, decorations, room decoration, everything down to the smallest detail must be carefully thought out so that the eye is delighted. My daughter is growing up and I want to record and photograph every moment. Just for such moments, there is a special album called “Baby Book”, in which you can keep absolutely all the records about the baby’s development and paste in various interesting photos. To make this album to your liking, and with the design you want, you can make it yourself. Any mother will be interested in this, and it will be a gift for her beloved daughter.

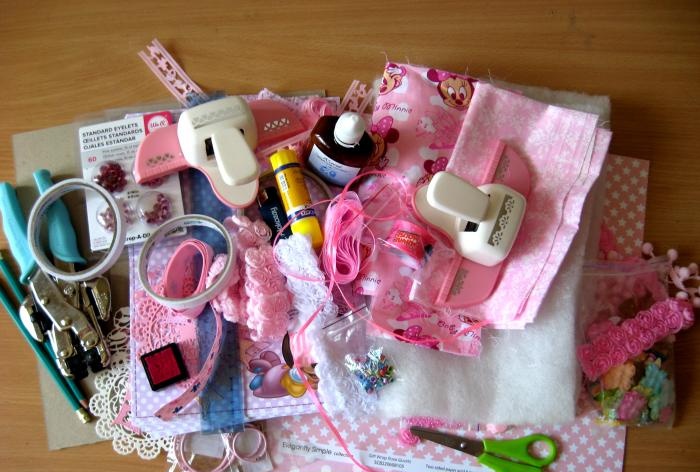
To make an album with Mini Mouse we need:
• Thick cardboard 21*30 cm, two sheets;
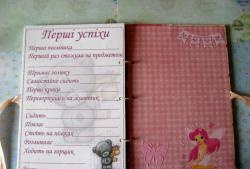
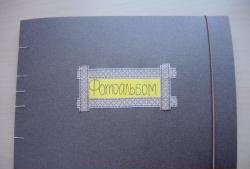
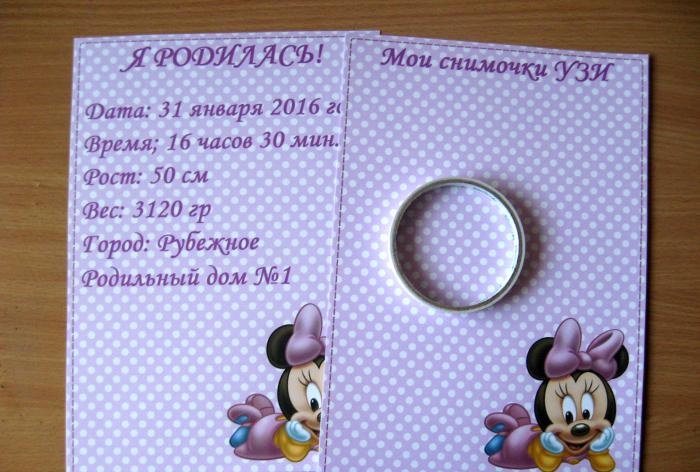
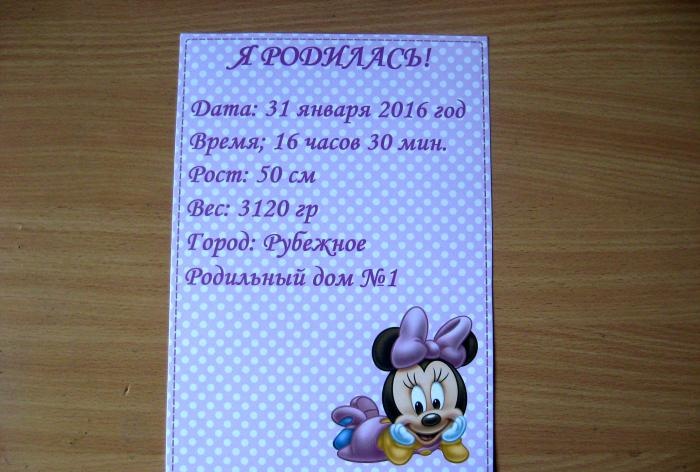
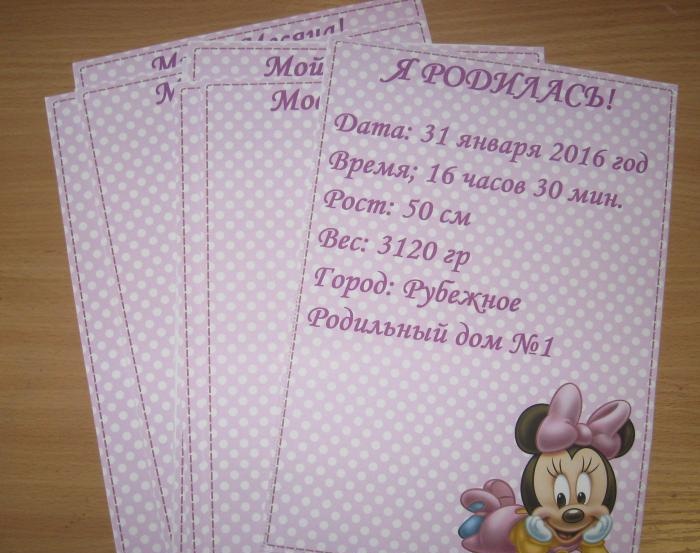
• Sheets printed and made in Photoshop with a Mini Mouse mouse;
• Pink floral fabric and pink with a mouse;
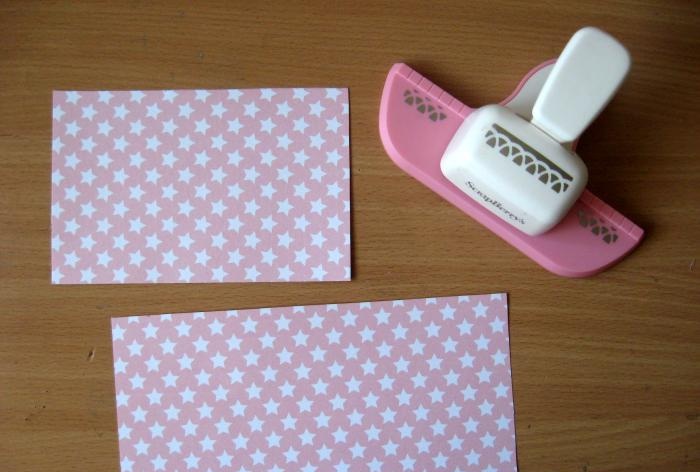
• Scrapbooking paper size 30*30 cm in pink colors with white stars and polka dots;
• Two die-cut napkins, white and pink;
• Pictures with a Mini mouse;
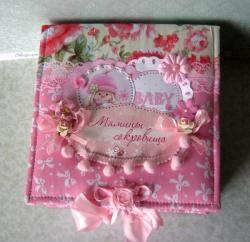
• Personalized card “Beloved daughter Veronica”;
• Roses on a ribbon are pink and white;
• Light pink pompoms on a ribbon;
• Pink pearl half beads;
• Pink metal rings;
• Light pink eyelets and installer;
• Pink and white striped ribbon 25 mm wide;
• Hydrangea paper white and pink;
• Small pink buttons;
• Knitted pink flowers;
• Wooden inscription “Baby” in pink;
• Pink toning pad;
• Curb punchers;
• Adhesive materials: double-sided tape, glue stick, adhesive with adhesive effect from Evgenia Kurdibanovskaya;
• Pink double cotton lace;
• Scissors, pencil, ruler, lighter.

Album for a little girl

Album for a little girl

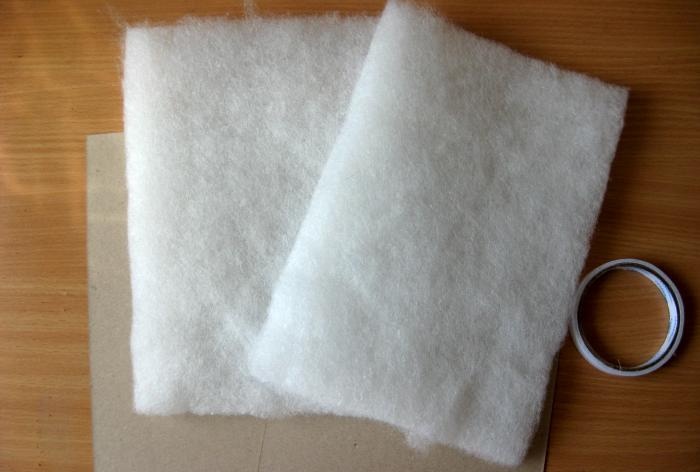
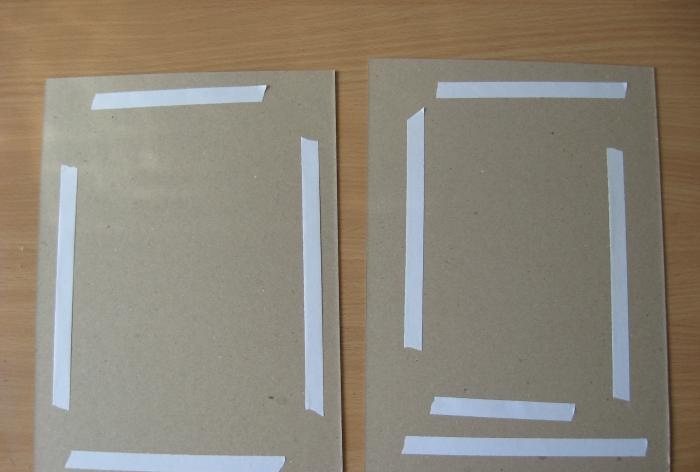
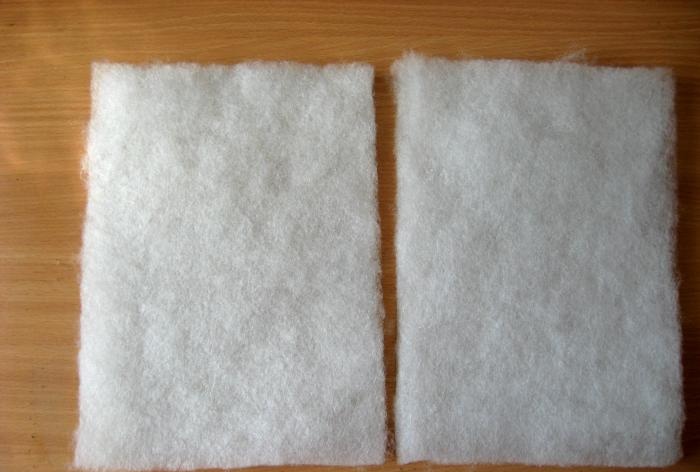
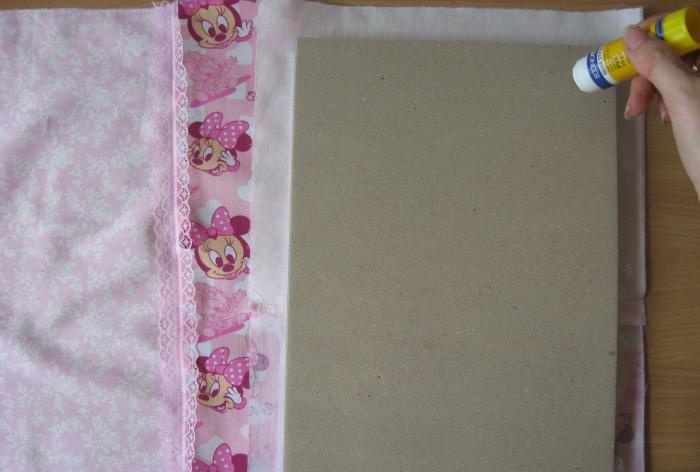
Our album will be quite roomy and large; it will be in album format. We cover the binding sheets of cardboard with strips of double-sided tape. Glue the padding polyester onto both sides of the cover.
Album for a little girl

Album for a little girl

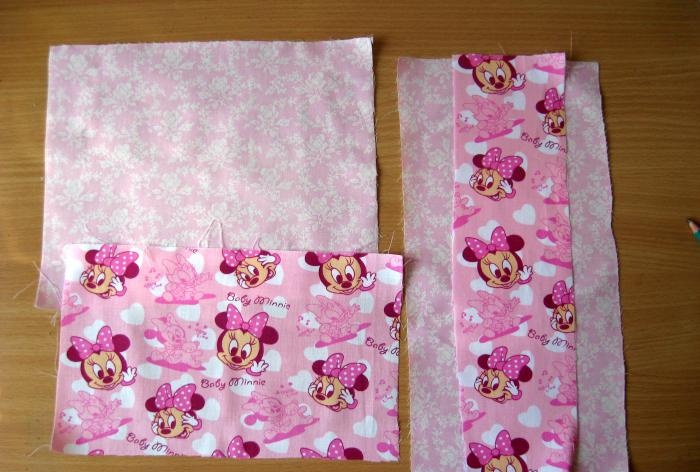
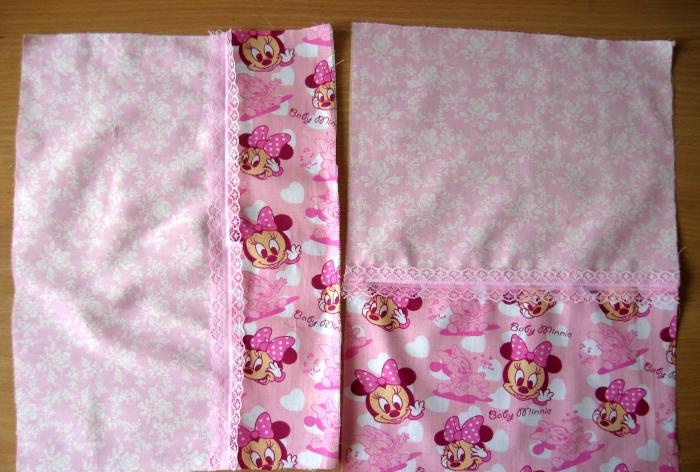
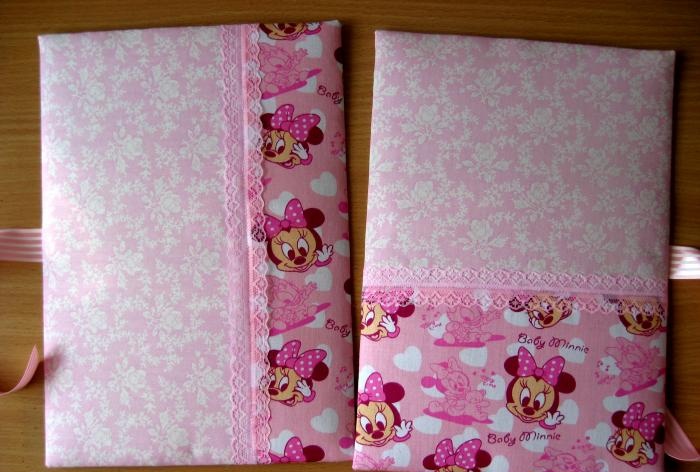
Now we need to combine and cut the fabric. One side will be framed vertically, and the other horizontally, so we cut off the fabric and also cut two strips of lace.
Album for a little girl

Album for a little girl

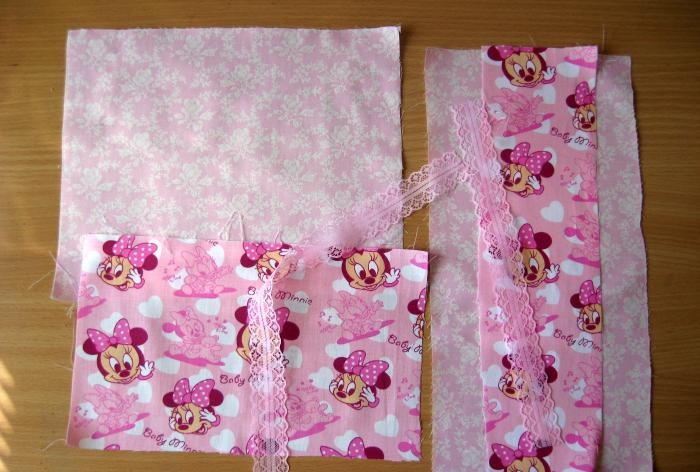
We iron, sew and sew lace onto the joints.
Album for a little girl

Album for a little girl

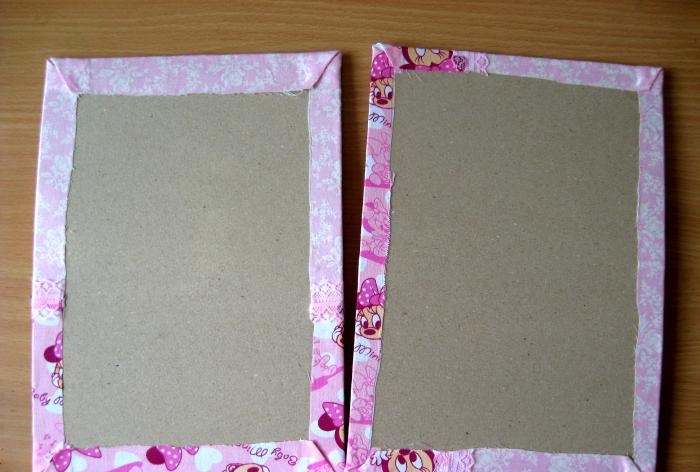
Now we cover both sides of the cover with fabric.
Album for a little girl

Album for a little girl

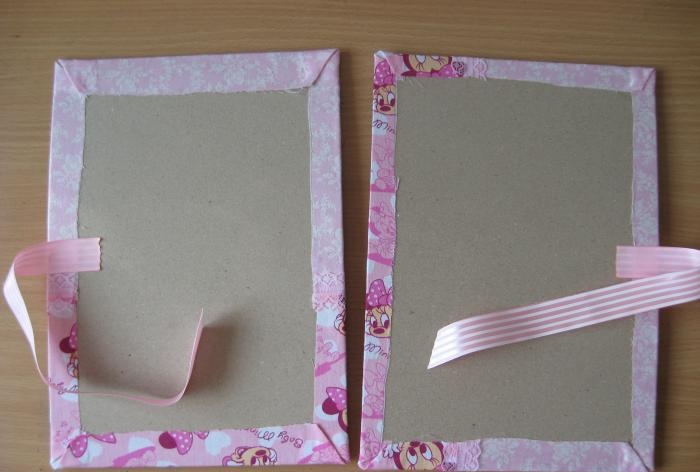
Glue strips of striped tape inside the center of the cover.
Album for a little girl

Album for a little girl

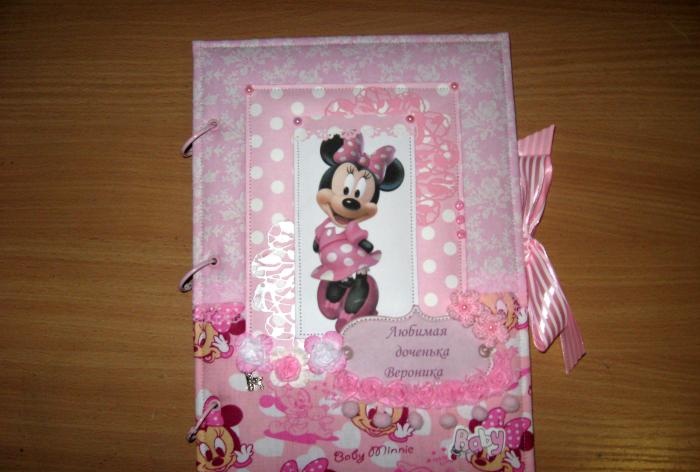
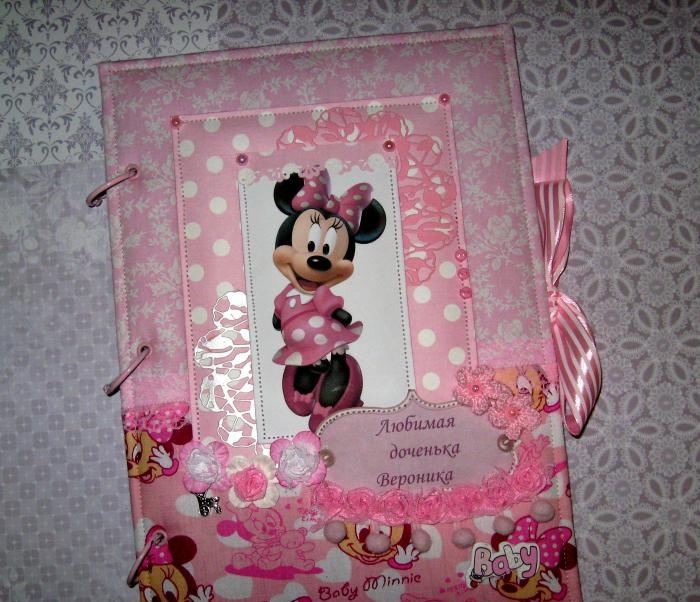
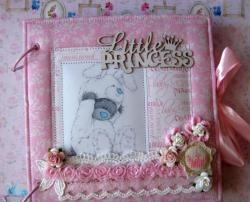
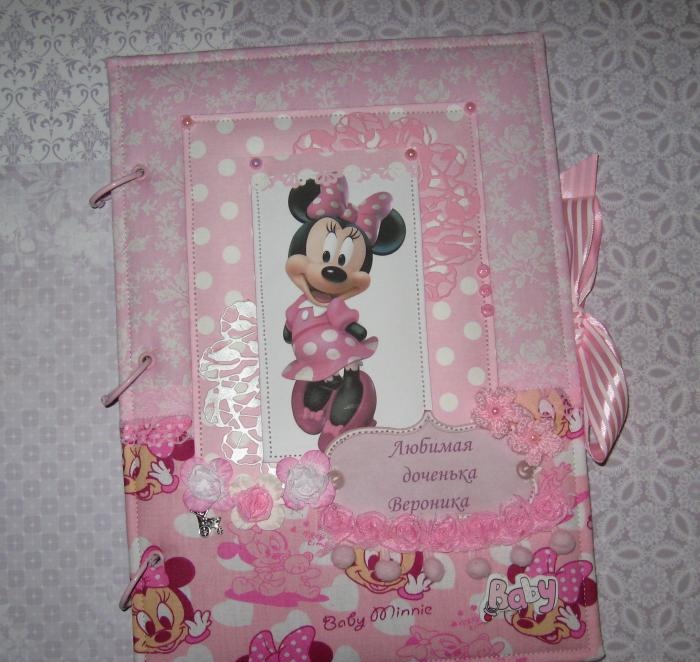
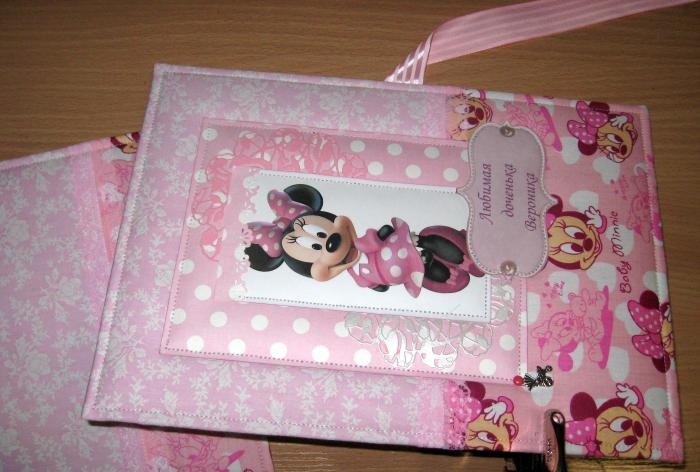
Now let's try out the design for the front cover.
Album for a little girl

Album for a little girl

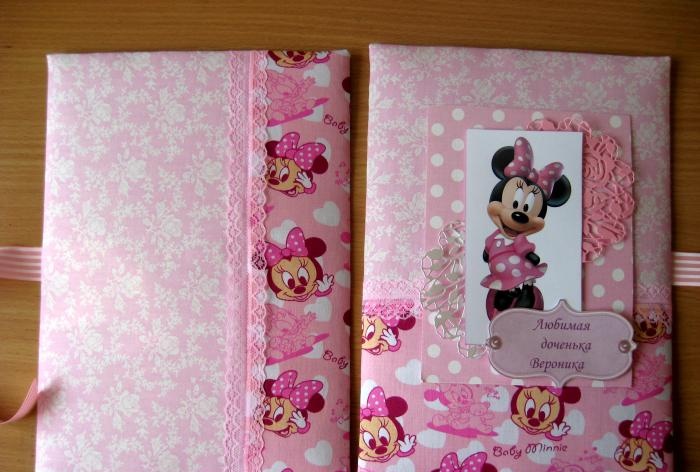
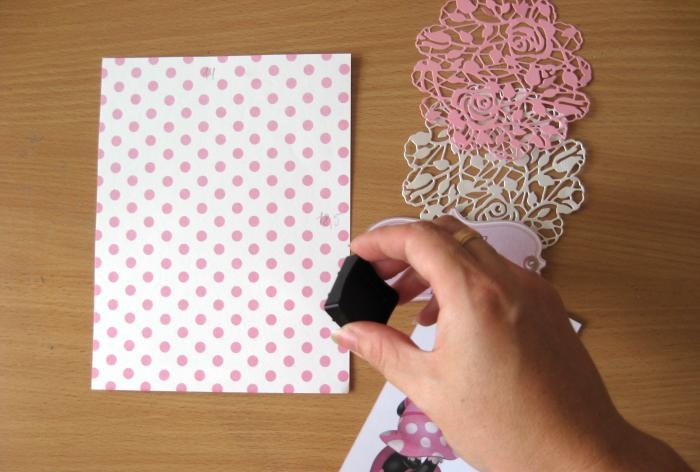
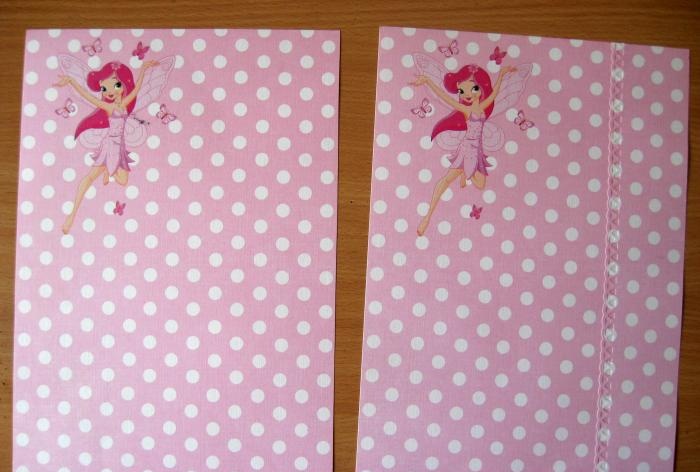
A rectangle measuring 14*18.5 cm, we tint the edges and also tint the picture or card. We glue the rectangle, sew it, glue both napkins onto it, glue a picture of a mouse and a card on top, and also sew them on.
Album for a little girl

Album for a little girl

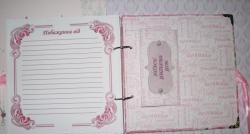
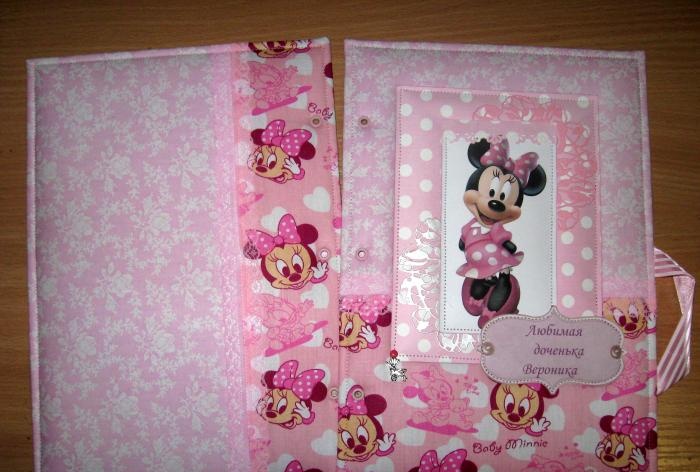
Inside both parts of the cover you need to make internal endpapers. We glue one together from two parts. Endpapers size 20.5*29.2 cm.
Album for a little girl

Album for a little girl

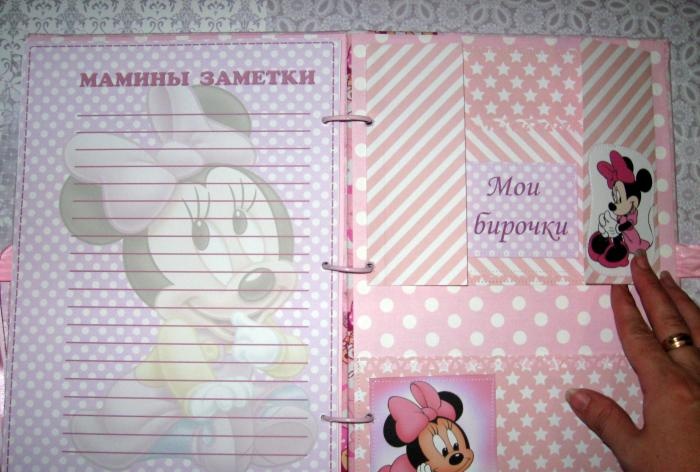
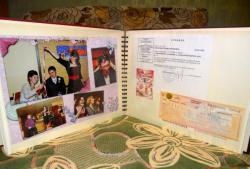
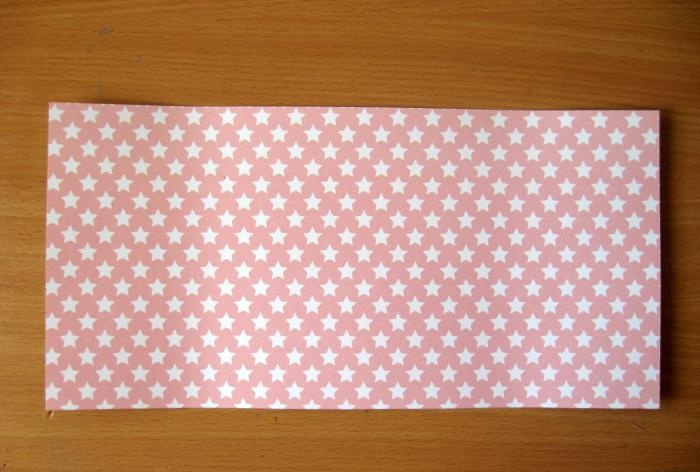
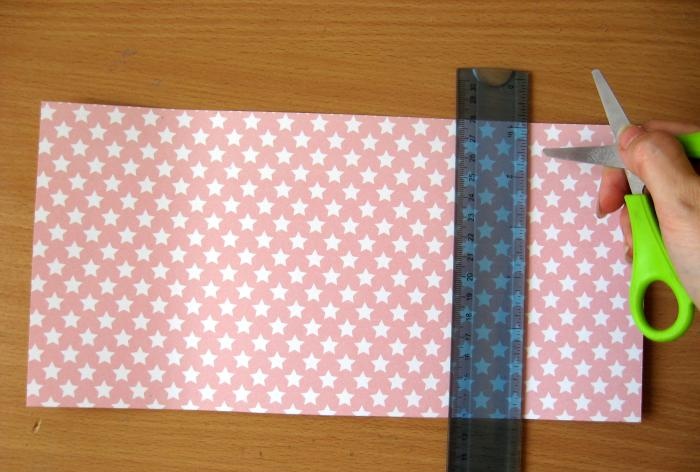
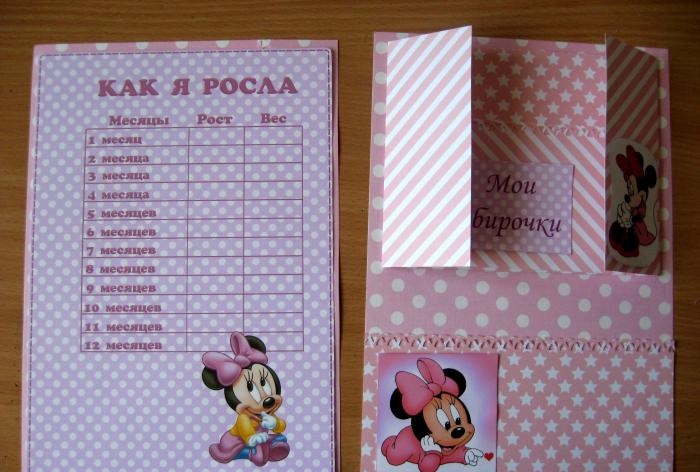
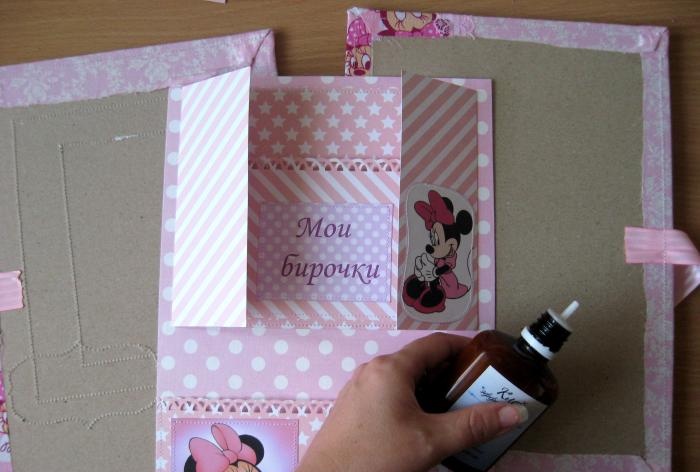
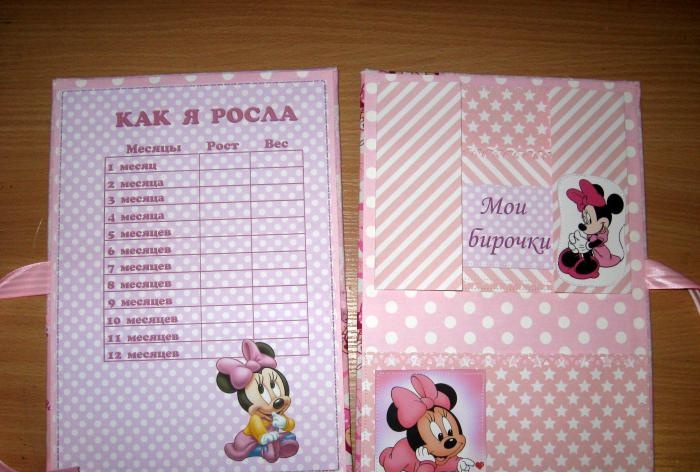
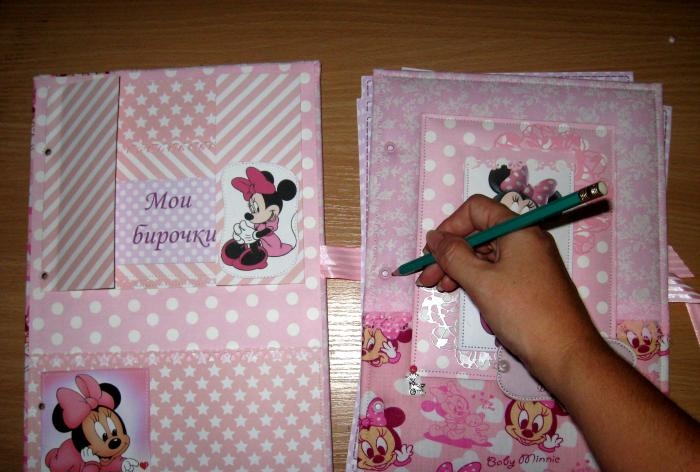
At the back of the album we will make a pocket in which we will put tags from the pen and the maternity hospital.We cut a scrap rectangle of 15*30 cm. We retreat 6 cm from both edges, draw two bend lines under the ruler.
Album for a little girl

Album for a little girl

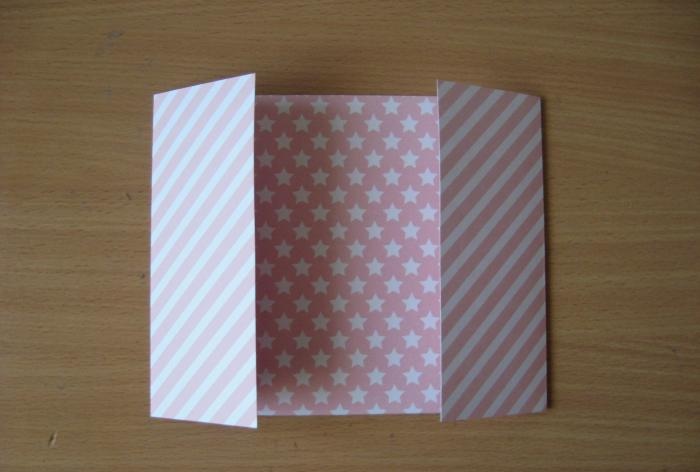
We fold the workpiece. Cut a small rectangle inward. We also cut a rectangle 9.5*20.5 cm. We punch holes on top of both of these rectangles.
Album for a little girl

Album for a little girl

Inside we glue the “my tags” card, sew it on and glue it into the tear-off blank. We glue our blanks onto both endpapers like this, and sew everything on the machine.
Album for a little girl

Album for a little girl

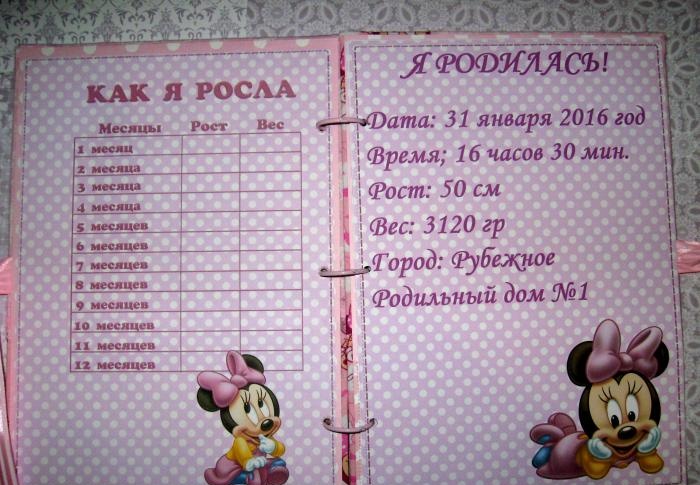
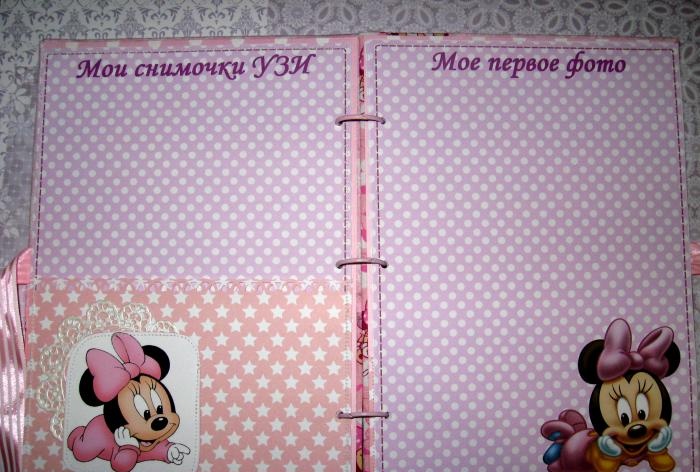
We paste the prepared endpapers inside the covers. We put both covers under something heavy. Now we prepare the sheets.
Album for a little girl

Album for a little girl

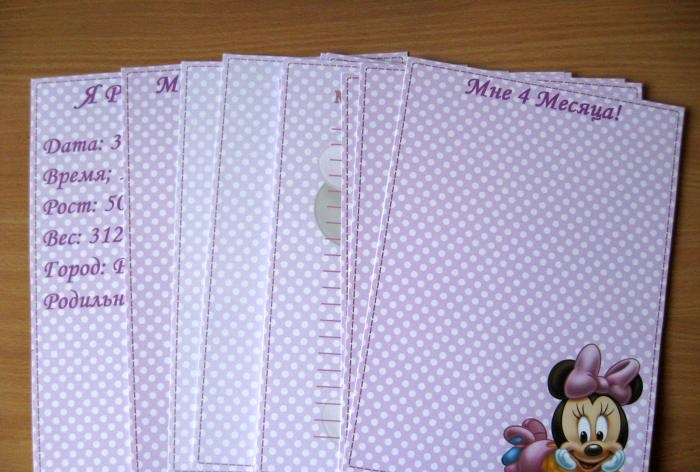
Glue them together in pairs in the required sequence.
Album for a little girl

Album for a little girl

Sew all the leaves together. Now we need to make three holes in the cover and insert eyelets.
Album for a little girl

Album for a little girl

We insert three eyelets into both parts of the cover.
Album for a little girl

Album for a little girl

Now we make three holes in all sheets. Now we assemble the album into rings.
Album for a little girl

Album for a little girl

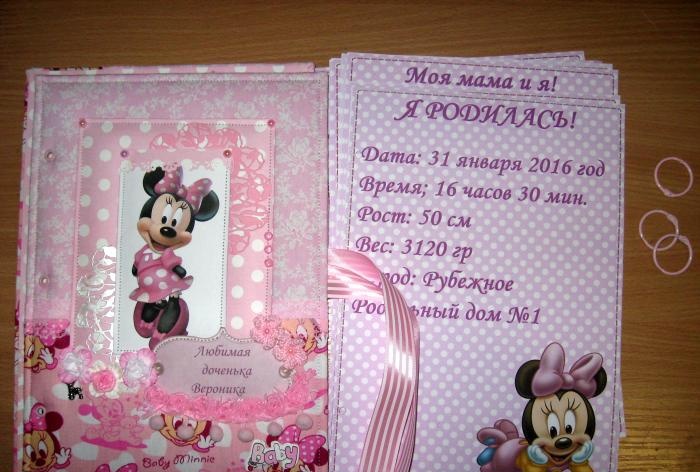
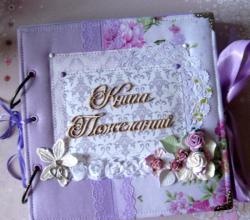
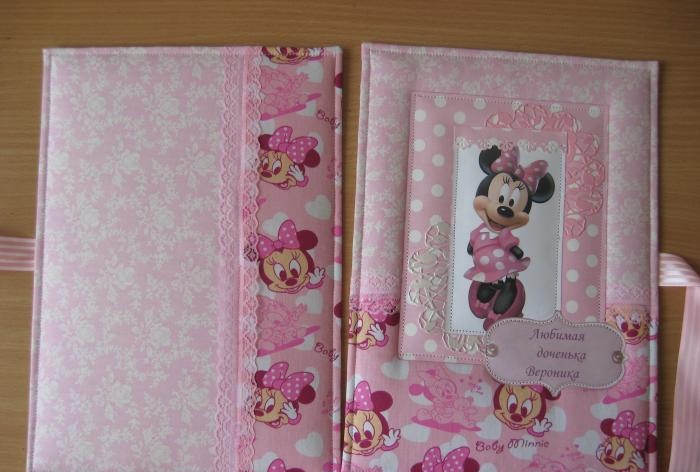
Glue some decorations on the cover and you're done. The result was both delicate and at the same time richly pink children's album. Thank you for your attention and see you soon!
Album for a little girl

Album for a little girl

Album for a little girl

Album for a little girl

Album for a little girl
come back
Comment
  • bowtiesmilelaughingblushsmileyrelaxed relaxedsmirk
    heart_eyeskissing_heartkissing_closed_eyesflushedrelievedsatisfiedgrin
    winkstuck_out_tongue_winking_eyestuck_out_tongue_closed_eyesgrinningkissingstuck_out_tonguesleeping
    worriedfrowninganguishedopen_mouthgrimacingconfusedhushed
    expressionlessunamusedsweat_smilesweatdisappointed_relievedwearypassive
    disappointedconfoundedfearfulcold_sweatperseverecrysob
    joyastonishedscreamtired_faceangryragetriumph
    sleepyyummasksunglassesdizzy_faceimpsmiling_imp
    neutral_faceno_mouthinnocent
5+two=
Comments (0)

Do-it-yourself simple decorative brick plaster

Life hack: washing with laundry liquid soap is an excellent alternative to washing powders

How to make window or door slopes with your own hands from leftover laminate flooring

How to make a device for twisting a strip into a spiral without heating with your own hands

«Do it yourself - with your own hands» - a site of interesting homemade products made from scrap materials and items at home. Step-by-step master classes with photos and descriptions, technologies, life hacks - everything a real master or just a craftsman needs for needlework. Crafts of any complexity, a large selection of directions and ideas for creativity.

We recommend reading

Washing machine error codes