Do it yourself
Life hacks, master classes, useful tips, recipes.
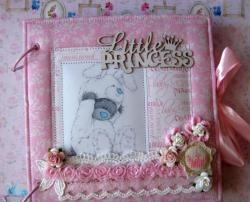
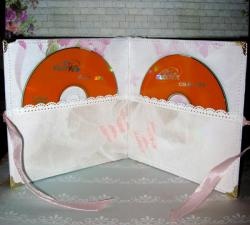
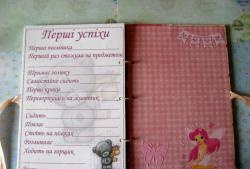
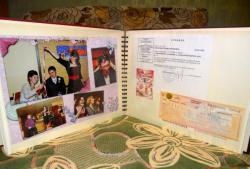
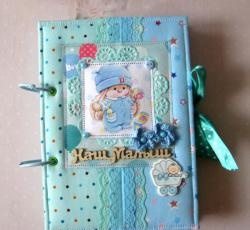
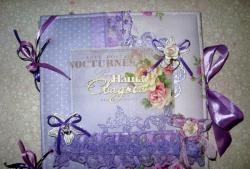
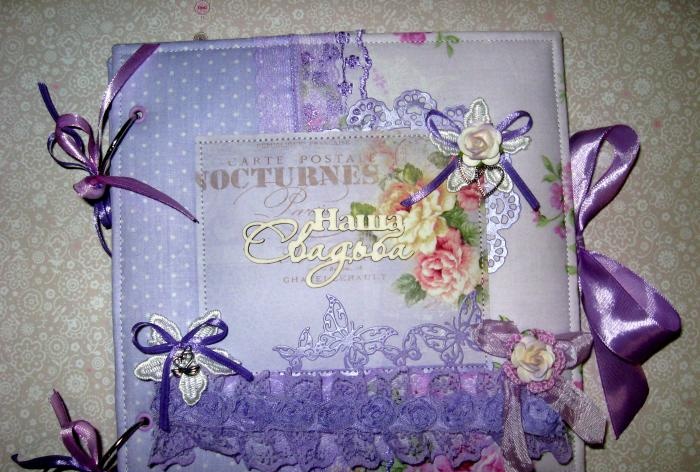
Wedding - this is the romantic and most long-awaited holiday in the life of every young couple, because a new family is born. Everyone tries to make this day simply fabulous, since most often it is the only day in life that you really want to remember for the rest of your life. And so that there are bright and positive moments of this day, the newlyweds always order video and photography so that everything remains in memorable frames. It goes without saying that any photos should be stored in a special wedding album, which you can take out and look through at any time, remembering everything that happened on this wonderful day. Since now they are considered very relevant and valuable present handmade, it will be very useful to give the newlyweds this very album, which will be made with soul and love. We will now look at a master class on making a wedding album with your own hands.
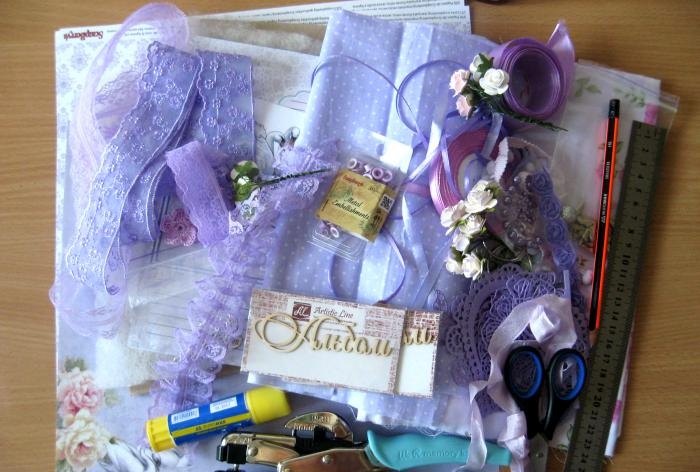
To make it we take:
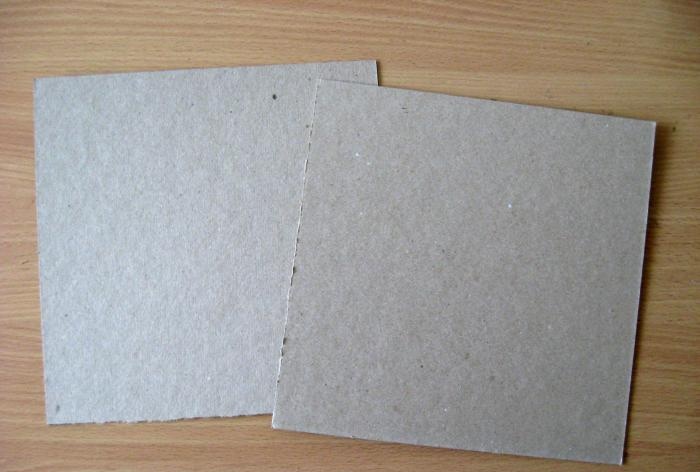
  • Binding cardboard 1.5 mm thick 21*21 cm two sheets;
  • Metal rings;
  • Printable pages with elements and wedding messages;
  • Sintepon;
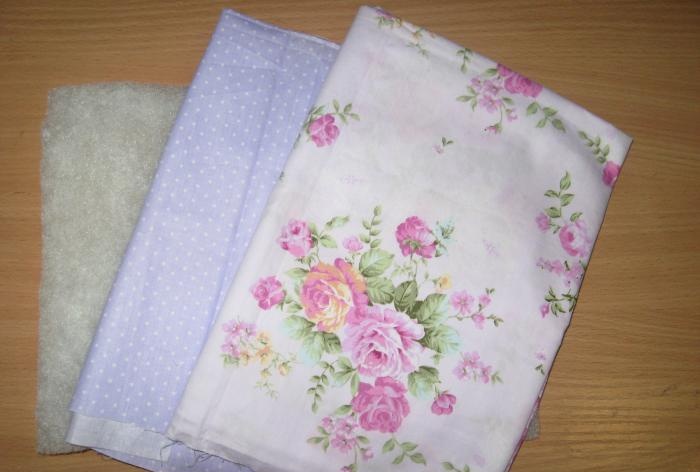
  • The fabric is lilac in two shades, we take good Korean cotton;
  • Chipboard “Album” or “Our Wedding”;
  • Wide lilac embroidered and double cotton lace;
  • Scrappaper in lilac tone three sheets 30*30 cm;
  • Eyelets are lilac;
  • Paper roses in white and white-lilac colors;
  • Eyelet installer;
  • Lilac satin ribbon 25 mm wide;
  • Semi-pearl lilac;
  • Metal swans and hearts pendants;
  • Metal brads;
  • Cutting from mother-of-pearl lilac cardboard: hearts, butterflies, flowers, glasses;
  • Scissors, ruler, glue stick, pencil, lighter, Focus glue, double-sided tape.
Wedding album master class

Wedding album master class

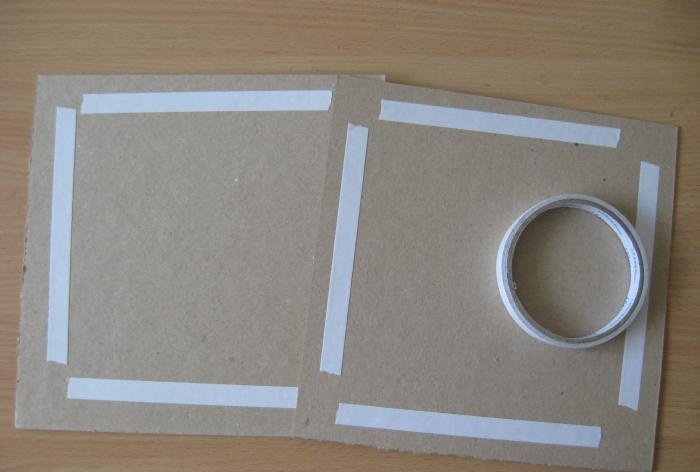
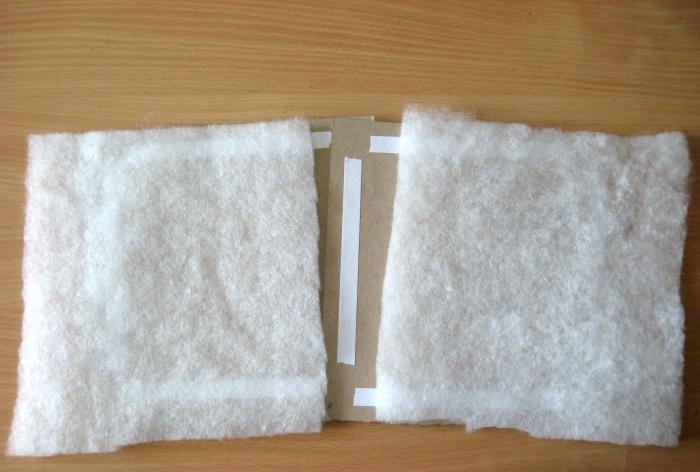
We take square blanks from bookbinding cardboard and glue strips of double-sided tape on them.
Wedding album master class

Wedding album master class

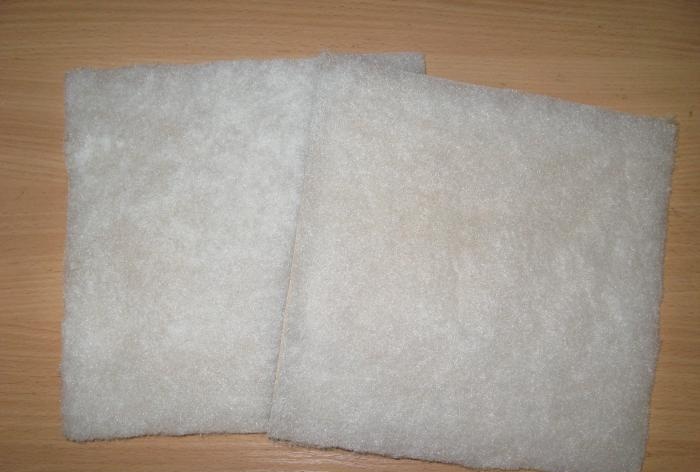
Now we cut and glue the padding polyester.
Wedding album master class

Wedding album master class

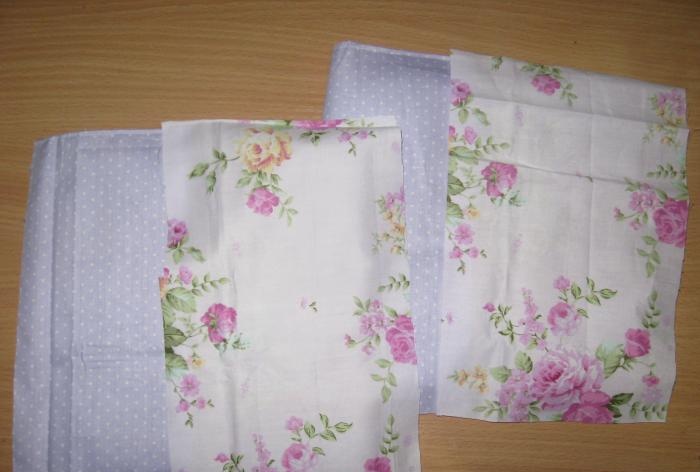
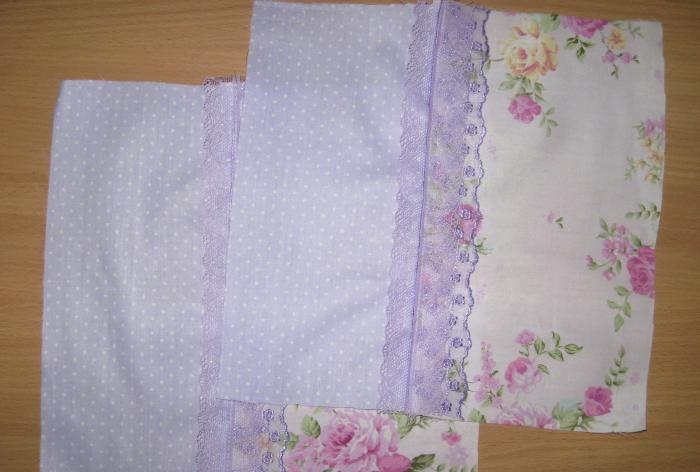
We will combine the fabric, so we cut slightly smaller sections for small polka dots, two sections, and with a floral print we cut a little more than two sections. Don’t forget to make allowance for sewing fabrics and tucking them around.
Wedding album master class

Wedding album master class

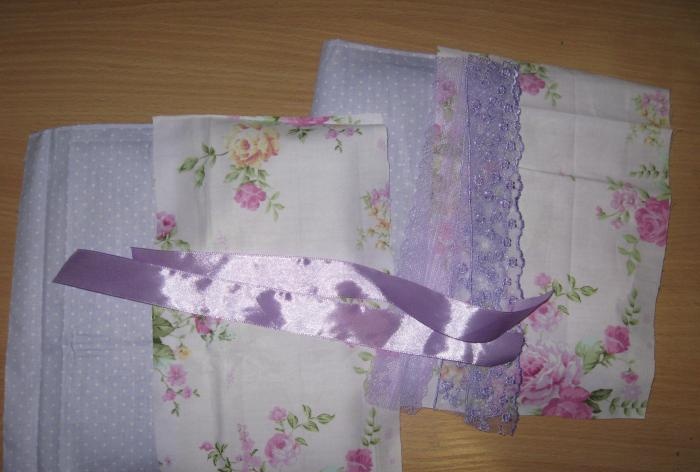
We also immediately cut two pieces of satin ribbon and two pieces of lace. Now we need to thoroughly iron all the pieces of fabric and the ribbon. We sew the pieces of fabric together in twos, and at the joints we sew first one lace and then the other.
Wedding album master class

Wedding album master class

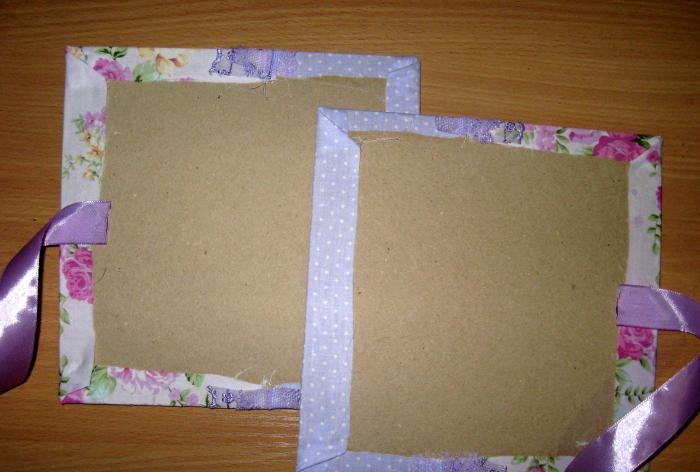
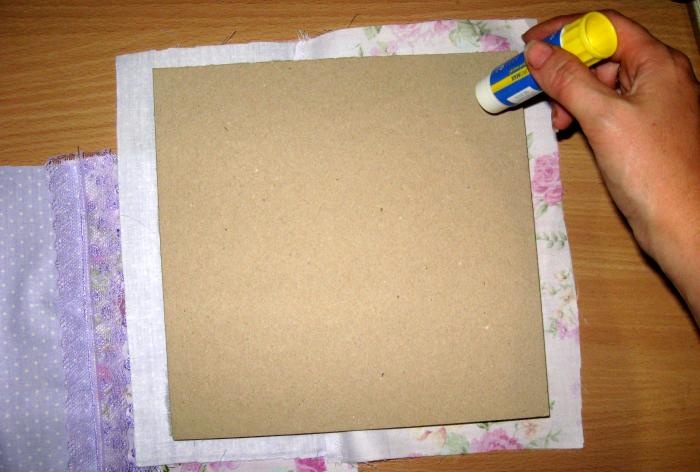
Now we need to cover our binding with fabric. First we spread the corners, wrap and glue, and then completely cover the edges. In the center we glue strips of tape from the inside with double-sided tape.
Wedding album master class

Wedding album master class

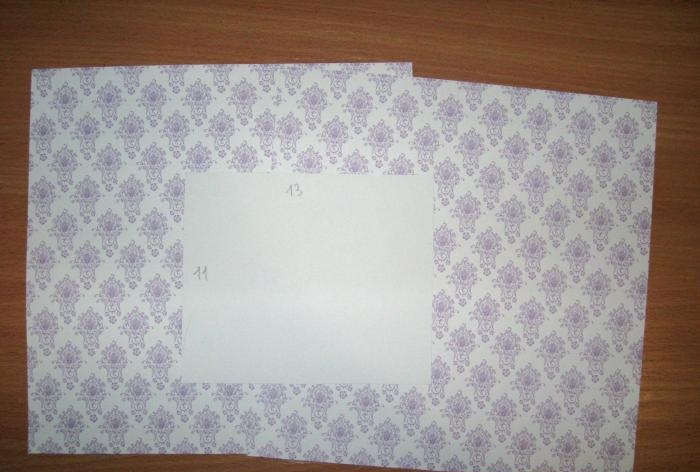
We have prepared the cover, all that remains is to stitch it around the edges. From scrap paper we cut out two squares for the endpapers 20.5 by 20.5 cm and a rectangle 11*13 cm.
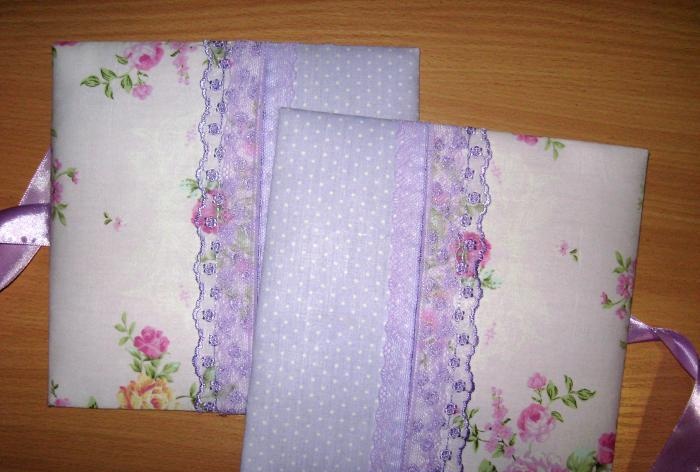
Wedding album master class

Wedding album master class

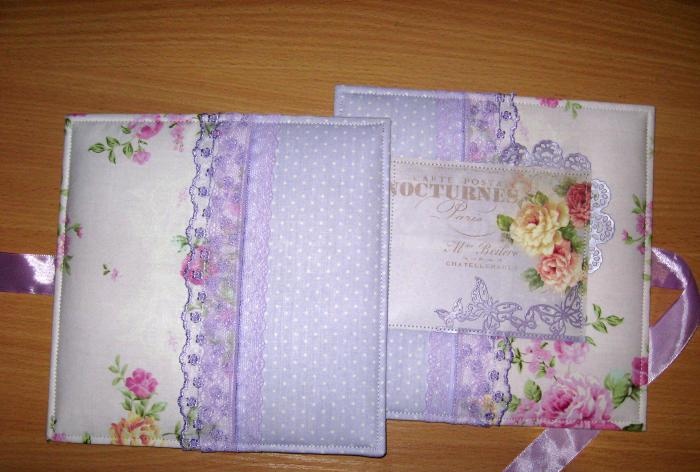
We try on the decorations on the cover and sew them on.
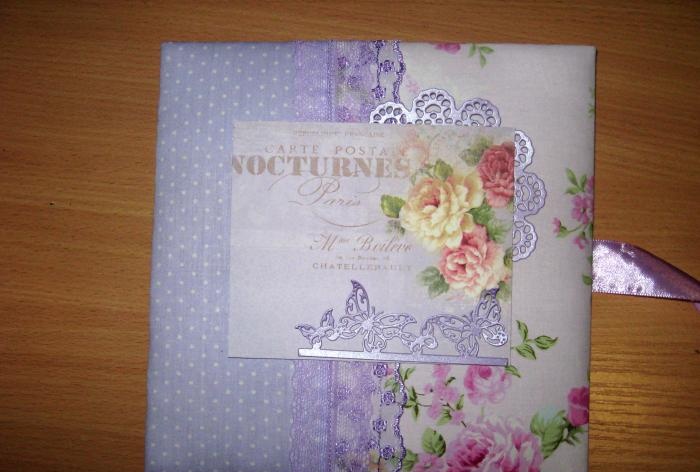
Wedding album master class

Wedding album master class

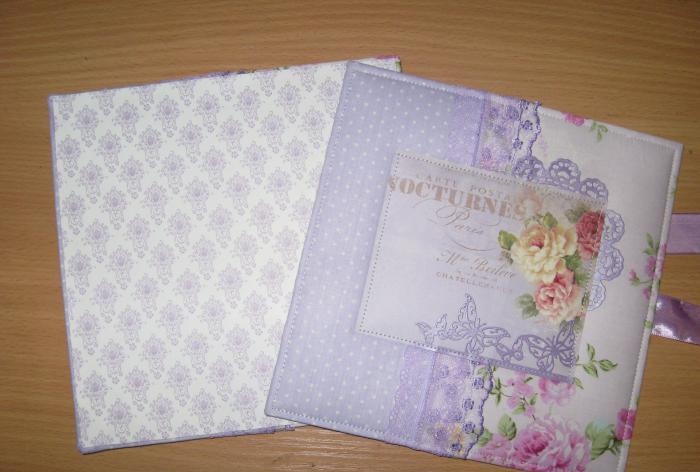
Now we glue the endpapers from scrap paper inside the covers.
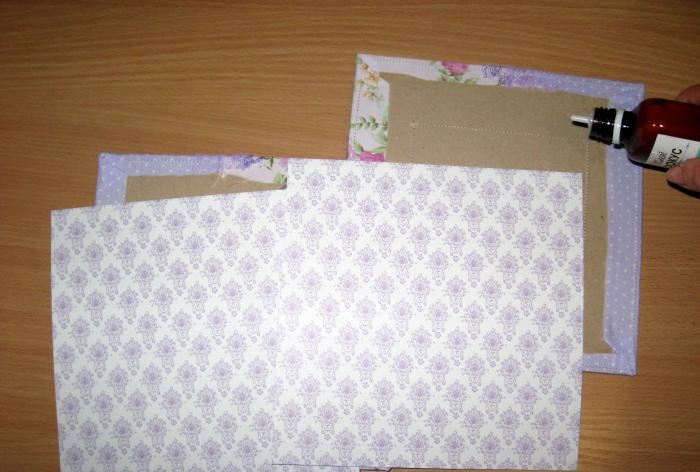
Wedding album master class

Wedding album master class

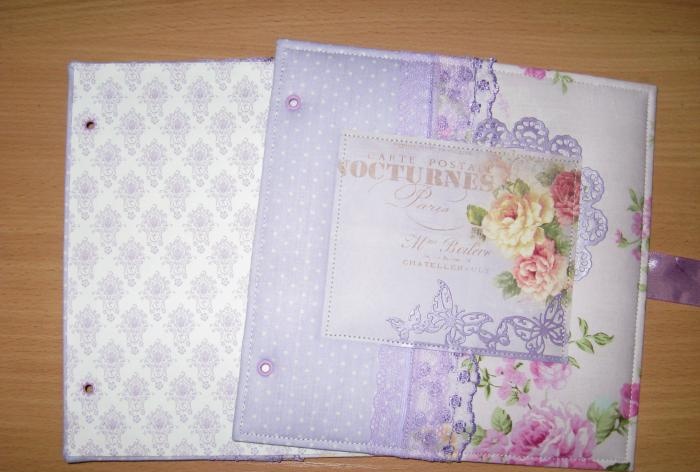
Now we place the eyelets on both sides of the cover at the same distance.
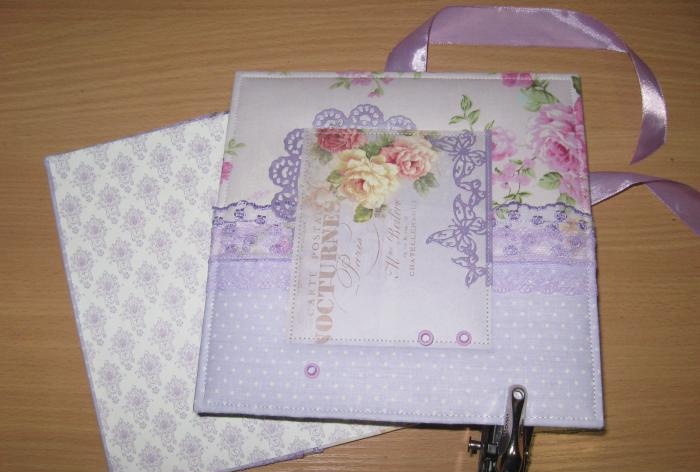
Wedding album master class

Wedding album master class

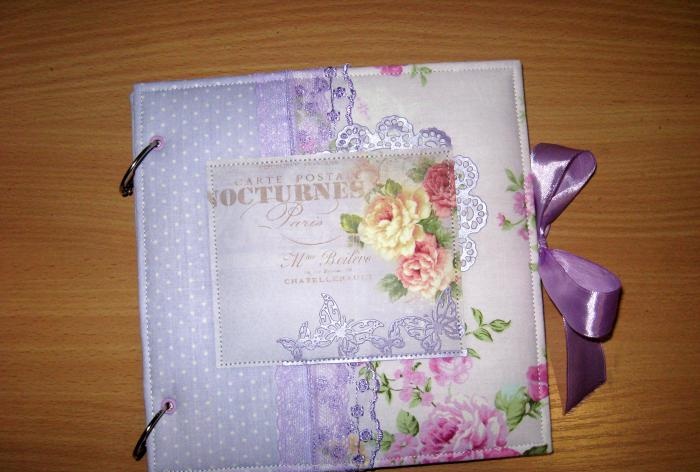
Now we need to perforate the pages of the album and assemble them into rings.
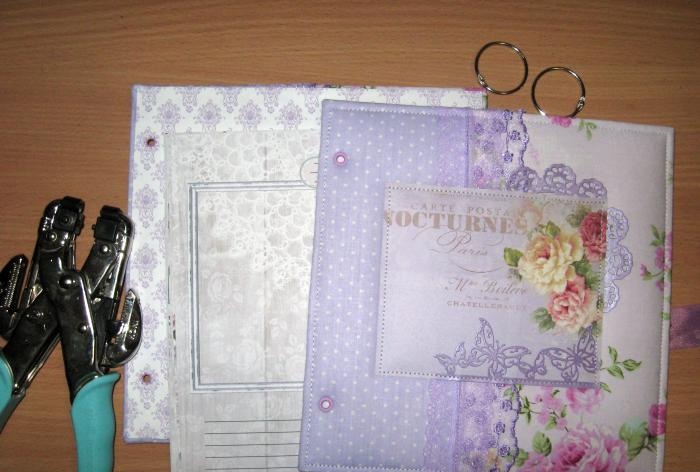
Wedding album master class

Wedding album master class

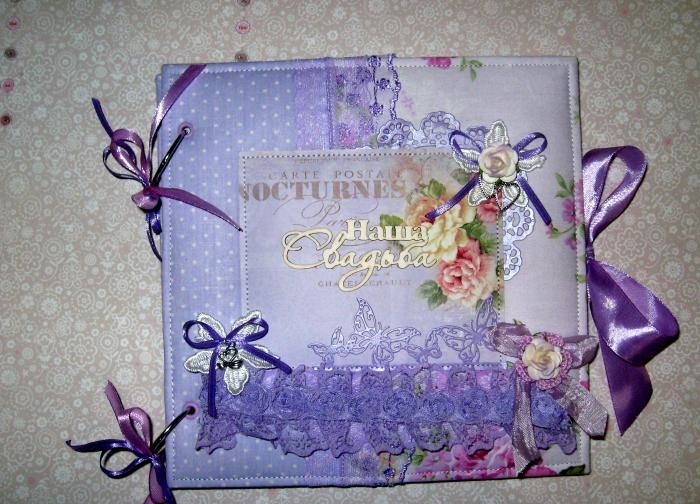
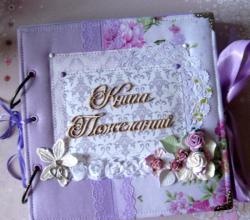
Now we glue the chipboard and decorate our cover. The album is ready, it came out tender and romantic. Thank you for your attention and bye!
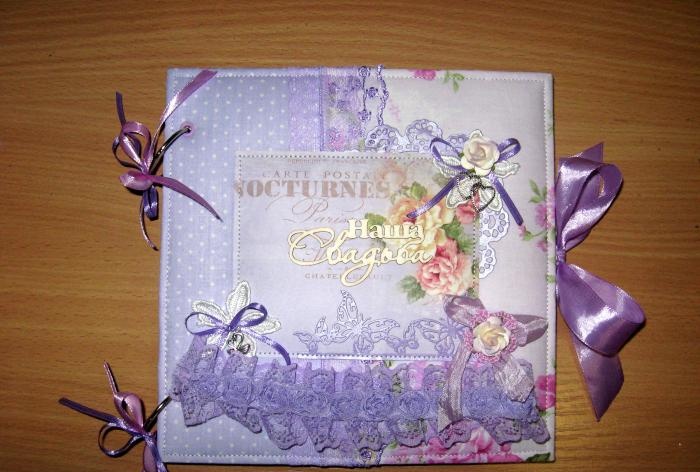
Wedding album master class

Wedding album master class
come back
Comment
  • bowtiesmilelaughingblushsmileyrelaxed relaxedsmirk
    heart_eyeskissing_heartkissing_closed_eyesflushedrelievedsatisfiedgrin
    winkstuck_out_tongue_winking_eyestuck_out_tongue_closed_eyesgrinningkissingstuck_out_tonguesleeping
    worriedfrowninganguishedopen_mouthgrimacingconfusedhushed
    expressionlessunamusedsweat_smilesweatdisappointed_relievedwearypassive
    disappointedconfoundedfearfulcold_sweatperseverecrysob
    joyastonishedscreamtired_faceangryragetriumph
    sleepyyummasksunglassesdizzy_faceimpsmiling_imp
    neutral_faceno_mouthinnocent
3+three=
Comments (1)
  1. Ksusha1214
    #1 Ksusha1214 Guests 28 August 2017 12:26
    0
    I gave this album to my sister for her wedding. She really liked it, making such an album is a real pleasure!

Handicraft techniques | Page 44 | Do it yourself

How to fry odorless herring, step-by-step recipe

DIY flower basket | Do it yourself

How to lay decorative brick. DIY master class

«Do it yourself - with your own hands» - a site of interesting homemade products made from scrap materials and items at home. Step-by-step master classes with photos and descriptions, technologies, life hacks - everything a real master or just a craftsman needs for needlework. Crafts of any complexity, a large selection of directions and ideas for creativity.

We recommend reading

Washing machine error codes