Do it yourself
Life hacks, master classes, useful tips, recipes.
home » Handicraft techniques » Scrapbooking » Scrapbooking album » Photo album with Teddy bear
Every mother wants to keep a photo of her baby from birth and record every moment of her smooth growing up, starting from the first day of life, then by months, years, and so on. I also want to photograph special moments as a keepsake, such as first steps, bathing, baptism, smile, achievements, etc. Therefore, for such important moments a special album is simply necessary. So this master class on making an album with your own hands will help us out with this.
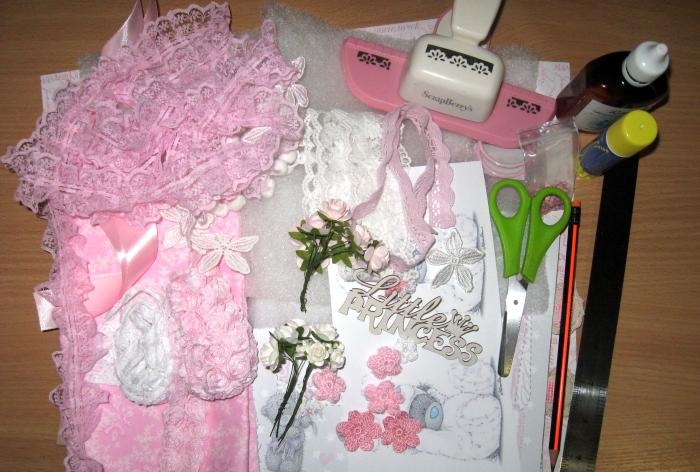
To make such an album we will need to take:
  • Binding cardboard 20 by 20 cm, two sheets;
  • Korean cotton fabric, pale pink with flowers;
  • Sheets for the album from the set with a Teddy bear, printed on a color printer (such a set can be bought from designers on the Internet and then printed), we take 60 pages measuring 19.5 by 19.5 cm from us, we then glue them in pairs and sew;
  • Picture with a teddy bear;
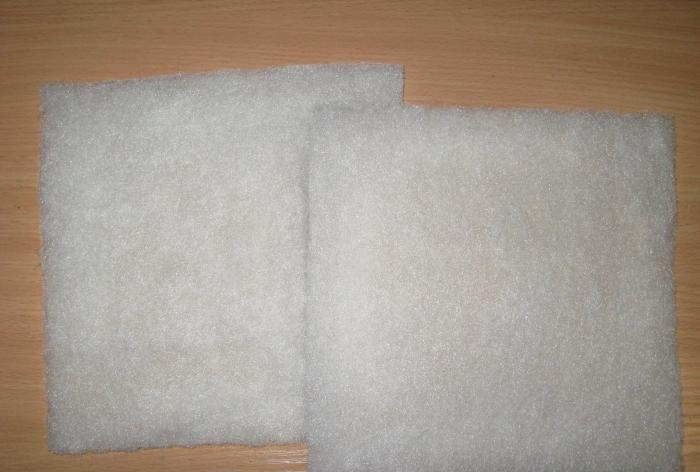
  • Sintepon;
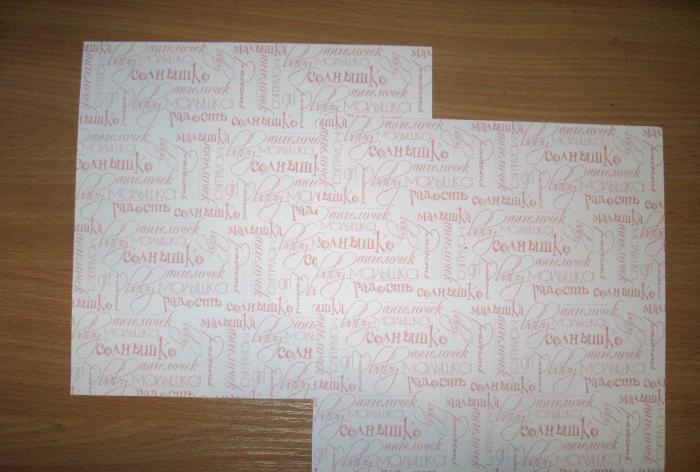
  • Pale pink scrap paper sheets 30 by 30 cm, take two sheets;
  • Chipboard “Little Princess”;
  • Wide white chiffon lace;
  • Cotton pink lace;
  • Chiffon soft pink roses on a ribbon;
  • Knitted chip with a pink crown;
  • Paper roses are white and soft pink;
  • Knitted pink flowers;
  • Pink metal rings with a diameter of 40 mm;
  • White embroidered flowers;
  • Light pink eyelets and eyelet installer;
  • Light pink satin ribbon 20 mm wide;
  • Ruler, scissors, glue stick, adhesive tape;
  • A simple pencil and lighter, double-sided tape.

Photo album with teddy bear

Photo album with teddy bear

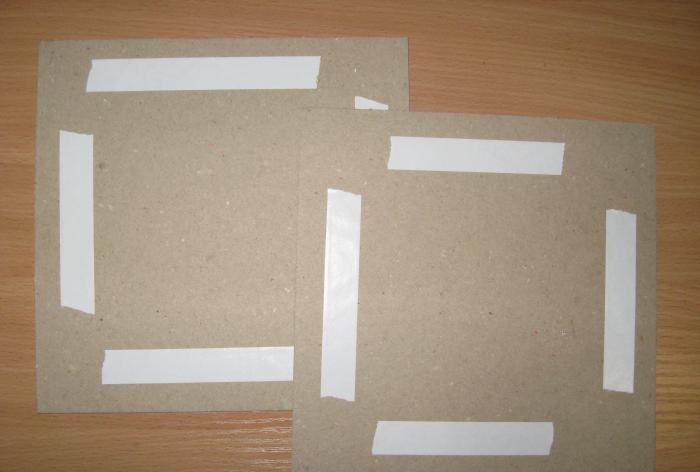
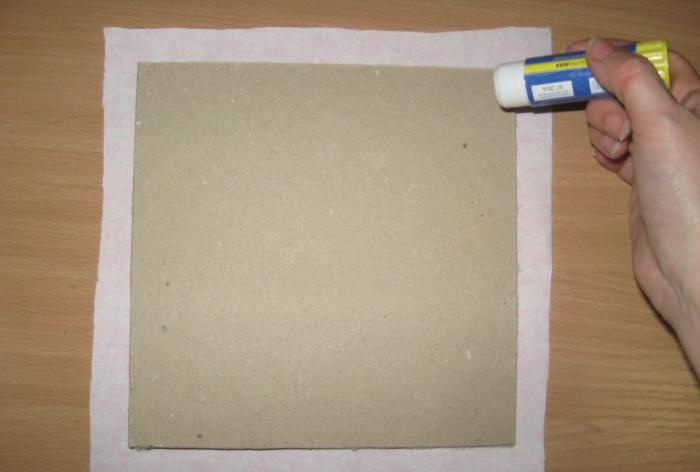
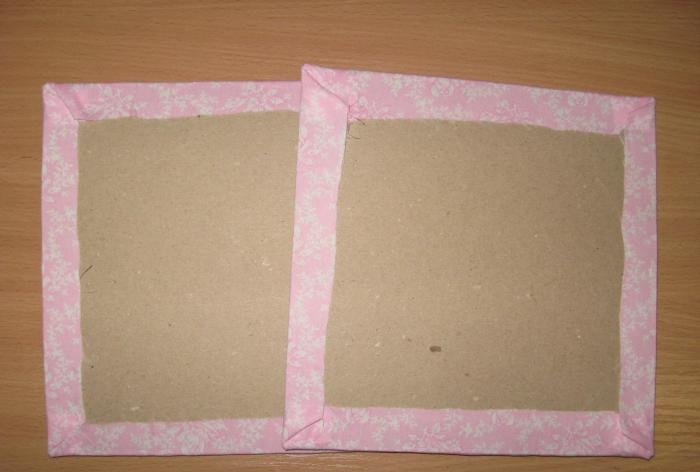
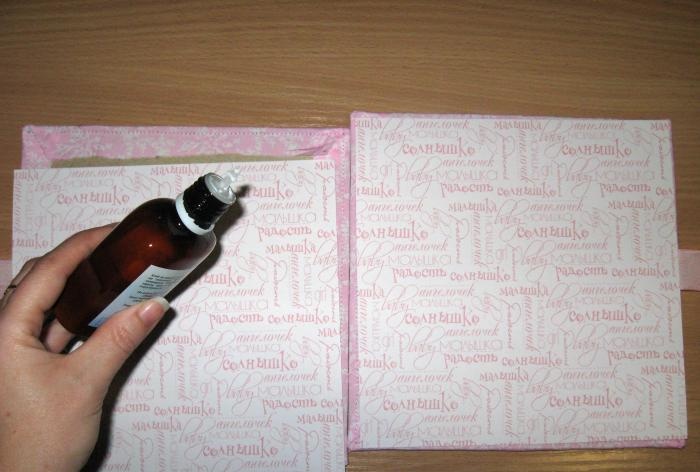
We take binding squares and glue strips of double-sided tape on them.
Photo album with teddy bear

Photo album with teddy bear

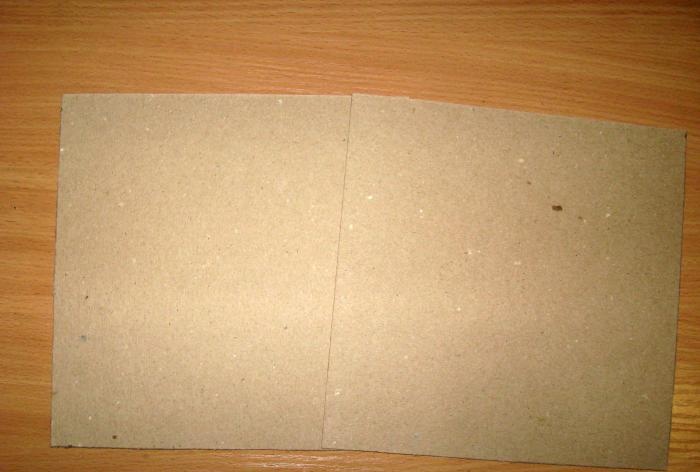
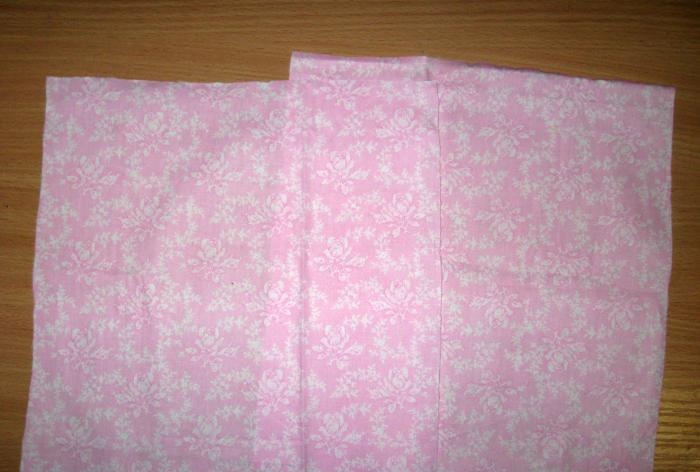
We glue the padding polyester, now take the fabric and cut two squares, just make a reserve, about 24 by 24 cm.
Photo album with teddy bear

Photo album with teddy bear

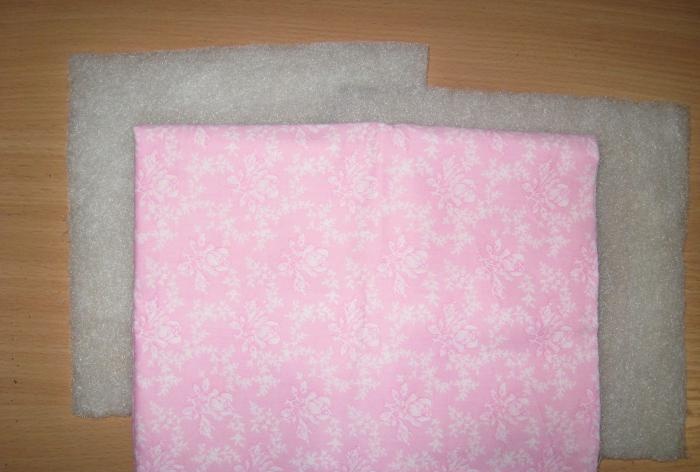
Iron the fabric thoroughly.
Photo album with teddy bear

Photo album with teddy bear

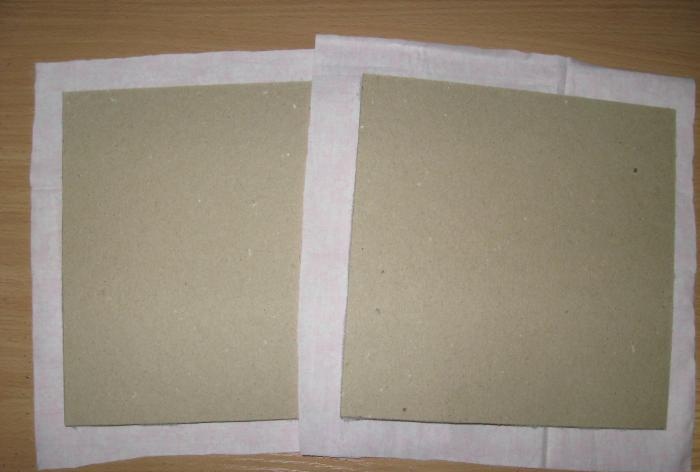
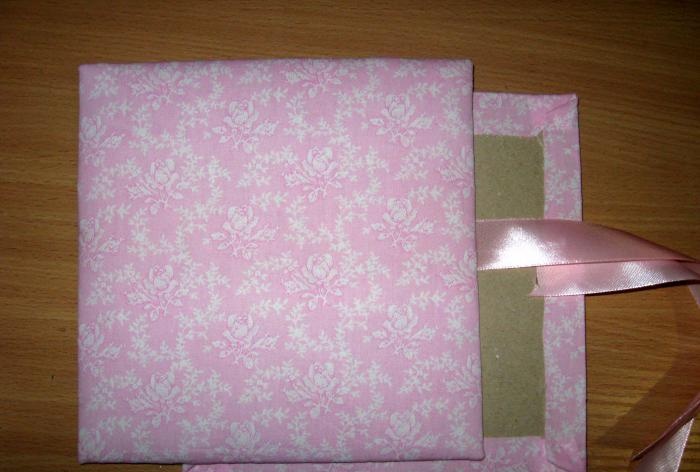
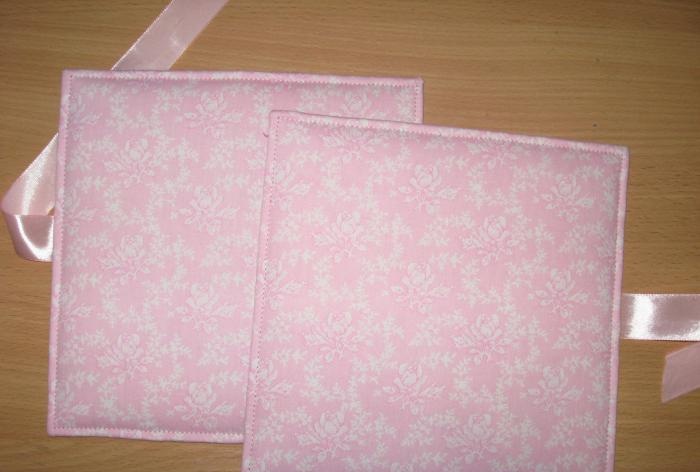
Now we need to cover the binding squares with fabric. First we spread the corners and wrap them.
Photo album with teddy bear

Photo album with teddy bear

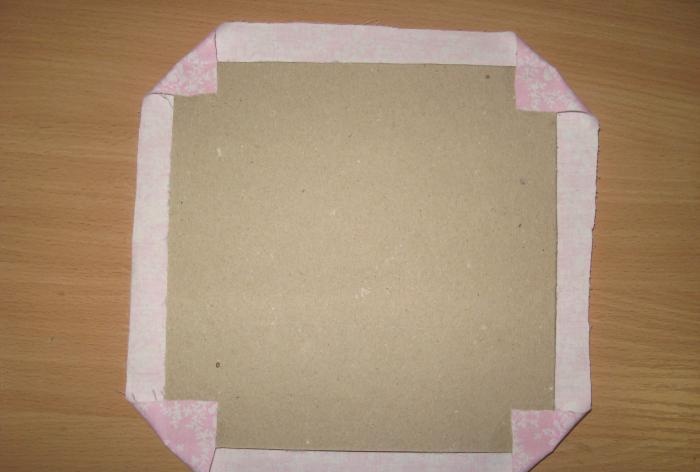
We wrap both squares, stretch them well, but at the same time do not overtighten.
Photo album with teddy bear

Photo album with teddy bear

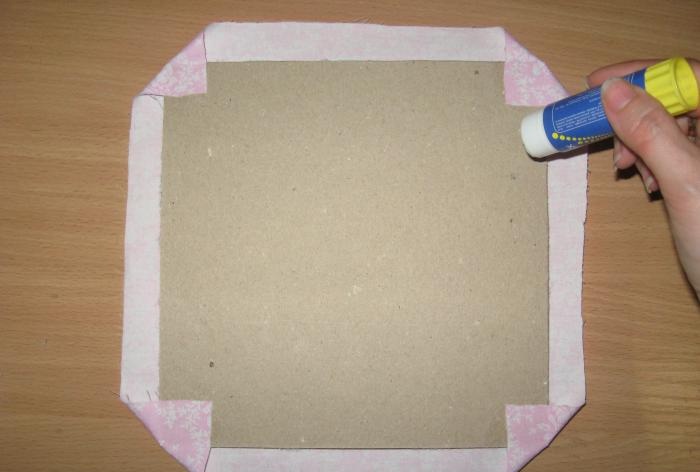
We glue the pieces of tape from the inside of both squares.
Photo album with teddy bear

Photo album with teddy bear

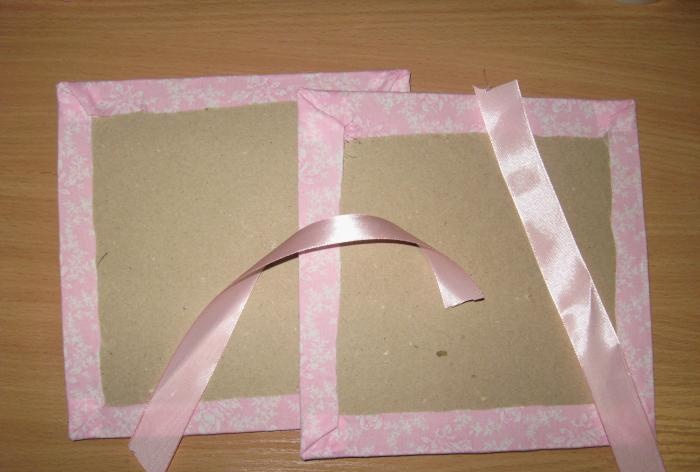
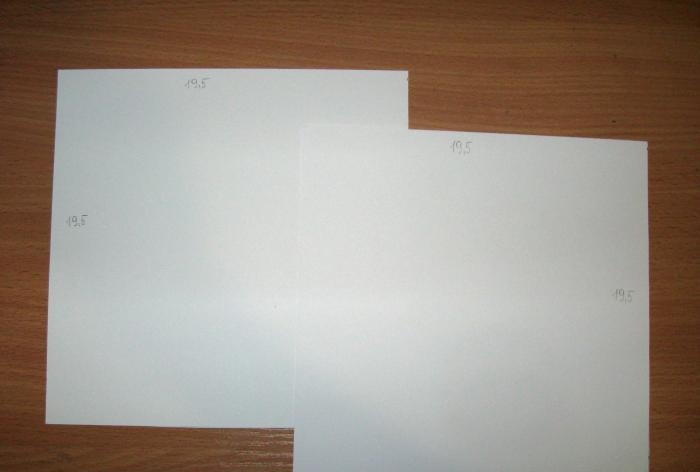
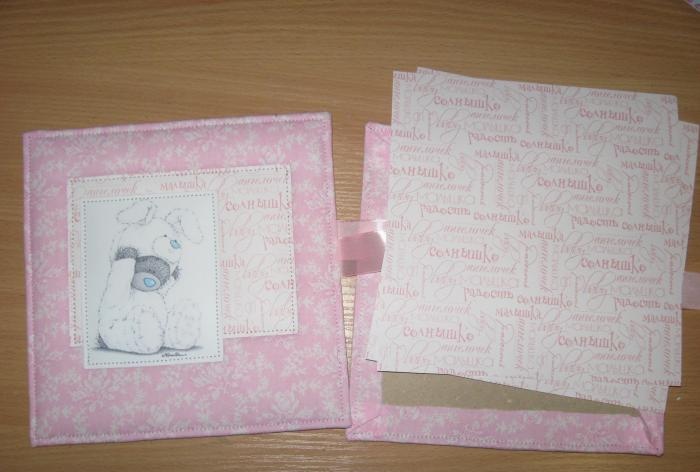
We machine stitch them along the edge. Now we cut out two squares of 19.5 by 19.5 cm from scrap paper.
Photo album with teddy bear

Photo album with teddy bear

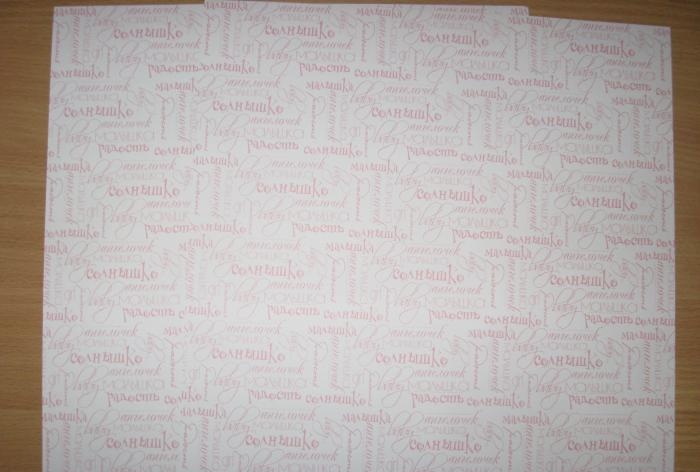
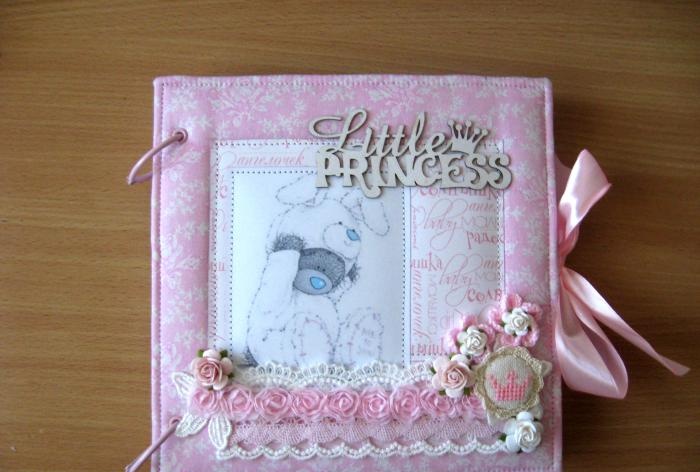
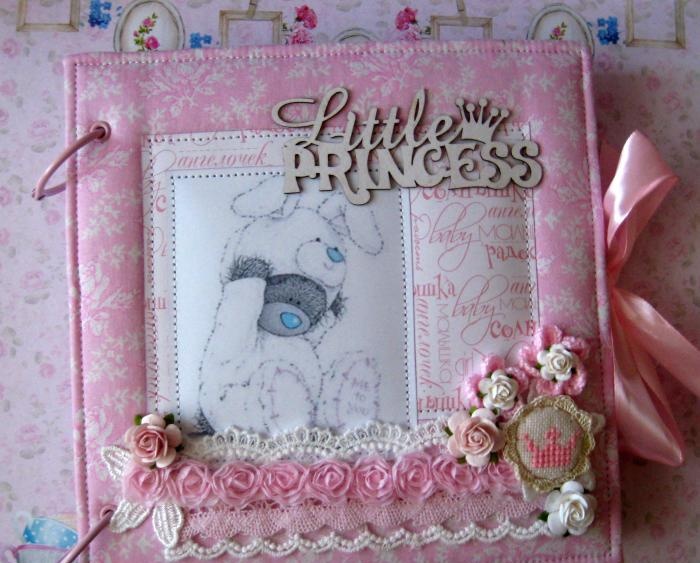
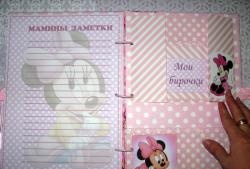
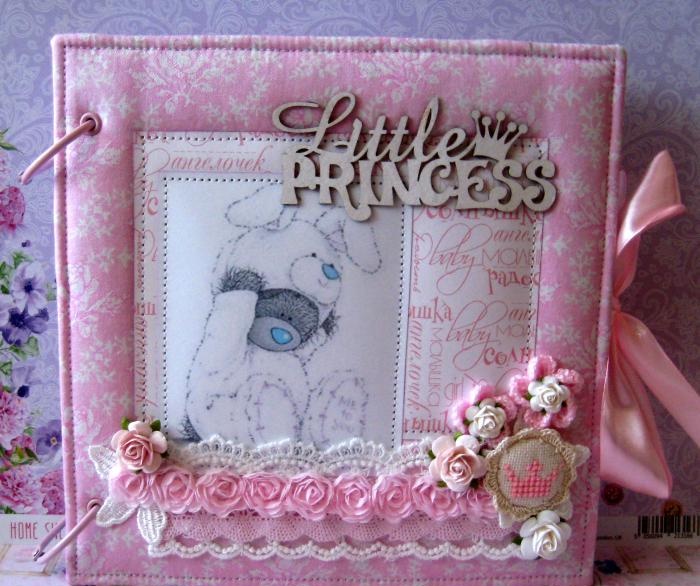
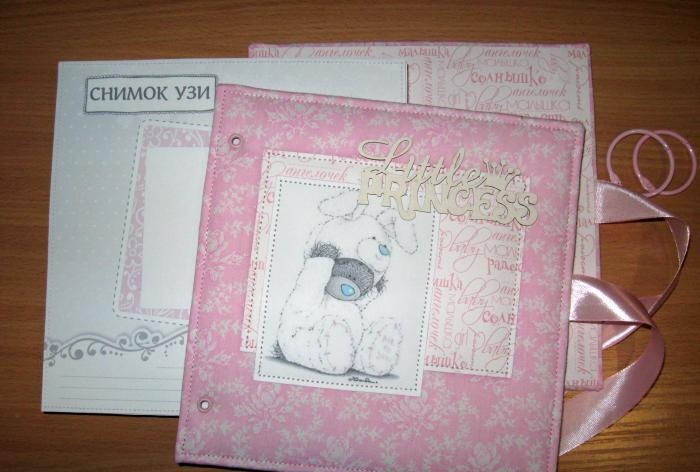
These will be our internal endpapers for finishing. Now we need to sew paper and a picture onto the front of the album. A piece of scrap paper is 11 by 14.5 cm, a picture is 9*11 cm.
Photo album with teddy bear

Photo album with teddy bear

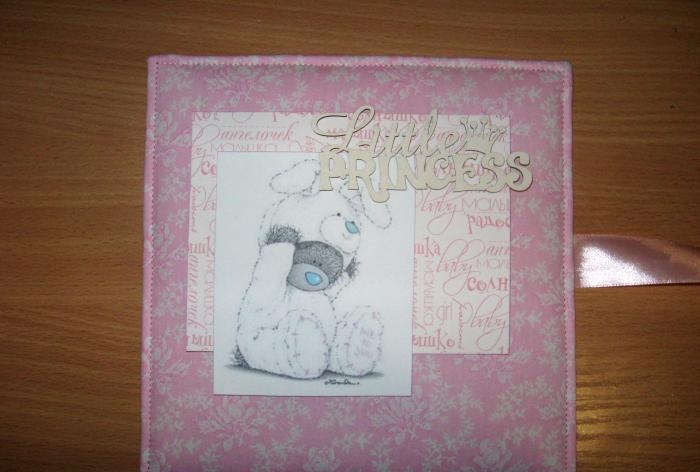
Sew on the paper and picture.
Photo album with teddy bear

Photo album with teddy bear

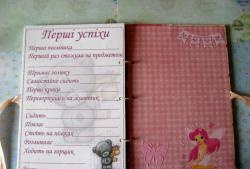
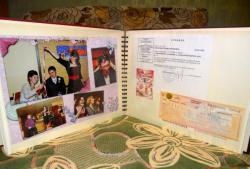
Now we glue the endpapers inside. We put it under the press. In the meantime, we can work on the leaves. We glue them together in pairs and then sew them together using a machine.
Photo album with teddy bear

Photo album with teddy bear

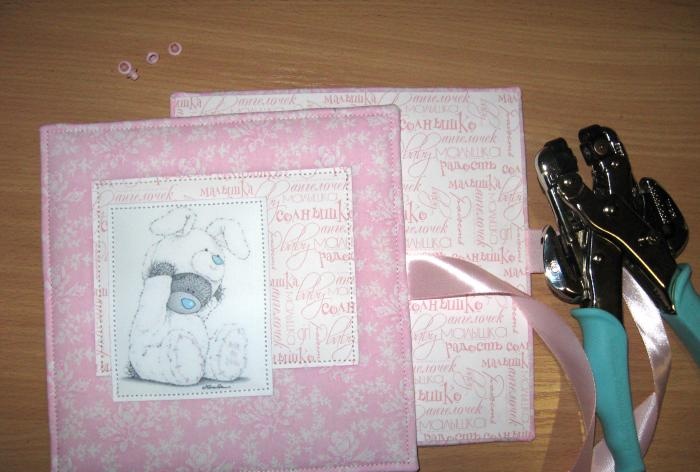
Now we need to place the eyelets on the covers at the same distance. We put it on the cover first, and then transfer it to the sheets.
Photo album with teddy bear

Photo album with teddy bear

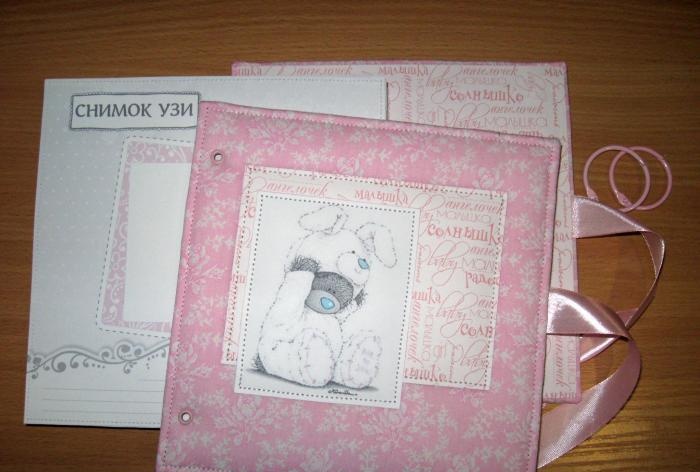
We assemble the album into rings and glue the chipboard.
Photo album with teddy bear

Photo album with teddy bear

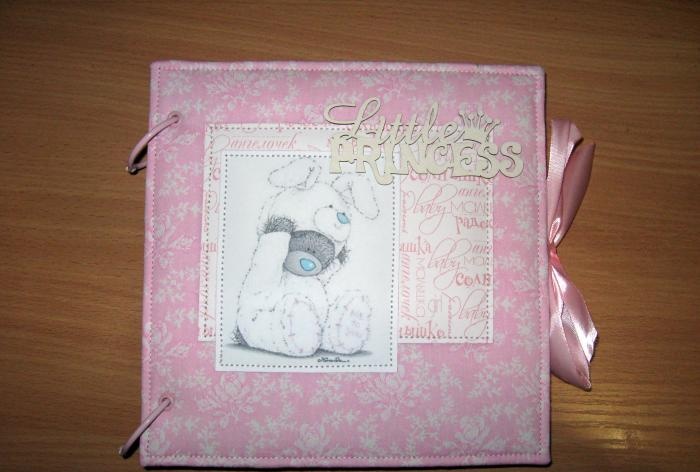
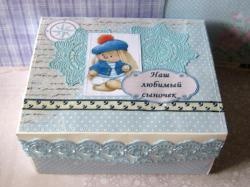
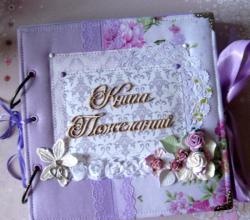
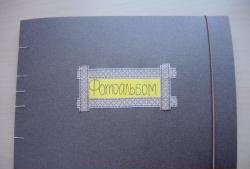
Now we decorate our cover with the most delicate decor, which will add a marshmallow-lush look to our album. We get this ready-made album for your baby. Thank you for your attention and good luck to everyone!
Photo album with teddy bear

Photo album with teddy bear
come back
Comment
  • bowtiesmilelaughingblushsmileyrelaxed relaxedsmirk
    heart_eyeskissing_heartkissing_closed_eyesflushedrelievedsatisfiedgrin
    winkstuck_out_tongue_winking_eyestuck_out_tongue_closed_eyesgrinningkissingstuck_out_tonguesleeping
    worriedfrowninganguishedopen_mouthgrimacingconfusedhushed
    expressionlessunamusedsweat_smilesweatdisappointed_relievedwearypassive
    disappointedconfoundedfearfulcold_sweatperseverecrysob
    joyastonishedscreamtired_faceangryragetriumph
    sleepyyummasksunglassesdizzy_faceimpsmiling_imp
    neutral_faceno_mouthinnocent
3+three=
Comments (0)

How to drill a hole in a tile with a regular drill bit

Felt Christmas mitten | Do it yourself

How to make warm blocks from sawdust concrete with your own hands

Hard drive made from flash cards | Do it yourself

«Do it yourself - with your own hands» - a site of interesting homemade products made from scrap materials and items at home. Step-by-step master classes with photos and descriptions, technologies, life hacks - everything a real master or just a craftsman needs for needlework. Crafts of any complexity, a large selection of directions and ideas for creativity.

We recommend reading

Washing machine error codes