The embroidery process develops fine motor skills, which is good for the brain, develops qualities such as neatness, perseverance, reveals the creative side of the personality, and the ability to work on oneself.
Cross-stitching is also very interesting; time flies by during this process, it’s hard to stop.
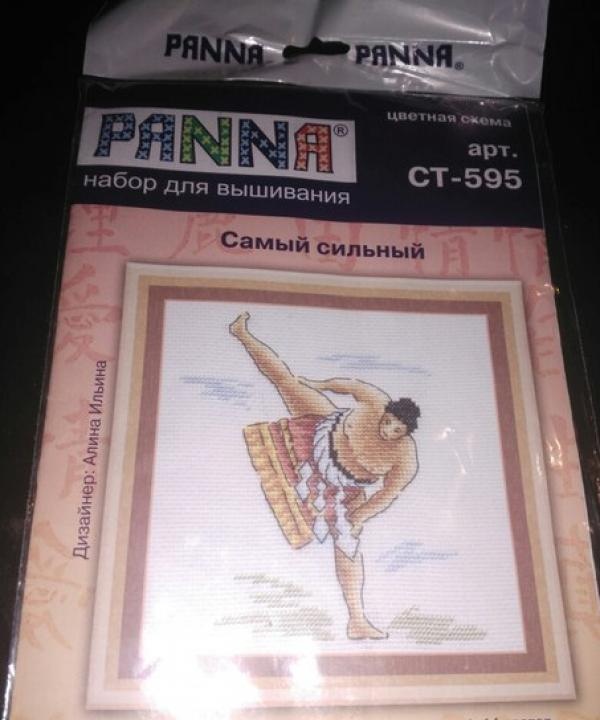
Beginners should not immediately take on complex landscape schemes. It is best to learn from small pictures with simple patterns and a minimum number of colors. An ideal option would be an embroidery kit for children. So, once your hand is full, the essence will be clear.It will be a pity for large embroidery if something doesn’t work out; moreover, it can immediately discourage the desire, and it will be a pity for the money spent on the set.
Where to begin? What materials and tools will be needed?
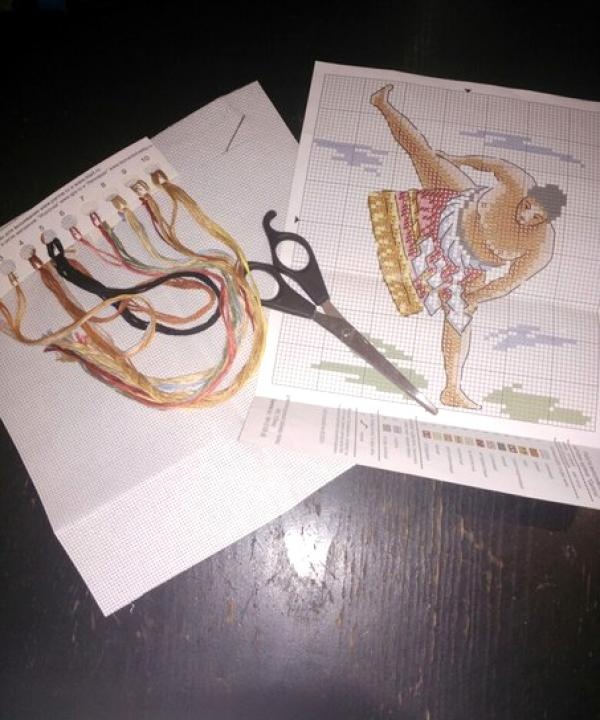
So, you need: an embroidery needle (its tip should be blunt), floss, special fabric - canvas, scissors, a diagram that you need to follow when embroidering. Usually all this is already in the ready-made kit, except for the scissors.
Operating procedure:
1. Any embroidery begins from the center so that the pattern on the fabric is evenly spaced.
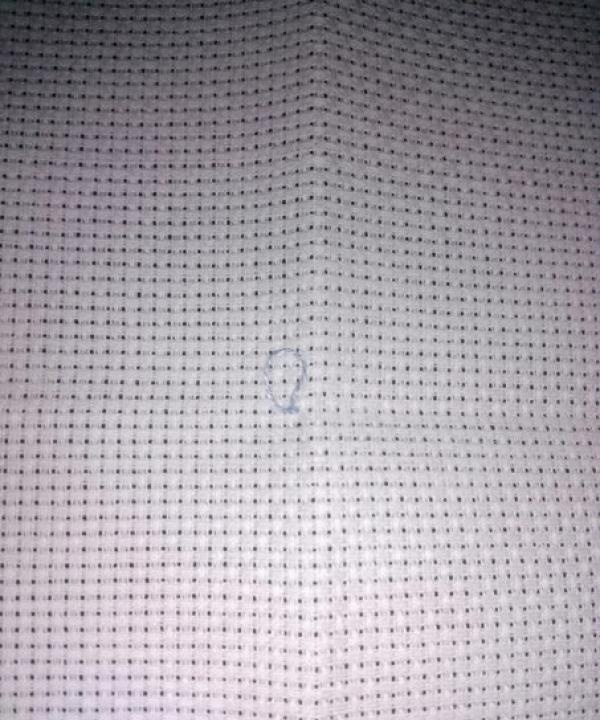
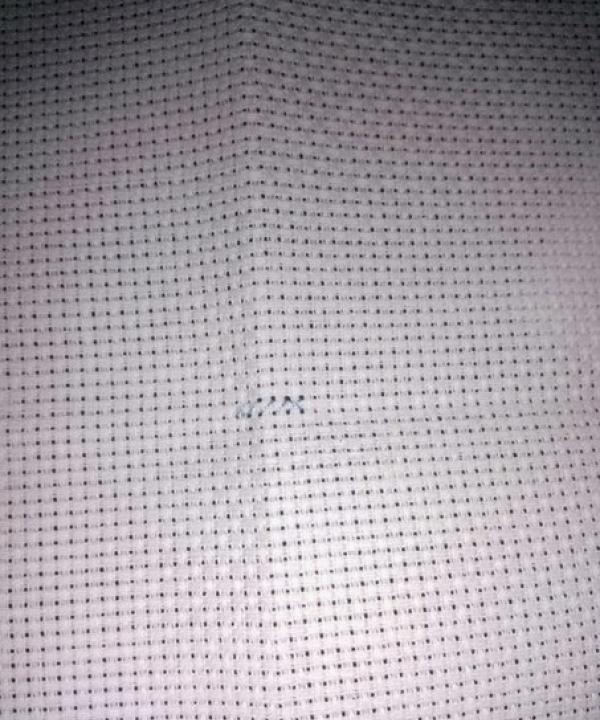
To find the center, you need to bend the canvas in half vertically, and then horizontally.
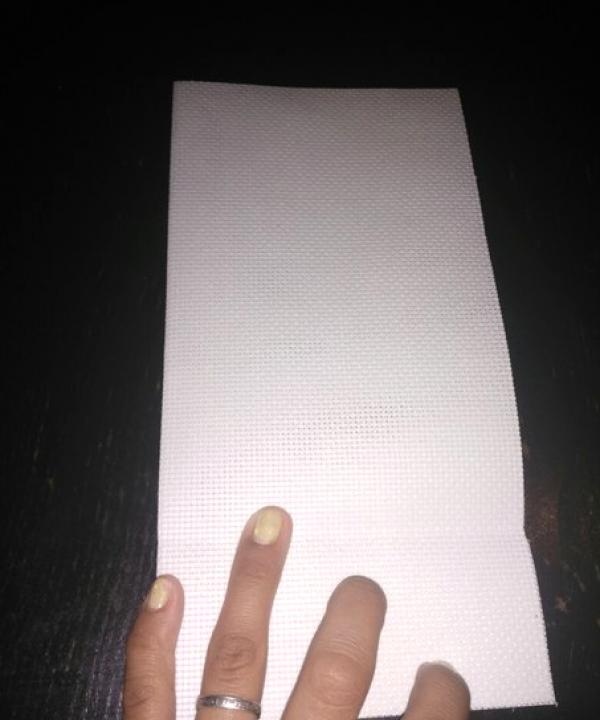
The resulting “cross” is the center. It will correspond to the center of the drawing diagram.
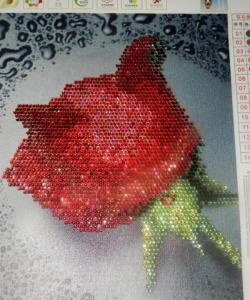
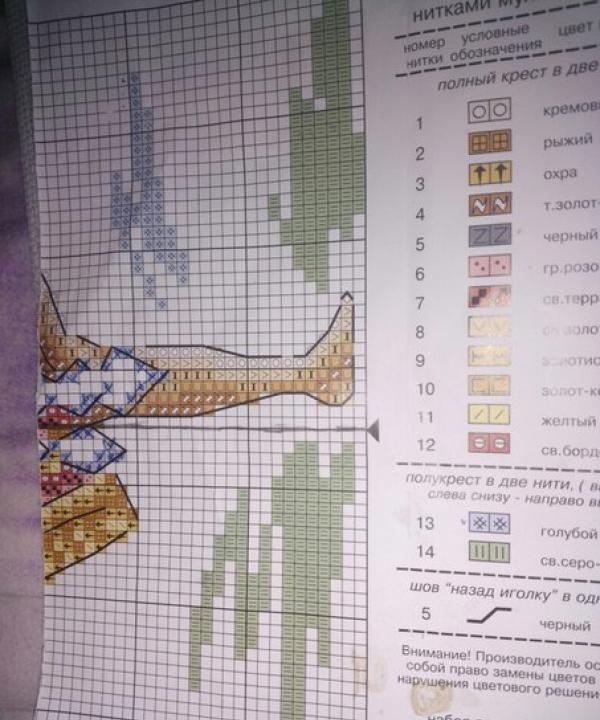
2. Now you need to find the center on the diagram, as a rule, the markings of the center of the horizontal and vertical lines are already marked, you just need to draw lines from them to make a cross. If there are no markings, then the diagram, like a canvas, can be folded in half.
3. If desired, the canvas can be stretched on a hoop. Some people work with it, others find it more convenient to work without it. This master class is without a hoop.
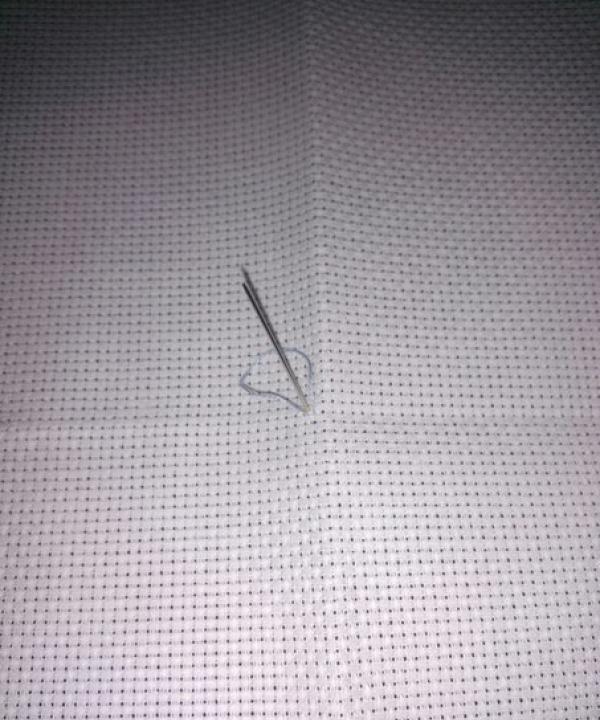
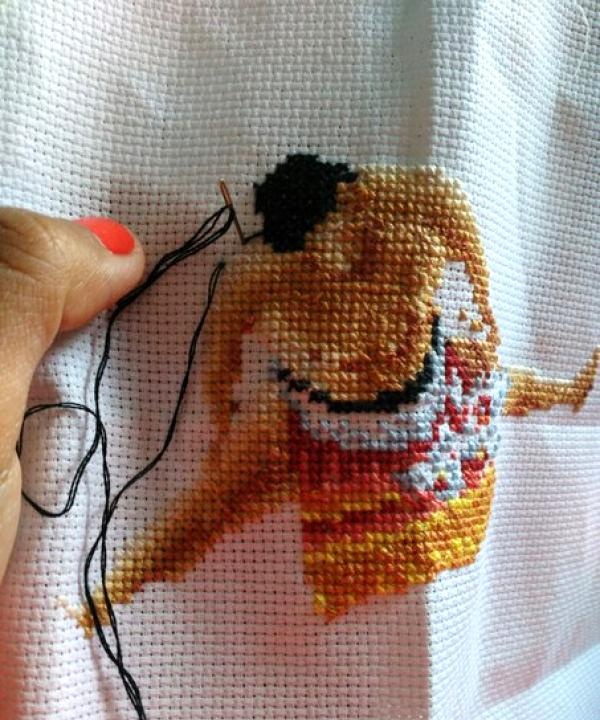
4. You can start embroidering, guided by the diagram. We fasten the thread.
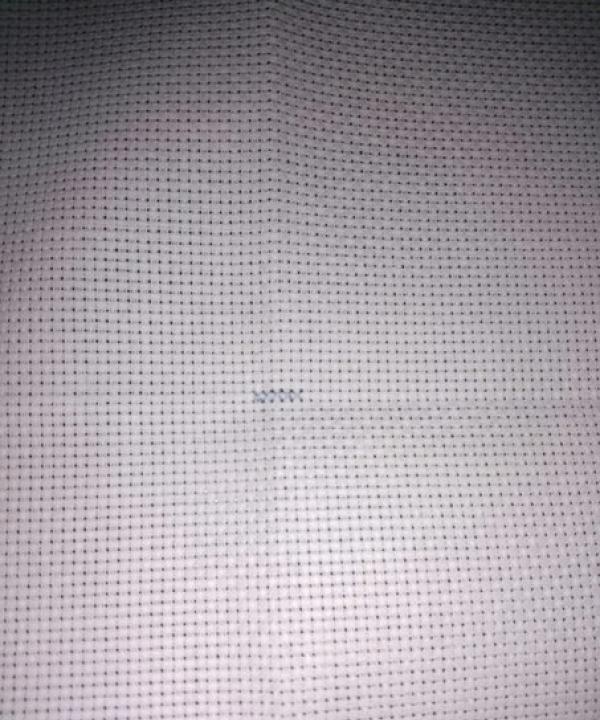
After the thread is inserted into the needle, you need to draw it to the marked center and insert the needle into the lower left corner of the canvas square and immediately pierce the fabric with the needle side by side so that a small loop remains on the front side of the fabric.
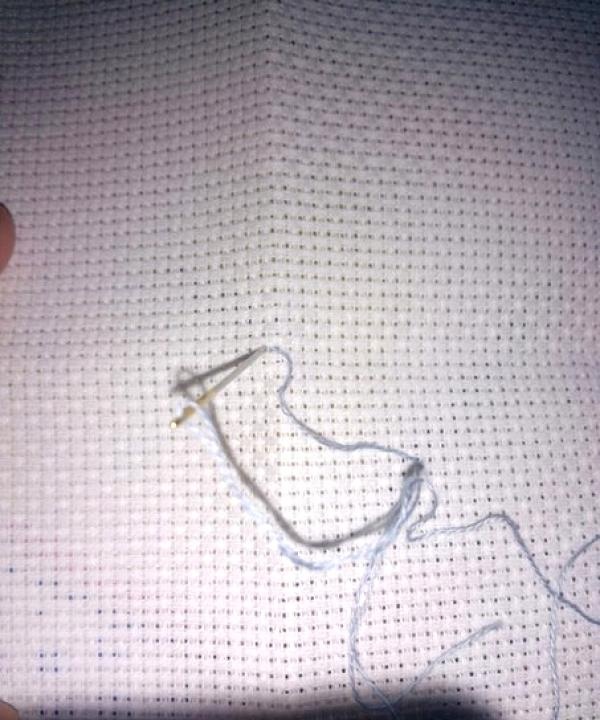
5. Next, you need to bring the needle to the front side through the resulting loop. Tighten. You will get a knot. The thread is secured.
6. Again you need to pass the needle and thread to the wrong side through the lower left corner of the square. This is necessary in order to hide the knot; it will follow the thread and “run away” to the inside of the canvas.
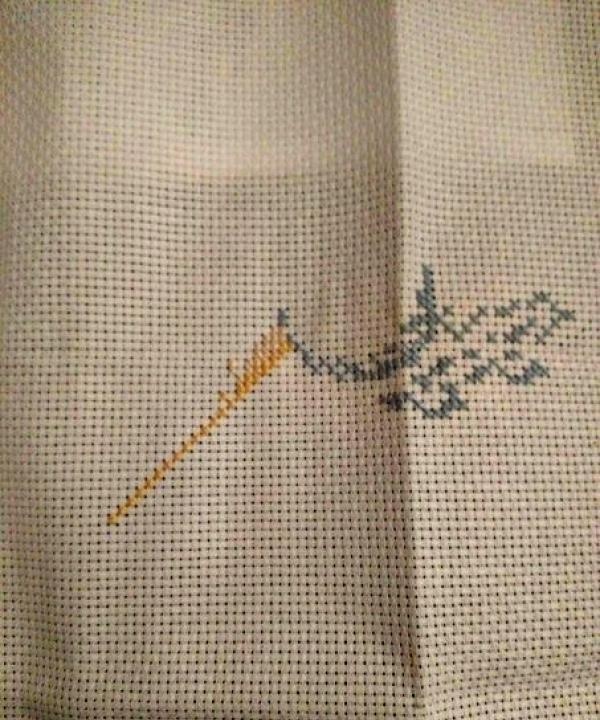
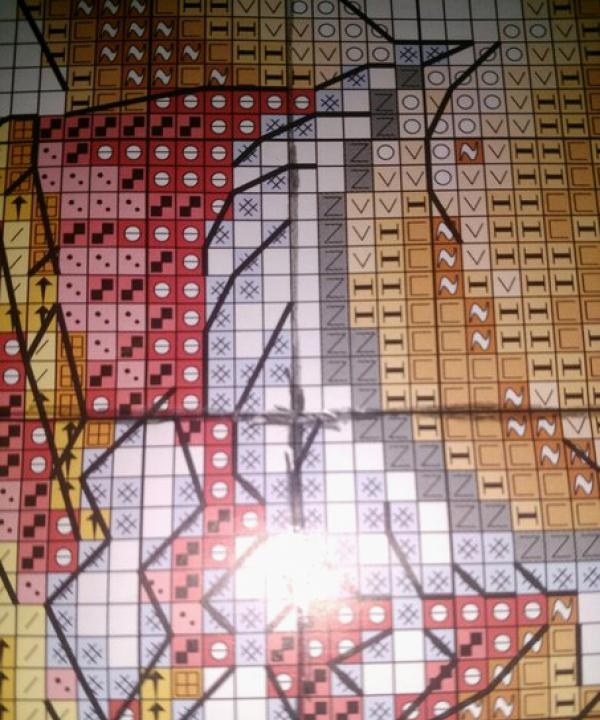
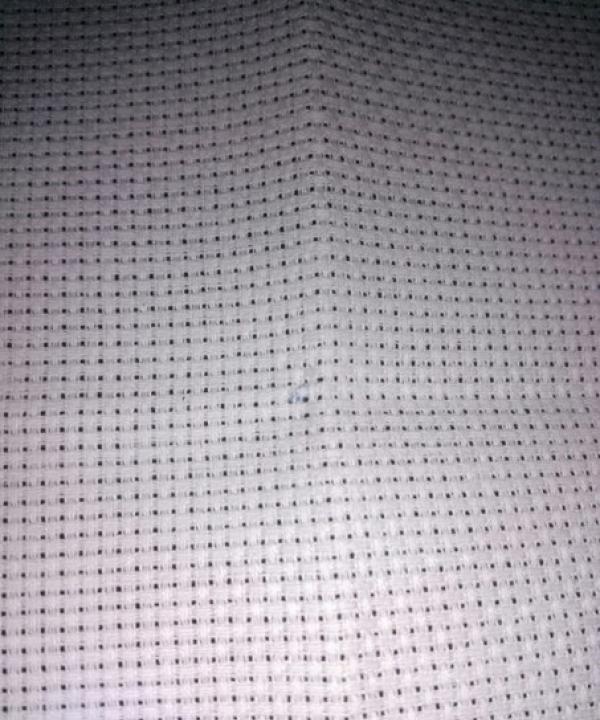
7.You can start working directly with the circuit.
The square in the figure schematically indicates a cross that needs to be applied to the canvas. You must be extremely careful when working so as not to make a mistake and spoil the drawing.
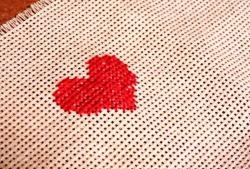
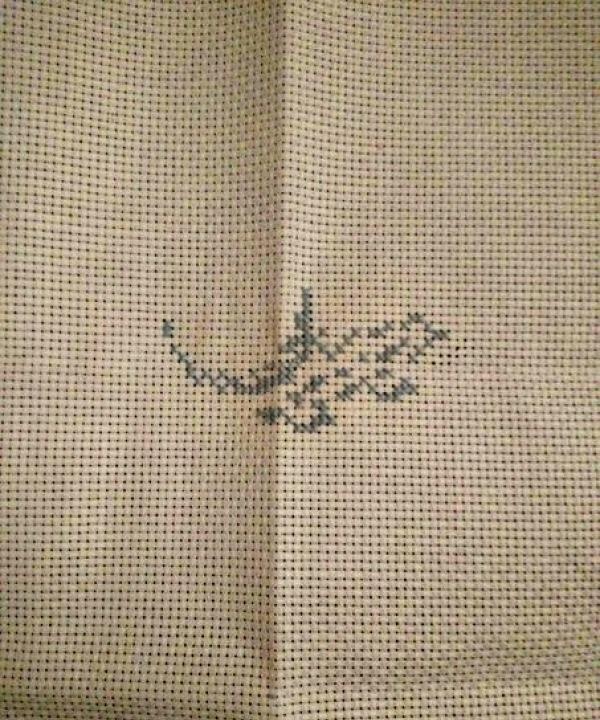
8. You need to start embroidering with crosses in one zone of the same color. To do this, you first need to insert the needle into the lower left corner of the canvas square and draw it diagonally to the upper right corner. Embroider as many diagonal stitches of a certain color as indicated in the picture.
9. Next. We need to “go back.” To do this, you need to bring the needle to the lower right corner of the canvas square and again move it diagonally, now to the upper left corner. You will get a cross. Continue this way throughout the row.
It is imperative to ensure that the diagonal stitches both “there” and “back” are all in the same direction, then the crosses will be even and neat.
The stitches should not be too loose or too tight. There is no need to make long stretches of threads from square to square from the wrong side - they can be visible from the front side. Also, do not tie knots. The thread must be secured in the manner indicated above.
10. By analogy, following the pattern, the entire pattern is embroidered.

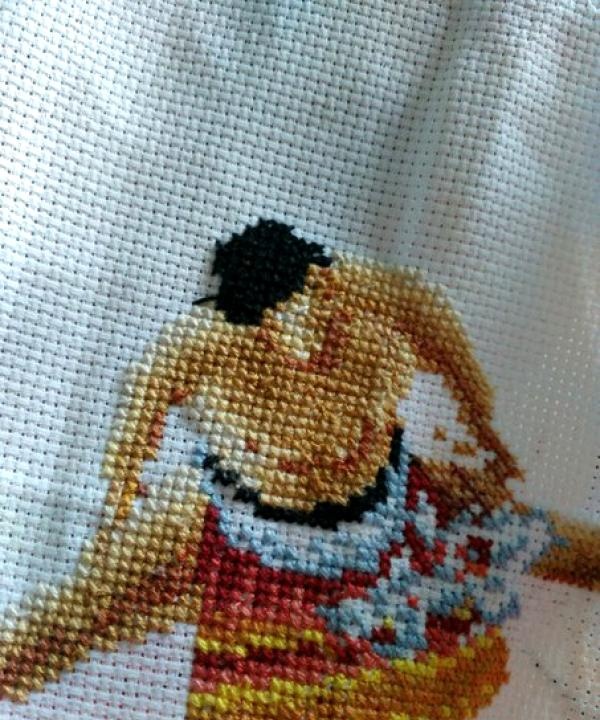

11. It is better to cross out those areas that are already embroidered on the diagram so as not to get confused. This is especially convenient when working with large circuits.

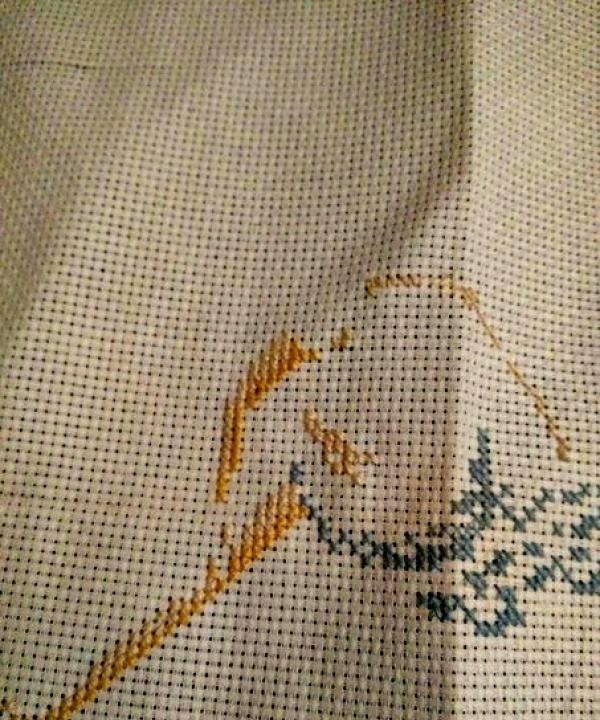
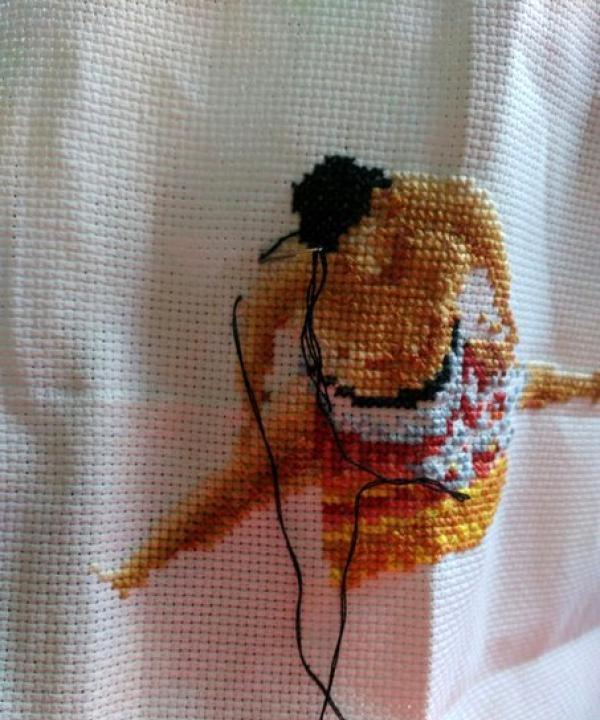
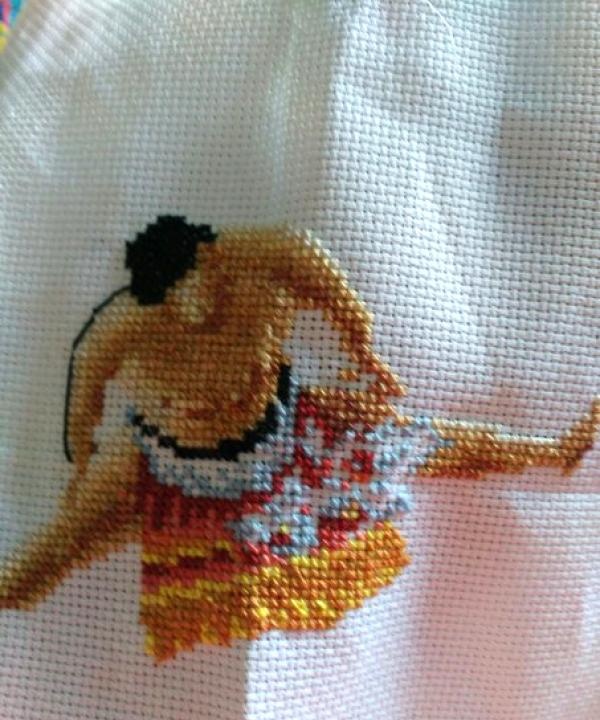
12. Gradually the entire drawing will be drawn.


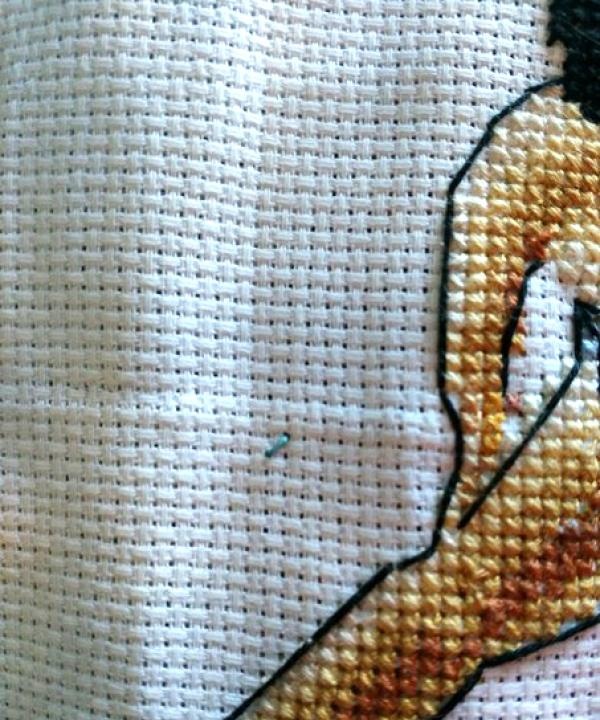
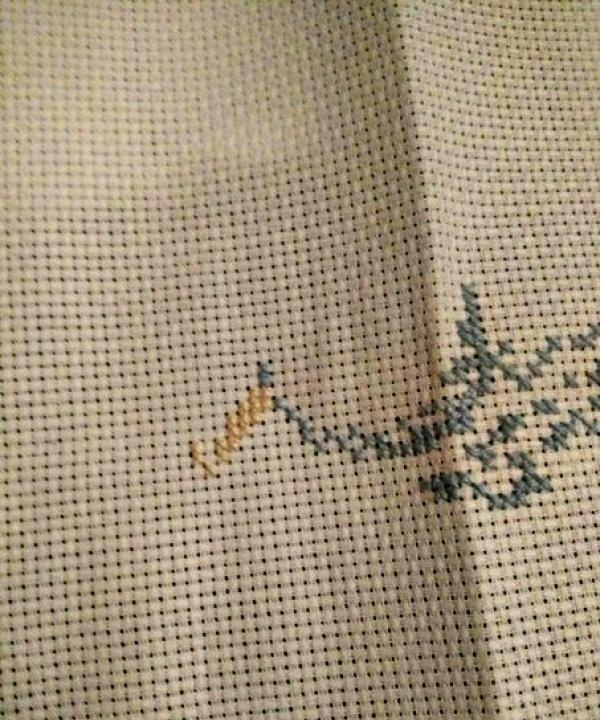
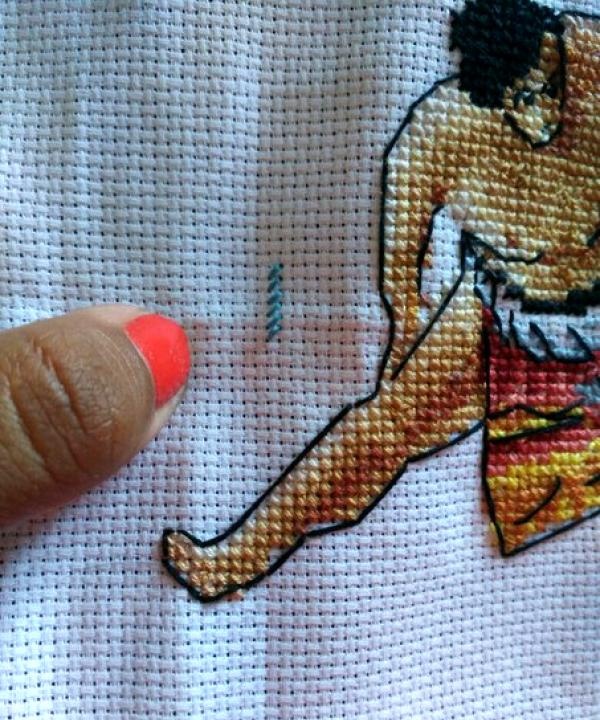
13. Often in diagrams you can see the outline of the diagram (or to highlight small details) with a “back to the needle” stitch, when the thread “returns” from the front side to the place where it started on the wrong side.

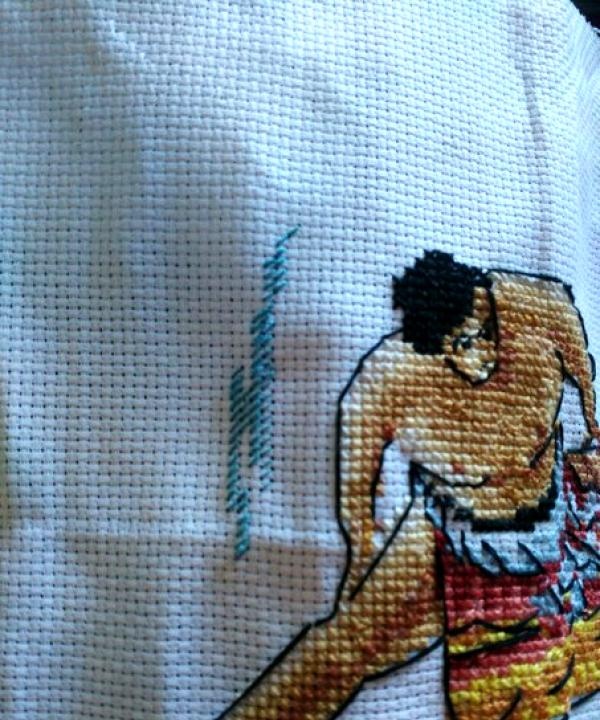
14. The “half-cross” technique is also often used; as the name implies, it is simply one “diagonal”.

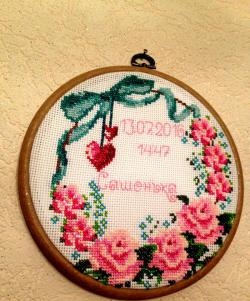
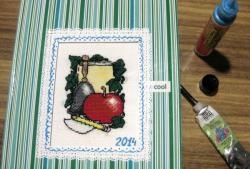
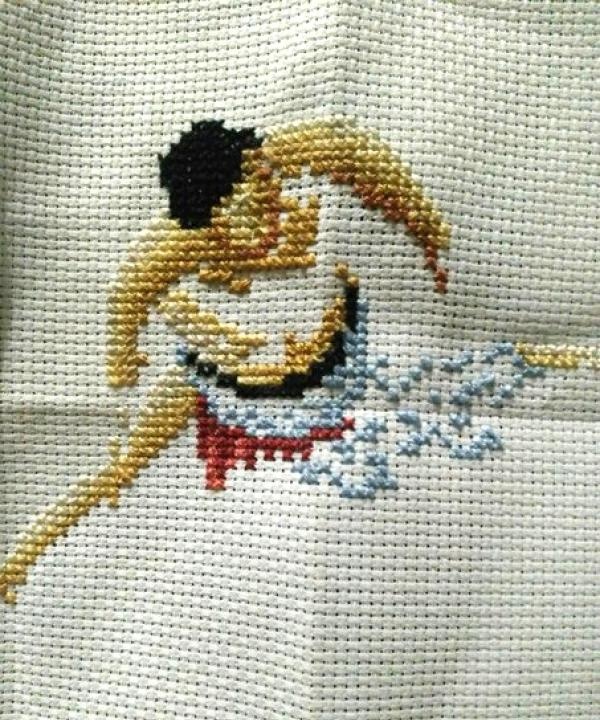
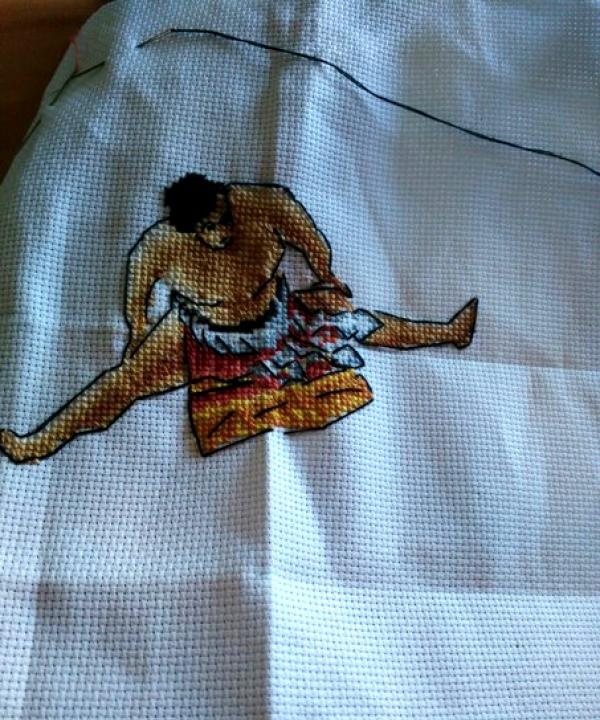
15. In the end, you will get a finished work.

16.After the embroidery is finished, it needs to be washed in warm soapy water, dried and ironed on the front side.
That's all! The finished work can be used at your discretion!