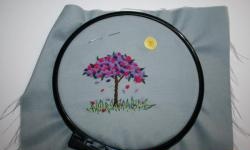
One of the most memorable and dear gifts to your heart may be a cross-stitched picture. Let it be small and not too complicated, but it is in it that you will put not only love, but also a piece of your soul. However, what should those who really want to create, but have no experience, skills and, especially, art education, do? We hasten to please you.Even if you don't know anything about this matter, don't be upset. Learning to embroider is not difficult. Moreover, it's time to start doing it!
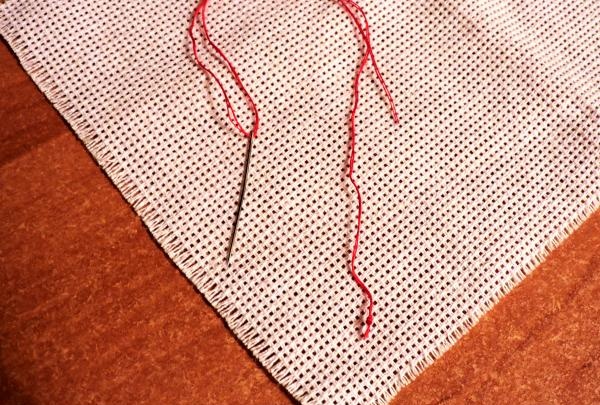
So, let's take a step-by-step look at how you can embroider a small red heart with your own hands. To do this you will need the following materials:
1. Convenient small canvas measuring 10x10 centimeters.
2. Thin needle.
3. Bright red floss.
4. Hoop.
5. Scissors.

Usually beginners who are just beginning to become closely acquainted with such an activity as embroidery cross stitch, they prefer to do without a hoop. In principle, this is a purely personal matter for everyone. If at first you feel uncomfortable turning them over, or holding them in your hands in general, you can limit yourself to fabric, thread and a needle.
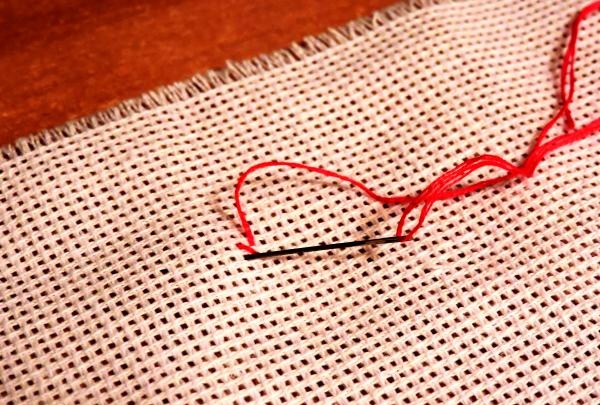
Most often, the floss thread consists of six thin threads. In your work you will need only two of these threads, so first separate them from the total mass, and then thread them into the eye of the needle and make a small knot on one side. If you still decide to embroider using a hoop, then, holding the fabric on both sides, carefully insert your fabric into them.

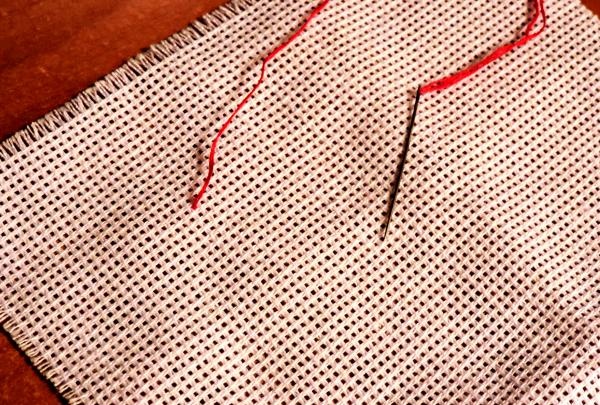

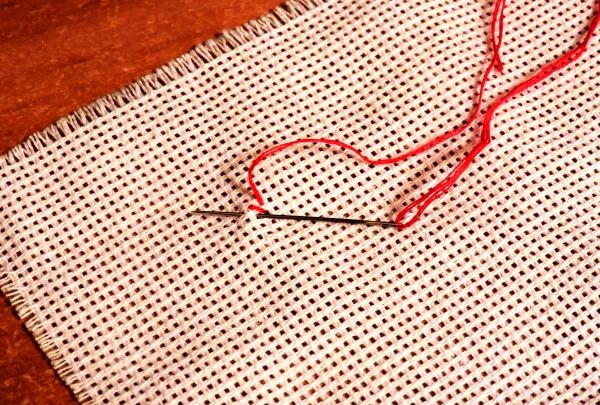
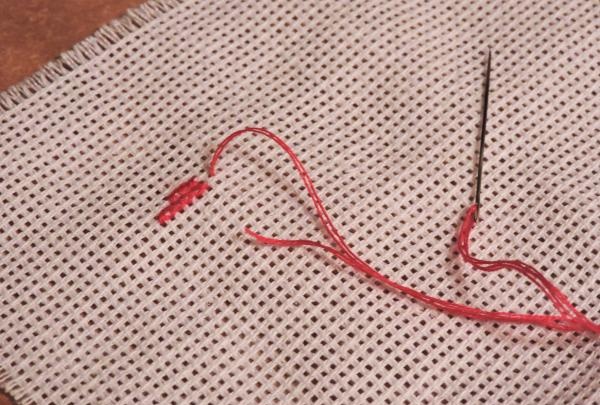
The preparatory stage is over, now it’s time to start the actual work. It is best to start embroidering the design not from the middle, but from the upper left edge (in this case, the number of mistakes you make should be minimal). Pass the needle into the fabric from the inside and secure the thread using the previously made knot. Then insert the needle into the hole in the lower right corner of the canvas and thread it again from the wrong side to the upper corner of the square (as shown in the photographs). To finish embroidering the first piece, you need to reinsert the needle into the remaining fourth hole and remove it from where you want to continue embroidering.Please note that the direction of the pattern must be the same, namely: the first thread should be embroidered from left to right, and the next one - from right to left. Try to embroider evenly and under no circumstances, unless the design requires it, do not skip squares.
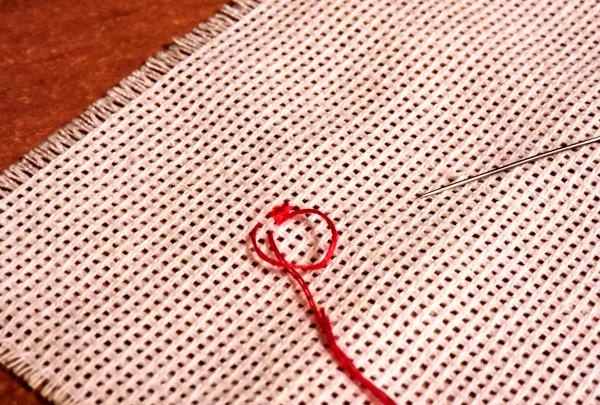
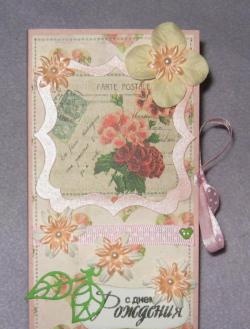
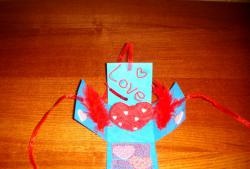
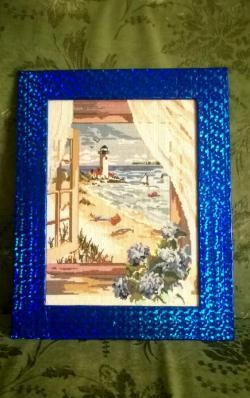
After completing the work, be sure to check whether all the knots are secured. If you see that your fabric has become slightly dirty during the embroidery process, gently wash it in cool water. In any case, the finished painting must be ironed. This should be done exclusively from the wrong side and the iron set to the minimum temperature setting. Such an elegant and stylish heart can be either framed and framed as a picture, or you can make an original, cute card using cardboard, scissors and glue.


We hope that the photographs will not only clearly show you how to proceed, but will also greatly facilitate the entire process of work. Feel free to get down to business!