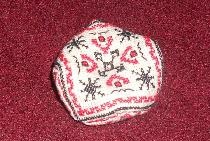
How to make biscorn? It is necessary to note several stages of this work:
1. Select two diagrams for the product (you can easily find them on the Internet or even draw them yourself). The size of the patterns depends on the desired result at the end of the work: the smaller the souvenir is needed, the smaller the pattern for embroidering it will be. Both diagrams must be of equal size.
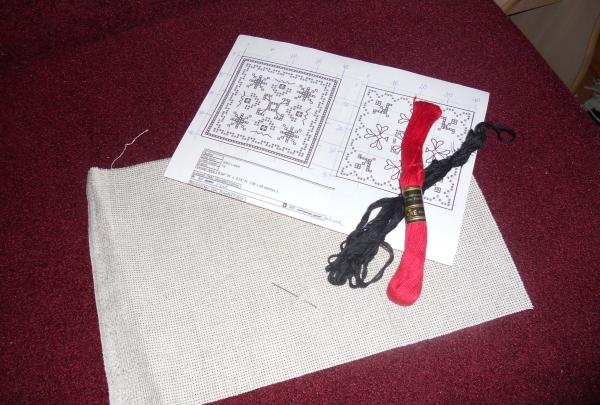
2. Select floss and/or beads for embroidery. We cut off a piece of canvas of the required size and mark it with thread or a washable fabric marker (in no case with a felt-tip pen, pen or regular pencil - you won’t wash it off later). The size of the piece of canvas should be such that there are still 5-10 rows of canvas remaining on all four sides of the markings of each of the two patterns.
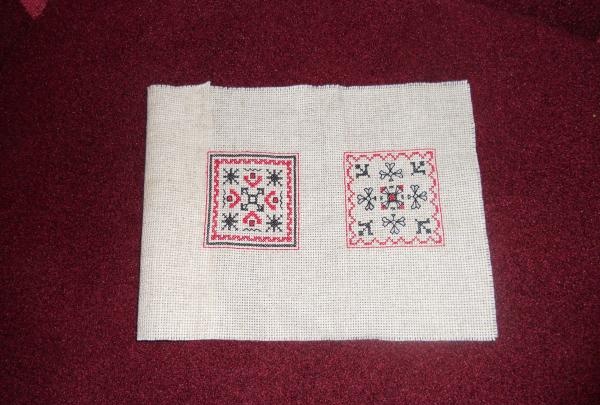
3. Embroider the design on the canvas according to the chosen pattern.
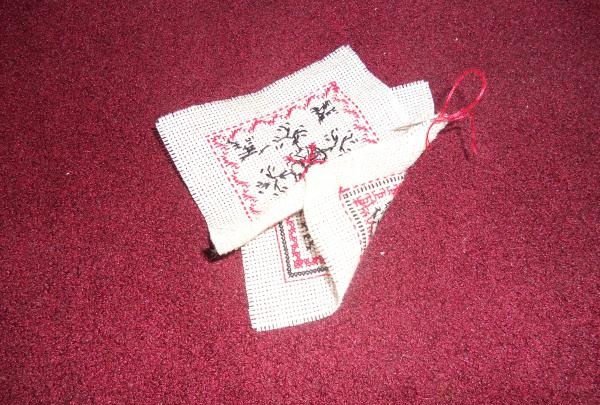
4. We retreat one or three rows from the edges of the pattern and do a backstitch stitch (backstitch stitch).
5. Next, we proceed to stitching the embroidered pieces. To do this, you need to determine the middle of any side of one of the pieces of canvas and connect it to any corner of the other piece of canvas. Then we thread the thread into the subsequent loops of the stitching. So we go around the entire perimeter.
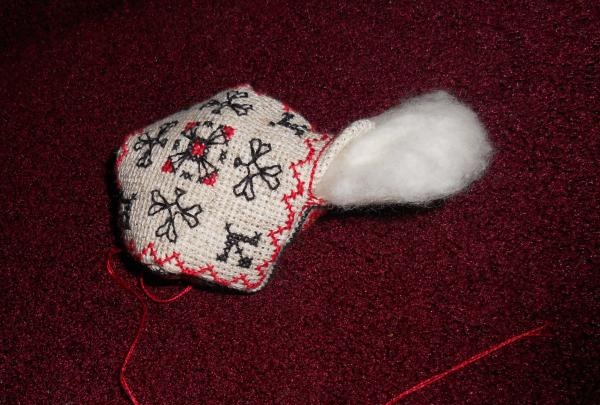
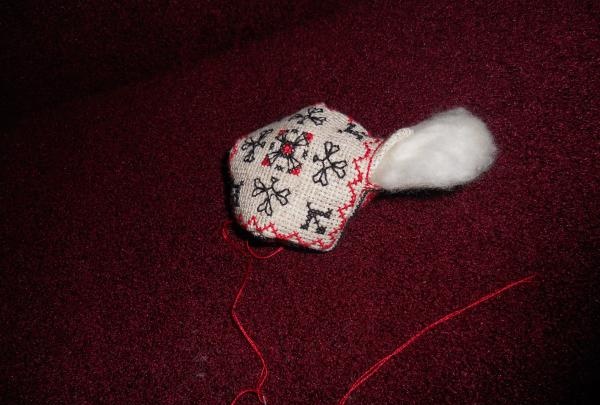
6. At the end, leave a little unstitched space and turn the product right side out, stuff it with filler (cotton wool, holofiber, padding polyester). Sew up the sides of the biscorn until the end.
7. We tighten the pad. To do this, pierce the pad exactly in the center with a needle and thread it (you can use a bead or button). On the other side, the needle should come out just as exactly in the center. Pull it as tightly as possible and secure it.
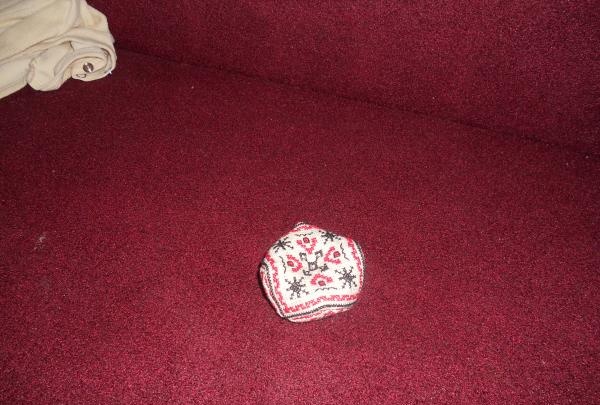
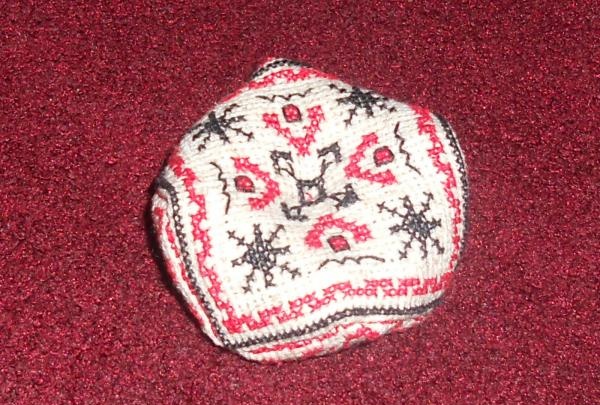
That's it, the work is completed, the biscorn is ready! You can, if desired, sew tassels to the corners or insert a loop-handle.