Therefore, after getting rid of the dirt and sealing the crumbling areas, many people think about what to do next. After all, everything around is so smooth and beautiful, but in this place it is far from ideal. In this case, a decorative grille comes to the rescue.
There are several advantages to this solution:
- Excellent appearance of the finished structure,
- Cheap and easy to assemble,
- Possibility of quick dismantling if necessary.
In addition, this work does not require special skills or expensive equipment. You will only need the following tools: tape measure, pencil, square, jigsaw or wood saw, electric drill, hammer.
The assembly of the decorative grille can be divided into several stages:
1. Calculation and purchase of materials,
2. Preparation of all constituent elements,
3. Assembly of the structure,
4. Installing the decorative grille in place.
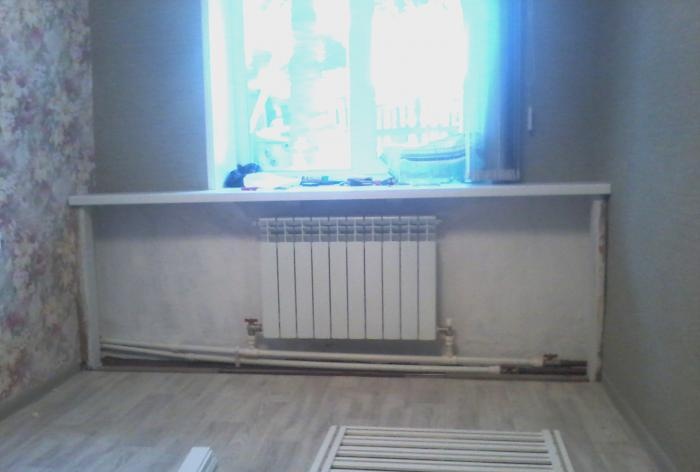
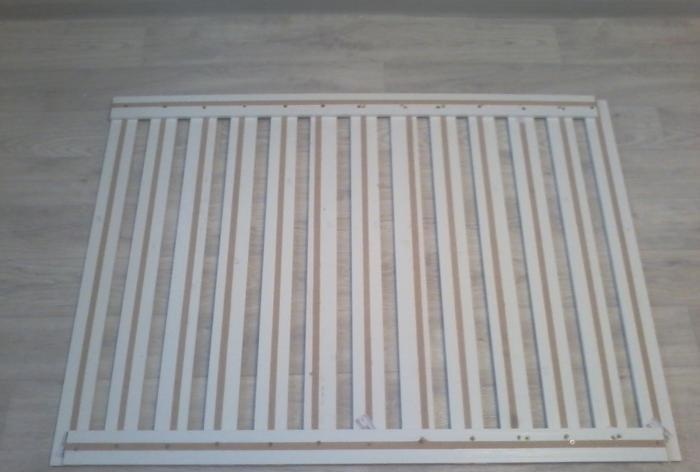
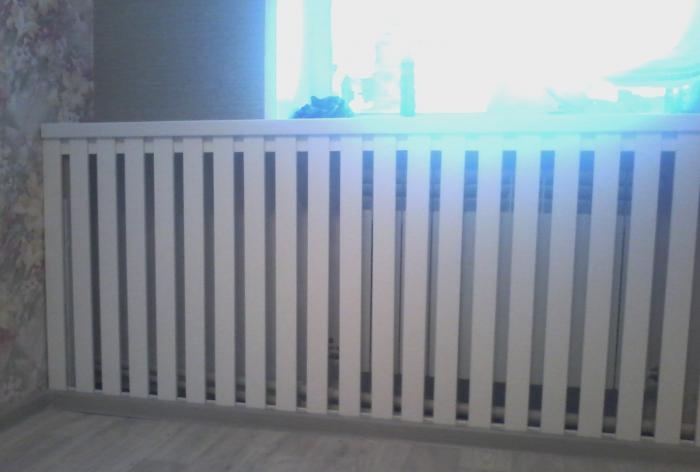
As a rule, a decorative lattice is something like a regular fence made of short vertical slats connected by two long horizontal ones. It is usually mounted under the window sill, without being rigidly attached to anything.
Preparation of material
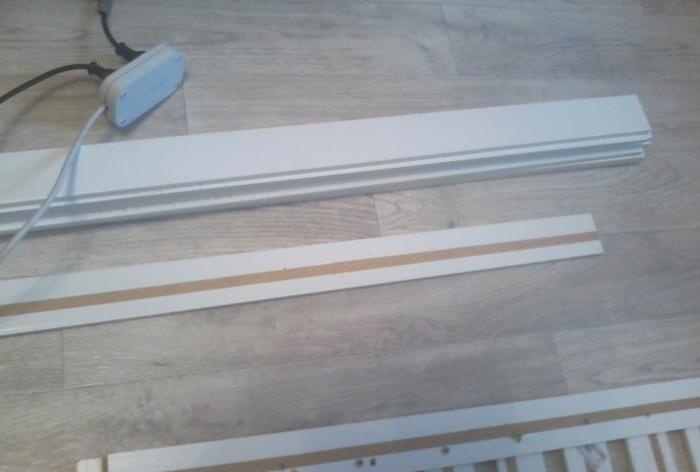
The main element of the grille is a decorative strip, the front side of which does not require further finishing. You can find many types and types of such slats: from plastic fillets to wooden boards of various widths. A good option would be to use a regular door casher.
Moreover, there is absolutely no need to spend money on wooden or veneered samples; the most inexpensive narrow panels made of pressed cardboard would be quite appropriate. Their width will most likely be 6 cm, and the standard length of the casher is 220 cm. As for the colors, the choice is limited only by the designer’s imagination.
Knowing the dimensions of the space covered by the grille, it is not difficult to calculate the number of required panels. You just need to take into account that the gap between the slats is usually half of their width. In addition, you will need a narrow wooden block, approximately 20 by 20 mm, the length of which will be equal to the length of the entire grate.
Cutting the slats to the required length
Unfortunately, it is almost impossible to do without waste at all, because it is unlikely that the length of the panels will be a multiple of the length of the required slats. In addition, there is no need to make a lattice in one piece over the entire enclosed space, and it is also inconvenient. Therefore, it usually consists of several spans.
This is the trick. After all, the width of the span can be calculated so that the remains of the panels go to the horizontal connecting strips. For example, vertical slats should be 80 cm, which means that by sawing off two pieces from a standard casing, the master will receive a piece 60 cm long.This is approximately the width that you need to make the spans of the decorative lattice.
The length of the vertical slats should be slightly less than the distance from the floor to the window sill, so that the grille fits freely but tightly under the front bend and rests on the floor.
Assembling the decorative grille
Having cut the slats for one span, you can begin to assemble and install it. This procedure will allow you to see errors, if any, and also work out the technology. Thus, taking into account the detected flaws, the remaining spans of the lattice will be sawed and assembled faster and more accurately.
It is more convenient and reliable to connect the parts of the grille from the inside, using self-tapping screws and a screwdriver. And if a screwdriver or drill is not available, a regular screwdriver suitable for a self-tapping screw will help. If only the length of the screws was not excessive.

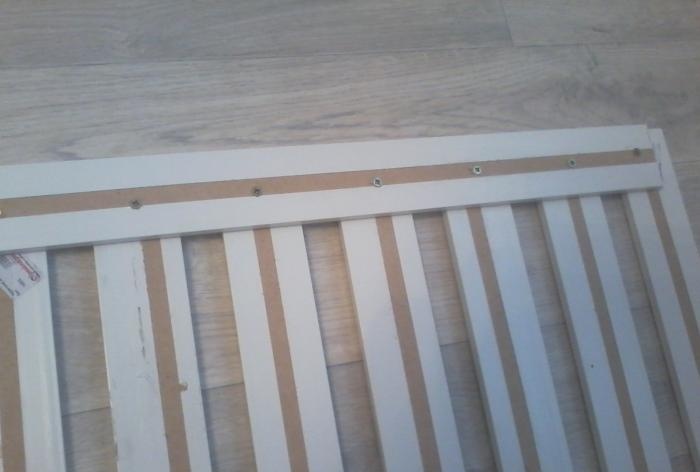
During the assembly process, a square will not interfere; with its help, you can maintain all the necessary angles, and two small pieces of panel inserted between the slats will ensure equal gaps.
Installation of the structure
To install the grille, only one fastening element is required - a narrow wooden block. This block must be screwed from below to the window sill, leaving a gap between it and the front bend of the window sill equal to twice the thickness of the slats used.
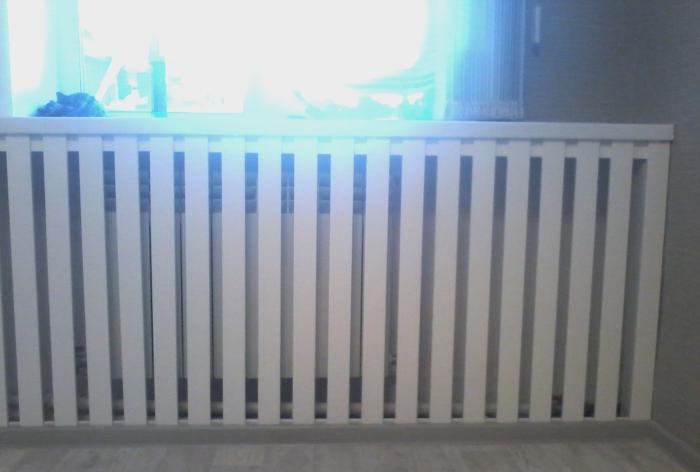
The spans of the decorative grille will be inserted into this gap from below and rest against the floor, due to which the grille will be more or less rigidly fixed. At the same time, dismantling the decorative structure will not pose a problem.