Do it yourself
Life hacks, master classes, useful tips, recipes.
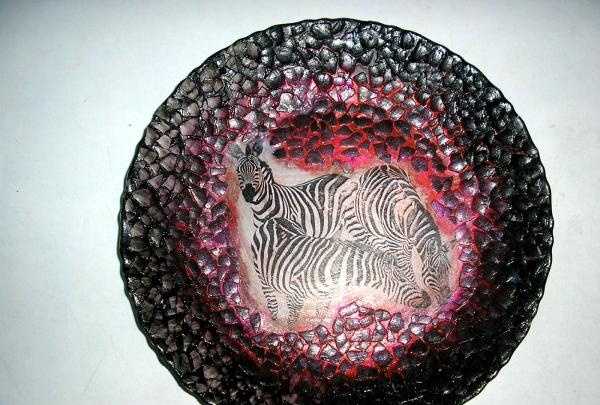
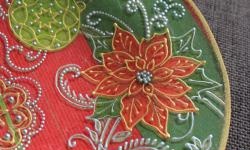
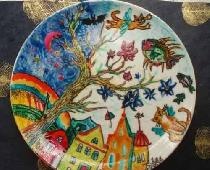
Recently I was invited to a birthday party and, naturally, the question of a gift arose. To be honest, I don't like to choose present, especially for people living in abundance. Have you ever wondered what to give to the person who has everything? So I had the same problem. I asked everyone around for advice. The ideas didn’t inspire me much, and finances, to put it mildly, were a constraint. But my restless fantasies came to my rescue. I decided to make a souvenir that could not be bought because of its uniqueness, namely a decorative plate. After presenting the surprise, the birthday boy spent a long time advertising and praising my gift. In response, I smiled, but inside I rejoiced, because minimal funds were spent, and the impression I made was stunning. I will share with you the process of working on my decorative plate, perhaps this experience will also be useful to you.

We will need:
- white plate (I have a regular earthenware one),
- a picture printed on a printer (color or black and white),
- paints (I used gouache and pearlescent paints),
- eggshell,
- PVA glue,
- acrylic lacquer,
- scissors,
- brushes.

We clean the plate from dust and deposits and degrease it.
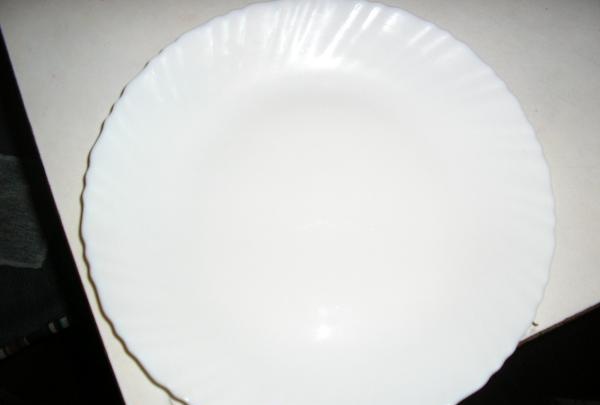
Decorative plate


Paste a picture onto the middle of the plate. We use the technique "decoupage", namely: coat the back of the picture with glue, let it sit for 3-2 minutes so that the paper stretches. Glue it to the plate, carefully smooth it out so that there are no air bubbles, folds or wrinkles. Apply a generous layer of PVA glue on top.
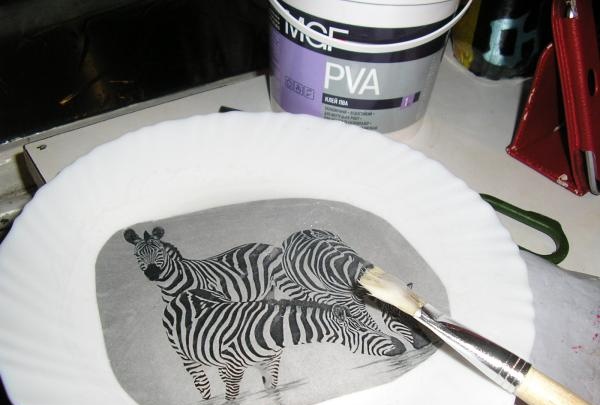
Decorative plate


Let it dry. Now we make a background around the drawing with red gouache.
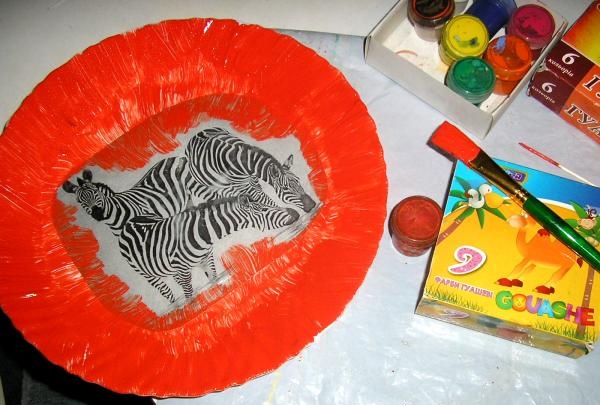
Decorative plate


Paint the edges with black paint. Mine turned out brown because I didn’t wait for the red layer to dry, but that didn’t ruin the final result.
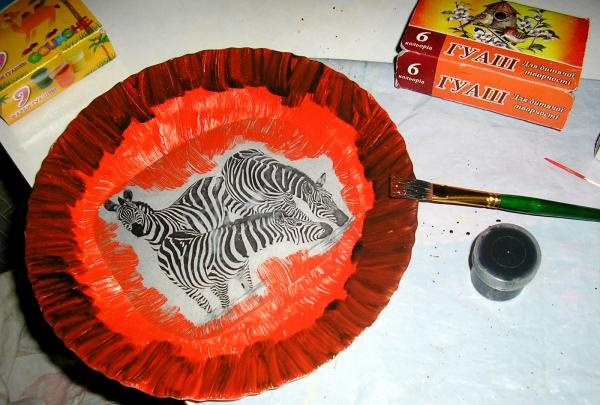
Decorative plate


The next step is the craquelure technique. We break the prepared egg shells (painted black and dried) into pieces of different sizes and glue them with PVA glue along the entire perimeter of the plate, except for the pattern.
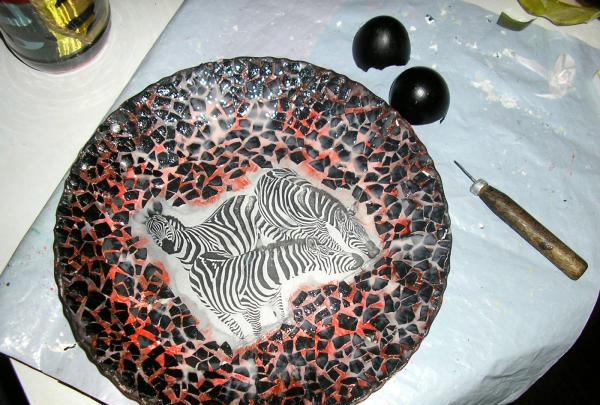
Decorative plate


To strengthen it, you can apply a layer of glue on top. Let it dry thoroughly. Apply pink pearlescent paint from the design to the edge approximately 2.3 cm
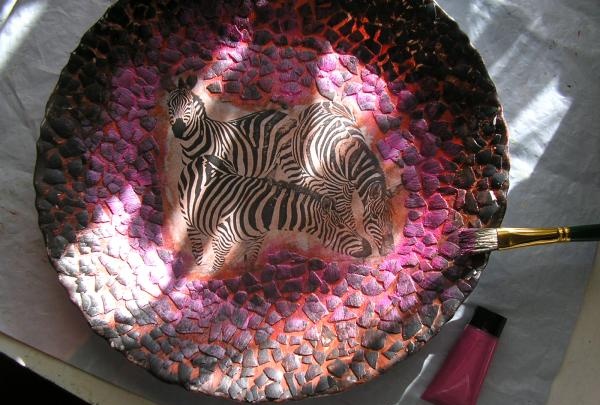
Decorative plate


We apply black paint, on the contrary, from the edge to the drawing, also 2.3 cm.
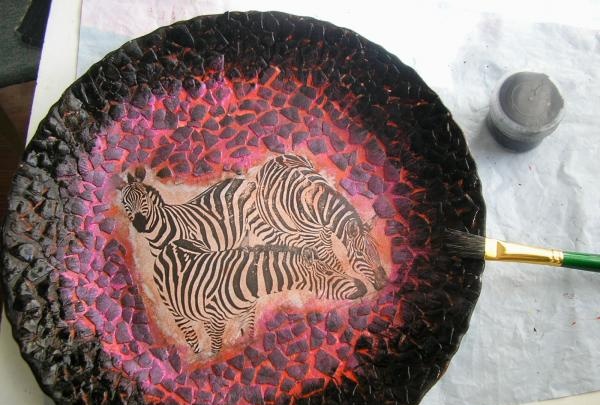
Decorative plate


After drying, varnish with acrylic varnish.
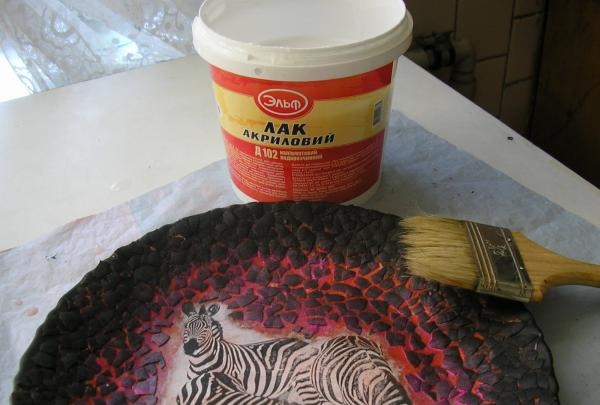
Decorative plate


Let it dry, and we get this beauty.

Decorative plate


There are many variations. I think your imagination will help you create unique masterpieces, and you will always be able to surprise others with your talent. Good luck!
come back
Comment
  • bowtiesmilelaughingblushsmileyrelaxed relaxedsmirk
    heart_eyeskissing_heartkissing_closed_eyesflushedrelievedsatisfiedgrin
    winkstuck_out_tongue_winking_eyestuck_out_tongue_closed_eyesgrinningkissingstuck_out_tonguesleeping
    worriedfrowninganguishedopen_mouthgrimacingconfusedhushed
    expressionlessunamusedsweat_smilesweatdisappointed_relievedwearypassive
    disappointedconfoundedfearfulcold_sweatperseverecrysob
    joyastonishedscreamtired_faceangryragetriumph
    sleepyyummasksunglassesdizzy_faceimpsmiling_imp
    neutral_faceno_mouthinnocent
5+two=
Comments (0)

Mosaic "Broken Heart" | Do it yourself

How to make a metal decorative basket with your own hands

How to make an electric charcoal blower for a barbecue

How to make the transition from a round pipe to a square profile

«Do it yourself - with your own hands» - a site of interesting homemade products made from scrap materials and items at home. Step-by-step master classes with photos and descriptions, technologies, life hacks - everything a real master or just a craftsman needs for needlework. Crafts of any complexity, a large selection of directions and ideas for creativity.

We recommend reading

Washing machine error codes