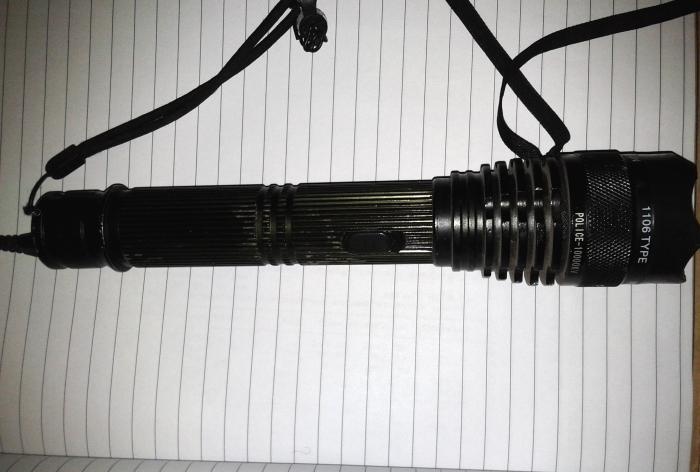
Producing a fairly loud crack and a visible discharge of electricity, it effectively causes even large dogs to run away.
Although the device looks quite high quality, over time it stops working due to falls or rapid battery drain. In such cases, you want to do something to return the lantern to its former life.
And sometimes this can be done, the question remains, how to disassemble this device to get to its insides? From the outside it seems quite difficult, since the body looks cast and impregnable.

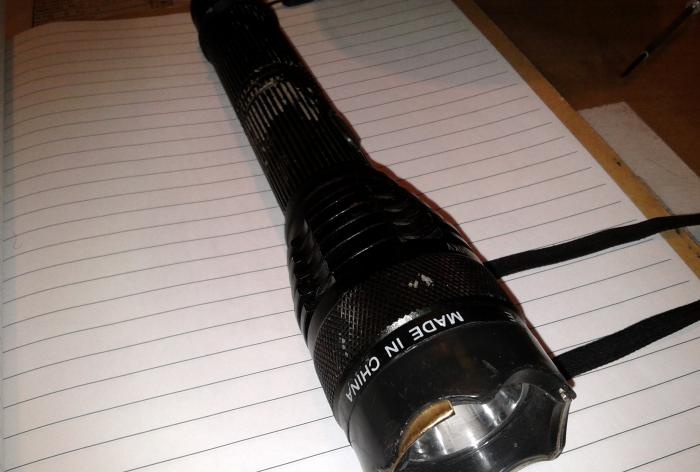
This article will describe how to disassemble one of these lights and possibly find the cause of the breakdown.
Since the flashlights are structurally almost identical, the disassembly method is also suitable for other models in this series.
You should start by removing the protective tape for the mounting screws. The photo shows how to do this.
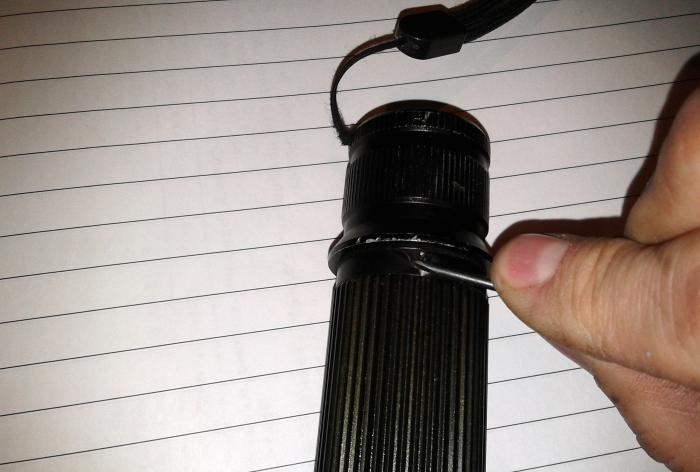
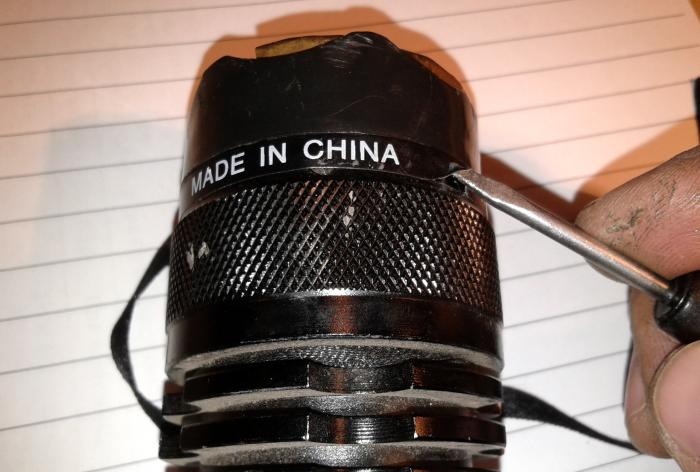
It happens that this film falls off on its own over time.
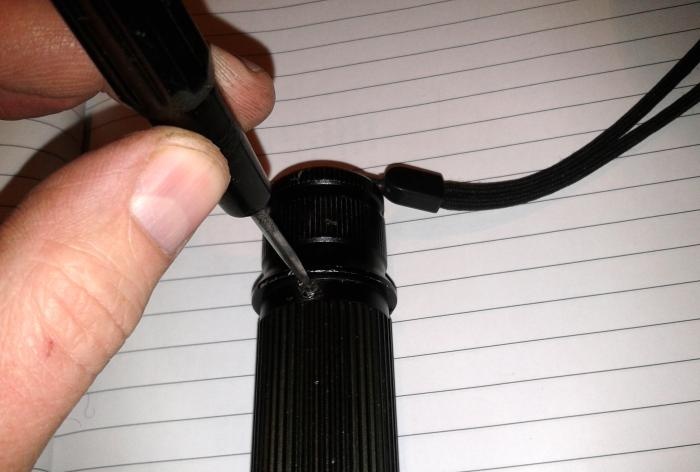
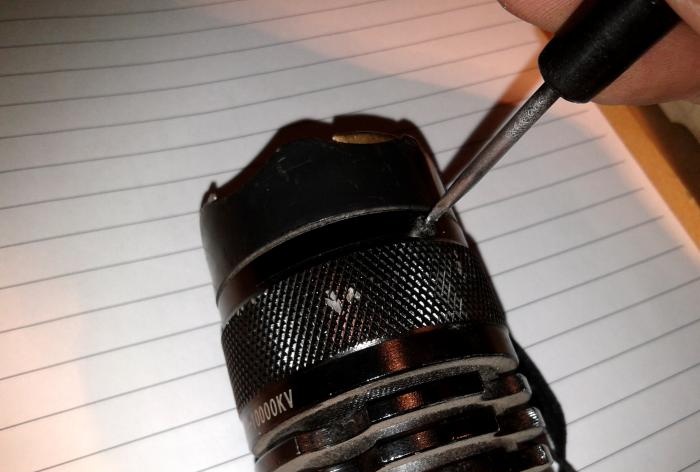
So, using a suitable screwdriver, unscrew all the mounting screws, both in the front and in the back.Usually there are only four of them.
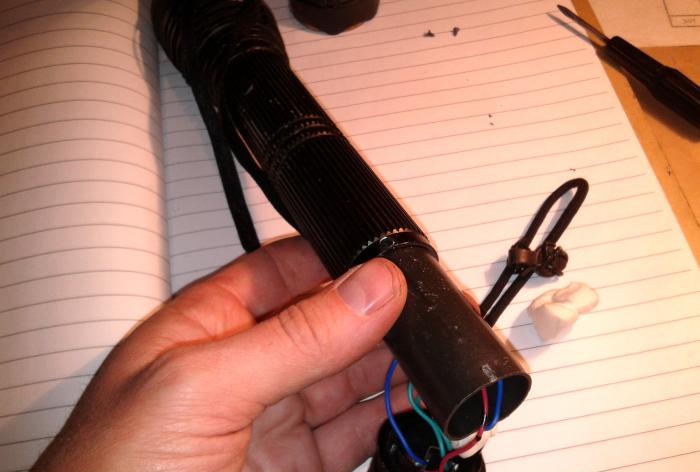
Next, pull the back part until it is removed.
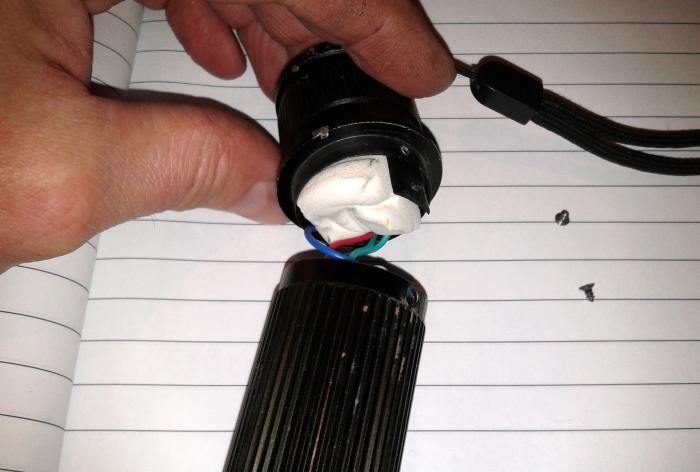
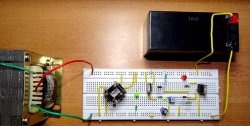
There you will see wires going inside the device, charger elements and a piece of foam for greater density.
Everything is hinged and rather flimsy. So be extremely careful not to tear anything off and make things worse.
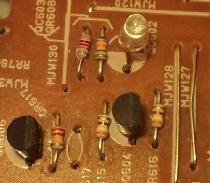
Here is a diode bridge, a damping capacitor and soldered connections, not insulated.

Now let's remove the front part. We pull it to the side in the same way - as with the back part - and it comes out easily.
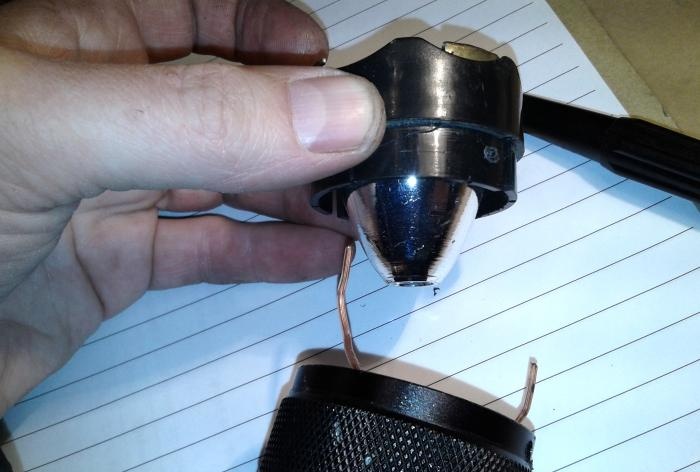
Two wires are pulled out of it - these are high-voltage conductors, through which electric current flows to the front spark gaps.
Strange, but they are not even soldered, but simply inserted into the holes opposite the electrodes. Apparently, even without direct contact, the voltage penetrates the required distance to form an arc.
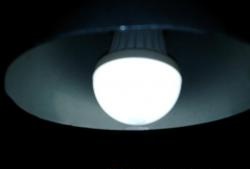
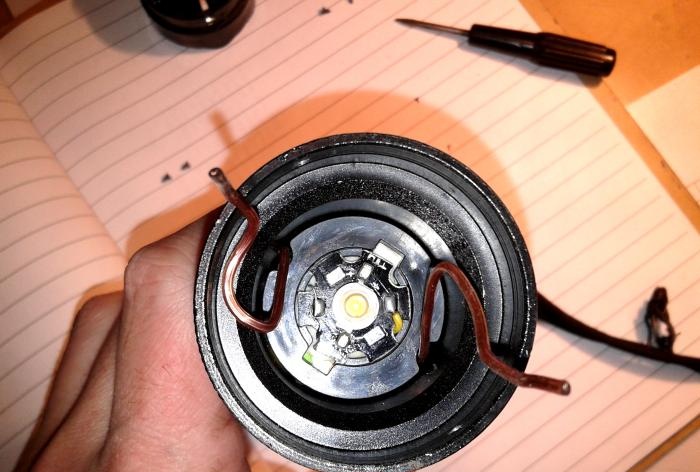
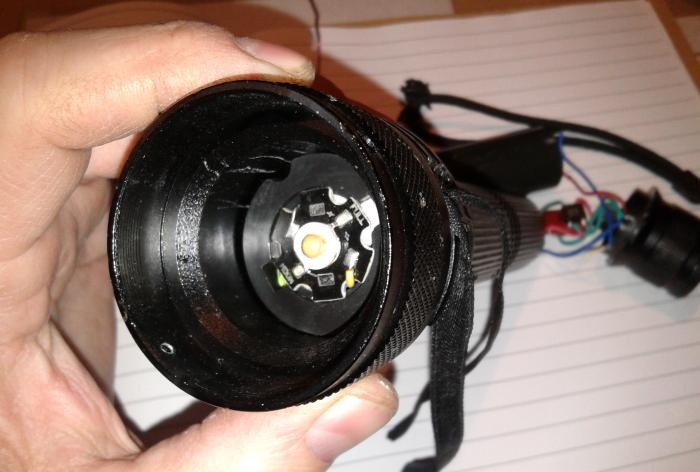
Otherwise, the front part is essentially a regular reflector. When he lands in place, Light-emitting diode hits exactly the center, appearing as if inside the reflector.
Let's move on to the back again. We extend the bridge with the capacitor as much as possible and take out the high-voltage coil embedded in the compound from the inside.
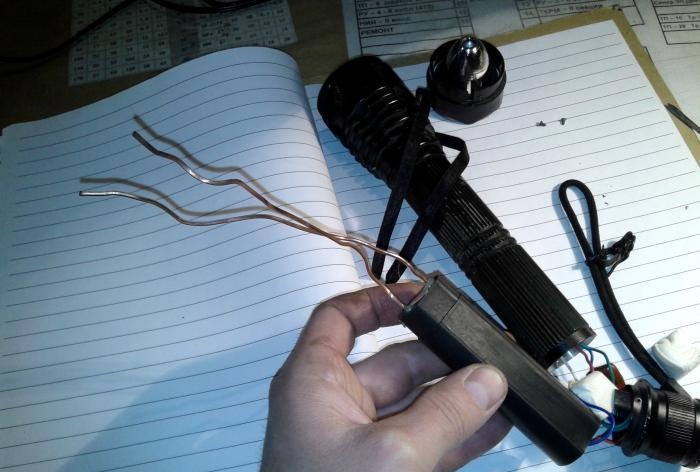
When you pull this coil, two high-voltage wires go from the back side into the flashlight. They need to be aligned, then this procedure will be easier.
As you can see in the photo, these conductors are simply inserted into the internal holes of the housing from the coil to the front electrodes.
This is how the removed high-voltage coil will look.

When assembling the wires, a thin copper wire tied to them will help you push the wires back through. You will need to tighten both ends at the same time.
We've dealt with the back part, let's move on to the front again.
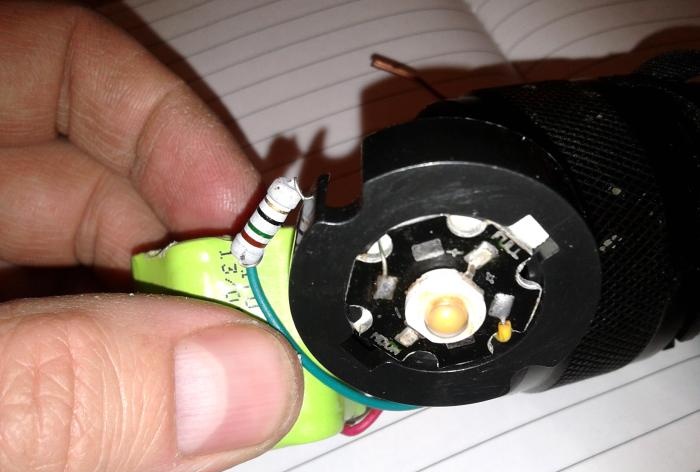
We pull out the panel with the LED and behind it we find a battery pack assembled into one structure.
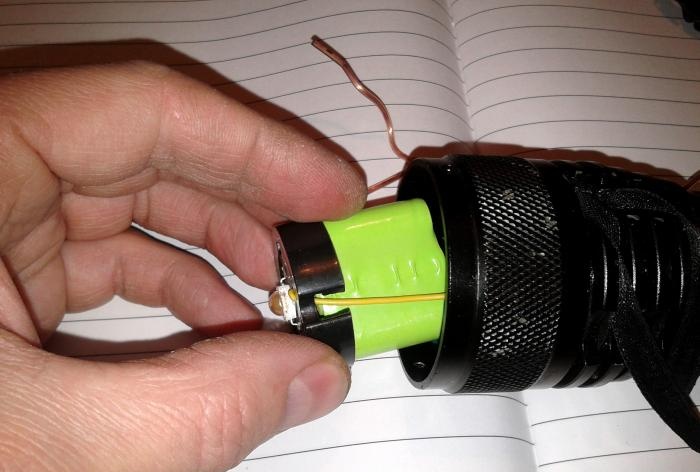
They are similar to micro finger ones, but have a slightly shorter length.
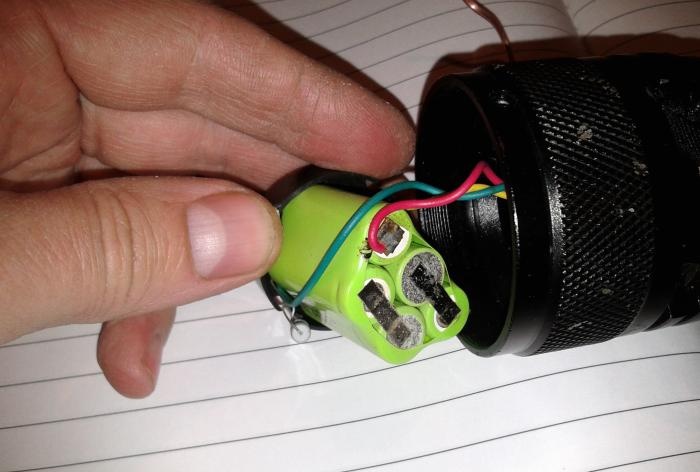
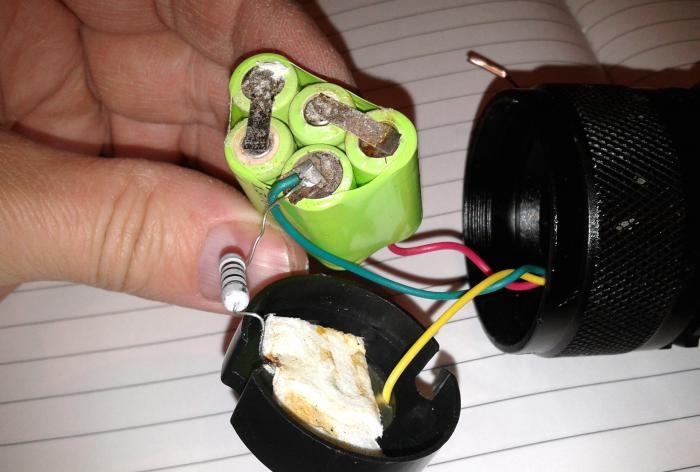
There are five of them in total and they are connected by metal plates, as if welded to their terminals.
This entire unit is placed in a polyethylene casing.
There are some inscriptions on it. Namely the voltage, which is six volts, and the date of manufacture. It turns out that each element has 1.2 volts, like a regular AA battery.
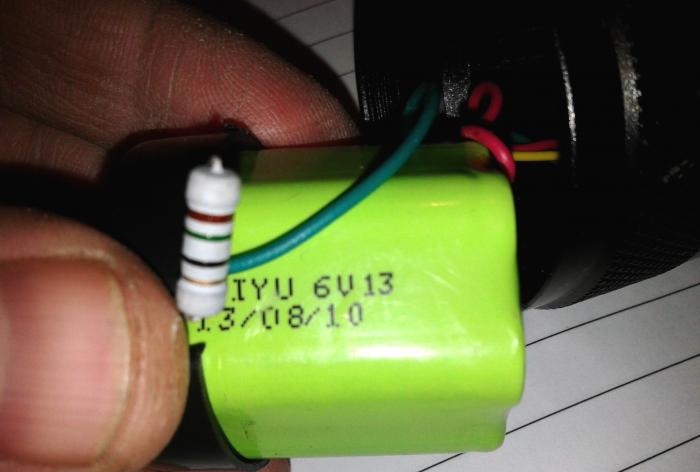
From this we can conclude that if you want to replace the battery, you can choose something. The main thing is to get it inside the flashlight body.
From the battery to the LED, the voltage goes through a resistance having a nominal value of about 15 ohms.
This photo shows the internal space where the battery should fit.
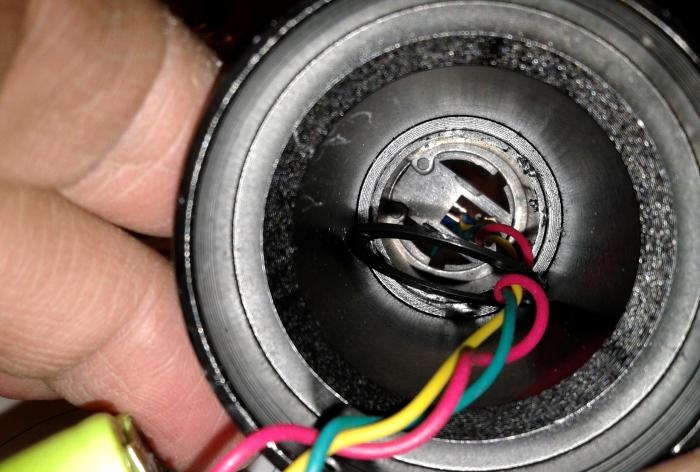
There is not much space, but you can pick something up.
Reassemble the lantern in reverse order. Considering the extremely unreliable assembly, everything must be done carefully so as not to tear off the wires and avoid short circuits between them and to the housing.