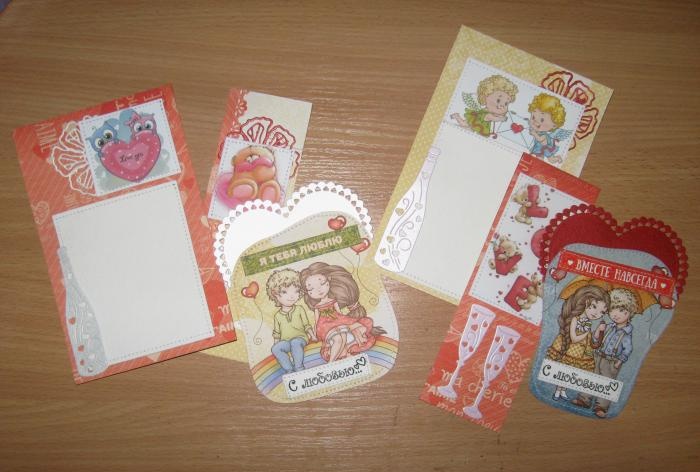
For the master class we take:
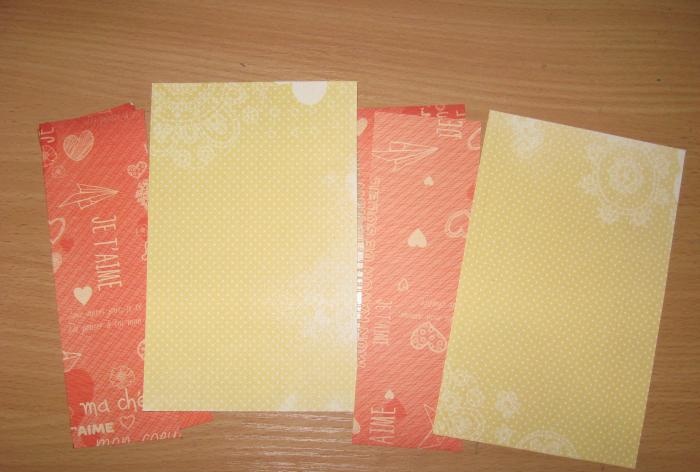
- Watercolor paper, two sheets 17*24 cm;
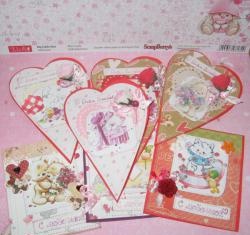
- Scrappaper from romantic collections, we take bright yellow-red tones of paper with elves;
- Love-themed scrapbook paper scrapbooks;
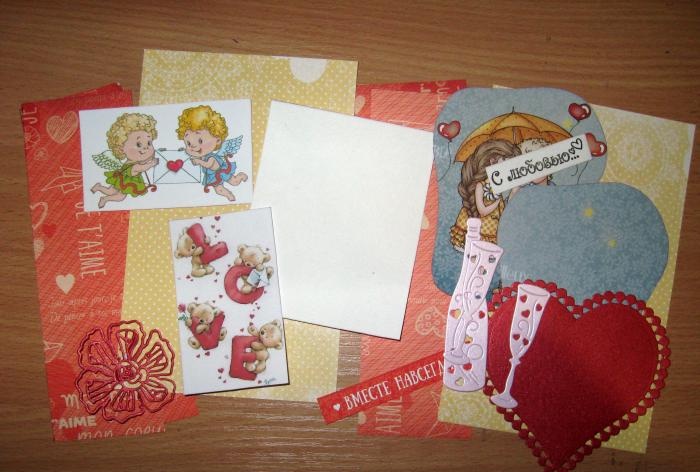
- Pictures with bears and angels;
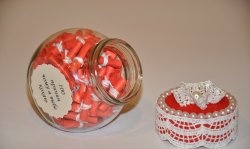
- Cutting: red and pink hearts, flowers, glasses and champagne;
- “With Love” stamp and ink;
- Border hole punch and 3D butterfly;
- Satin ribbons: salmon-colored, pink and white with hearts;
- Rhinestone hearts;
- Half beads are mother-of-pearl;
- Glue stick, double-sided tape, heat gun;
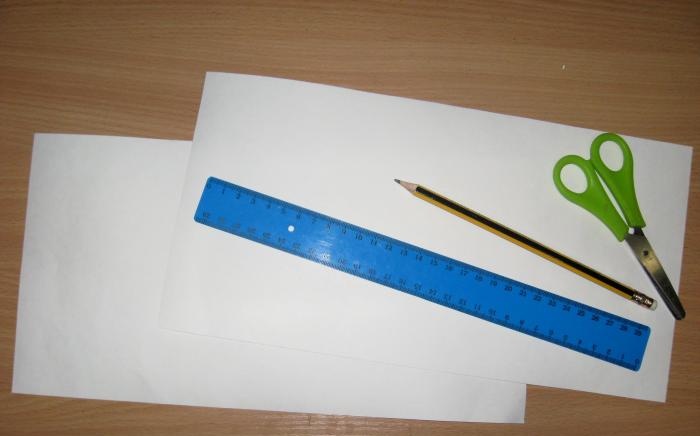
- Scissors, pencil and ruler.

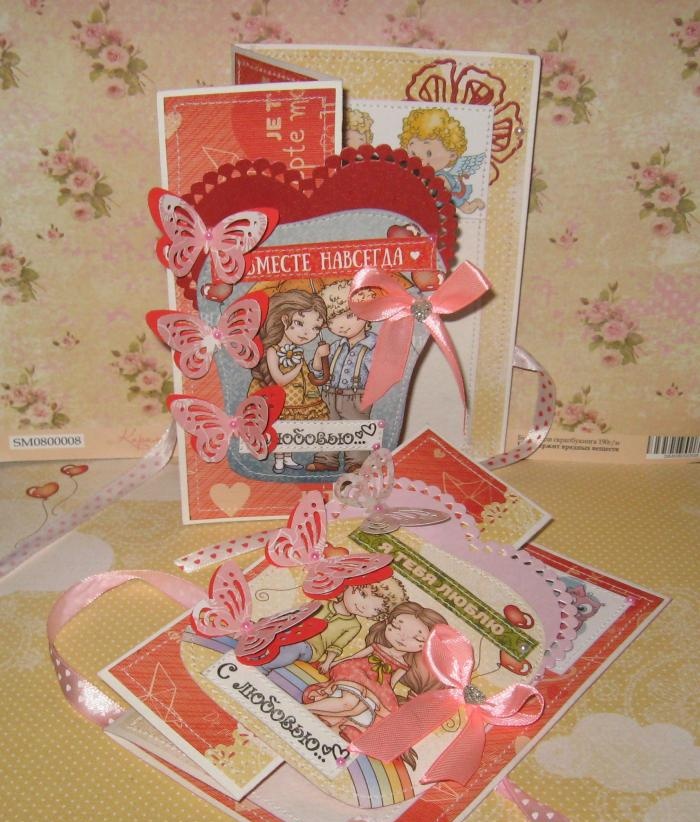
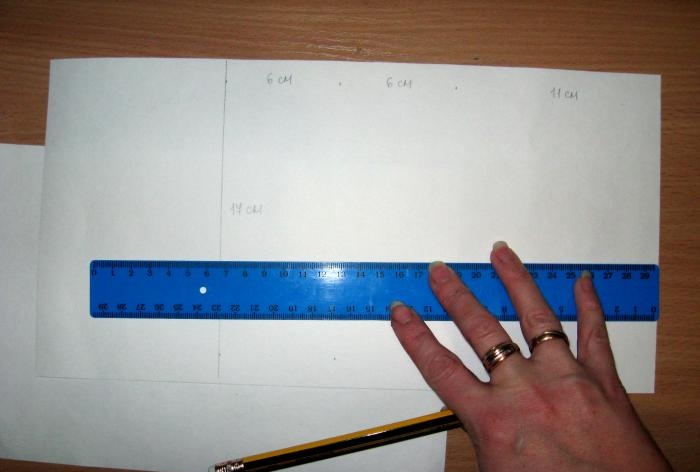
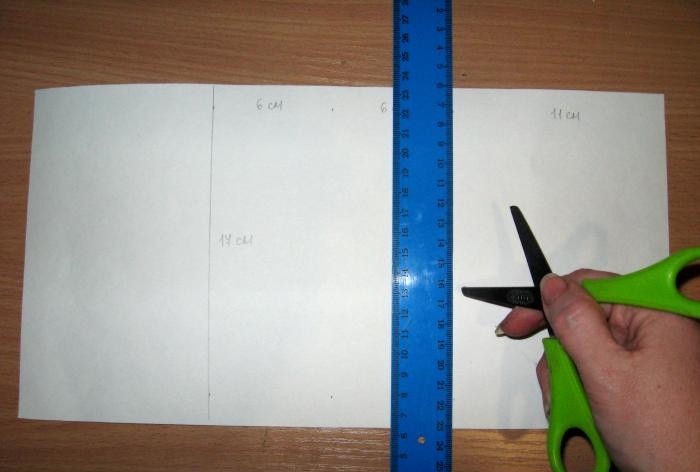
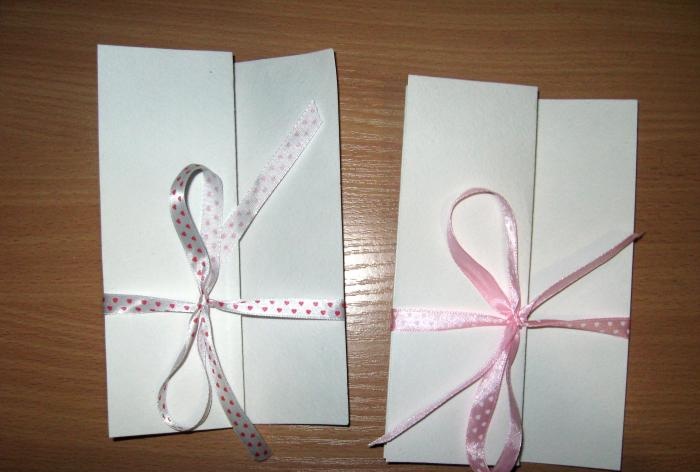
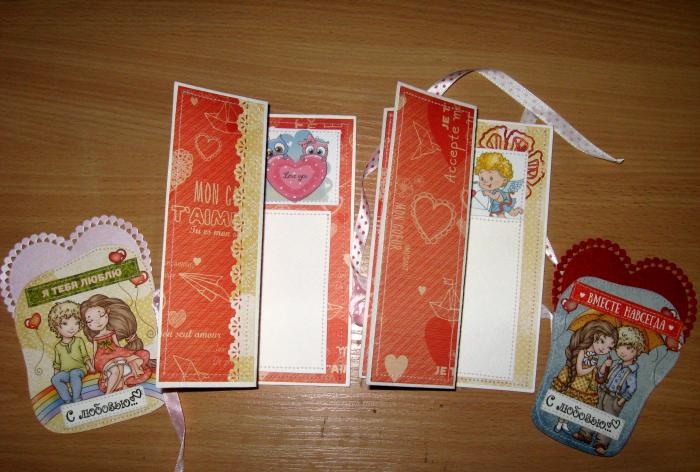
So, as we decided earlier, we will be making fold-out valentines, so what we will start with is using watercolor paper to make the bases for the cards. We leave the height at 17 cm, and divide the width into parts: 6 cm, 6 cm and 11 cm.
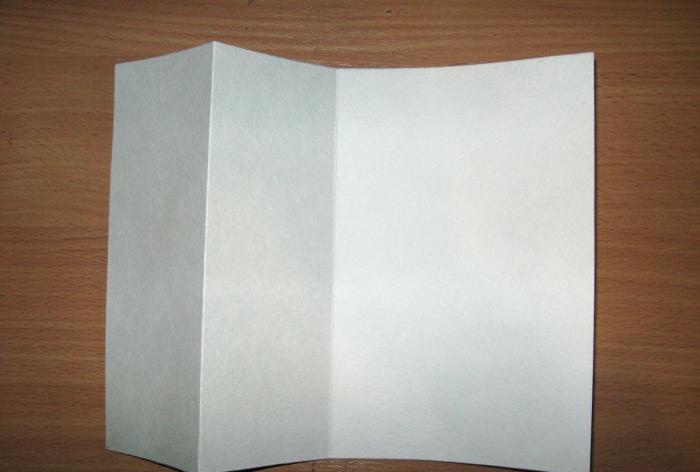
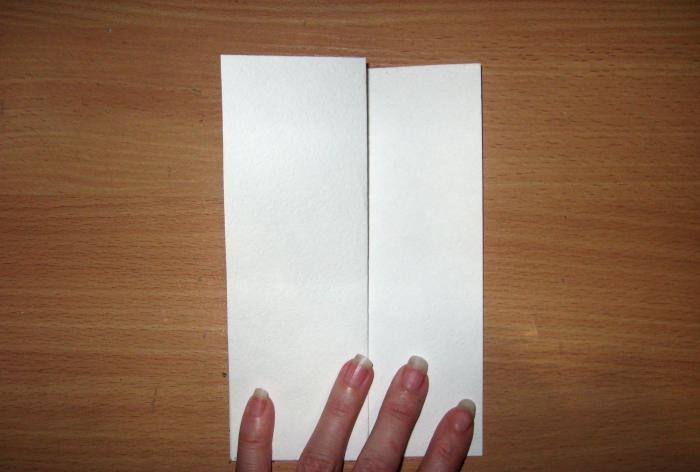
We draw bend lines and fold them this way.
We make two blanks. Now we need to cut two pieces of heart-shaped ribbon, four in total, to tie the cards with a bow.
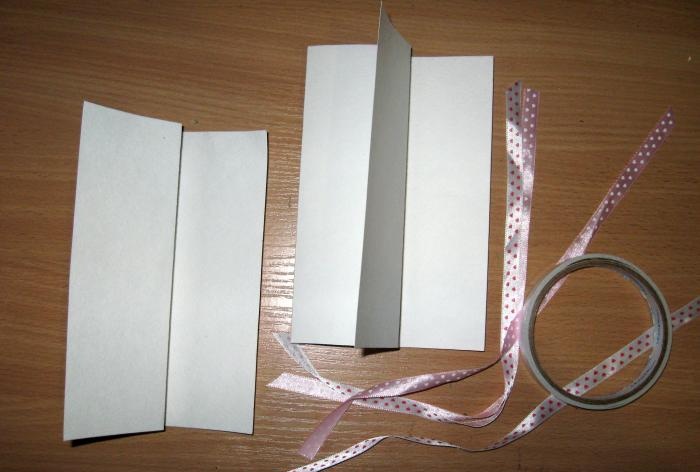
Use double-sided tape to glue the pieces to the back on both sides and tie bows at the front. Now let's move on to scrap paper.
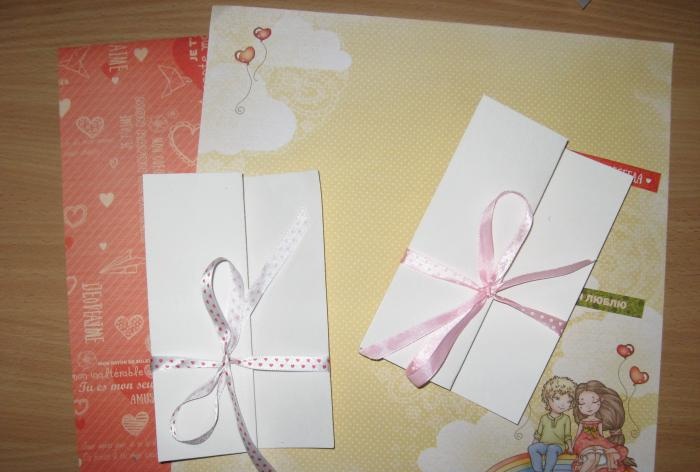
For each card, cut out two rectangles 10.5 cm * 16.5 cm and 4 rectangles 5.5 cm * 16.5 cm.
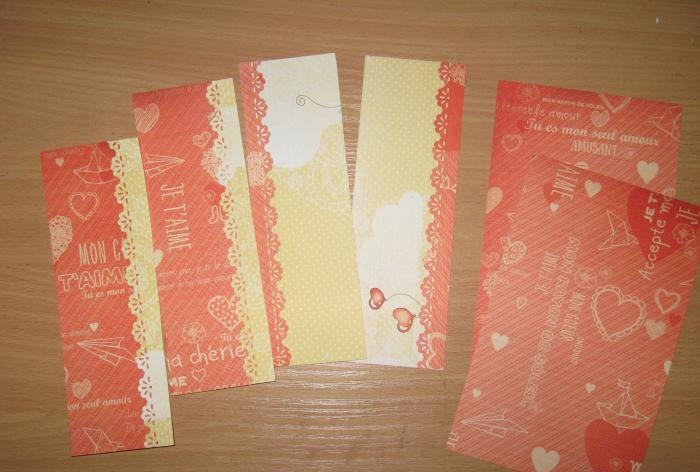
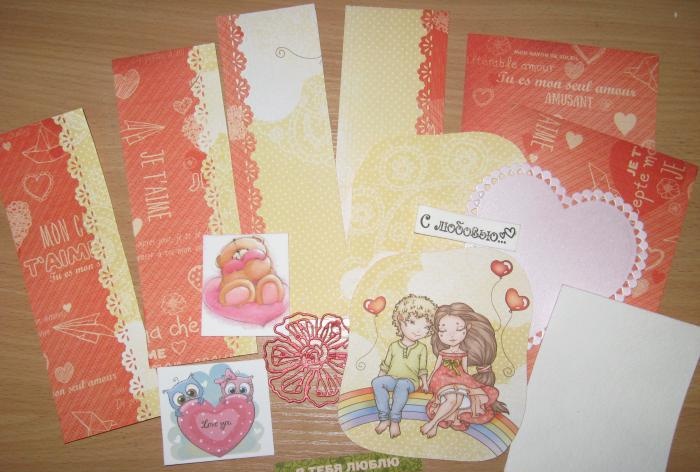
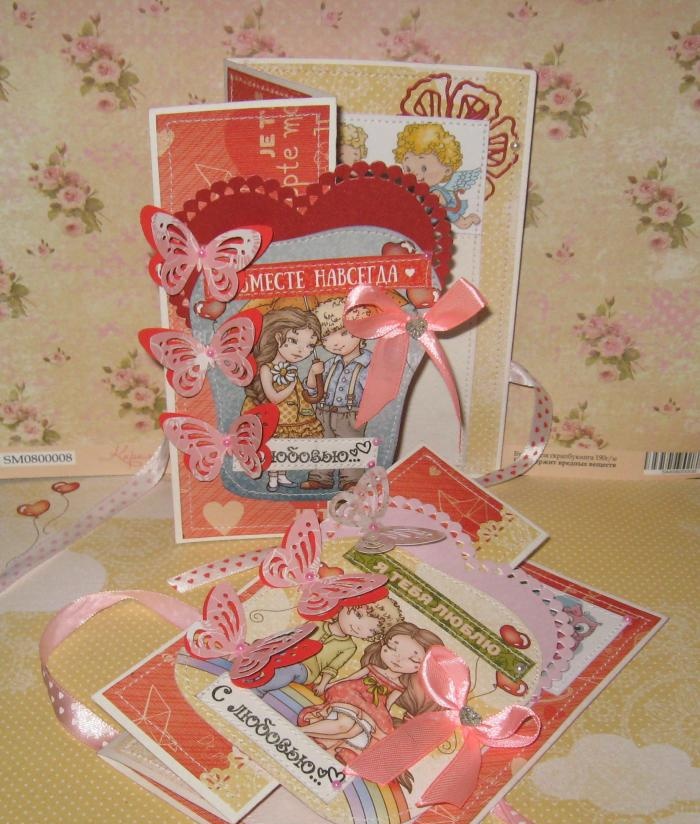
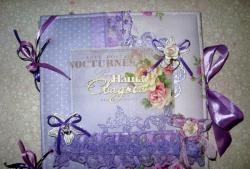
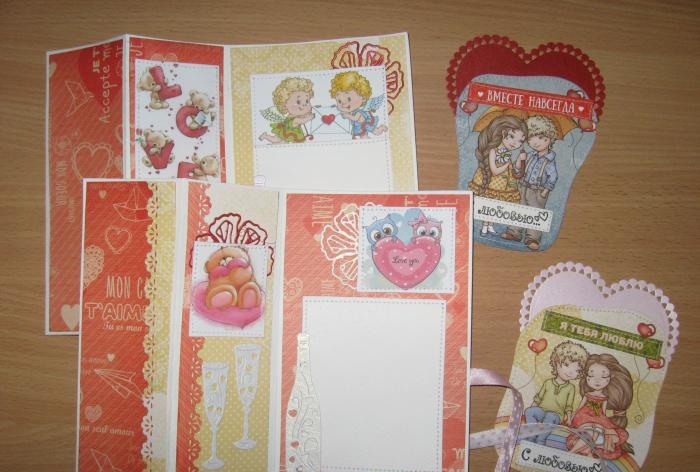
We cut out pictures with elves and insert hearts between the pictures. We glue a flower, glasses and a picture onto one strip, and onto a large rectangle we glue a flower with a picture and a rectangle of watercolor paper for wishes. We also use a border hole punch to make openwork edges and glue them onto the prepared rectangles.
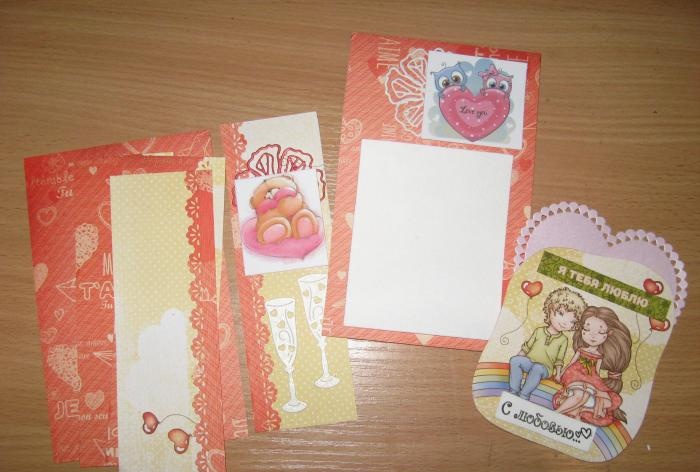
We glue everything onto the second card in the same way.
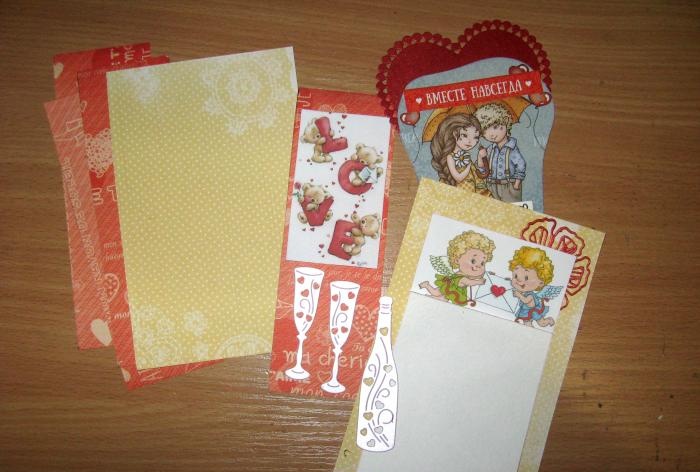
We sew on all the elements, and now we glue all these parts to the bases, except for the hearts with elves.
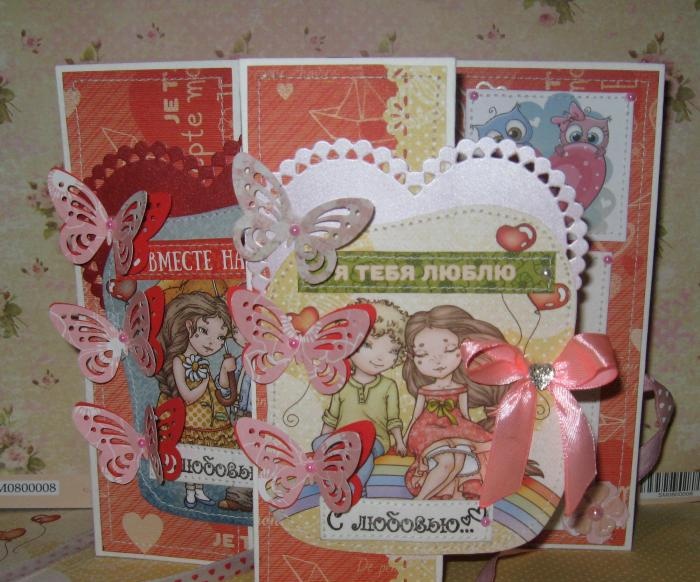
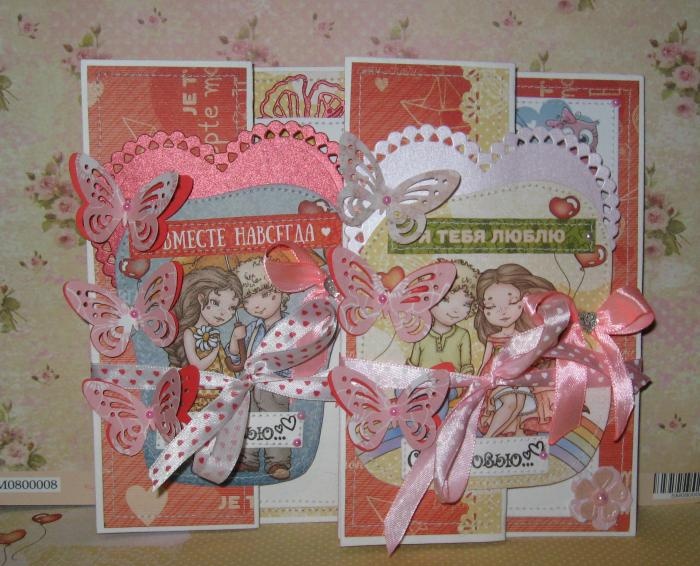
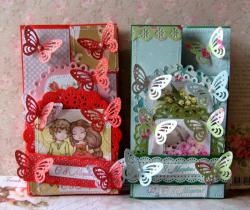
Sew it on, and now glue the hearts with elves to the front parts. All that remains is to punch the butterflies, make bows and decorate our valentines a little.
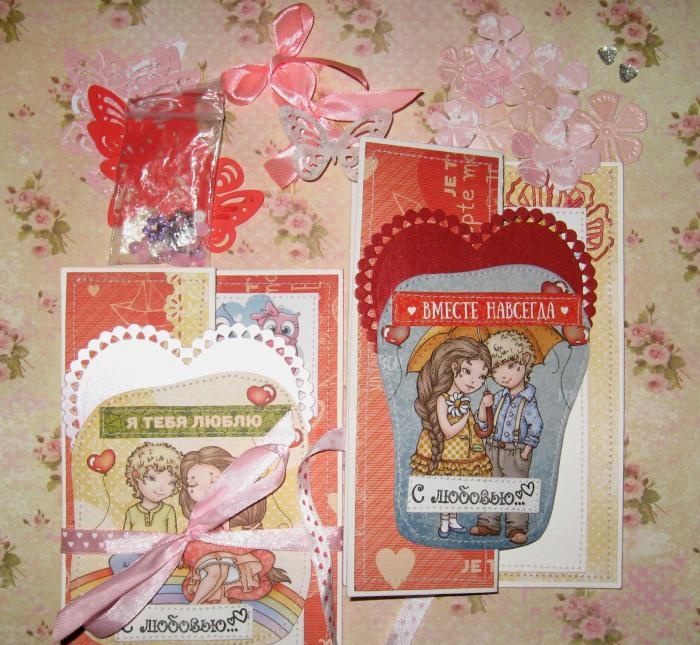
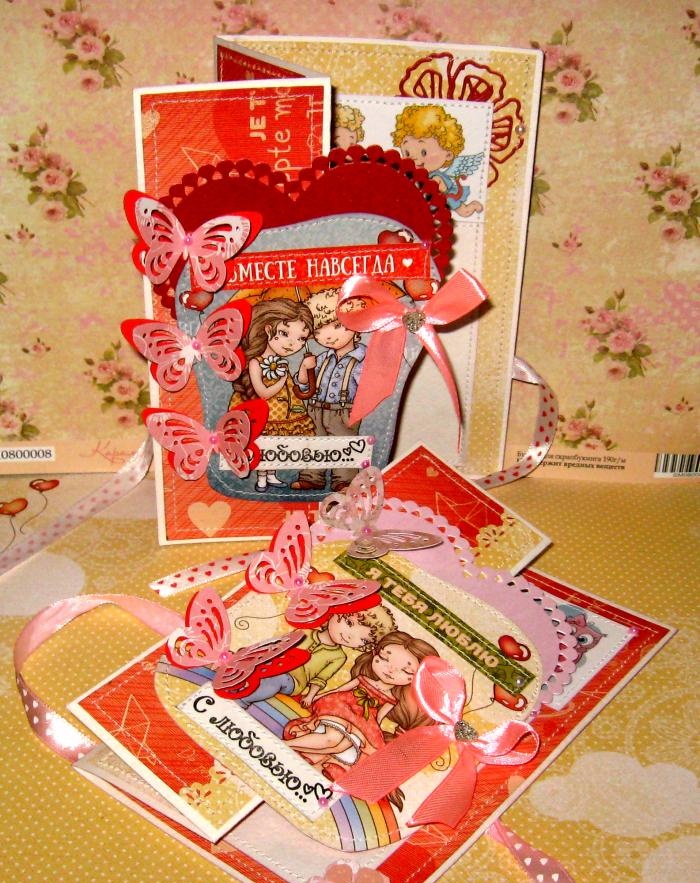
The cards are ready. It turned out very bright and romantic. Thank you all for your attention, bye and see you again!