- a blank sheet of paper.
- pencil.
- ruler.
- cardboard box.
- scissors.
- glue gun with replaceable stick.
- violet satin ribbon with a width of at least 50 mm.
- narrow lilac ribbon.
- green tape 25 mm wide.
- lighter.
- magnet.
- purple rhinestones of different diameters.
- lilac cabochon with a diameter of 13 mm.
Creation of a souvenir magnet.
To begin with, you need to draw a blank on a sheet of paper, according to which the souvenir will be cut out.
On a blank sheet of paper you should create a drawing corresponding to the dimensions indicated in the photo.

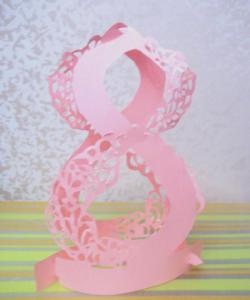
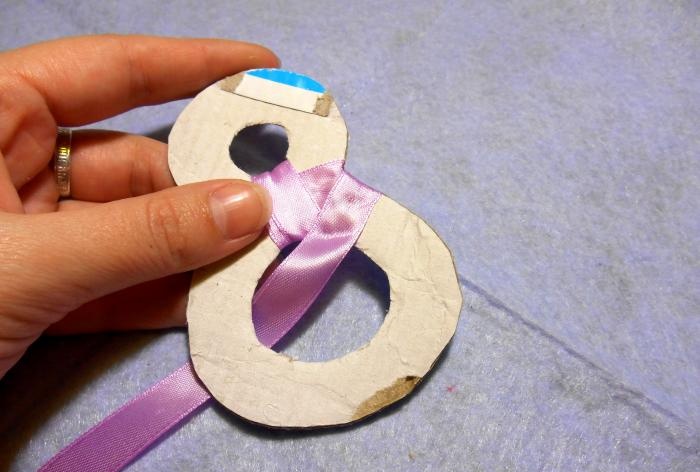
The part must be cut out along the drawn contours, resulting in the number 8.

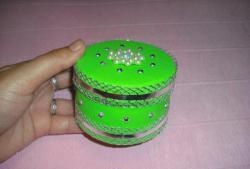
The blank is made, then you should cut out a base from thick cardboard, but preferably from a box.

Now the resulting part should be wrapped with a narrow lilac ribbon. It's better to start from the middle. Having carefully secured the edge of the tape with glue, you need to wrap the tape around the cardboard once and gradually move to the rounded part.
Gradually wrapping the cardboard, you need to evenly distribute the position of the tape, securing it with glue in different places.It is imperative to ensure that the ribbon does not curl or form creases or folds; this will ruin the appearance of the souvenir. Having completely covered the lower part of the base, you need to carefully move on to processing the top of the part.
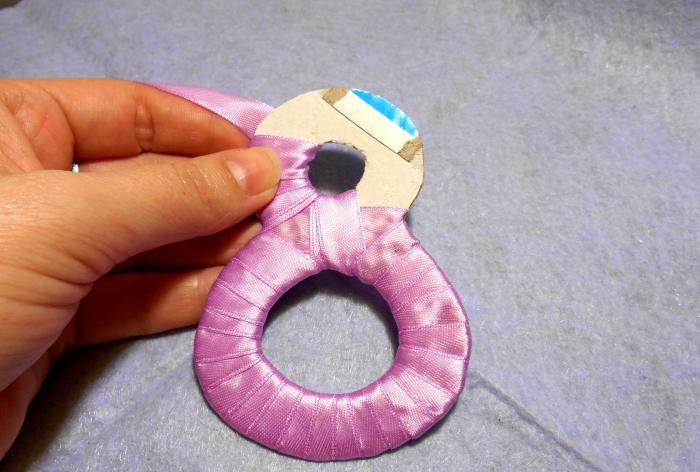
Having covered the entire base with tape, you need to cut it off and carefully singe the edge of the tape, secure it with glue so that it does not unravel.
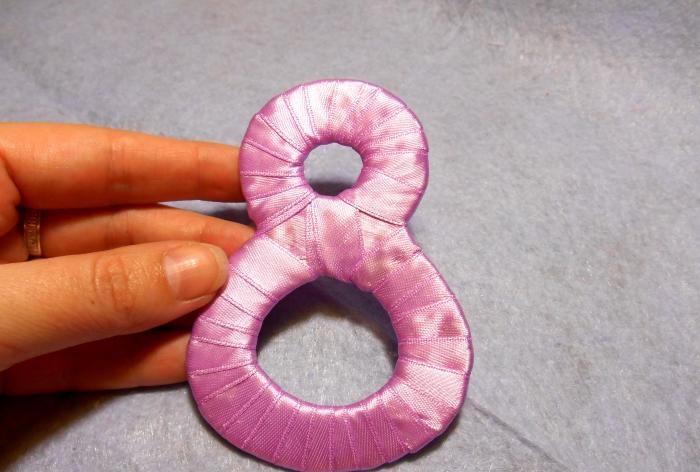
Now the base can be put aside and you can start working on creating decorations for the souvenir. To do this, you will need a prepared purple wide ribbon, which needs to be cut into square pieces with sides measuring 5 cm. Now you will need 7 pieces.
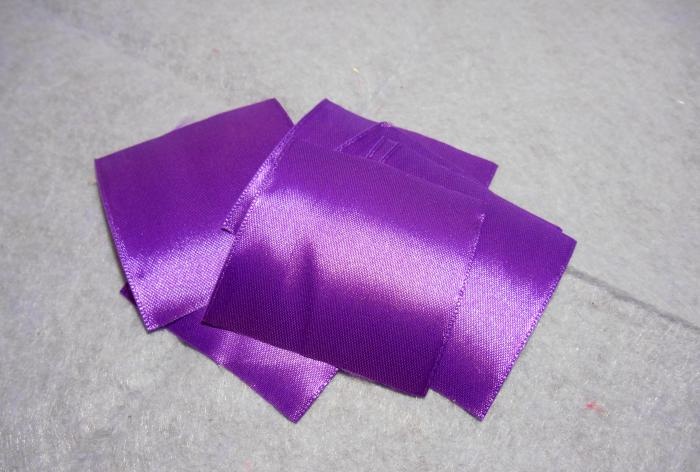
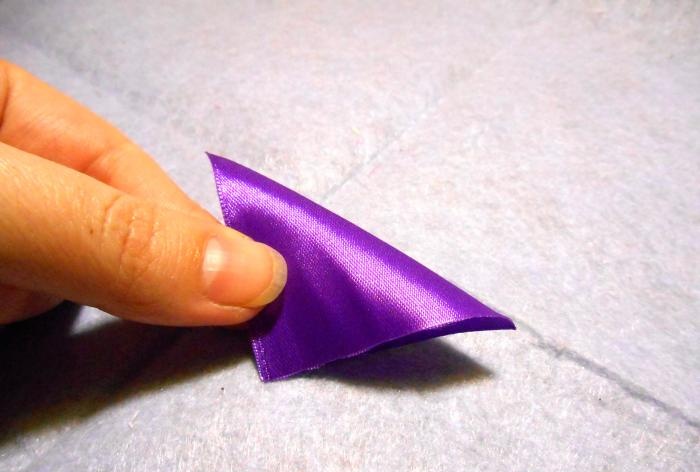
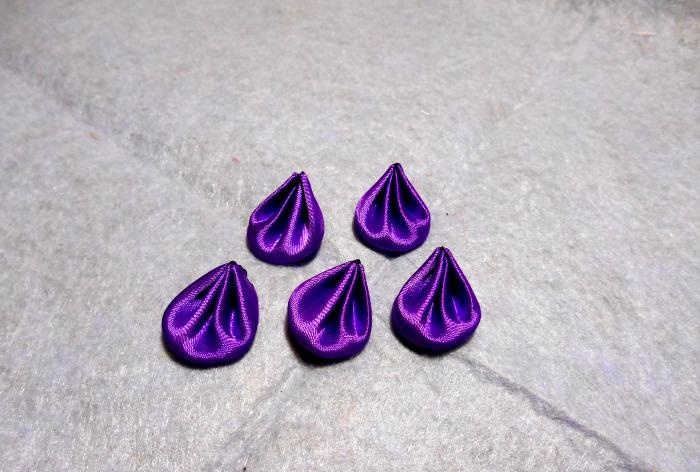
From these squares you should make petals for a small flower. To do this, each piece of purple tape must be folded in half, oriented along its diagonal, to ultimately obtain a triangular piece.
The two cut sides should be folded into several small folds.
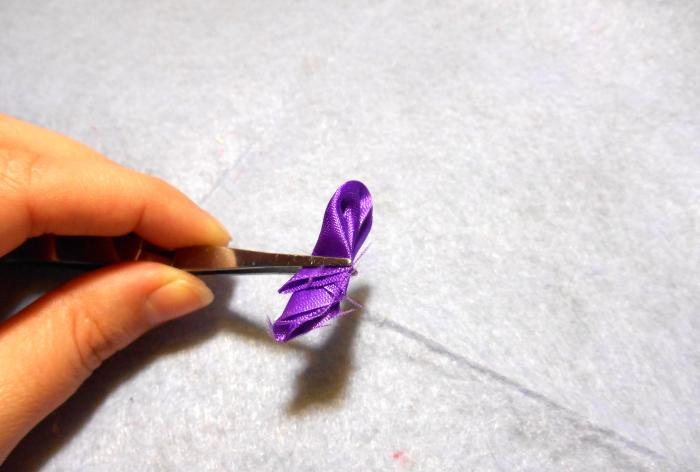
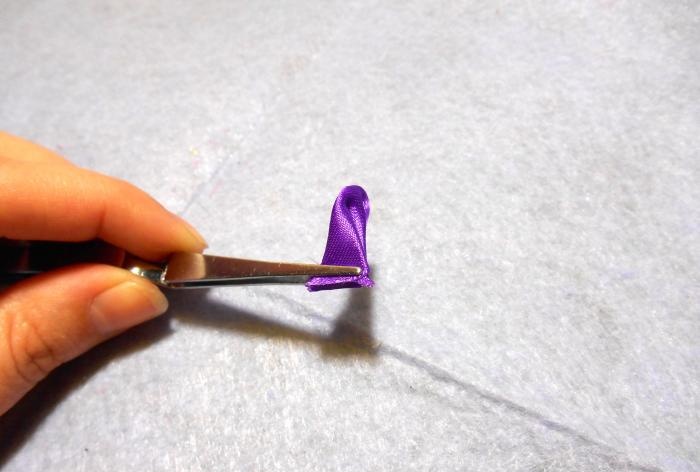
Now the uneven edges must be eliminated by cutting them off with scissors, and the new edge must be carefully scorched with fire in order to solder the layers of the tape and at the same time secure the edge of the petal.
The petal can be straightened, giving it a beautiful look.
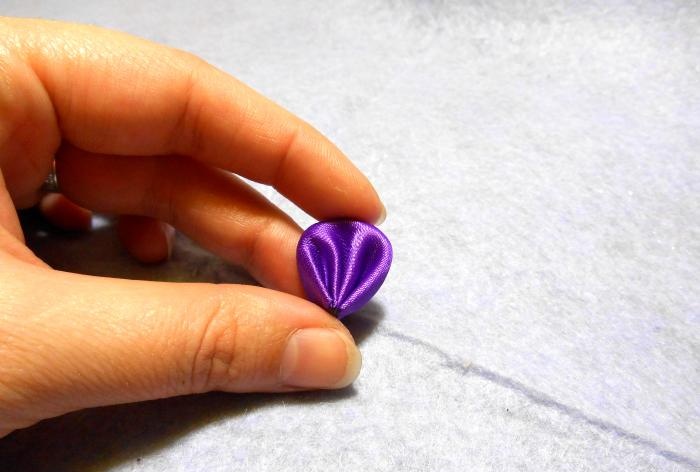
The result will be 7 identical petals. But first you will only need 5 of them.
Now they need to be glued together, combining them into one flower, combining their bases.
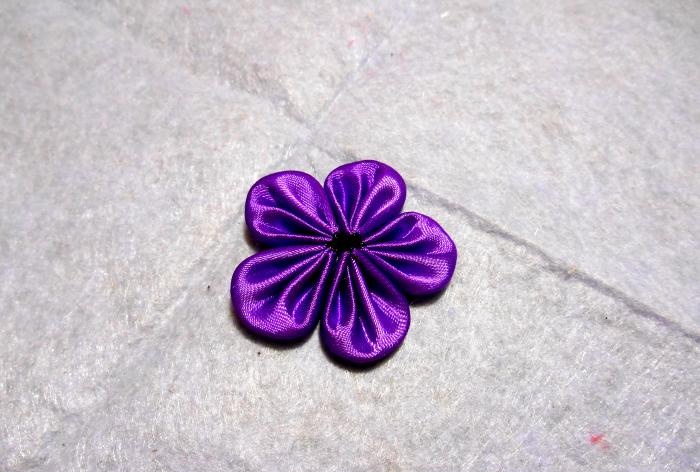
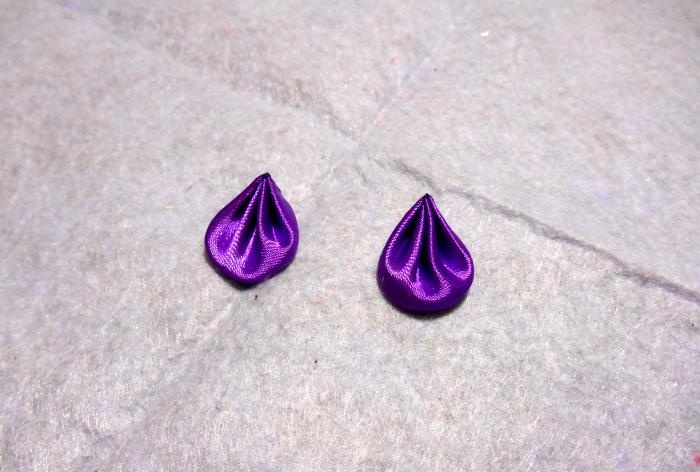
The remaining two petals will be used later and can be set aside.
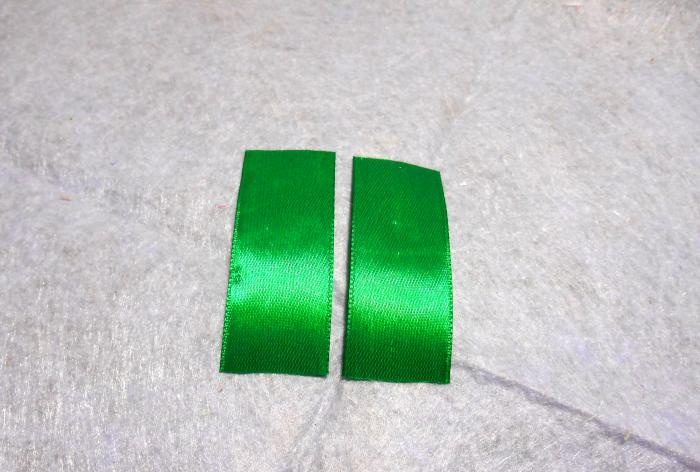
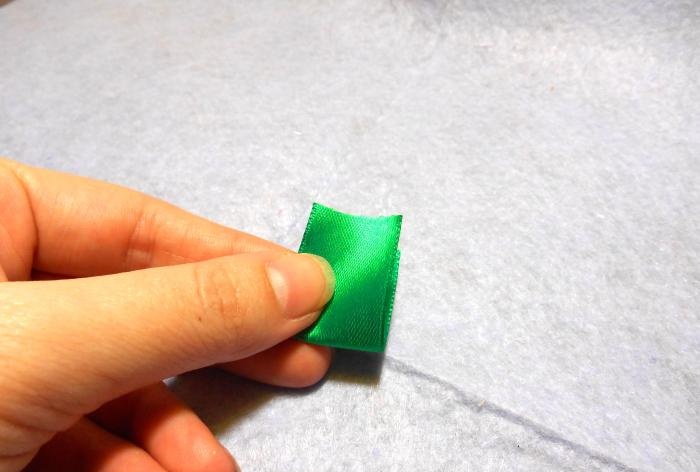
Then you can move on to creating leaves. For this you need green tape. You should make two pieces of it, each 6 cm long.
Taking one piece in your hands, you need to fold it in half, dividing its length, leaving the wrong side inside.
With the cuts facing upward, the fold should be squeezed with your fingers, starting from the lower right corner to the upper left, the part should be cut diagonally.
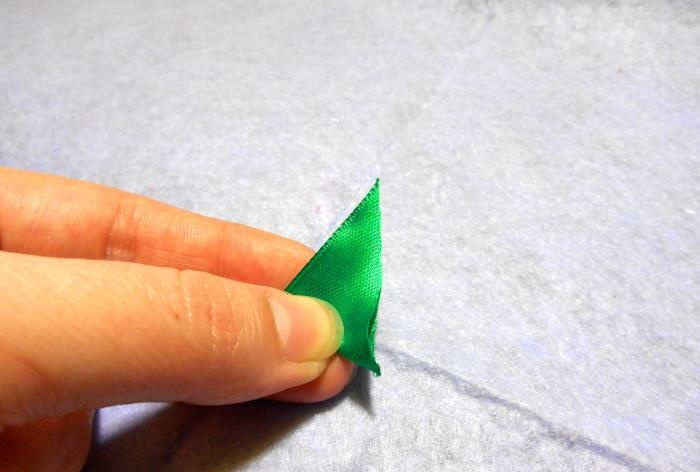
The resulting sections must be immediately scorched with fire so that they are soldered together.

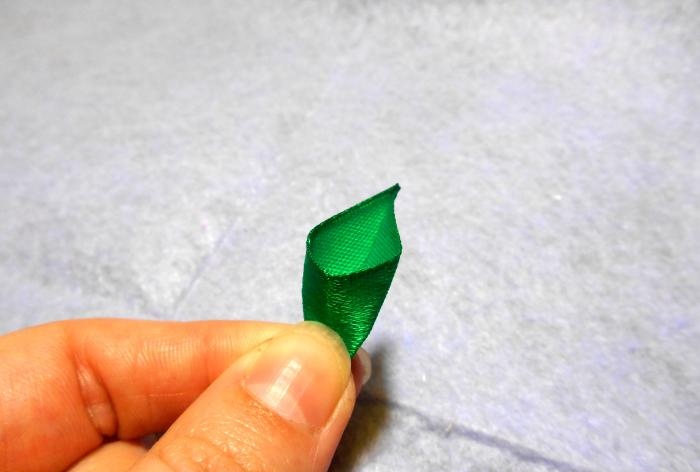
The result is a voluminous sheet. From the second segment you need to make the same one, completely repeating each action.
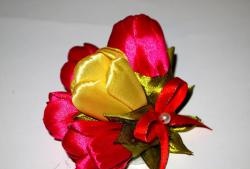
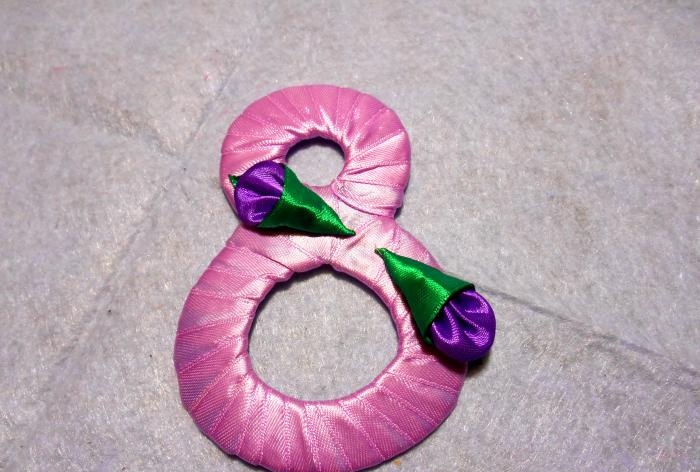
Now you need to put the petals left aside into the centers of the prepared leaves, having previously lubricated their base with glue.
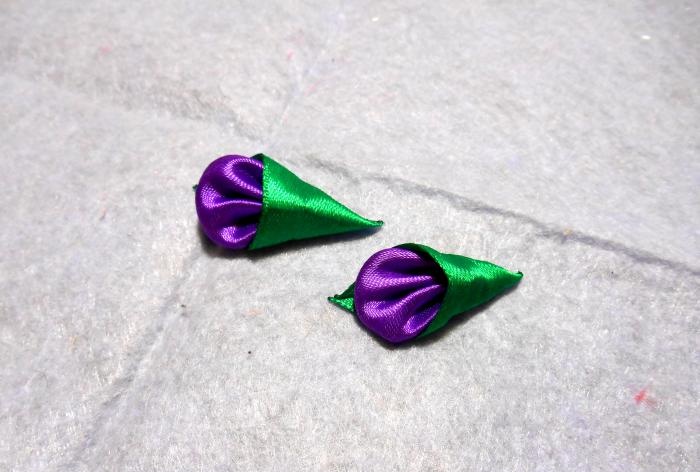
You get neat buds. Then they should be secured to a figure eight of tape. They should be glued in the middle of the part, pointing in different directions, leaving 1 cm between their edges.
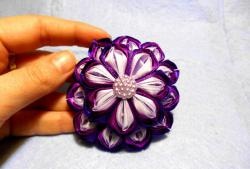
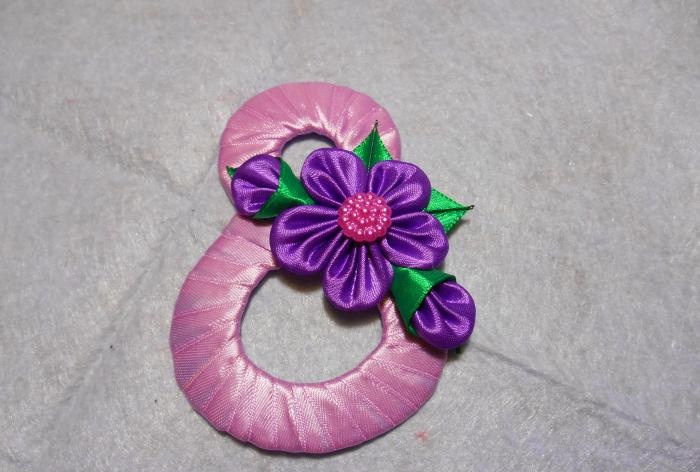
The gap left must be closed with the created purple flower, having previously smeared it from the inside with glue. The flower itself needs to be decorated with leaves and a large cabochon glued in the middle.
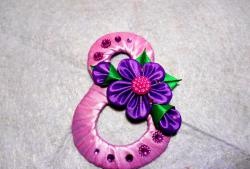
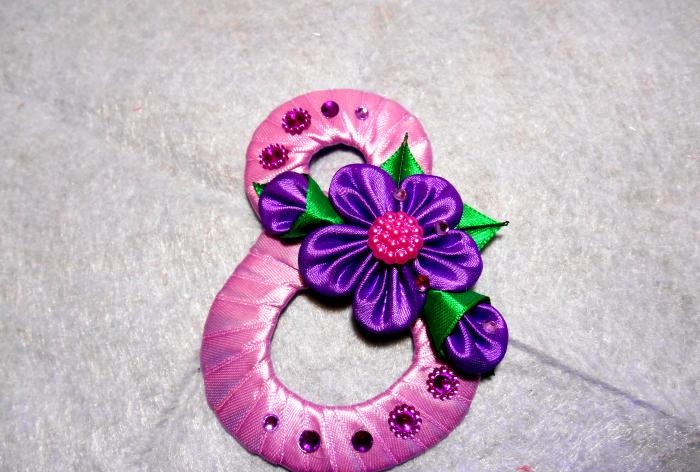
All that remains is to add rows of rhinestones to the souvenir. They need to be glued in one row, repeating the curves of the base. Larger rhinestones should be placed closer to the flowers, gradually reducing their size. The central flower must be complemented with two small silver rhinestones attached between the petals.
On the wrong side of the figure eight, in the center, you should glue a magnet.
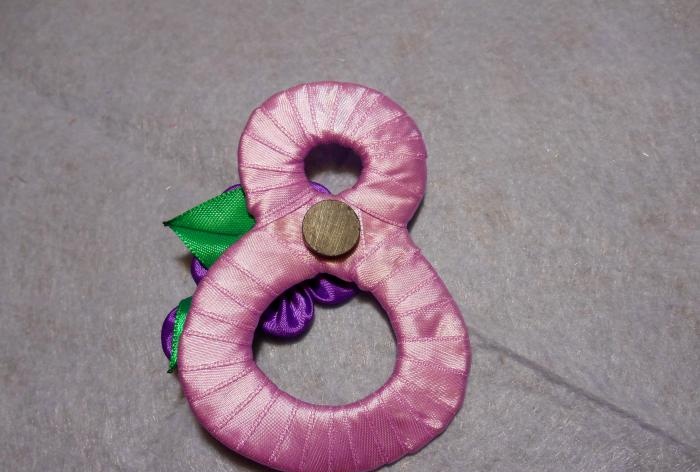
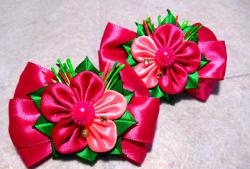
The souvenir is ready!