- narrow ribbon of light lilac color.
- plastic bezel 1.3 cm wide.
- scissors.
- pink rhinestones with a diameter of 4 mm.
- lighter.
- wide pink satin ribbon.
- fuchsia satin ribbon of medium width.
- lilac felt.
- glue gun.
- a piece of decorative braid imitating silver rhinestones.
Sequence of work.
First you need to process the rim.
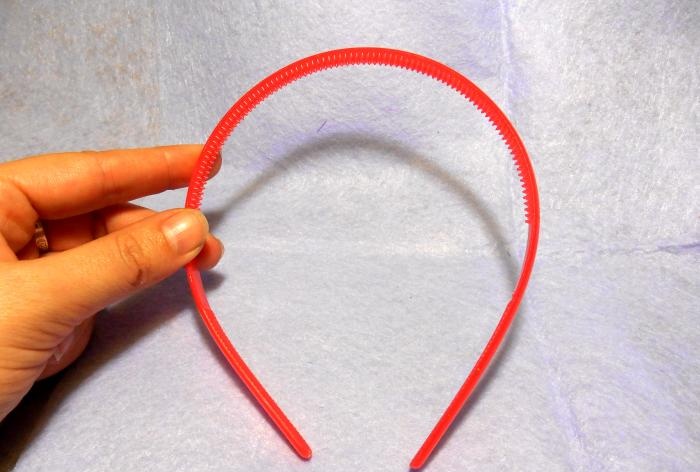
The future bow will not adhere well to its flat surface; this will require a narrow ribbon.
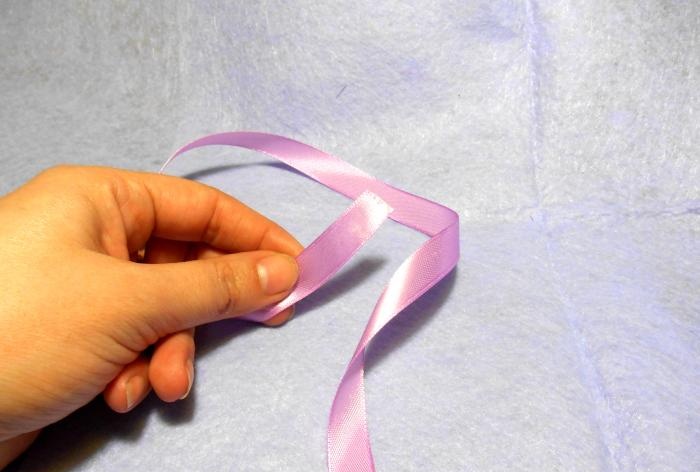
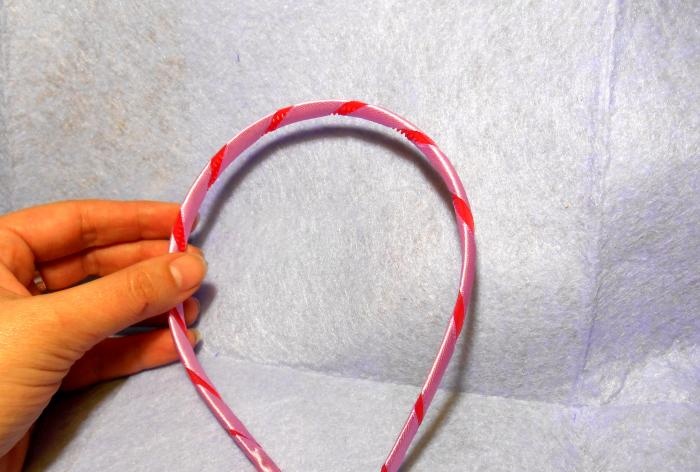
The edge of the light lilac ribbon needs to be singed so that it does not fall off while wearing the headband. Then you should wrap the rim with this narrow ribbon, remembering to make even distances between each turn. It is not necessary to wrap the rim frequently, the main thing is to cover the main part of the surface of the rim.
The glue should be distributed in an even layer, and along the entire line of contact between the tape and the rim. It is important to ensure that excess adhesive does not protrude beyond the tape.
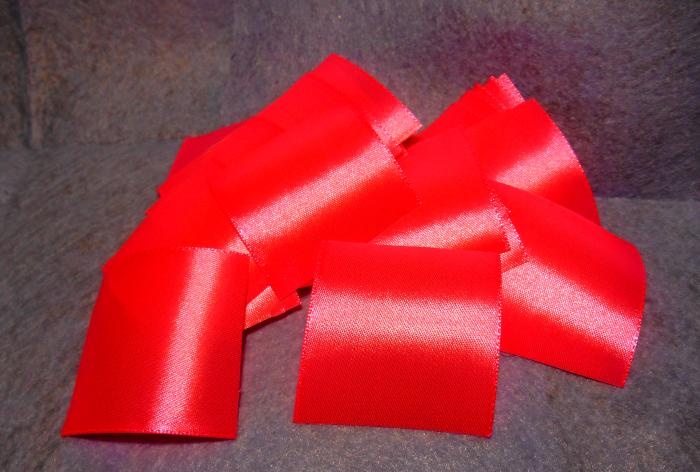
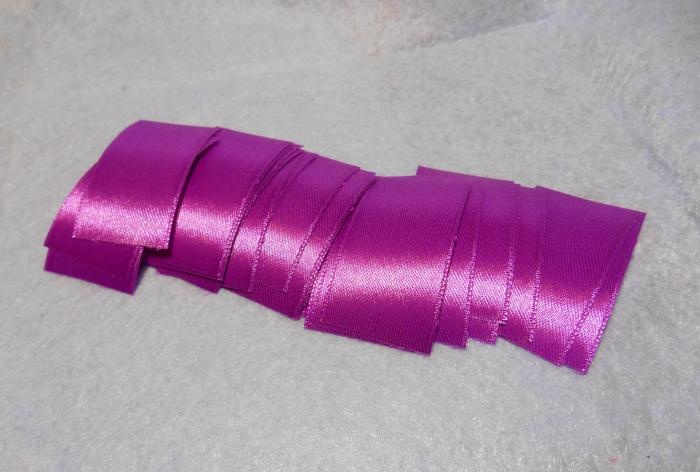
You can temporarily remove the headband so that it does not interfere, and begin creating a floral bow.To do this, you need a wide tape, from which you need to prepare squares with sides of 50 mm. A total of 24 such blanks for the rim will be required.
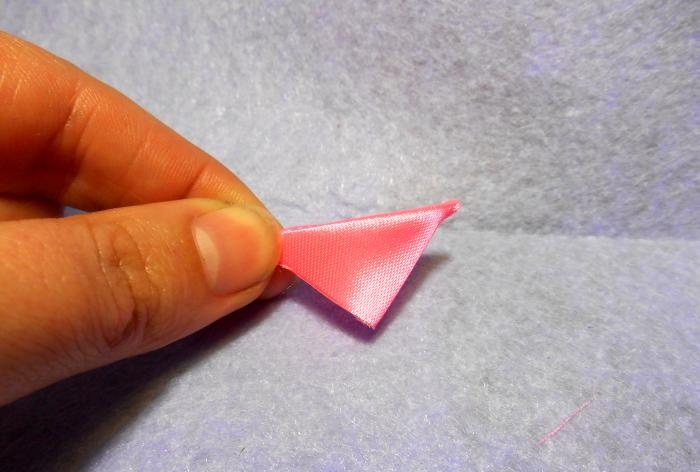
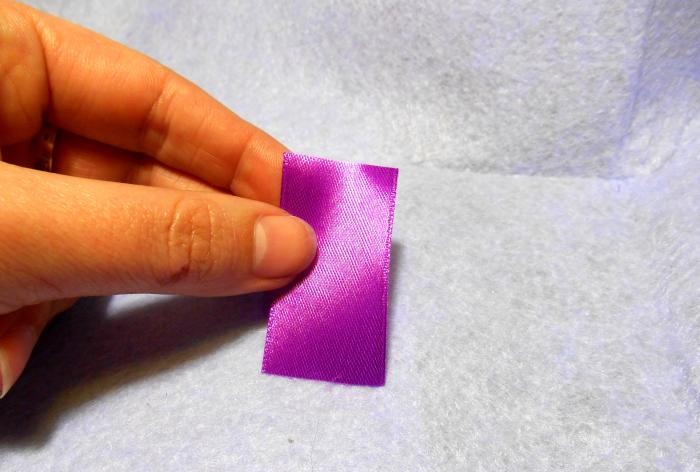
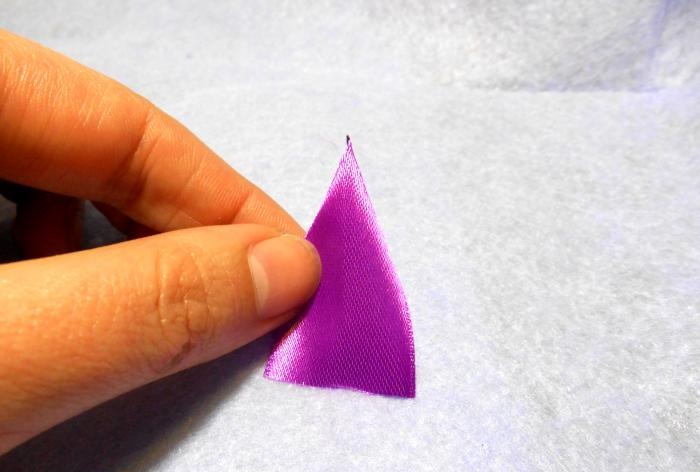
From each square you need to make three-dimensional parts. Taking one piece in your hands, you need to bend it, following the diagonal line, to form a triangle.
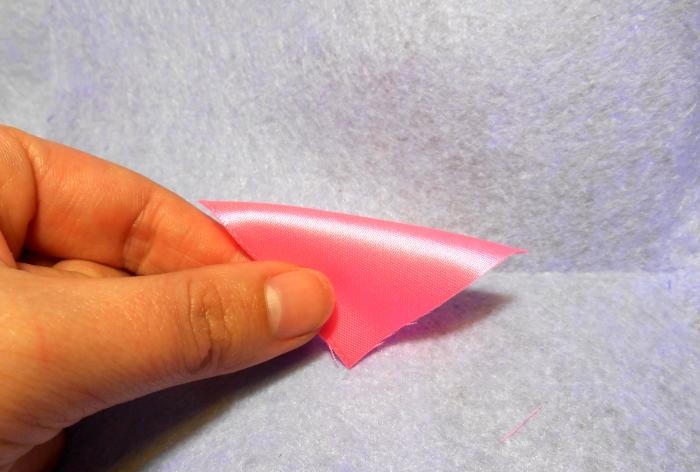
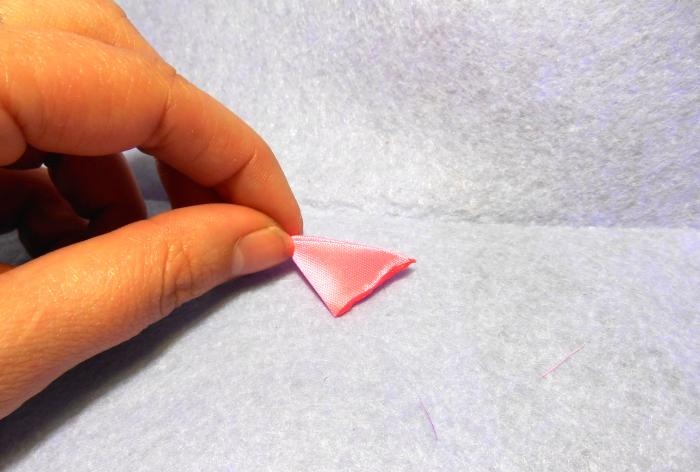
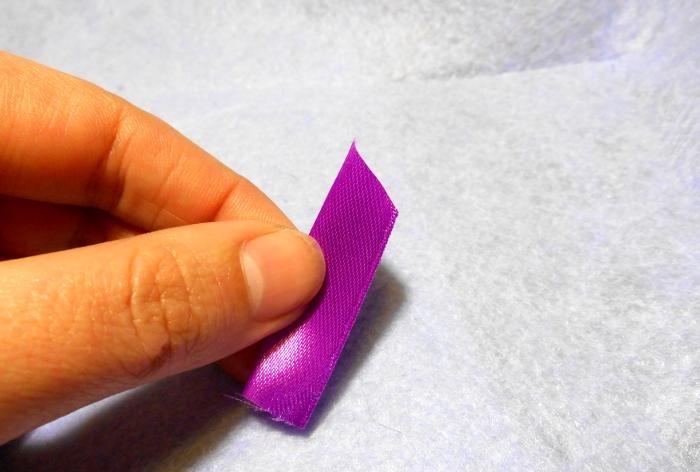
The resulting workpiece must now be folded in half and the action repeated twice more. The result is a triangular piece, bent in four layers.
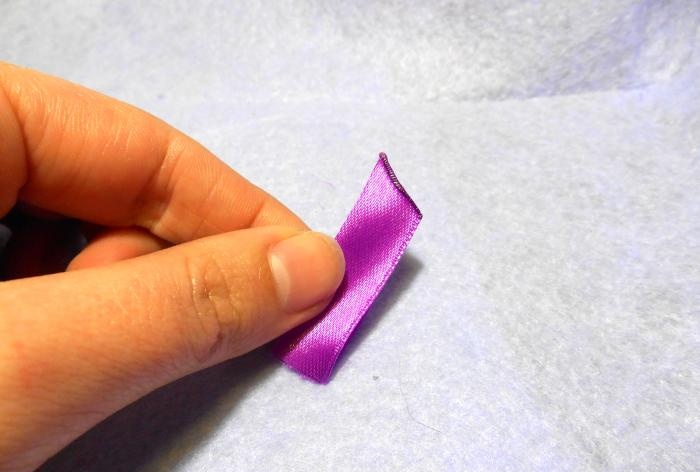
Having placed the cuts towards the bottom, you need to trim them with scissors, correcting any possible irregularities, and immediately scorch them with fire to solder them together. It is important to do this carefully so that the tape does not burn or become covered with black opalines, but at the same time, each layer of fabric must be processed.
A strong seam formed at the site of scorching. The entire petal at this point must be turned out.
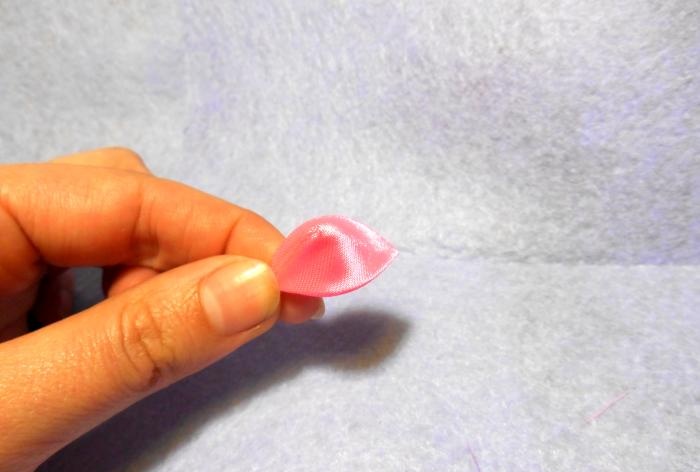
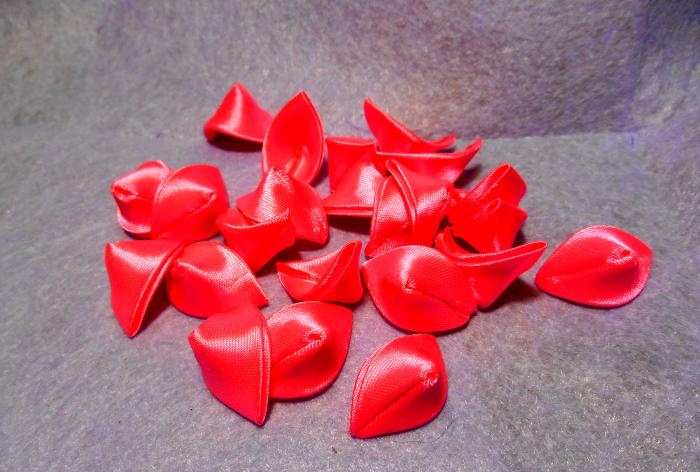
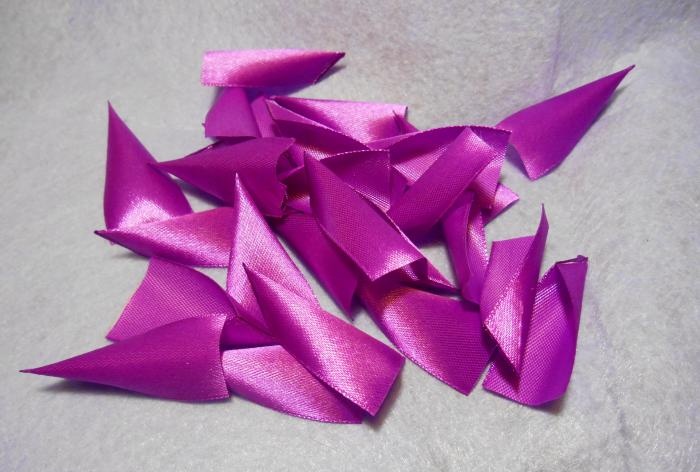
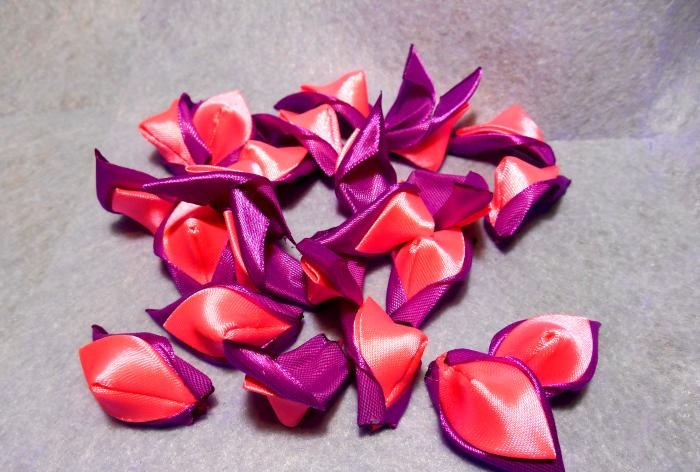
The voluminous petal is ready, all that remains is to make the same ones from other pink squares.
Now you need to make a leaf for each petal. For this you need a fuchsia ribbon of medium width. You should prepare 4.5 cm sections from it. Their total number should correspond to the petals.
All leaves also need to be created separately. Taking the first piece in your hands, you need to place it face up.
Then fold it in half along its entire length, matching the edges and hiding the wrong side inside.

Squeezing the fold line with your fingers, you need to cut off the upper corner at a slight angle. In this case, the fold should remain unchanged.
The inclined cut must be singed while simultaneously soldering the fold of the tape together.
The workpiece can be straightened, the petal is almost ready.
Similar leaves need to be made from other segments.
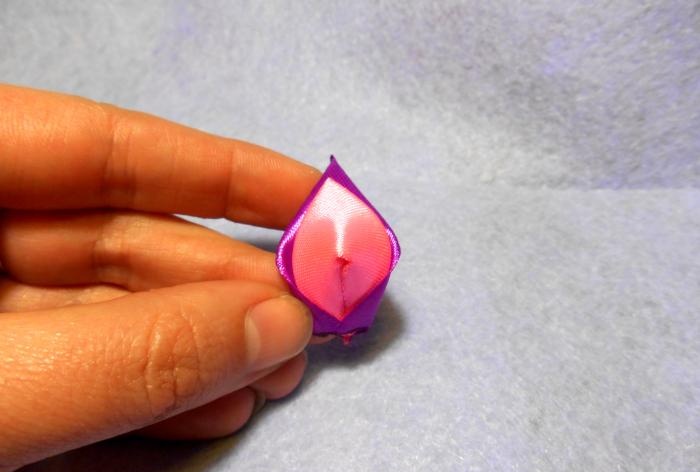
Next, the petals and leaves need to be combined.The lower part of the petal should be greased with glue and attached to the pointed part of the leaf, retreating 2-3 mm.
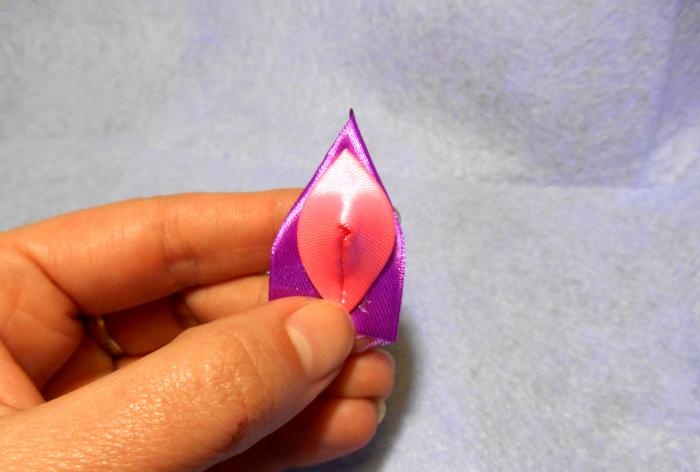
The bottom cut of the leaf must be wrapped on both sides of the petal.
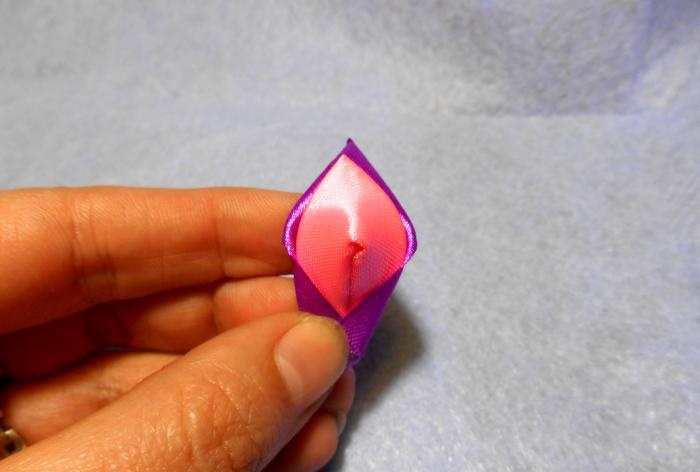
Holding in this position, the cut must be treated with fire, soldering.
This action must be repeated with all the leaves and petals, combining them.
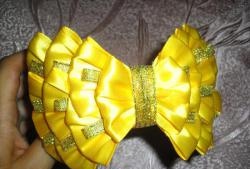
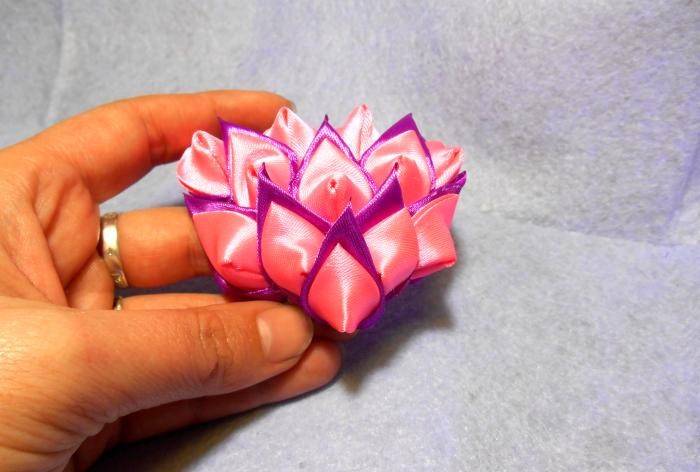
Now you can start assembling the bow. To create the first row, you need to glue two petals together, aligning their side parts.

In the second row you need to place the parts towards the bottom side of the first level. Three petals should be glued between the parts of the first row.
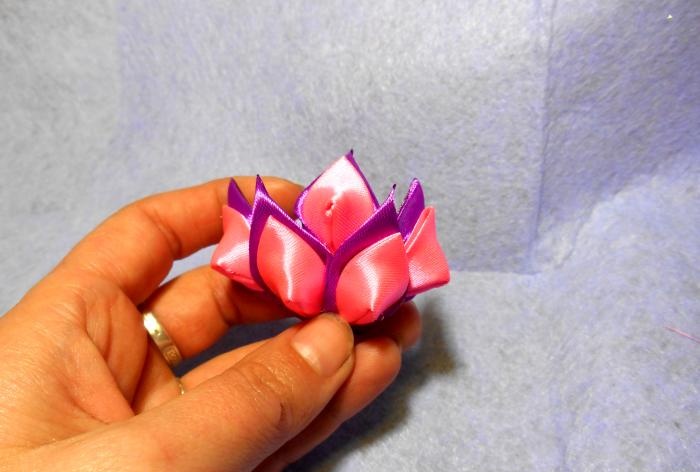
Then the two petals need to be secured in the center.
And glue one more piece on the edges, as shown in the photo.
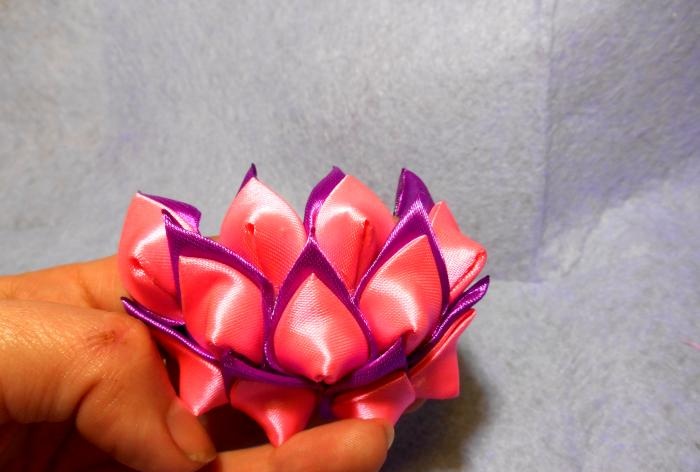
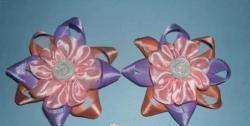
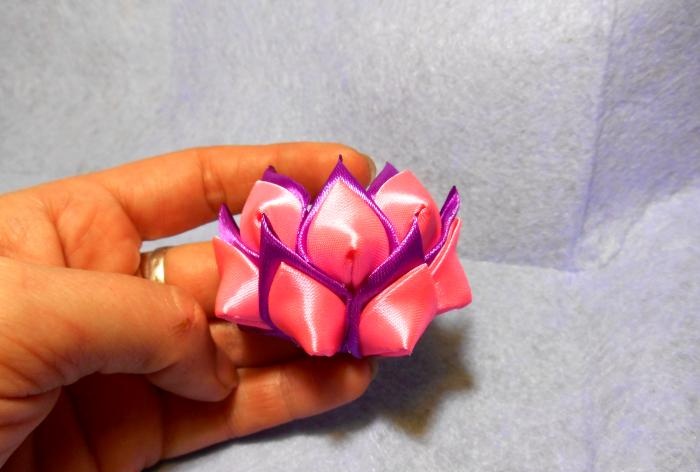
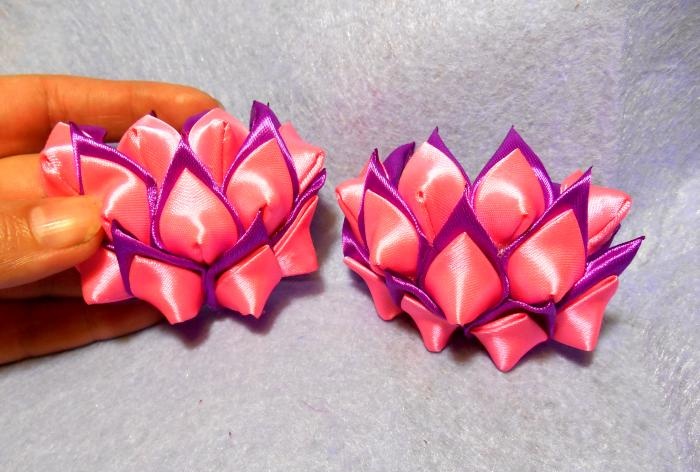
This is how the first half of the bow turned out. After repeating all the steps, you need to make a similar half.
Having attached the halves of the bow to the felt, you need to cut out the base according to their shape. It should be in the shape of a pyramid.
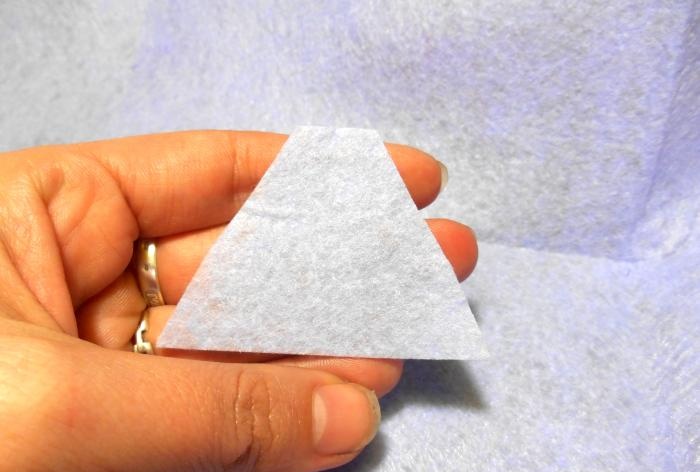
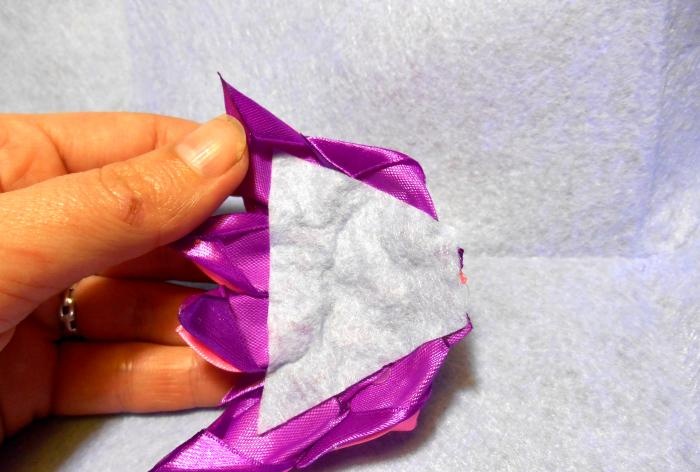
You will need 2 of these parts, of the same size. They should be glued to the underside of the bow halves. These bases will cover the intersection points of the petals and make it easier to attach the bow to the headband.
The remaining two petals now need to be attached at the very beginning of the bow halves, giving them a neat and complete look. Both parts are ready, you can start attaching the bow to the headband.
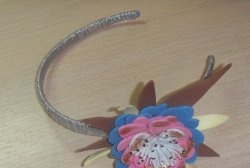
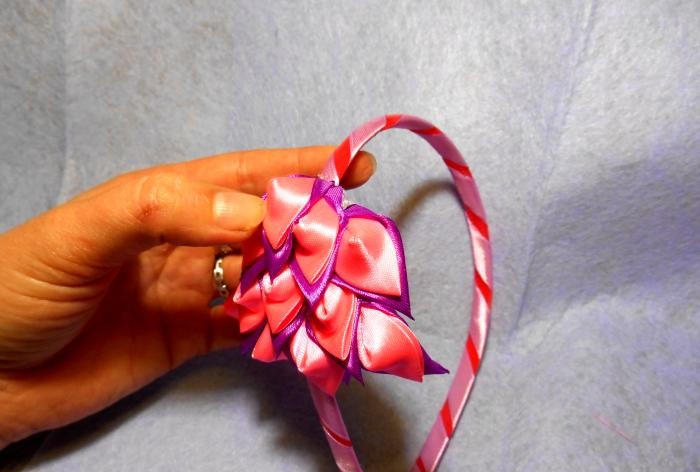
Stepping back 8 cm from the edge of the rim, you need to glue the first bow blank, placing the bottleneck upward.
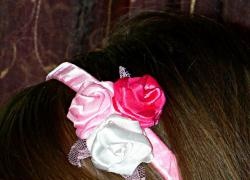
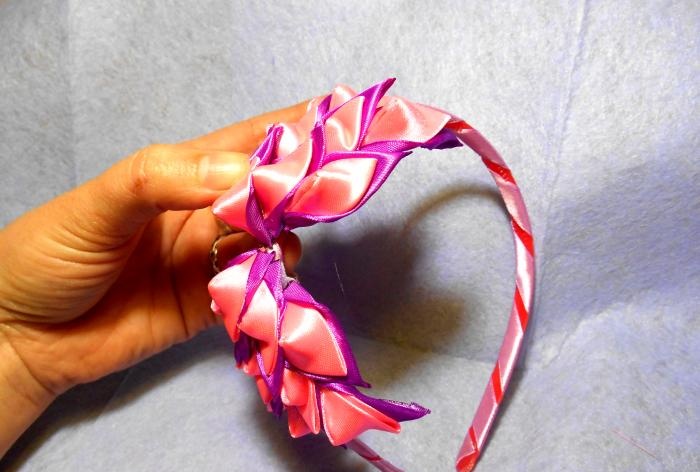
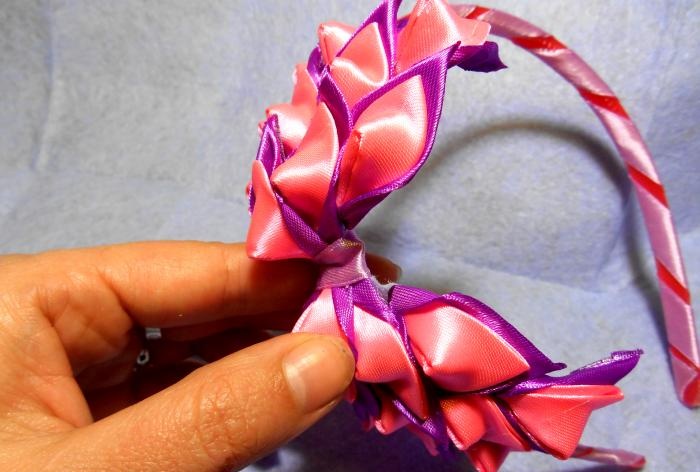
Then you should secure the second part of the bow by joining their narrow edges together. It is important to ensure that the headband fits tightly to the bow.
The middle of the bow should be wrapped with light lilac ribbon to cover the seams of the petals.
Along the middle, on top of a narrow ribbon, you should glue a decorative braid imitating silver rhinestones.
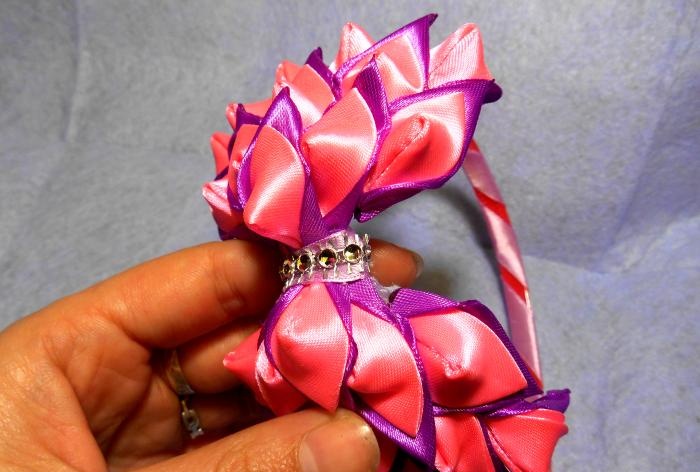
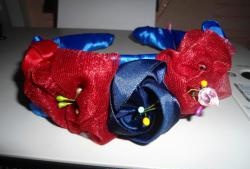
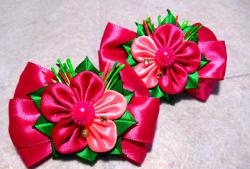
All that remains is to add a few pink rhinestones to the bow.
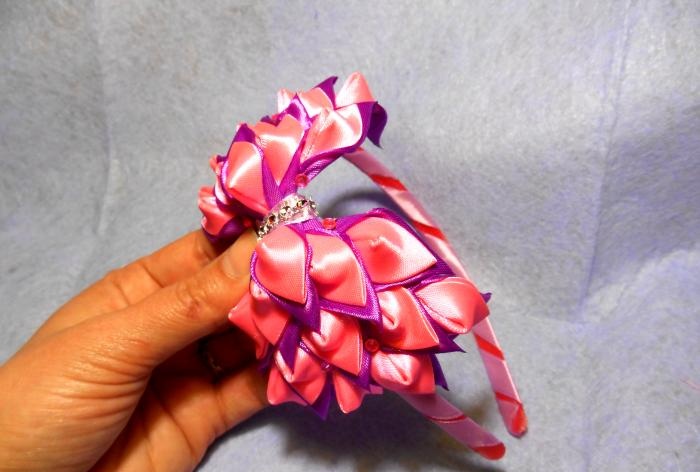
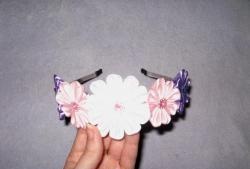
The “Floral Bow” headband is ready!