Do it yourself
Life hacks, master classes, useful tips, recipes.
home » Present » Postcards » Spring greeting cards
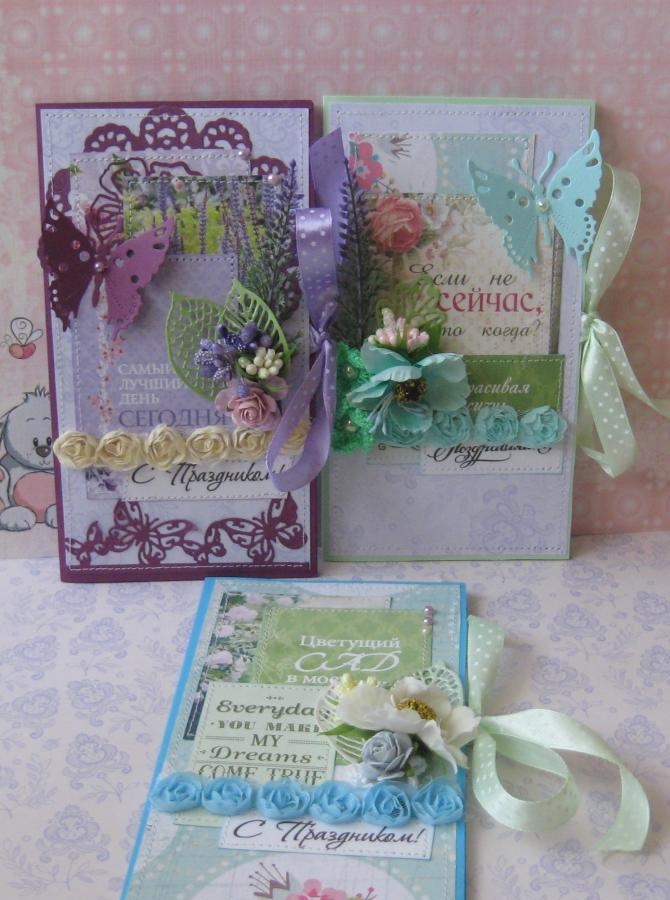
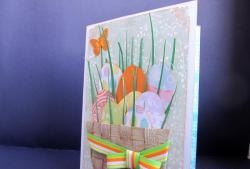
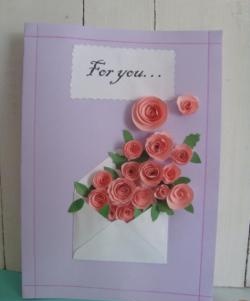
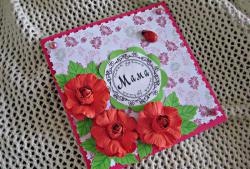
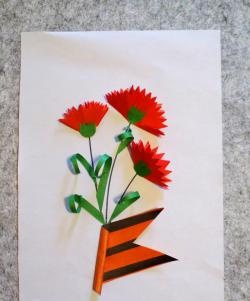
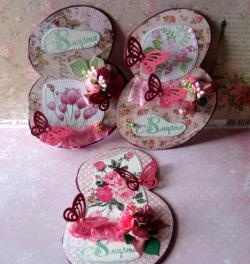
The tiring long winter nights are behind us and ahead of us awaits only freshness, only new spring sensations, and most importantly, a warm, fresh and spring atmosphere, which brings with it the smell of trills, the aroma of spring grass, as well as simply new changes that are associated with weather conditions. Spring, in itself, is a very fabulous, fresh and fragrant time of year, in which the best qualities combine, which can be truly pleasant after the tiring long winter evenings. But it is precisely in this spring time of the year that I want to give my family, friends and loved ones only good things, only beautiful things, and only unforgettable things. So that you don't give it to present, but still the best thing is what will be done with your own hands. Even if this is an addition as a postcard, it is still the most pleasant and most valuable. Right now we will look at a master class on making such postcards.
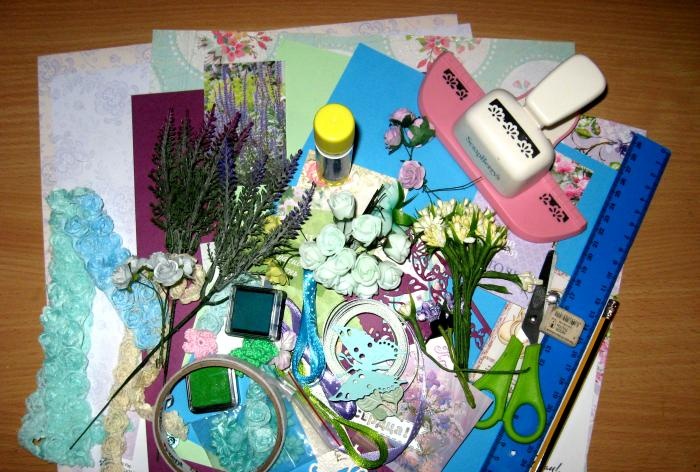
For the master class we take:
  • Thick cardboard A4 format, purple, blue and light green;
  • Scrappaper of different shades and colors;
  • Pictures of spring and with different inscriptions;
  • Cutting out different flowers: flowers, leaves, napkins, butterflies;
  • Congratulatory inscriptions “Happy Holidays” and “Congratulations”;
  • Chiffon ribbons with rosettes in mint, blue and beige colors;
  • Mint and lilac polka dot ribbons;
  • Stamens are complex lilac, white and pink;
  • Poppy mint and beige;
  • Paper roses;
  • Half beads;
  • Curb hole punch;
  • Artificial wormwood branches;
  • Scissors, pencil, ruler, double-sided tape, glue stick.
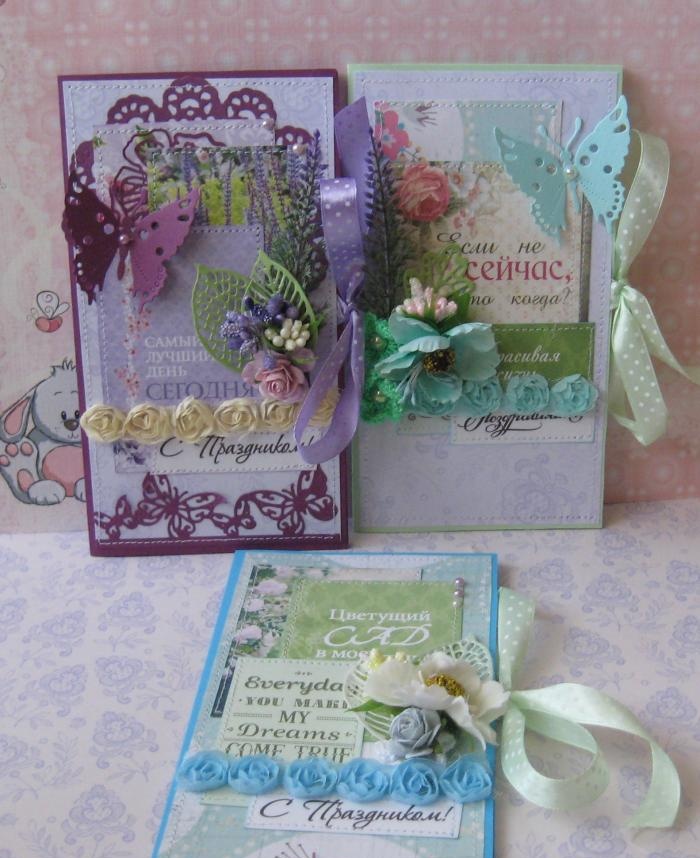

Spring greeting cards

Spring greeting cards

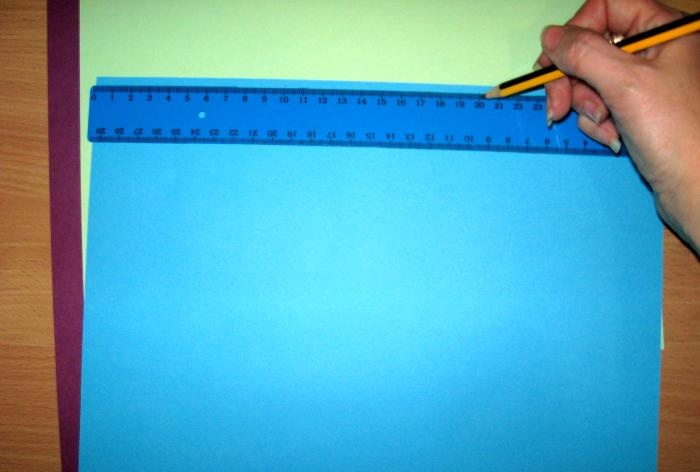
We take all the sheets of cardboard and measure out 18*20 cm quadrangles from each.
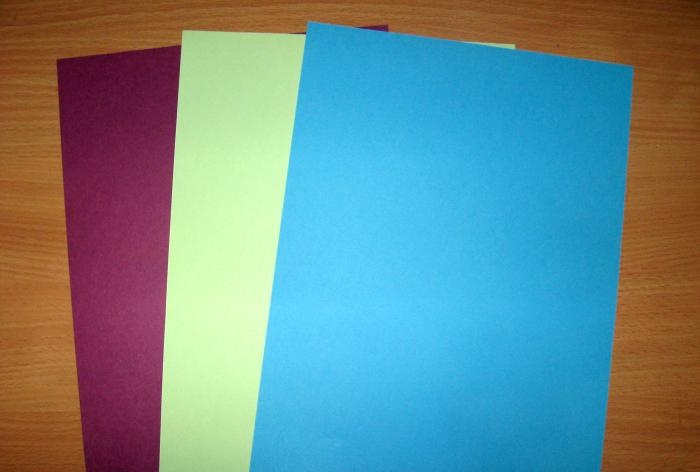
Spring greeting cards

Spring greeting cards

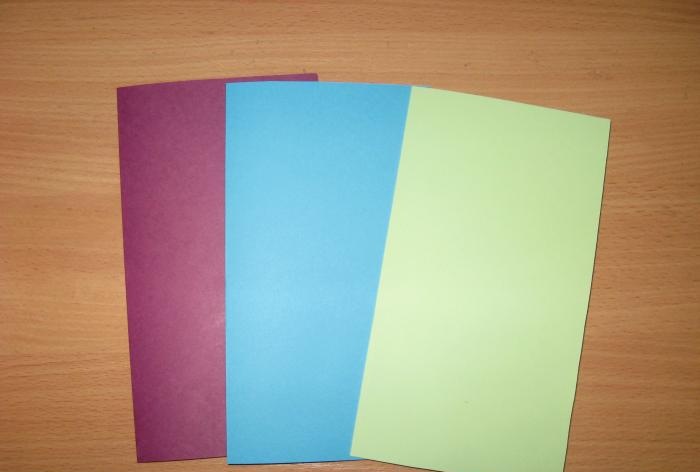
Now we divide each one in half along the larger side and fold it in half.
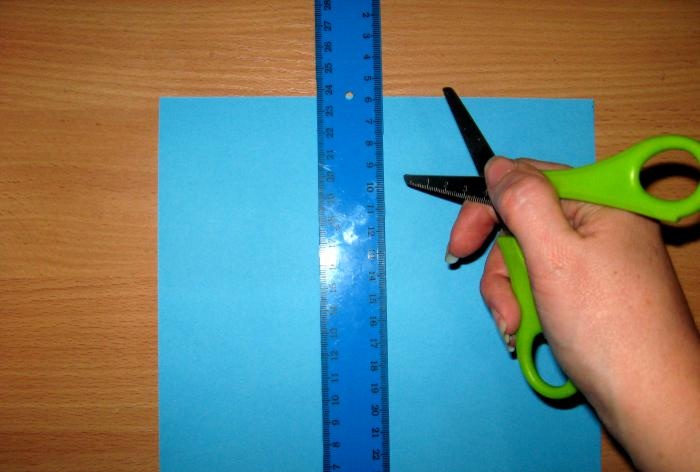
Spring greeting cards

Spring greeting cards

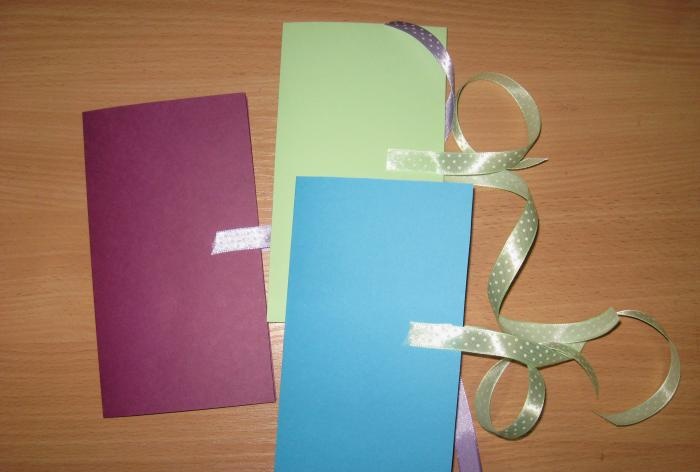
Now we measure the satin ribbon, cut it into pieces of about 20 cm and glue two pieces of each on the front and back of the card bases.
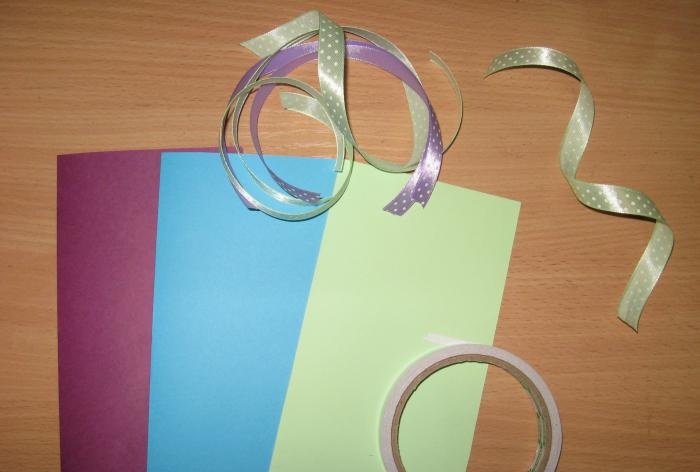
Spring greeting cards

Spring greeting cards

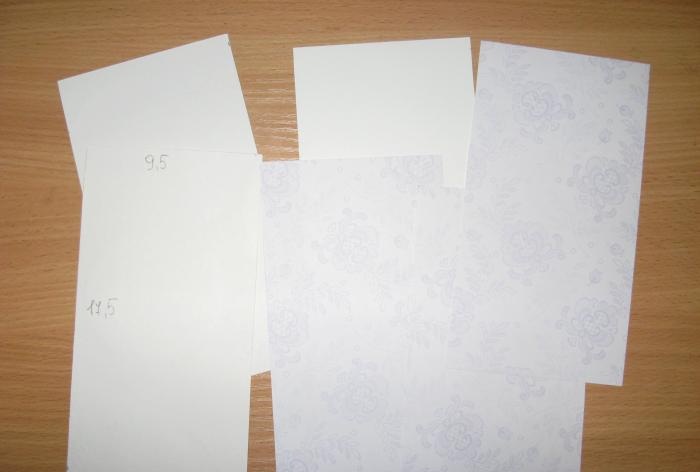
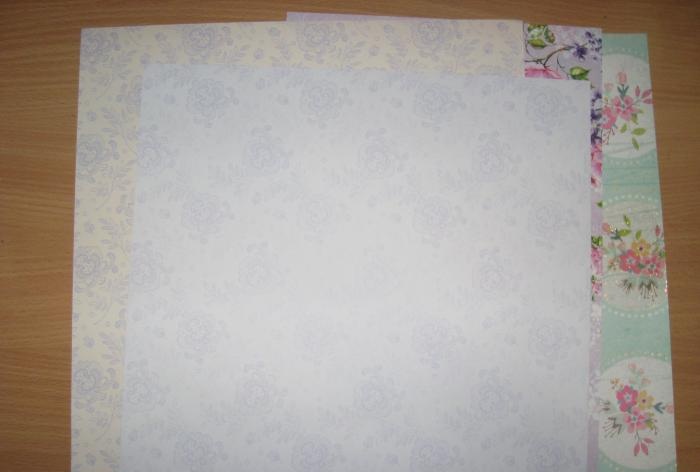
Now we take scrap paper and cut it into 9.5*17.5 cm rectangles. We also cut small rectangles so that we can add them later as decoration.
Spring greeting cards

Spring greeting cards

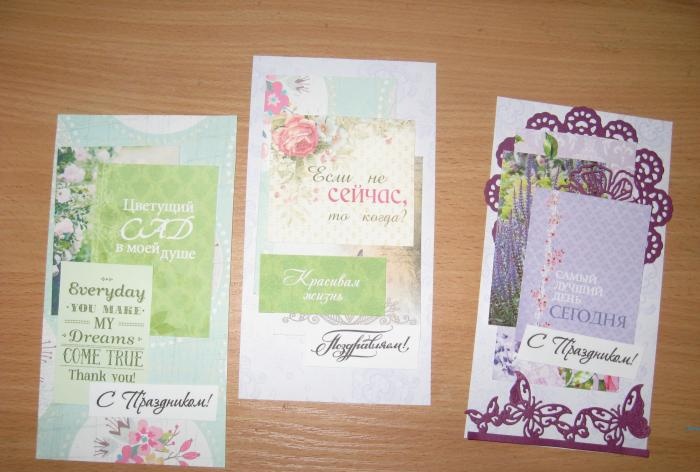
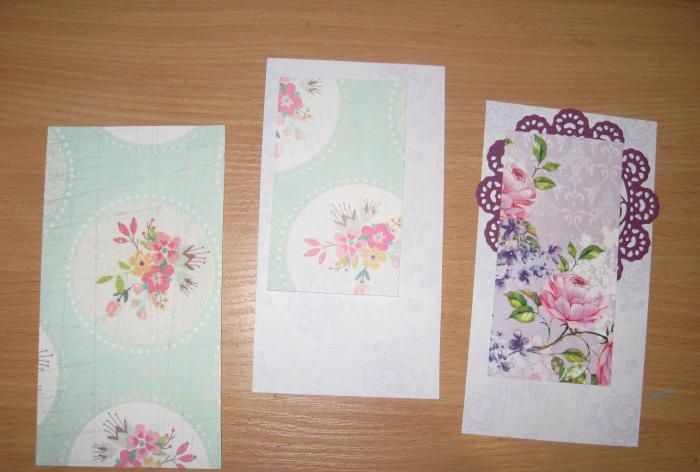
We immediately glue one rectangle to the back of the postcard bases. And we need to decorate three rectangles. We glue napkins, pictures, twigs, and inscriptions on them.
Spring greeting cards

Spring greeting cards

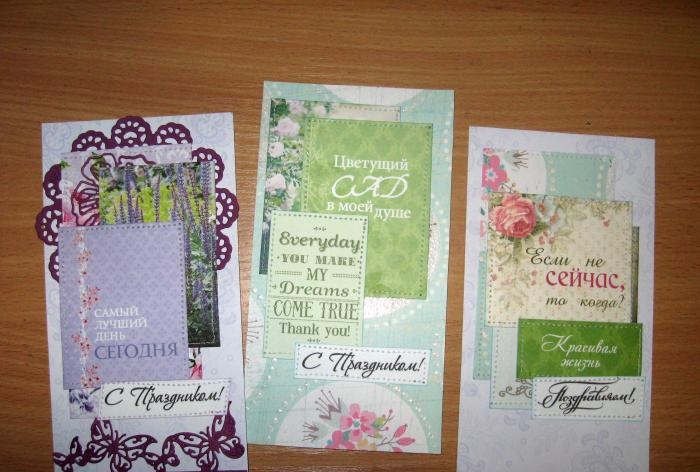
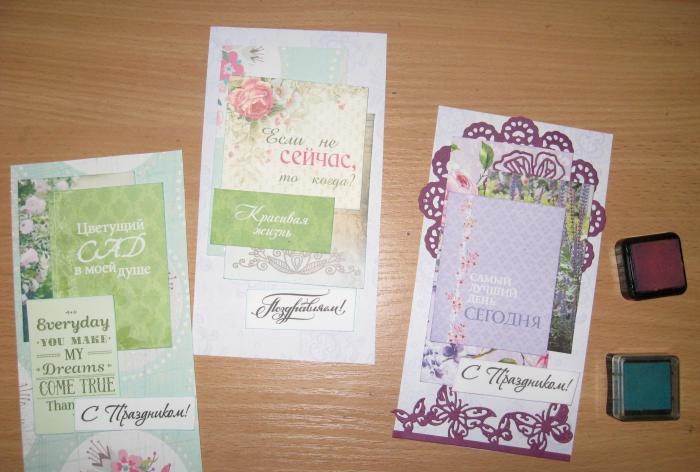
We decorate all rectangles to your taste; it is better to tint pictures and inscriptions with an ink pad for greater beauty. Sew on all glued elements. Each element must be glued and sewn separately. You can insert napkins and flowers between the layers of pictures.
Spring greeting cards

Spring greeting cards

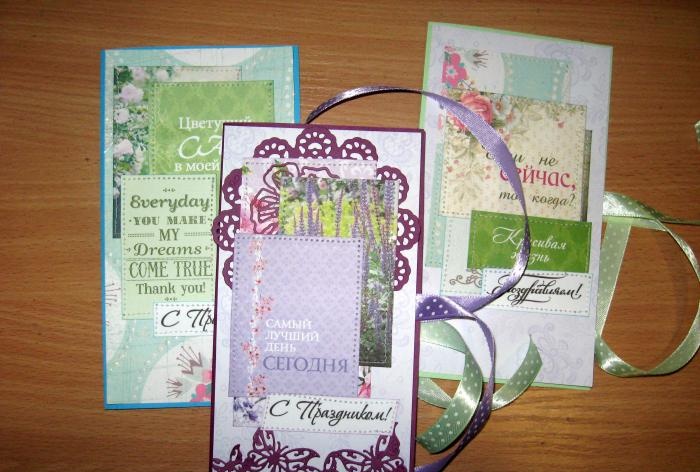
Now we need to glue all the decorated rectangles onto the bases of our postcards; we glue them with double-sided tape. We sew each side of the card on a typewriter.
Spring greeting cards

Spring greeting cards

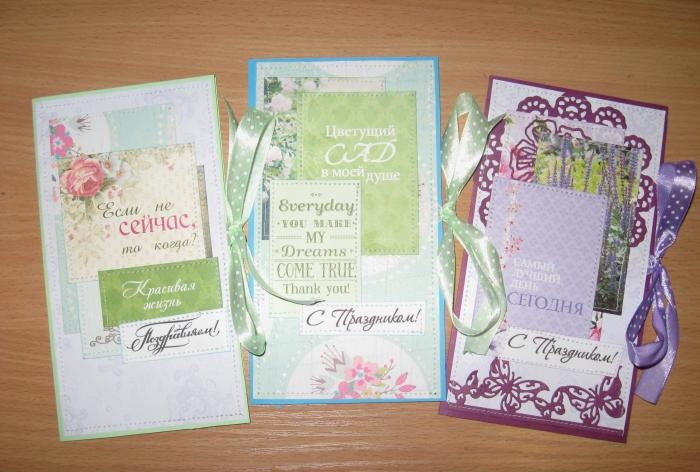
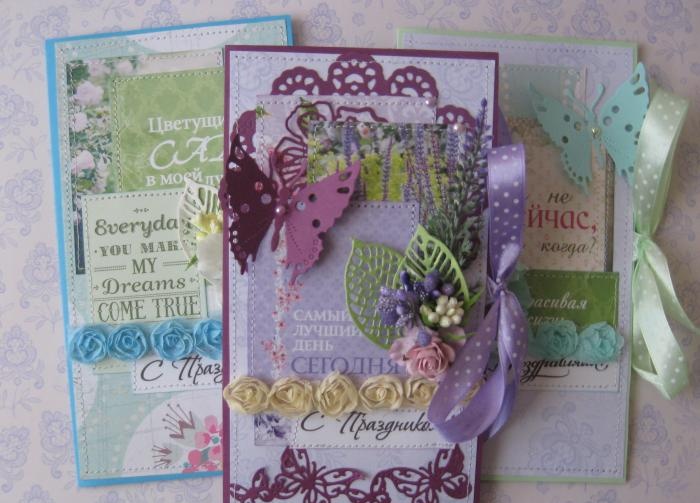
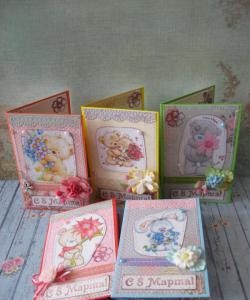
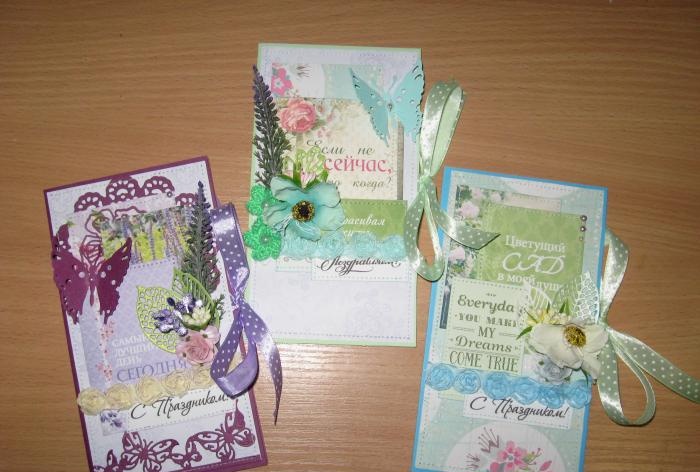
Now we glue the decorations at our discretion and decorate our cards. We receive these spring holiday cards as gifts for family and friends. Thanks for your attention and good luck.
Spring greeting cards

Spring greeting cards

Spring greeting cards
come back
Comment
  • bowtiesmilelaughingblushsmileyrelaxed relaxedsmirk
    heart_eyeskissing_heartkissing_closed_eyesflushedrelievedsatisfiedgrin
    winkstuck_out_tongue_winking_eyestuck_out_tongue_closed_eyesgrinningkissingstuck_out_tonguesleeping
    worriedfrowninganguishedopen_mouthgrimacingconfusedhushed
    expressionlessunamusedsweat_smilesweatdisappointed_relievedwearypassive
    disappointedconfoundedfearfulcold_sweatperseverecrysob
    joyastonishedscreamtired_faceangryragetriumph
    sleepyyummasksunglassesdizzy_faceimpsmiling_imp
    neutral_faceno_mouthinnocent
5+two=
Comments (2)
  1. ji45da
    #1 ji45da Guests 10 August 2017 11:04
    1
    A very useful article for those who prefer to approach the choice of gifts with soul and creativity. Handmade cards will undoubtedly delight loved ones with all their hearts, especially since they are so tender and yet bright. Author, thank you very much for the information.
  2. Elena
    #2 Elena Guests 3 April 2020 09:26
    1
    Thank you for an interesting and so simple MK. Useful for activities with children.

Feet are always warm | Do it yourself

How to make a simple generator

How to make a cheap swivel TV bracket

Various | Page 81 | Do it yourself

«Do it yourself - with your own hands» - a site of interesting homemade products made from scrap materials and items at home. Step-by-step master classes with photos and descriptions, technologies, life hacks - everything a real master or just a craftsman needs for needlework. Crafts of any complexity, a large selection of directions and ideas for creativity.

We recommend reading

Washing machine error codes