To make such a souvenir you will need the following materials:
1. Cardboard in orange and white colors.
2. Napkins for decoupage (red with white polka dots and with little chickens).
3. Red colored paper.
4. PVA glue.
5. White threads.
6. Scissors.
7. Double-sided paper in green and yellow colors.
8. Green pencil.
9. Double-sided tape.
10. Shells from 2 eggs.
11. Acrylic paints in white, pink and green.
12. Sponge.
13. Skewers.
14. Synthetic brushes.
15. Acrylic varnish.
16. Sawdust.
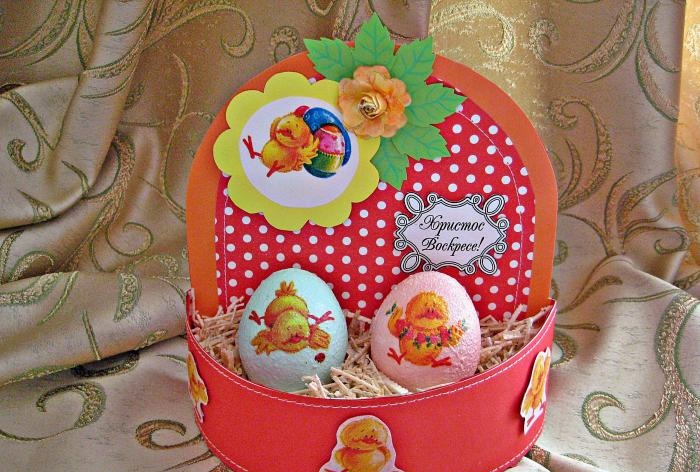
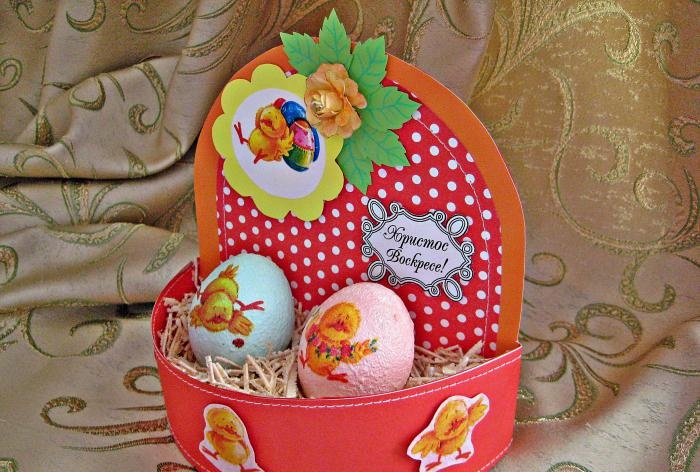
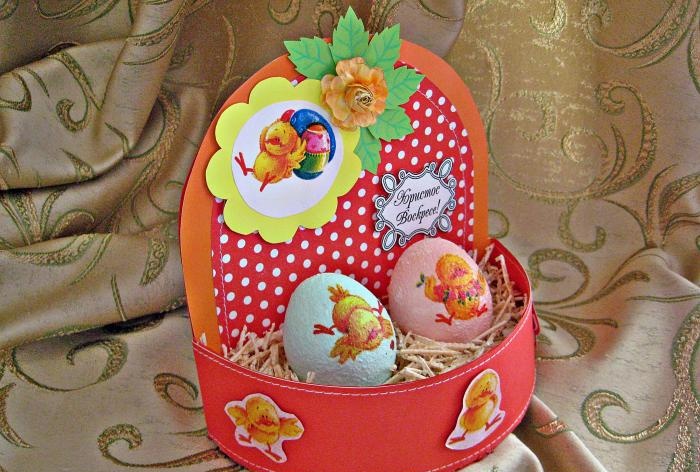
The process of making a souvenir.
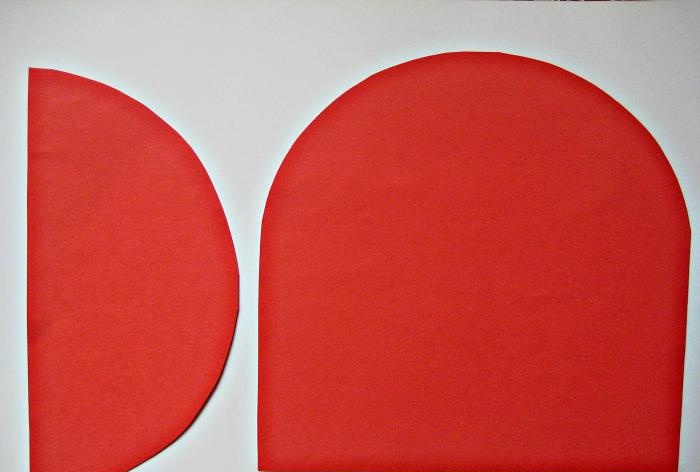
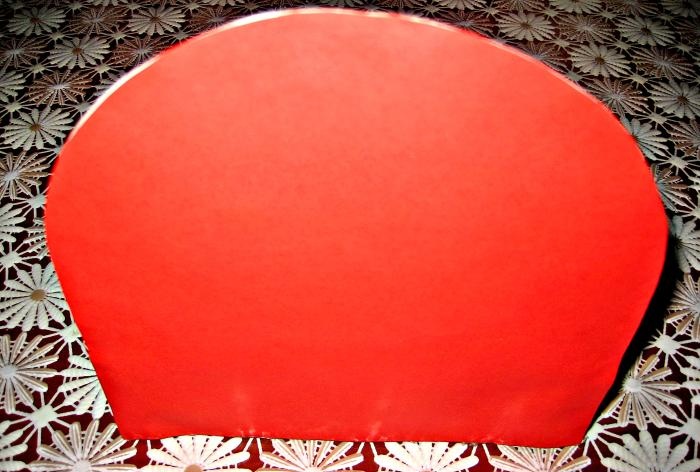
1. The first step is to make a basket. We take scheme No. 1 as a basis.
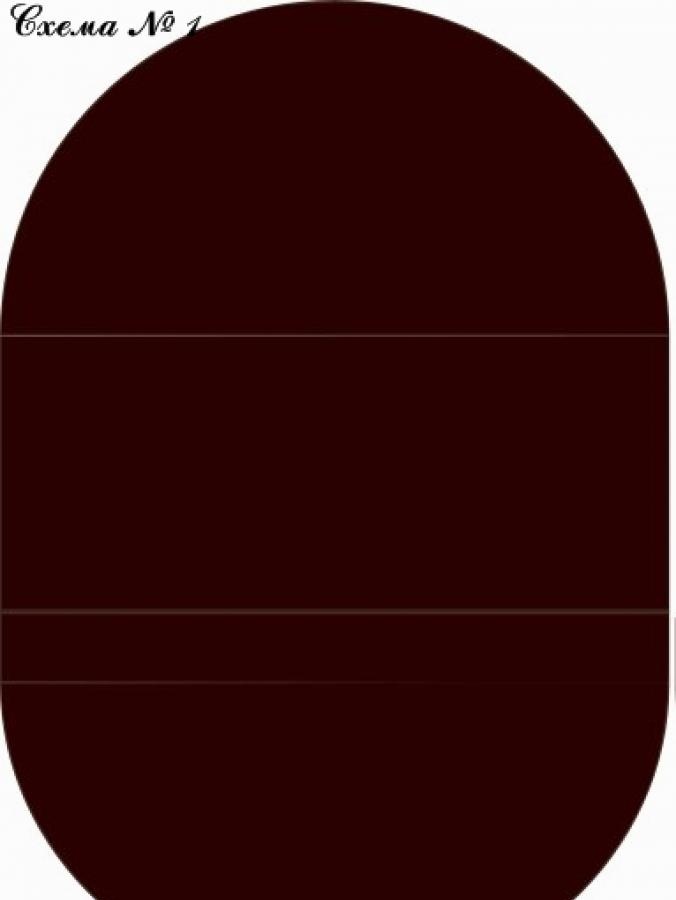
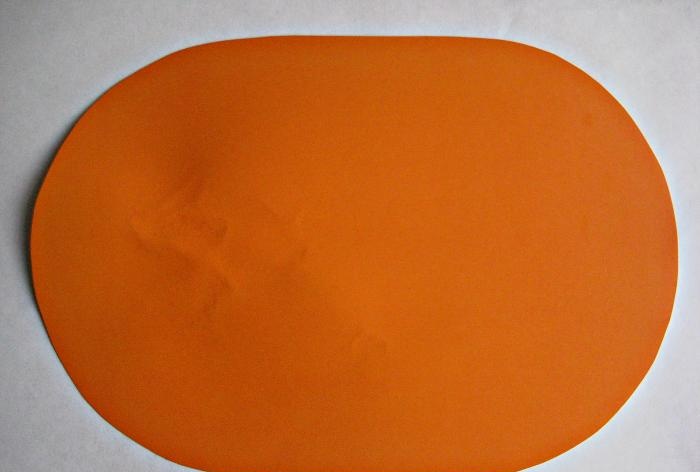
2. According to the diagram, we cut out the blank for the main part of the basket from orange cardboard.
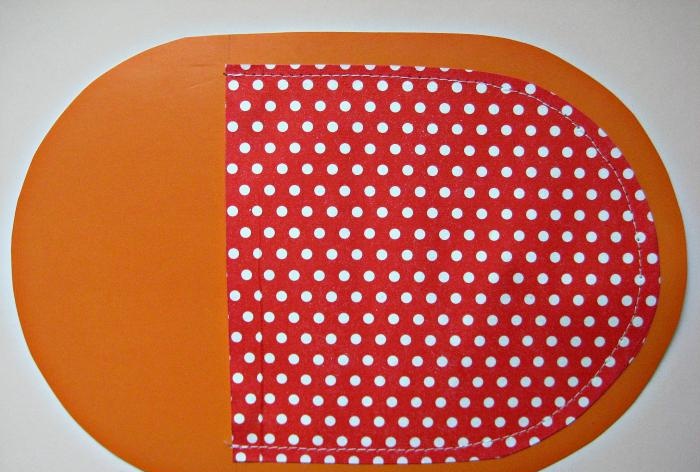
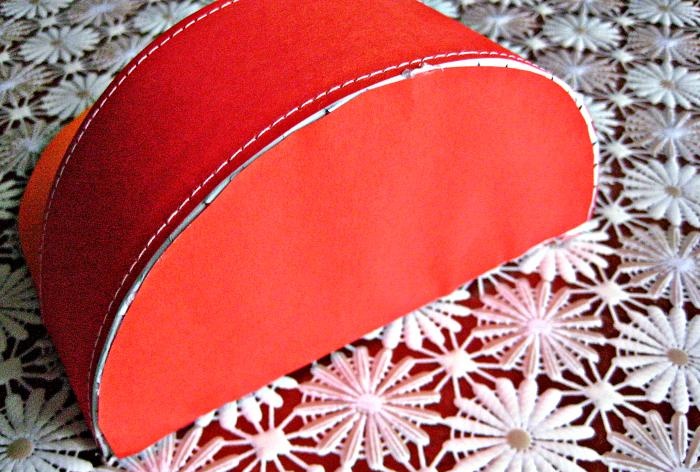
3. Cut out a red polka dot napkin of such a size that it is slightly smaller than the main basket blank.
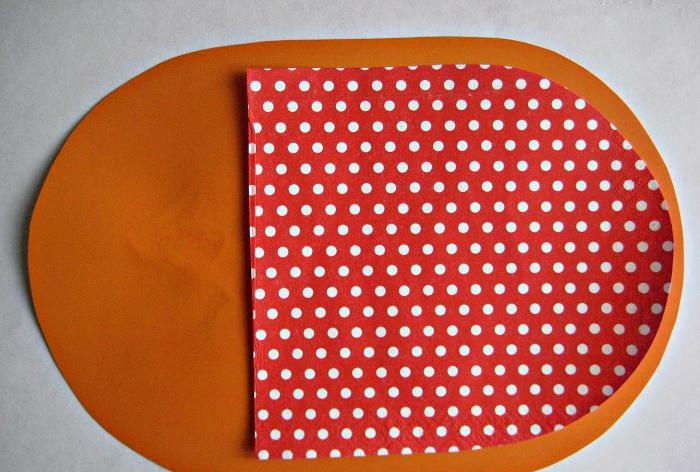
4. Attach the napkin to the cardboard blank, and, stepping back 0.5 mm from the edge of the napkin, make stitches using a sewing machine.
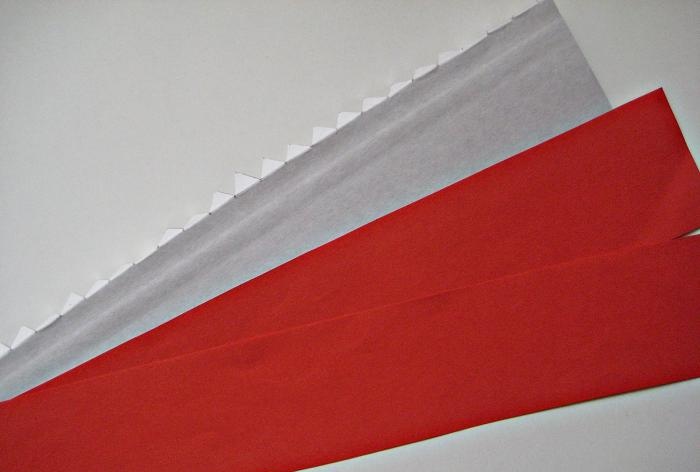
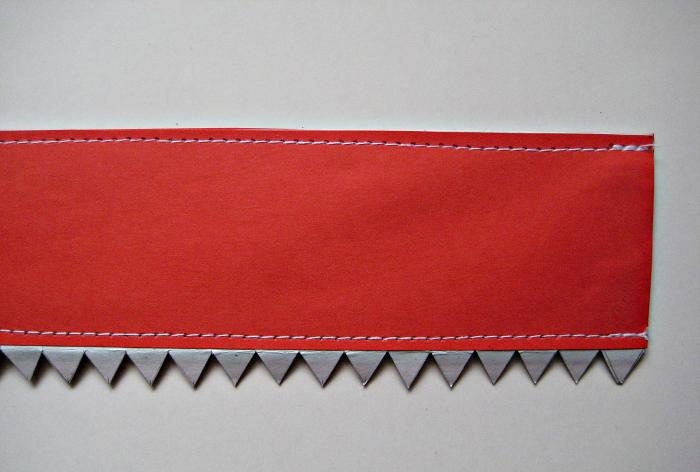
5. To make the front bar of the basket, cut out a strip of white cardboard 5 cm high and length according to the size of the bottom of the basket. On one side of the strip we make triangular cutouts for further fastening. We also cut out 2 strips from red paper, which will correspond in size to the prepared strip.
6. We apply red stripes to the cardboard blank on both sides and make stitches with a machine.
7. On the main orange cardboard blank, bend the bottom. Next, we bend the cardboard triangles onto the strip and glue them to the bottom of the main basket blank.
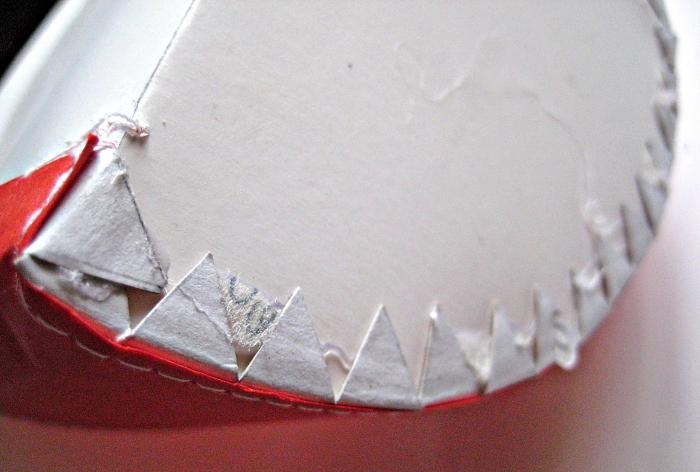
8. We get the finished base for the basket.
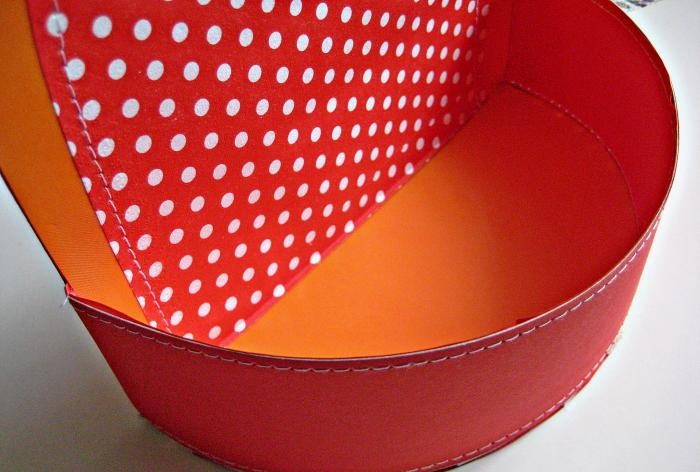
9. To hide all traces of fastening on the basket, cut out templates from red paper to fit the back wall and bottom of the basket.
10. Glue the templates to the basket.
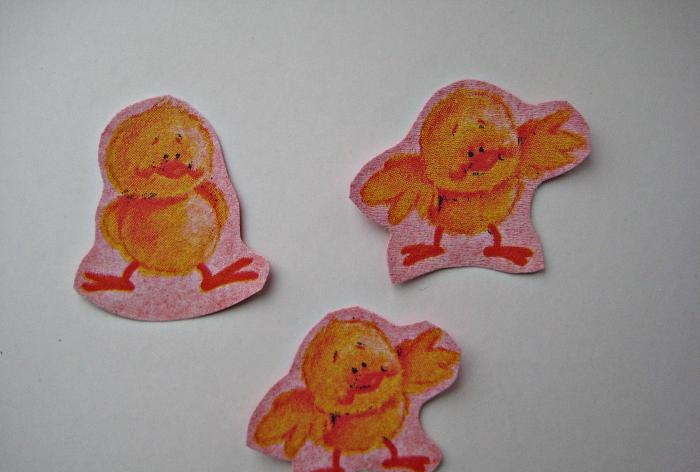
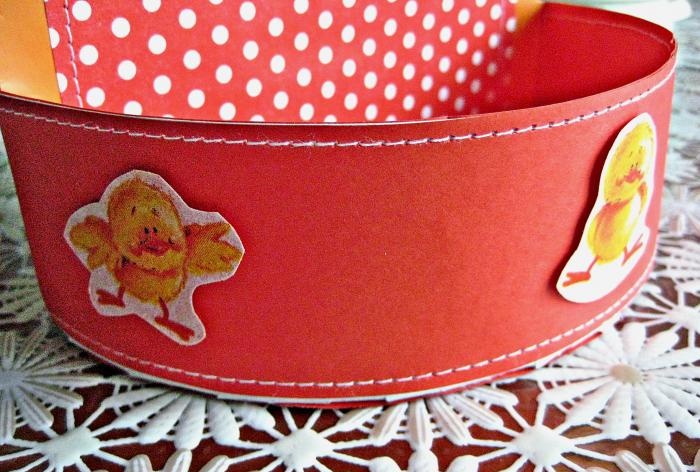
11. Decorate the bottom of the basket. To do this, cut out 3 chickens from a napkin and glue them to red paper.
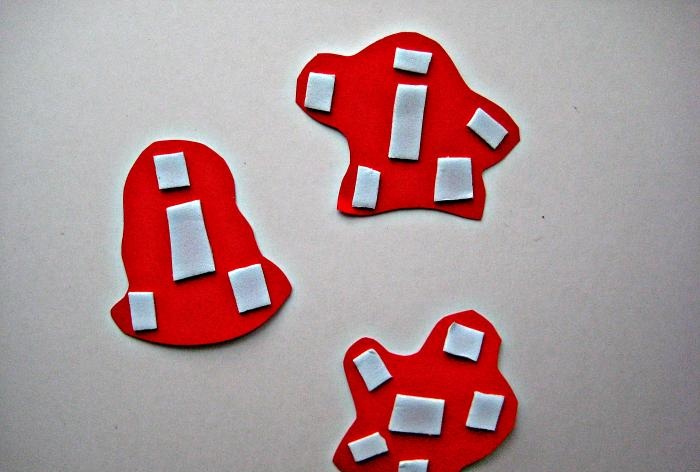
12. We attach double-sided tape to the back of each chicken.
13. Glue the chickens symmetrically on the front wall of the basket.
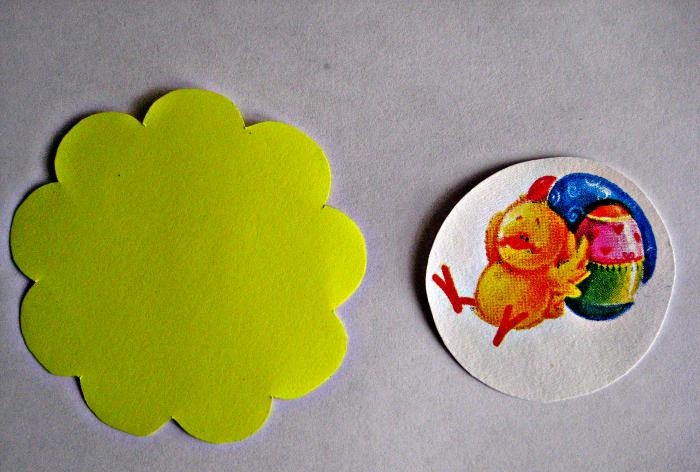
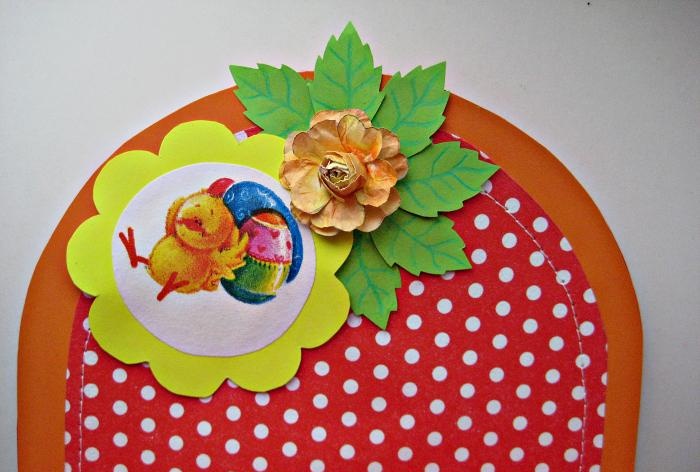
14. Let's start decorating the top of the basket. To do this, cut out a circle with rounded edges from yellow paper, and cut out a chicken from a decoupage napkin.
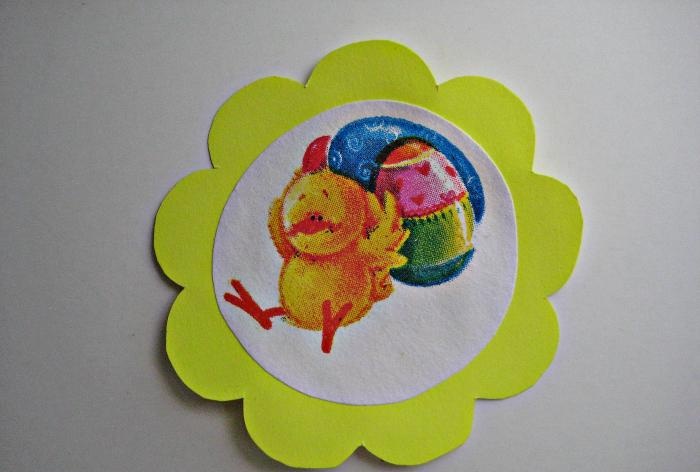
15. Glue the chicken into the center of the yellow circle.
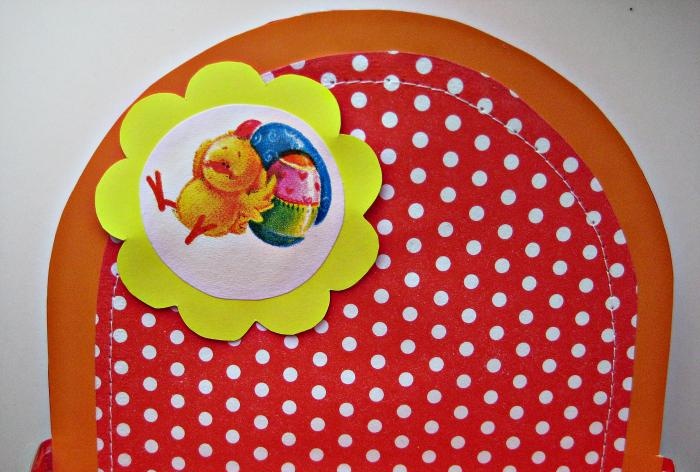
16. The prepared element must be glued to the upper left corner of the basket.
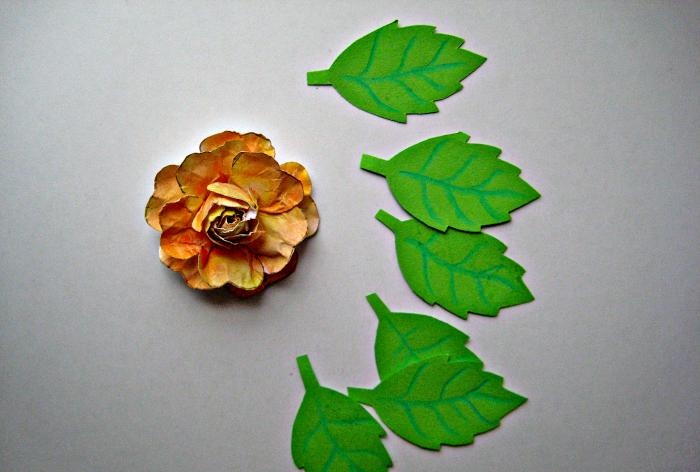
17. Next, we make a rose from yellow paper and cut out 6 leaves from green paper. We draw veins on the leaves.
18. Attach the rose with leaves near the decorative element with the chicken.
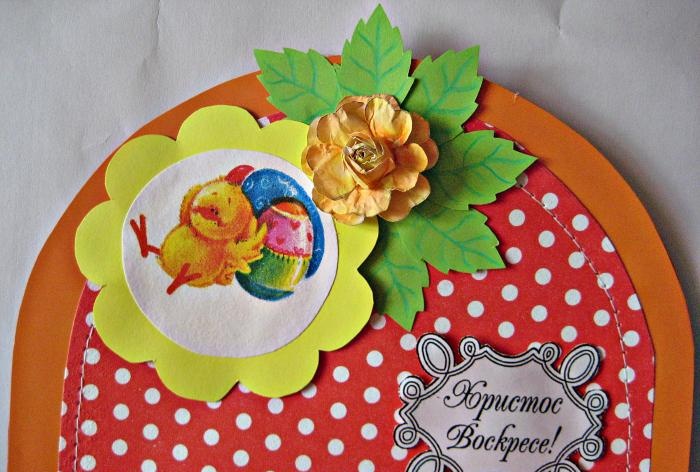
19. Finally, glue a congratulatory inscription. The cart is ready!
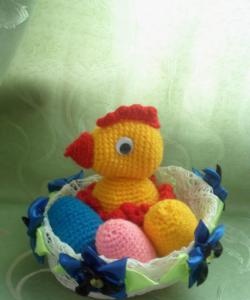
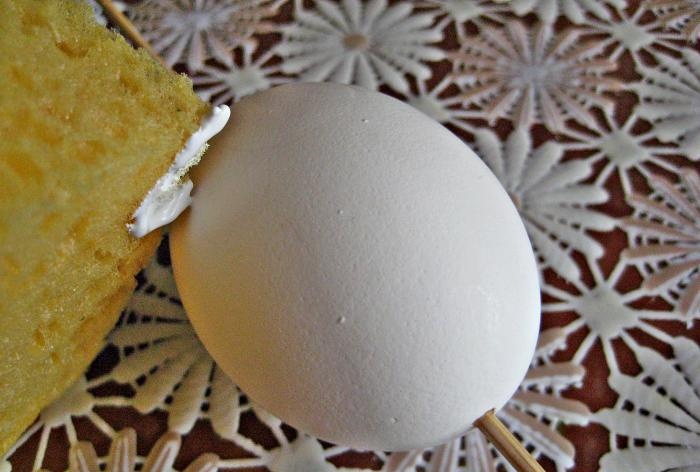
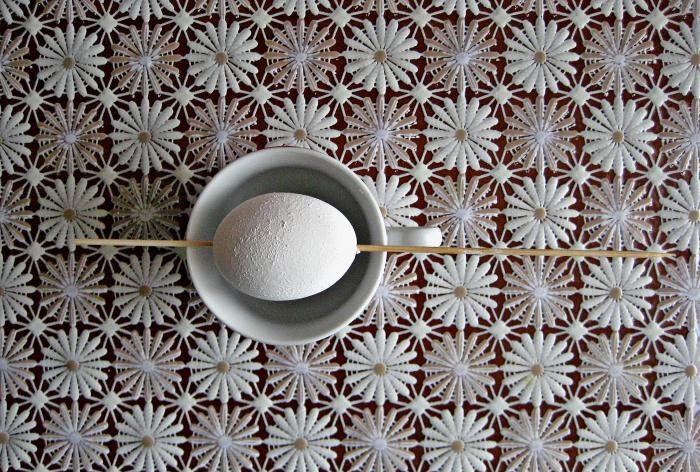
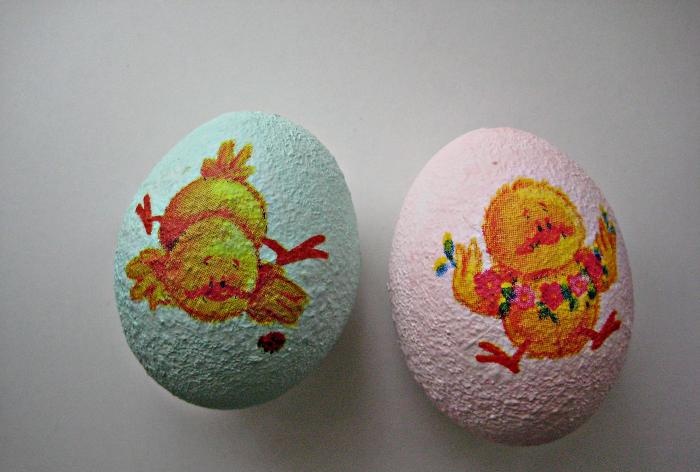
20. To decorate the basket, you also need to make holiday eggs. To do this you will need whole egg shells. Wash the shells, dry them and put them on skewers.Then we paint the shell with white paint using a sponge.
21. Leave the shell to dry.
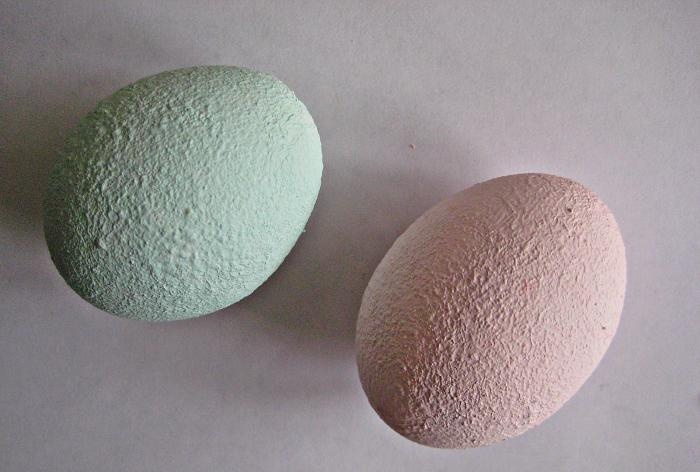
22. Then we paint the shell green and pink.
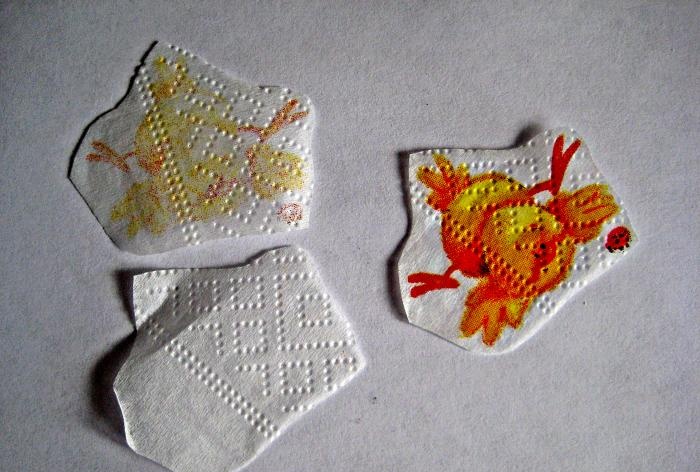
23. Next you need to do decoupage on the shell. To do this, select the desired motif with a chicken on a napkin and cut it out. Then we separate 2 layers from the napkin.
24. Using glue and a fan brush, glue the motif to the shell.
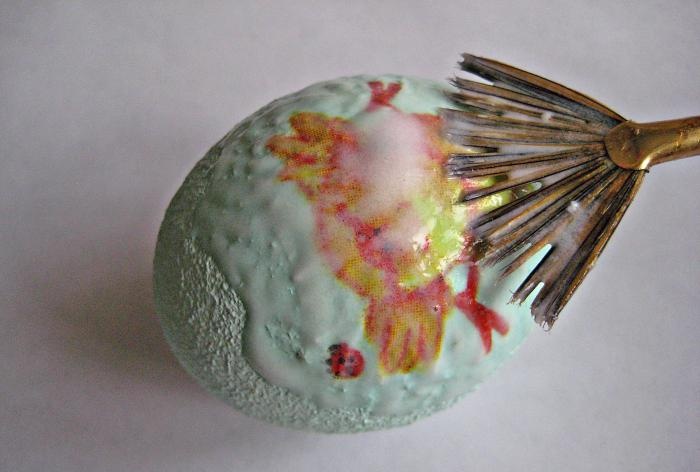
25. We do the same with the second shell. As a result, we get eggs with pictures in the form of chickens. We coat the shell with varnish. This way, the design and paint will look brighter and will not be damaged over time.
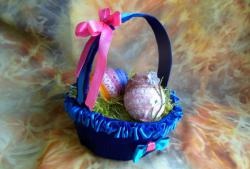
27. At the final stage, you need to pour sawdust into the basket and place the eggs in it.
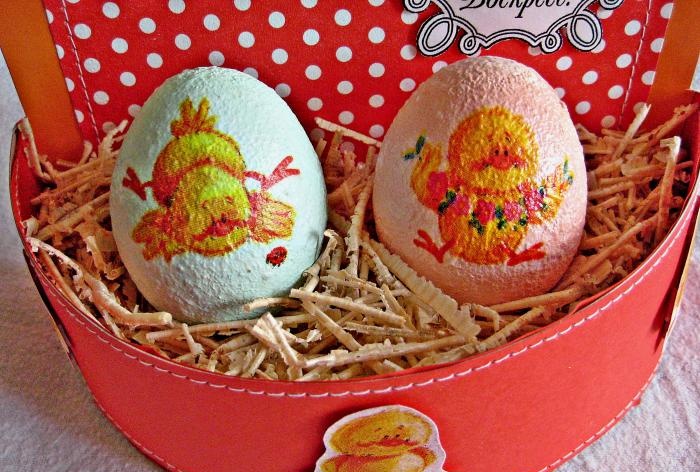
28. Easter souvenir is ready!
The resulting craft, although simple to make, looks very impressive. Such a souvenir will definitely bring joy and admiration.