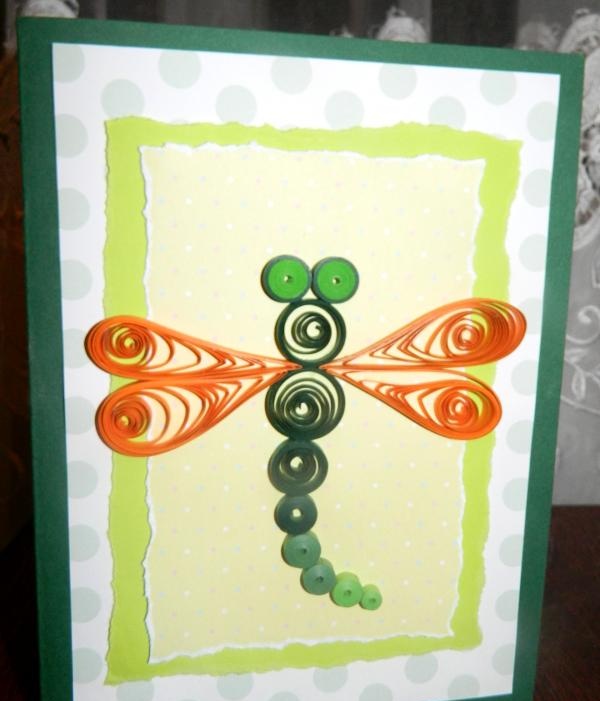
In this article we will present the idea of making an original postcard with a dragonfly, which will be an excellent gift for both female and male recipients.
To complete the work you will need:
1. A4 cardboard - dark green.
2. Design paper with patterns or polka dots (white with large green polka dots, light green plain, yellow with multi-colored polka dots).
3. Quilling paper - orange, dark green, grass green, light green.
4. Quilling tool, scissors, glue.
5. Double-sided tape.
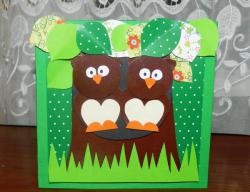
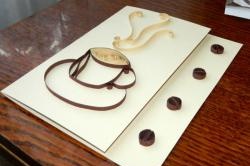
First, let's prepare the base. To do this, bend dark green cardboard in half. Next, cut out a 13x18 cm rectangle from designer white polka-dot paper and attach it to the base using double-sided tape.From light green paper we need to make a rectangle with torn edges measuring 11x15 cm. In the same way, we should make a rectangle 9x14 cm from yellow paper with polka dots. Attach both rectangles to foam double-sided tape.
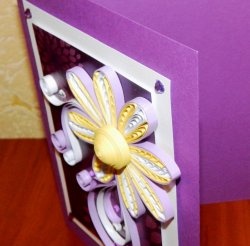
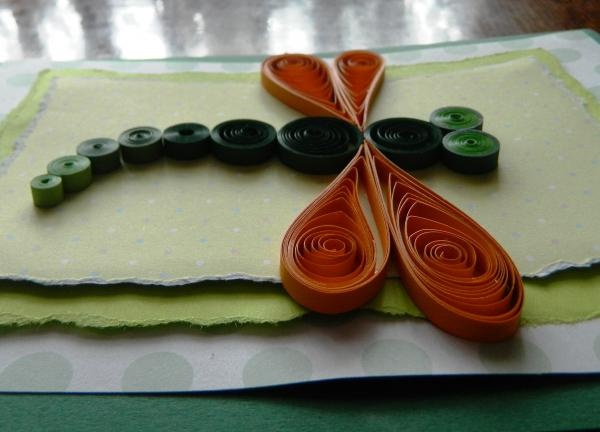
Next, let's start making the dragonfly itself. To do this you will need a tool (toothpick) and quilling paper. To make the eyes, you need to connect two strips of quilling paper in dark green and light green colors, then form a tight roll and secure it with glue. And we will make 4 rolls of dark green paper, each of which will be unrolled to the desired size (the largest, a little smaller, even smaller, and one of the densest, unrolled just a little). From green grass quilling paper we will make two dense rolls, one of which will be slightly larger. In the same way, we will make two light green rolls, one of which will be the smallest. All details of the dragonfly's body are visible in the photo.
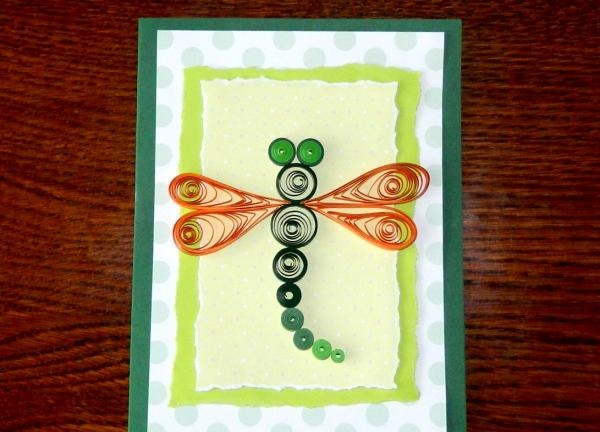
Now all that remains is to complete the wings. For each wing you will need to connect two strips of quilling paper, form a roll, unravel it as much as possible and give the part a drop shape. There should be four such parts, after which we can begin to form our dragonfly based on it. We start with the body, which we form using rolls, and finally we attach the wings.
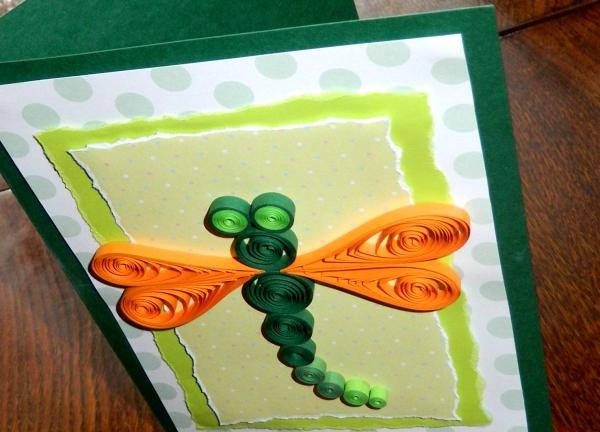
A very interesting and unusual handmade postcard!