Surely, most people have old hard drives lying idle in their bins. From it you can make a necessary and useful thing for sharpening knives, scalpels and other objects - a miniature grinding machine with a wheel rotation speed controller.
Will need
- An old hard drive, even if it doesn’t spin or has no board at all.
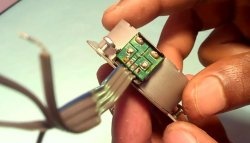
- Three-phase motor control controller from Ali Express.
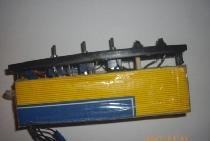
- Speed controller from Ali Express.
- Sandpaper.
- A pair of terminals for connecting the power supply.
You will also need wires, casings for insulation and a few other little things.
The three main components are:
Hard drive in any condition. It is difficult to burn out the engine in it, so it is 100% suitable. And we will have a purchased board with a control driver.
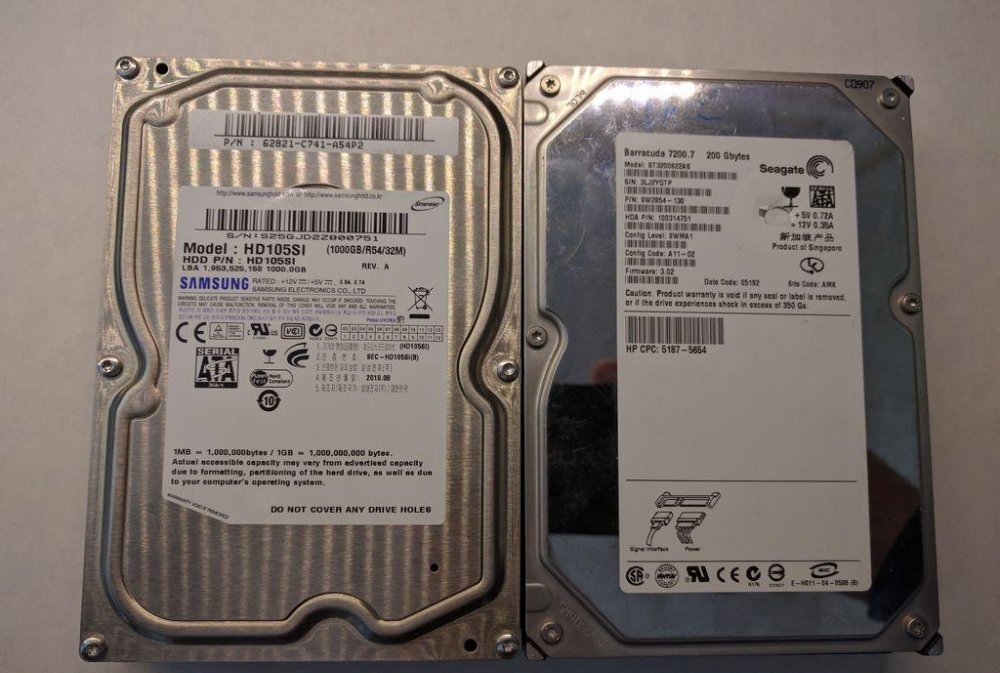
The motor in the HDD is three-phase, brushless and very powerful. It simply won’t operate on DC power and to start it you will need a controller or driver for controlling a three-phase motor.
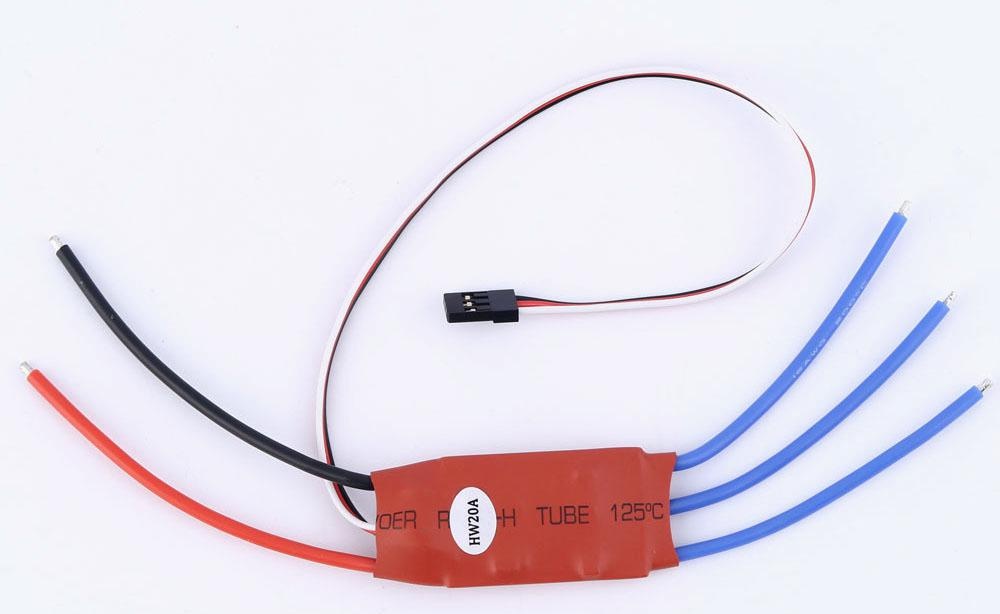
To control the controller you need a speed regulator, it looks like this:

Assembling a grinding machine from a hard drive
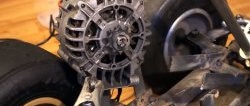
So, let's open the hard drive. Here you will have a problem - you will need specialized screwdrivers, since the bolts and screws are non-standard. I advise you not to worry and buy, or rent, a set with such screwdrivers.
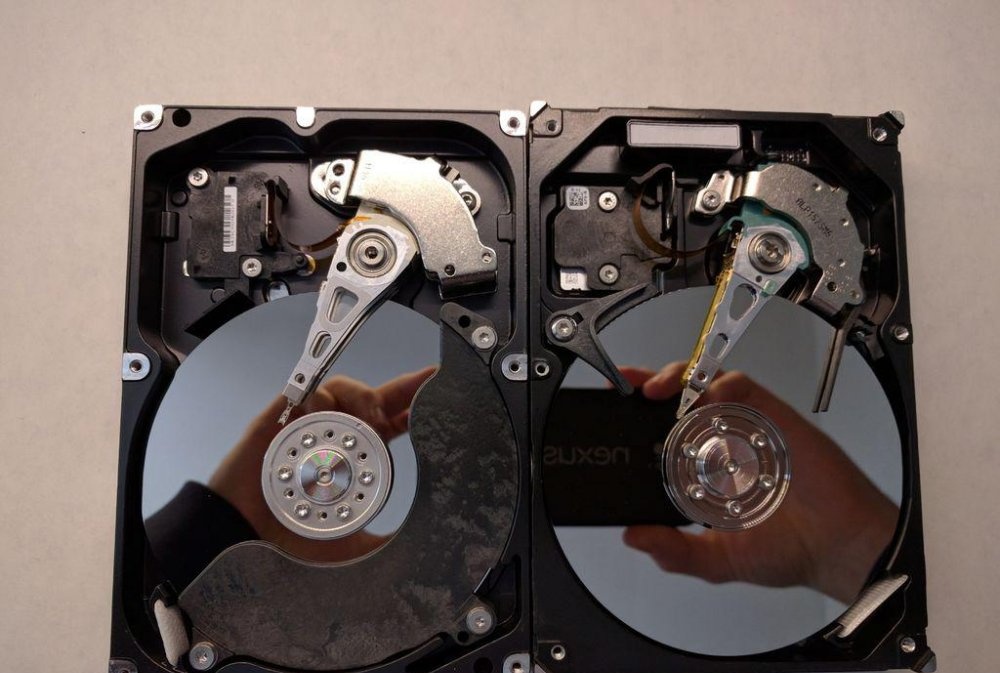
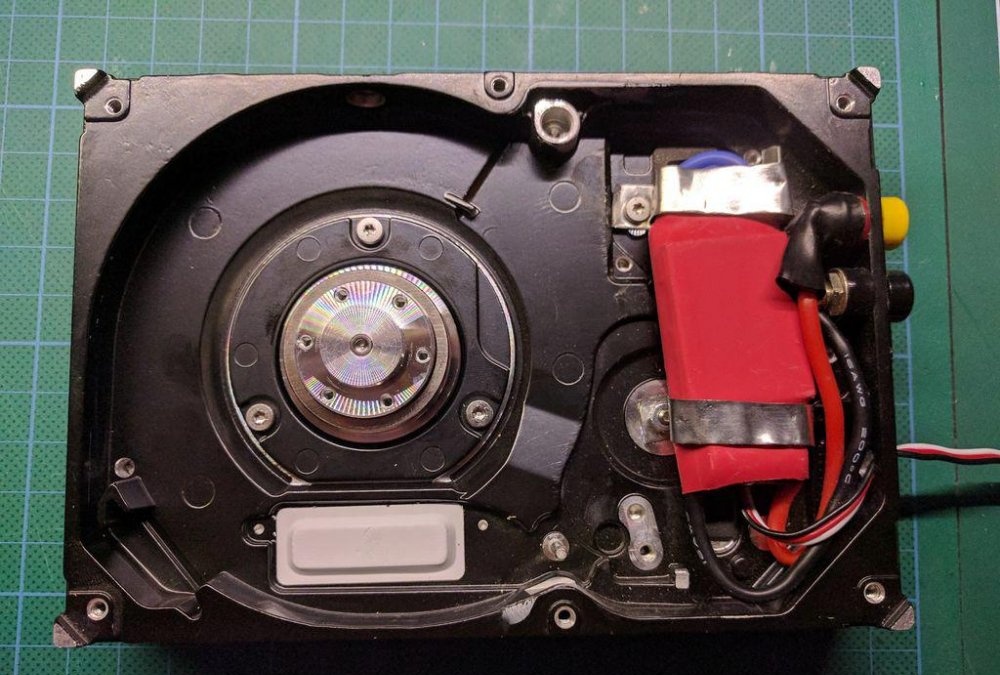
In general, we unwind everything: both from above and from below, since nothing other than the installed motor is needed.
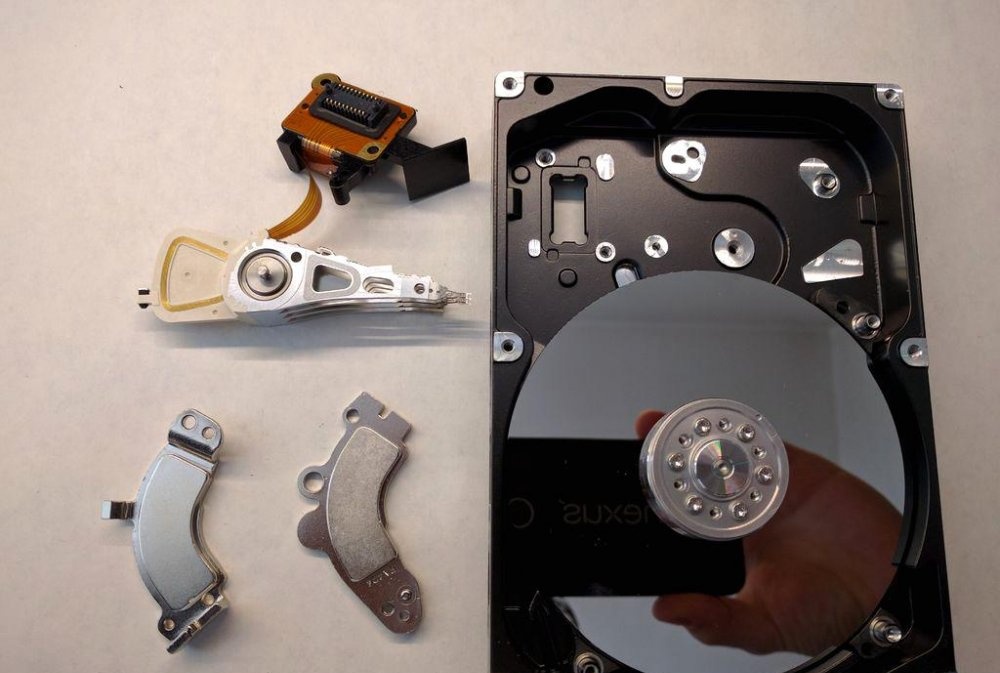
We remove the board, leaving only the contacts for connecting to the motor. Now look: motors in hard drives can have either three or four pins.
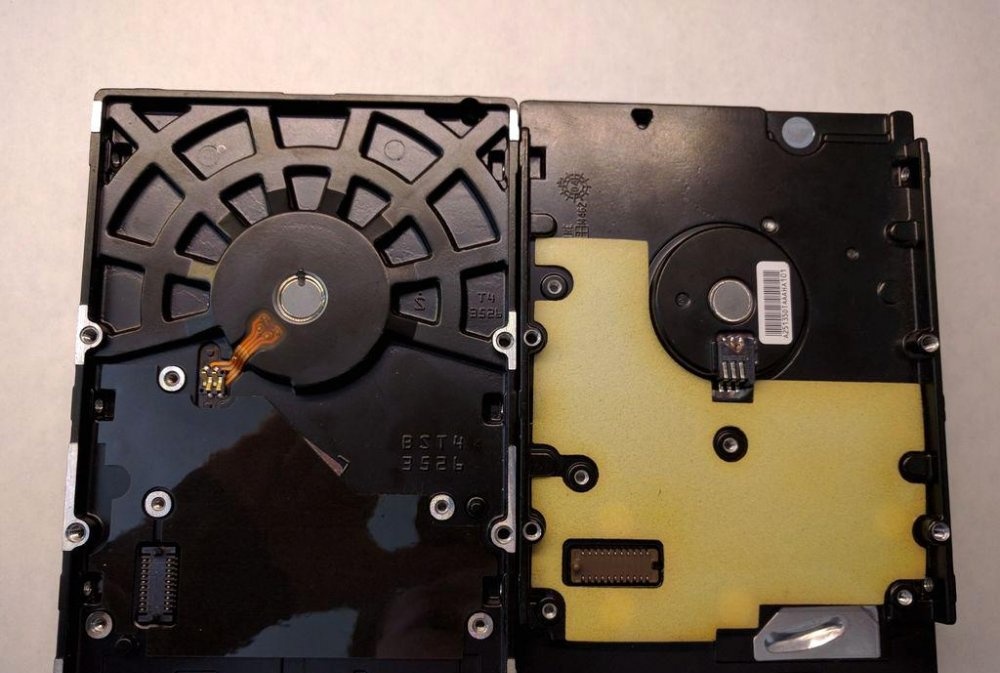
It all depends on the method of switching on the windings. Somewhere they are connected according to the “star” circuit, and somewhere according to the “triangle” circuit. Both options will suit us.
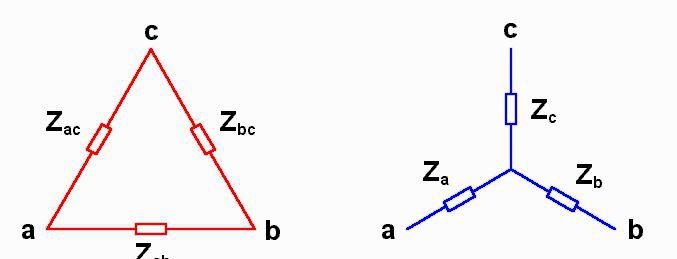
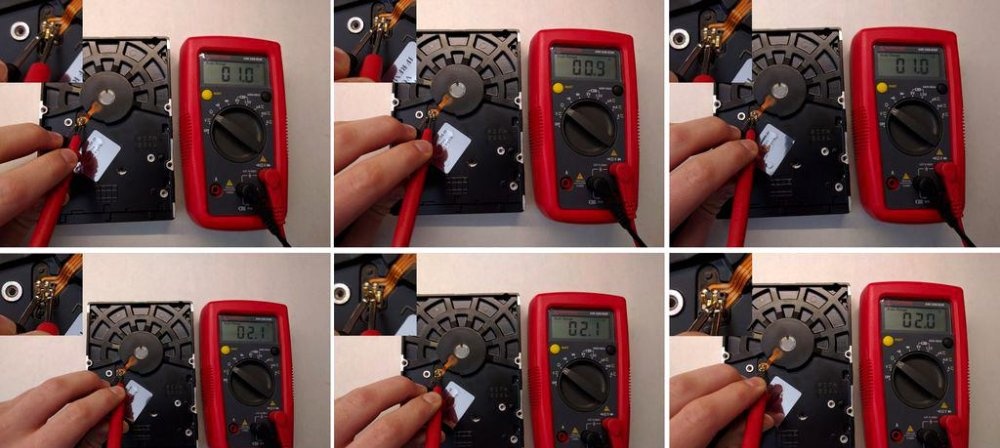
Except that for a three-pin HDD everything is clear with the phases - “ABC”, but for a four-pin HDD you will have to look for the phases using a tester. We will not need the middle or common wire - it will not be used.
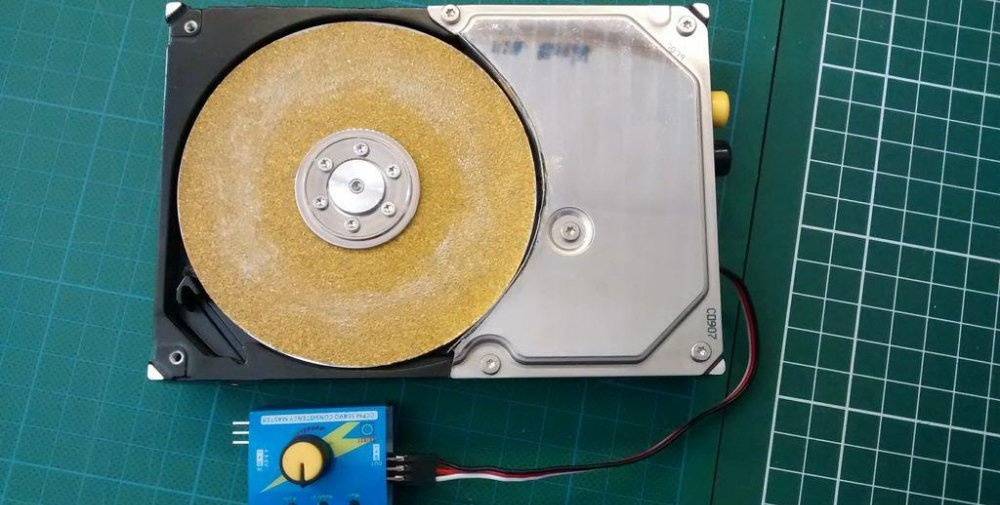
We connect the wires to the motor from the controller, insulate them and secure them with a metal jumper (you can cut it out of a tin can).
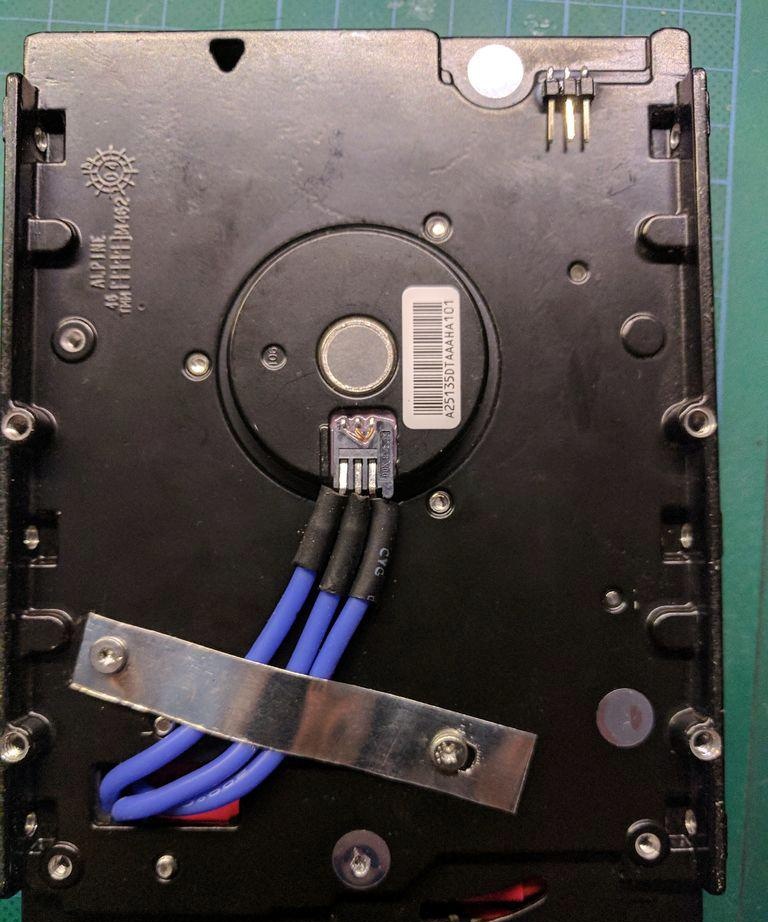
Using the same jumper, we fix the controller itself on the side of the rotating disk.
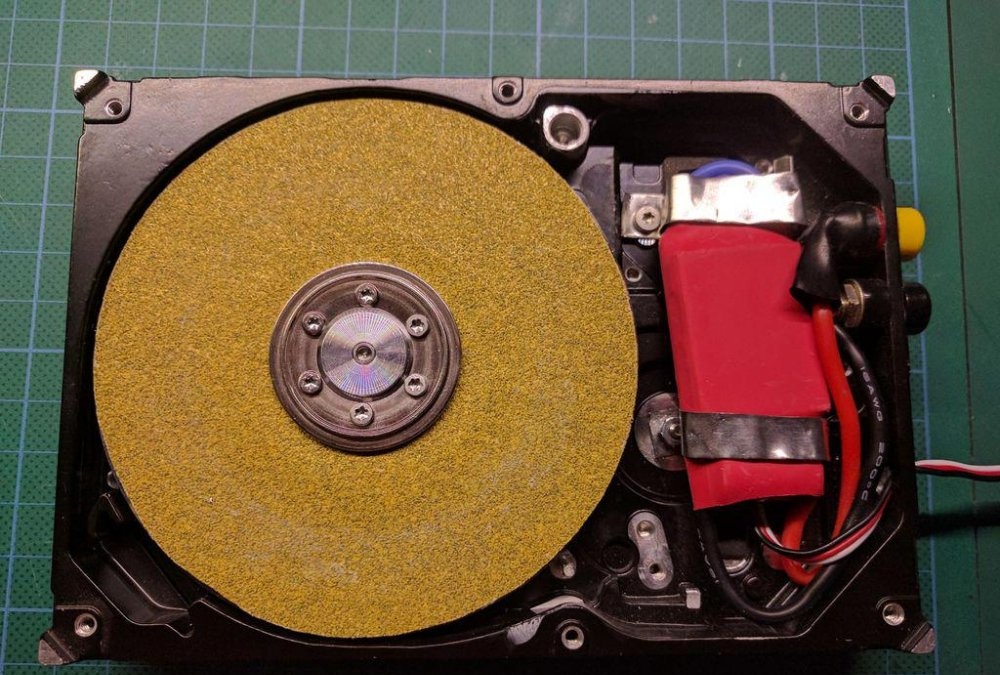
To cut a circle from sandpaper, remove the disk itself from the HDD motor. Apply it to sandpaper, trace it on the back side with a pencil and cut it out with regular scissors.
It's time to glue the cut out circle onto the metal disc. It's all attached with double-sided tape. Your circle will not go anywhere, and it will be easy to change it when it wears out.

Screw the disk.
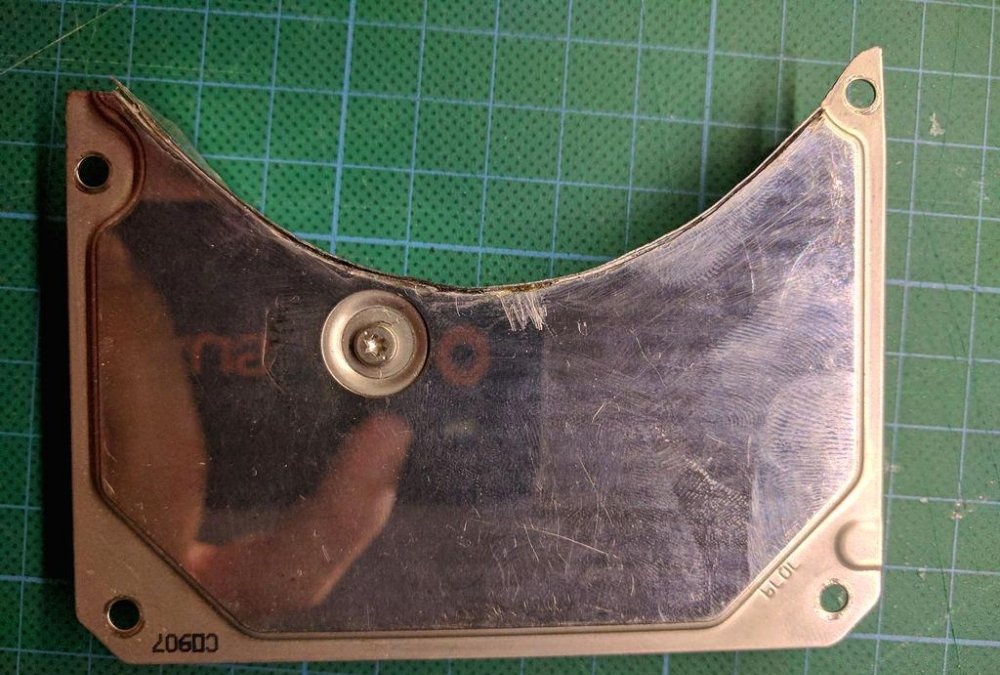
From the cover we make a protective casing for the controller. We cut out a semicircle with a Dremel.
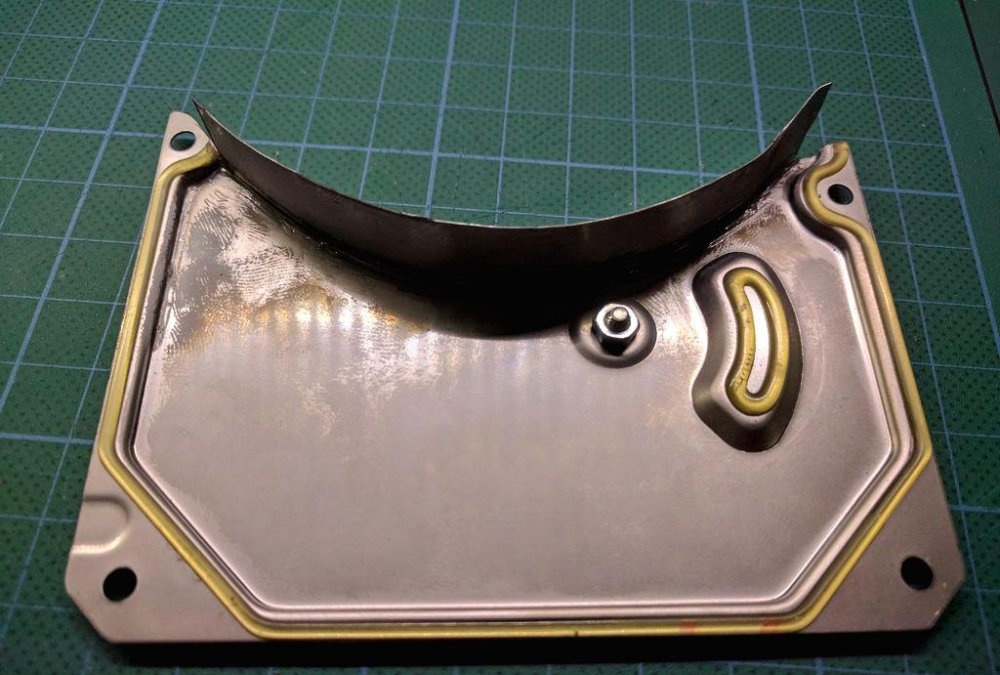
And we make a protective casing from a piece of tin so that wear products do not fly onto the controller.
The tin strip is soldered to the hard drive cover with a soldering iron.
We collect everything. We connect the speed controller.The connection is made using a pin connector. These two modules are specially created for each other and are actively used in modeling.
We connect the 12 V power supply. Use the regulator knob to adjust the speed of rotation of the disk. Everything should work without configuration.
With the help of a PWM controller, the speed is adjusted very smoothly and within wide limits.
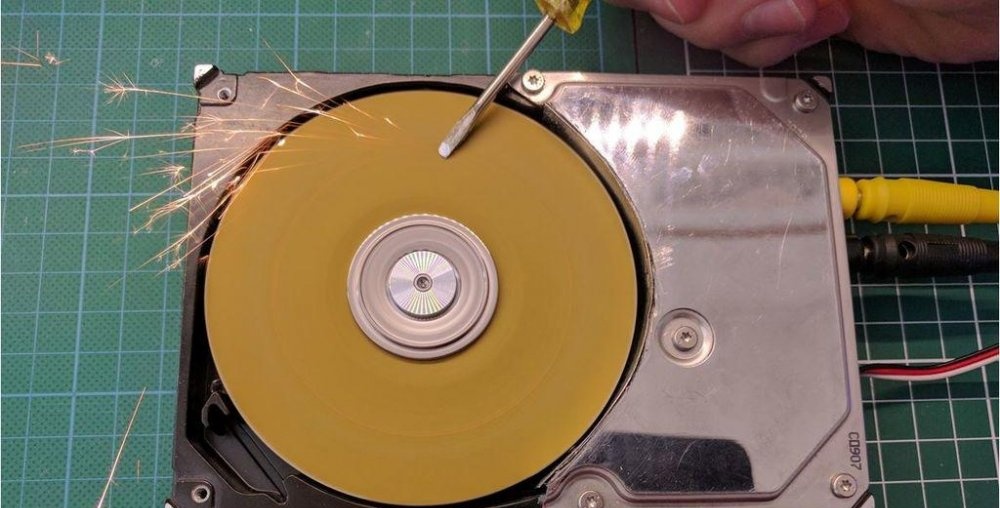
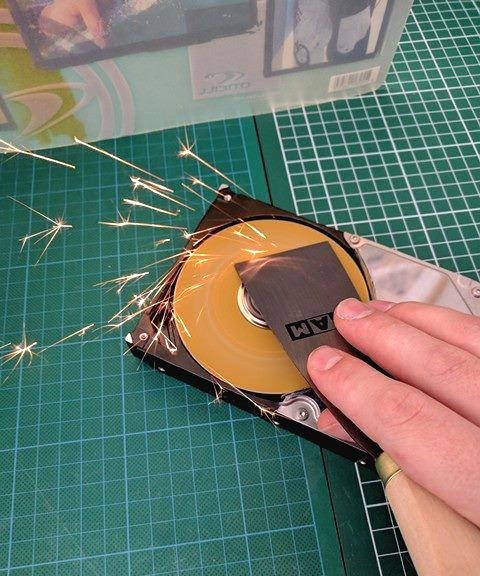
Now you can sharpen either metal or plastic. This useful design will definitely find use in your home.
Thank you for your attention!
Watch a video of the grinding machine in action
Original article in English